Removing a towel rack from tile can feel tricky, especially if you want to avoid damaging your walls. If you’ve ever stared at those stubborn screws or awkward brackets, wondering how to get them off cleanly, you’re not alone.
The good news? With the right steps, you can take down your towel rack smoothly and safely. In this guide, you’ll discover simple, effective methods to remove your towel rack without leaving marks or cracks behind. Ready to save time and protect your tile?
Let’s dive in and make this task easier than you thought.
Tools Needed
Removing a towel rack from tile needs the right tools. Having these tools makes the job easier and safer. Prepare everything before you start to avoid mistakes and damage.
Essential Equipment
- Electric drill or screwdriver
- Drill bits suitable for tile
- Putty knife or thin scraper
- Utility knife
- Masking tape
- Safety goggles
- Work gloves
- Measuring tape
Optional Supplies
- Hairdryer or heat gun (to soften adhesive)
- Plastic scraper (gentler on tiles)
- Adhesive remover or rubbing alcohol
- Spackle or tile filler (for repair)
- Fine-grit sandpaper
- Soft cloth or sponge
Preparing The Area
Preparing the area is a crucial step before removing a towel rack from tile. It helps protect your tiles and makes the process safer and easier. Taking time to prepare prevents damage and keeps your workspace clean.
Clear Surroundings
Remove all items near the towel rack. Clear the countertop, shelves, and floor space. This gives you enough room to work freely. It also prevents accidents and broken items. Keep tools and cleaning materials close by for easy access.
Protect Tile Surface
Place a soft cloth or towel under the towel rack area. This cushions the tile from scratches and chips. Use painter’s tape around the rack edges. It guards the tile grout and edges during removal. Avoid using harsh chemicals or abrasive pads on tiles.
Identifying Mounting Type
Removing a towel rack from tile starts with knowing how it is mounted. This step is key to avoid damaging your tiles. Different mounts need different tools and care. Identifying the mount type helps you plan the right removal method. It also saves time and effort. Let’s explore the two main types of towel rack mounts.
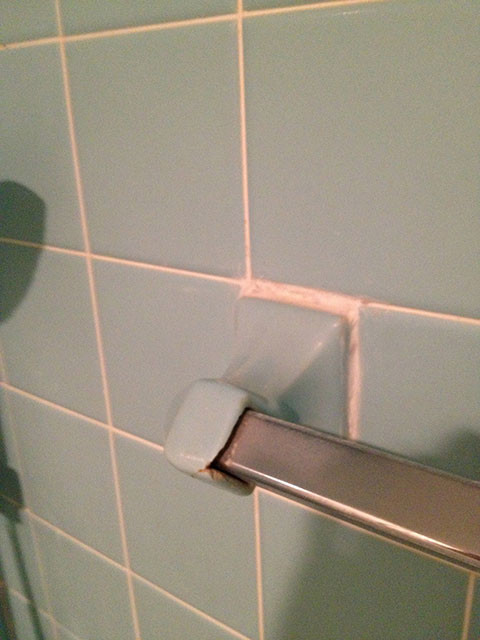
Screw-in Mounts
Screw-in mounts are the most common. You will see small screws holding the rack to the wall. These screws go into anchors drilled into the tile or wall behind it. Usually, the rack has end caps or covers hiding the screws. Gently pry off these covers to find the screws. Use a screwdriver to remove them. Be careful to avoid slipping and scratching the tile.
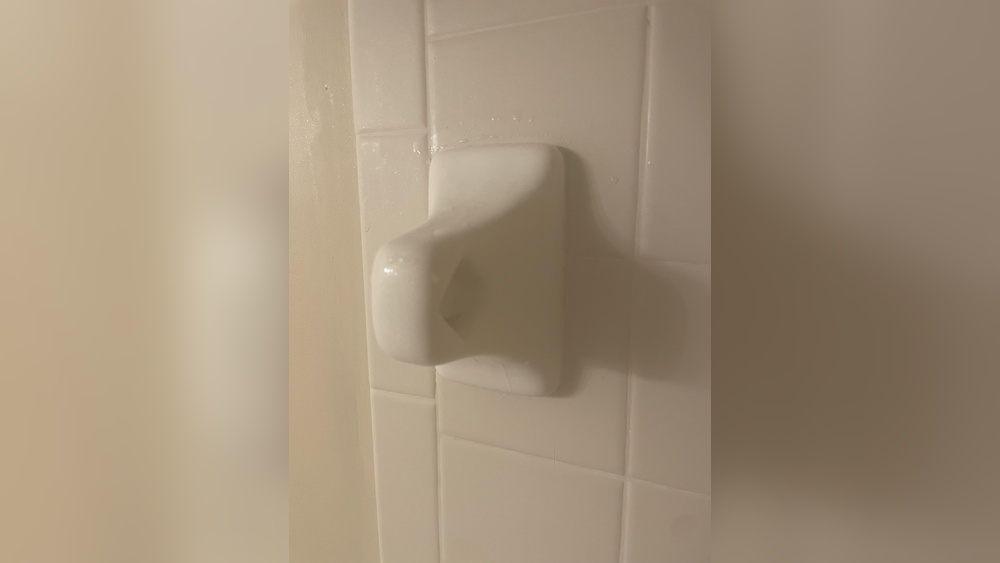
Adhesive Mounts
Adhesive mounts use glue or tape to stick the rack to the tile. These racks do not have visible screws or holes. The rack feels firmly attached but can be pulled away with steady pressure. Look for any gaps between the rack and tile edges. Adhesive mounts may leave sticky residue after removal. Use a gentle tool to pry the rack without cracking the tile.

Credit: www.doityourself.com
Removing Screw-in Towel Racks
Removing screw-in towel racks from tile requires care to avoid damage. These racks attach with screws drilled into the tile or grout. Removing them needs the right tools and technique to keep your tiles intact.
Start by checking the screw heads. Most use common types like Phillips or flathead. Using the correct screwdriver helps prevent stripping the screws. Work slowly and steadily for the best results.
Unscrewing Carefully
Choose a screwdriver that fits the screw head perfectly. Apply firm, even pressure while turning the screw counterclockwise. Avoid forcing the screw too fast to stop slipping. If the screw turns smoothly, continue until it is fully removed. Keep the towel rack steady to reduce tile stress.
Dealing With Stubborn Screws
Some screws may be tight or stuck due to rust or paint. Spray a small amount of penetrating oil and wait a few minutes. Use a manual screwdriver instead of a drill for better control. Tap the screwdriver gently with a hammer to loosen the screw. If the screw head is damaged, try a rubber band for extra grip. Take your time to avoid damaging the tile surface.
Removing Adhesive Towel Racks
Removing adhesive towel racks from tile requires care to avoid damage. These racks stick firmly with strong glue. Patience and the right tools help the removal process go smoothly. Follow simple steps to soften the adhesive and gently detach the rack without hurting the tile surface.
Softening Adhesive
Start by softening the glue to make removal easier. Use a hairdryer on low heat and warm the adhesive area. Heat loosens the glue’s hold on the tile. Hold the dryer a few inches away for about one to two minutes. Avoid overheating, which can harm the tile or wall. Warm adhesive feels softer and less sticky.
Gently Detaching Rack
After softening, carefully lift the rack from the tile. Use a plastic scraper or old credit card to slide under the rack’s edge. Move slowly to prevent cracking the tile. If the rack resists, warm the adhesive again. Pull the rack evenly to avoid bending or breaking it. Clean leftover glue with rubbing alcohol or adhesive remover for a smooth finish.
Handling Tile Damage Risks
Removing a towel rack from tile needs care to protect the tiles. Tiles are strong but can crack or chip easily under pressure. Handling tile damage risks means using the right tools and techniques. This helps keep the tiles intact and your bathroom looking good.
Avoiding Cracks And Chips
Start by loosening screws or anchors gently. Use a screwdriver with a soft touch to avoid sudden pressure. Place painter’s tape around the rack base to protect tile edges. Avoid using metal tools directly on tile surfaces. Work slowly and watch for any signs of tile stress. If the rack is stuck, do not force it. Use gentle wiggling motions to free it. Small cracks or chips often happen from quick, hard moves. Patience is key.
Using Heat Or Solvents Safely
Heat can soften adhesives holding the towel rack. Use a hairdryer on low heat and keep it moving. Do not overheat the tile. Excess heat may cause tile discoloration or damage. Solvents like adhesive removers help dissolve glue. Test a small tile area first to check for damage. Apply solvents carefully with a cotton swab or cloth. Avoid spilling or soaking the tile. Wipe away residue quickly to prevent stains. Use these methods in a well-ventilated space for safety.
Cleaning After Removal
Removing a towel rack from tile often leaves behind marks and sticky residue. Cleaning after removal is important to restore your tile’s smooth, clean look. Proper cleaning prevents damage and keeps your bathroom looking fresh.
Use gentle cleaning steps to protect the tile surface. Follow the right order to remove residue and polish the tile for a neat finish.
Removing Residue
Start by peeling off any leftover tape or adhesive carefully. Use a plastic scraper or your fingernail to lift stubborn spots. Avoid metal tools that can scratch the tile.
Apply a mild adhesive remover or rubbing alcohol to a soft cloth. Gently rub the residue until it softens and comes off. Wipe the area with a damp cloth to remove any cleaner leftover.
Polishing The Tile
Dry the tile completely before polishing. Use a clean microfiber cloth to buff the area gently. This helps bring back the tile’s shine and smooth finish.
For extra shine, apply a small amount of tile polish or a mixture of water and vinegar. Rub it in circles with the cloth and let it air dry. Your tile will look bright and fresh again.
Credit: www.houzz.com
Repairing Minor Tile Damage
Removing a towel rack from tile can sometimes cause small damage. Minor chips or scratches might appear on the tile surface. Fixing these issues quickly keeps your tiles looking neat and clean. Small repairs help prevent bigger problems later. The process is simple and does not need special tools.
Filling Small Chips
Start by cleaning the chipped area with a soft cloth. Make sure no dust or loose pieces remain. Use a tile repair kit or epoxy filler made for tiles. Apply the filler carefully into the chip using a small tool or toothpick. Smooth the surface to match the tile’s shape. Let it dry fully as per the product instructions. Once dry, gently sand the area for an even finish.
Touch-up Techniques
Match the tile color with a paint or marker designed for ceramic. Dab the color lightly on the repair spot. Use thin layers and let each layer dry before adding more. This avoids thick or uneven paint. Blend the edges softly to hide the repair well. Finish with a clear sealant to protect the touch-up. This helps the repaired spot last longer and resist water.

Credit: www.youtube.com
Frequently Asked Questions
How Do I Safely Remove A Towel Rack From Tile?
Use a utility knife to cut any caulk around the rack. Then, unscrew mounting brackets carefully with a screwdriver to avoid tile damage.
Can I Remove A Towel Rack Without Damaging Tiles?
Yes, by using the right tools like a screwdriver and gentle prying. Avoid excessive force to prevent tile cracks or chips.
What Tools Are Needed To Remove A Towel Rack From Tile?
You will need a utility knife, screwdriver, putty knife, and possibly a hairdryer to soften adhesive or caulk.
How Do I Fix Holes After Towel Rack Removal?
Fill holes with tile filler or epoxy. Sand smooth once dry, then repaint or re-caulk for a finished look.
Conclusion
Removing a towel rack from tile can be simple and safe. Use the right tools to avoid tile damage. Take your time and work carefully. Clean the area well after removal. Small holes can be fixed easily later. This task saves money and lets you update your bathroom.
You can do it yourself with some patience. Remember, careful steps keep your tiles looking good. Now, you know how to remove a towel rack from tile.

