Looking to add a simple yet effective upgrade to your bathroom? Installing a towel rack with screws is a quick way to keep your space organized and stylish.
You might think it’s tricky, but with the right steps, you can do it yourself without hassle. In this guide, you’ll discover easy-to-follow instructions that make the process smooth and stress-free. Ready to transform your bathroom and enjoy the convenience of a perfectly mounted towel rack?
Let’s get started!
Tools And Materials Needed
Installing a towel rack with screws requires the right tools and materials. Having everything ready makes the job faster and easier. It also ensures the towel rack will hold well and last long.
This section covers the types of towel racks, essential tools, and how to pick the right screws. Understanding these parts helps you prepare better for the installation.
Types Of Towel Racks
Towel racks come in various styles. Some have bars, others have hooks or rings. Wall-mounted racks are common and need screws for secure fixing. Freestanding racks do not require screws but are less stable. Choose a style that fits your bathroom space and needs.
Essential Tools
A drill is key for making holes in the wall. A screwdriver helps tighten screws firmly. A level ensures the rack is straight. A tape measure measures space for accurate placement. Pencil marks the spots for drilling. These tools make installation smooth and precise.
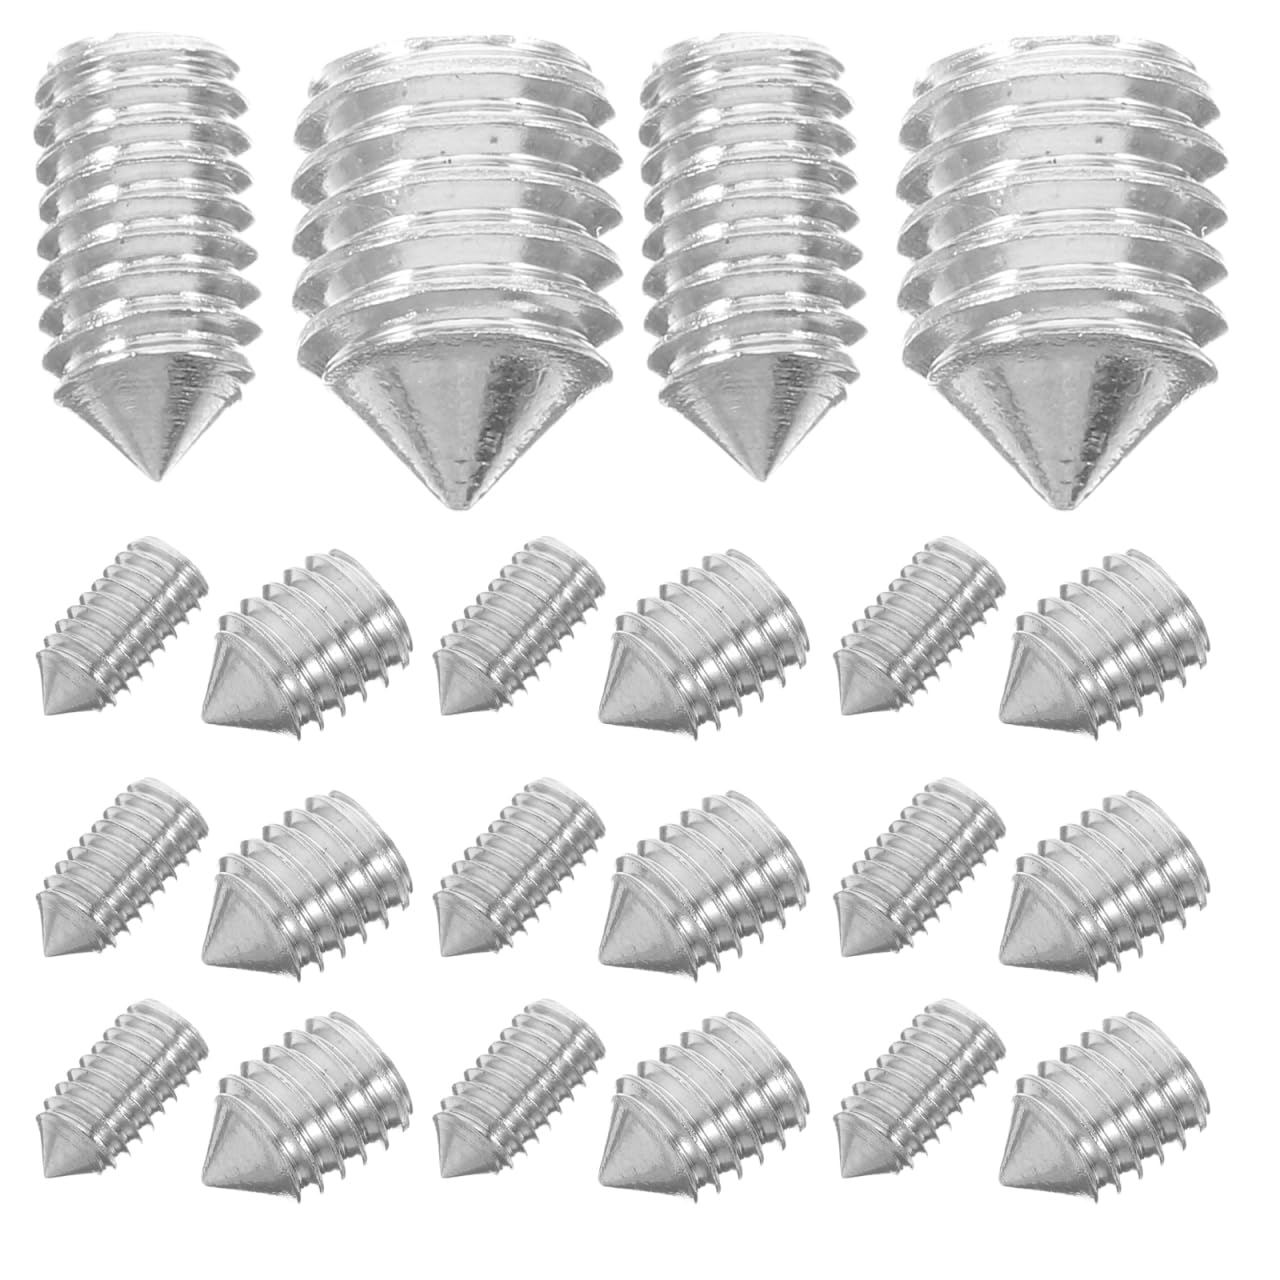
Choosing The Right Screws
Select screws that match the wall type. Use drywall anchors with drywall for strong support. For tile walls, use special drill bits and screws. Stainless steel screws resist rust in moist bathrooms. Pick screws long enough to hold the rack securely.
Preparing The Installation Area
Preparing the installation area is the first step to a successful towel rack setup. This phase ensures your rack will be secure and functional. Careful preparation helps avoid mistakes and damage to your wall.
Take your time to plan the spot and gather all tools before starting. A well-prepared area makes the installation smoother and faster.
Selecting The Best Location
Choose a spot that is easy to reach and dry. Avoid placing the towel rack too close to water sources to prevent rust. Consider the height so everyone can use it comfortably. Pick a place with enough space for towels to hang freely.
Measuring And Marking
Use a tape measure to find the exact position. Mark the spots where screws will go with a pencil. Double-check your marks with a level to keep the rack straight. Accurate measuring stops the rack from being crooked or unstable.
Checking Wall Material
Identify if your wall is drywall, plaster, or tile. Different walls need different screws and anchors. Drywall may require anchors to hold the weight. Tile needs special drill bits to avoid cracking. Knowing your wall type ensures the rack stays firmly attached.
Installing The Towel Rack
Installing the towel rack correctly keeps it strong and steady. You need to prepare the wall and use the right tools. Follow these steps carefully to secure the rack. This ensures your towels stay in place and your wall stays safe.
Drilling Pilot Holes
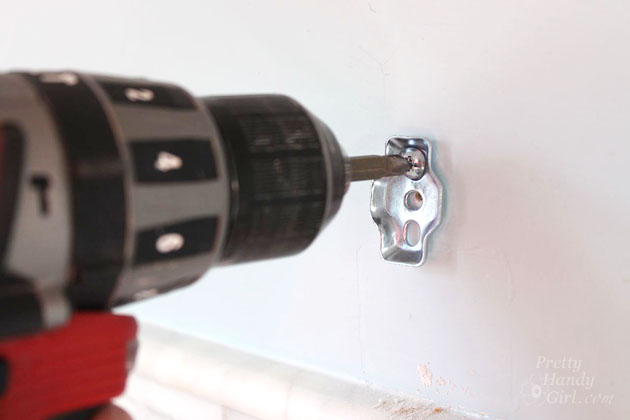
Mark the spots where the screws will go. Use a pencil to make small dots. Choose a drill bit smaller than the screws. Drill holes on your marks gently. This makes it easier to insert screws later. It also prevents the wall from cracking.
Inserting Wall Anchors
Push the wall anchors into the pilot holes. Tap them lightly with a hammer until they sit flush. Anchors help hold the screws tightly. They work well on drywall and hollow walls. Without anchors, screws might not stay secure.
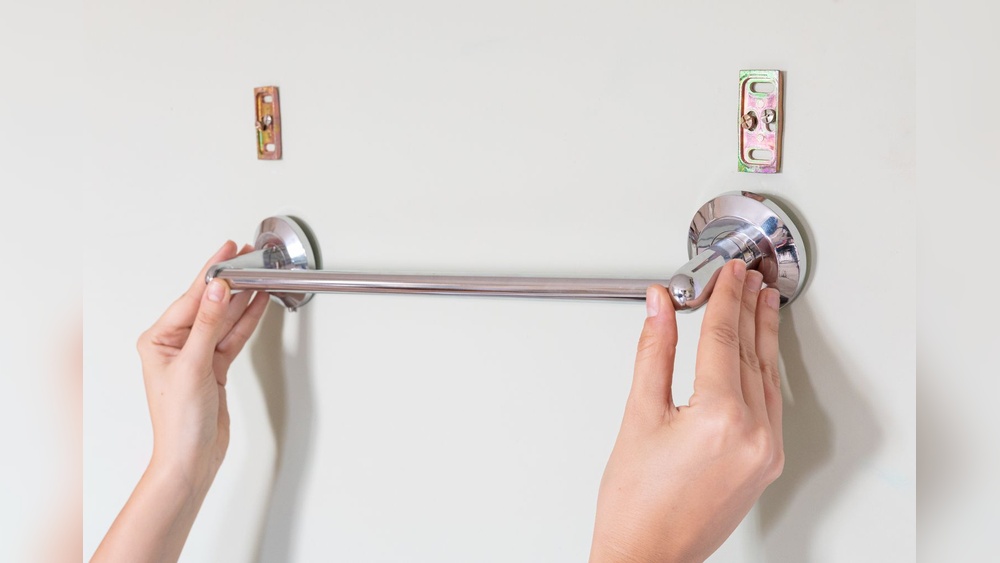
Securing The Rack With Screws
Align the towel rack with the holes. Insert the screws through the rack holes into anchors. Use a screwdriver to tighten the screws. Do not over-tighten to avoid damage. Check the rack for firmness by pulling gently.
Credit: www.amazon.com
Finishing Touches
Finishing touches make your towel rack look neat and last longer. This step ensures the rack stays strong and aligned. Small details bring a polished look to your installation.
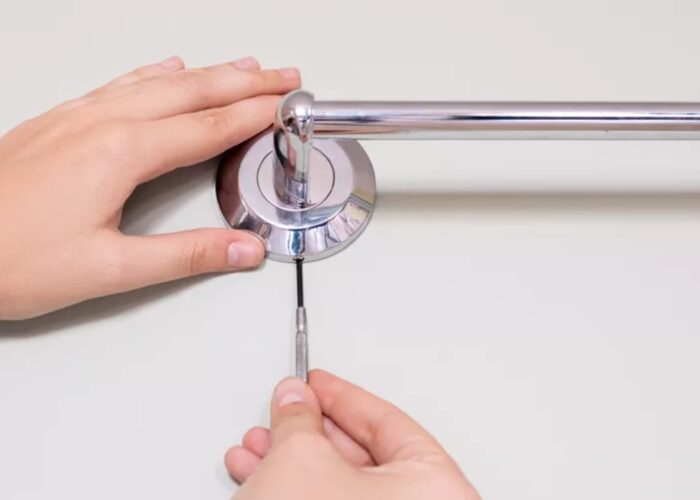
Ensuring Level Alignment
Check the towel rack with a level tool. Adjust screws slightly to keep it straight. A crooked rack can cause towels to slide off. Take your time to make sure it is perfectly horizontal.
Tightening Screws
Use a screwdriver to tighten all screws firmly. Avoid over-tightening to prevent damage to the wall or rack. Tight screws keep the rack stable and safe for daily use. Double-check each screw to secure the rack properly.
Cleaning Up
Remove dust and debris around the rack area. Wipe down the rack with a clean cloth to remove fingerprints. Clear the floor of any leftover screws or tools. A clean space completes your installation and looks professional.
Troubleshooting Common Issues
Installing a towel rack with screws is simple, but small problems can happen. These common issues do not need much effort to fix. Knowing how to solve them saves time and frustration. This guide helps you handle the most frequent troubles with ease.
Dealing With Loose Screws
Loose screws make the towel rack unstable. First, tighten the screws using a screwdriver. If screws still turn, use a bigger screw or wall anchor. Another way is to apply wood glue in the hole before screwing. This gives extra hold and stops movement.
Fixing Uneven Placement
An uneven towel rack looks bad and can cause towels to slide off. Check the level with a spirit level before drilling. If the rack is off, remove screws and reposition. Mark new spots carefully using a pencil and level. Drill holes straight to keep the rack balanced.
Handling Wall Damage
Wall damage happens if holes are too large or the wall is weak. Fill small holes with spackle or wall filler. Let it dry and sand smooth. For bigger damage, use a patch kit before painting. Use anchors suitable for your wall type to avoid new damage.
Credit: prettyhandygirl.com
Maintenance Tips
Keeping your towel rack in good shape extends its life. Simple care steps keep it strong and looking fresh. Follow these easy maintenance tips to avoid problems and enjoy your rack for years.
Regular Cleaning
Dust and dirt build up on the rack over time. Wipe it with a soft cloth weekly. Use mild soap and water for sticky spots. Avoid harsh cleaners that can damage the finish. Dry the rack after cleaning to stop water marks.
Checking Screw Tightness
Screws can loosen with use and vibration. Check them every few months. Use a screwdriver to tighten any loose screws. Do not force screws too hard to avoid stripping. Tight screws keep the rack stable and safe.
Preventing Rust And Corrosion
Moisture causes rust on metal parts. Keep the rack dry after showers. Use a rust-resistant spray to protect screws and fittings. Avoid metal racks in very humid places. Rust prevention keeps your rack strong and good-looking.
Credit: thanhcongcraft.com
Frequently Asked Questions
How Do I Choose The Right Screws For A Towel Rack?
Select screws based on your wall type and towel rack material. Use drywall anchors for drywall and wood screws for studs. The screws must be long enough to support the rack securely without damaging the wall.
What Tools Are Needed To Install A Towel Rack With Screws?
You need a drill, screwdriver, level, measuring tape, pencil, and wall anchors. These tools help ensure accurate placement and secure installation of the towel rack.
How Do I Find Studs For Mounting A Towel Rack?
Use a stud finder or tap the wall to locate studs. Mark the stud locations with a pencil to ensure your towel rack is securely anchored to solid wood.
Can I Install A Towel Rack On Tile Walls With Screws?
Yes, but use a masonry drill bit to avoid cracking tiles. Insert wall anchors designed for tile to securely hold the screws and towel rack in place.
Conclusion
Installing a towel rack with screws is simple and quick. Just follow the steps carefully and use the right tools. Mark the spots, drill holes, and secure the screws tightly. A well-installed rack holds your towels firmly and looks neat.
Take your time to measure and check the level. This small project can improve your bathroom’s organization. Anyone can do it with basic tools and clear instructions. Now, enjoy your new towel rack and a tidier space.