Looking for a stylish and sturdy way to organize your towels? Making a steel pipe towel rack is easier than you think—and it adds a unique, industrial touch to your space.
Imagine having a custom rack that fits perfectly in your bathroom or kitchen, built by your own hands. In this guide, you’ll discover simple steps to create a durable towel rack that stands out. Ready to transform your space and impress your guests?
Keep reading, and let’s get started!
Credit: breezeresidency.com
Materials And Tools Needed
Building a steel pipe towel rack needs specific materials and tools. Knowing these items helps you prepare before starting. This way, the project goes smoothly and safely. Keep everything ready to save time and avoid interruptions.
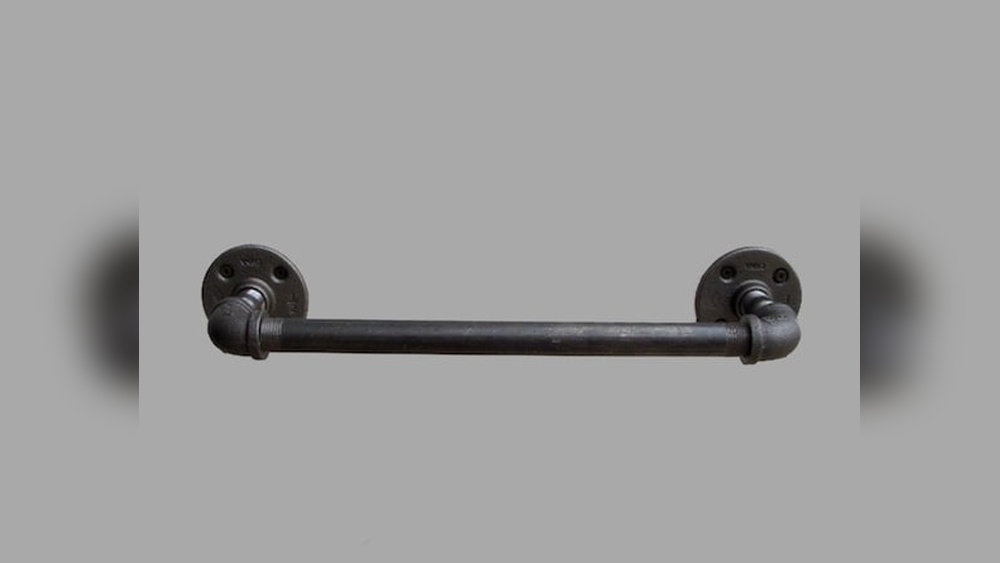
Steel Pipes And Fittings
Choose steel pipes with the right length and diameter. Pipes with a 1/2 or 3/4 inch diameter work well. Get fittings like elbows, tees, and flanges to connect pipes. These parts hold the rack firmly and shape the design.
Cutting Tools
Use a pipe cutter or hacksaw to cut the steel pipes. A pipe cutter gives cleaner cuts but needs practice. A hacksaw is easy and affordable for beginners. Make sure blades are sharp to cut smoothly and safely.
Measuring Instruments
Measure pipes and spaces accurately with a tape measure or ruler. A carpenter’s square helps keep corners straight. Mark cutting points clearly with a pencil or marker. Accurate measurements prevent mistakes during assembly.
Assembly Supplies
Gather supplies like a wrench or pliers to tighten fittings. Thread seal tape helps make joints leak-proof and secure. Sandpaper or a metal file smooths sharp pipe edges. Have a level to check the rack’s balance on the wall.
Planning Your Design
Planning your design is the first step to build a steel pipe towel rack. This stage helps you organize ideas clearly. It saves time and materials later. Good planning makes the project easier and more fun.
Choosing The Size And Shape
Start by thinking about where the towel rack will go. Measure the wall space carefully. Choose a size that fits well without crowding. Pick a shape that matches your room style. Simple shapes like rectangles or squares work well. Round or curved shapes add a modern look.
Deciding On Pipe Layout
Think about how many towels you want to hang. Plan the number of pipes accordingly. Pipes can be horizontal or vertical. Horizontal pipes hold towels better. Vertical pipes save wall space. Arrange pipes with enough space between them. This keeps towels from overlapping and wetting slowly.
Marking Measurements
Use a pencil and measuring tape to mark pipe positions. Mark spots on the wall or base wood clearly. Double-check all measurements before cutting pipes. Accurate marks ensure pipes fit perfectly. Keep marks light so you can erase later. Precise marking prevents mistakes and waste.
Cutting And Preparing Pipes
Cutting and preparing pipes is a key step in making a steel pipe towel rack. It ensures the pieces fit well and look neat. Proper preparation helps avoid problems later during assembly. Take your time to measure and cut carefully. Smooth edges keep the rack safe and easy to handle.
Measuring And Marking Cut Lines
Start by measuring the pipes precisely. Use a tape measure for accuracy. Mark the cut lines clearly with a permanent marker. Double-check your measurements before cutting. Straight, visible lines help guide the pipe cutter. Mark all pipes needed for the towel rack.
Using Pipe Cutters Safely
Use a pipe cutter designed for steel pipes. Place the cutter on the marked line. Turn the cutter slowly around the pipe. Tighten the cutter a little after each full turn. Wear gloves to protect your hands. Keep your fingers clear of the cutting wheel. Cut in a stable, well-lit area.
Smoothing Edges
After cutting, rough edges can be sharp. Use a metal file or sandpaper to smooth them. Run the file along the cut ends evenly. Check for burrs and remove all sharp bits. Smooth edges prevent cuts and help pipes fit better. Clean the pipes to remove metal dust before assembly.
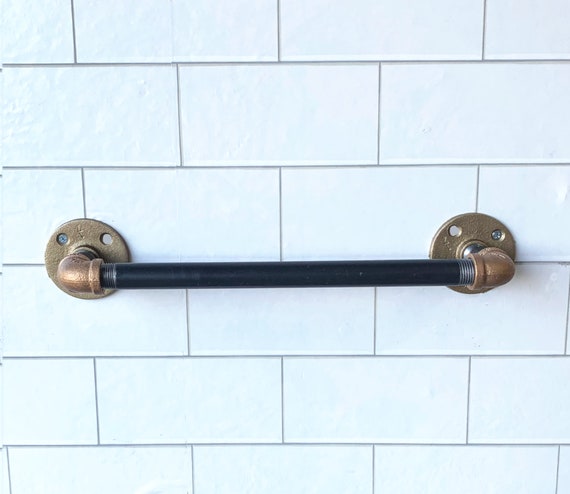
Credit: www.etsy.com
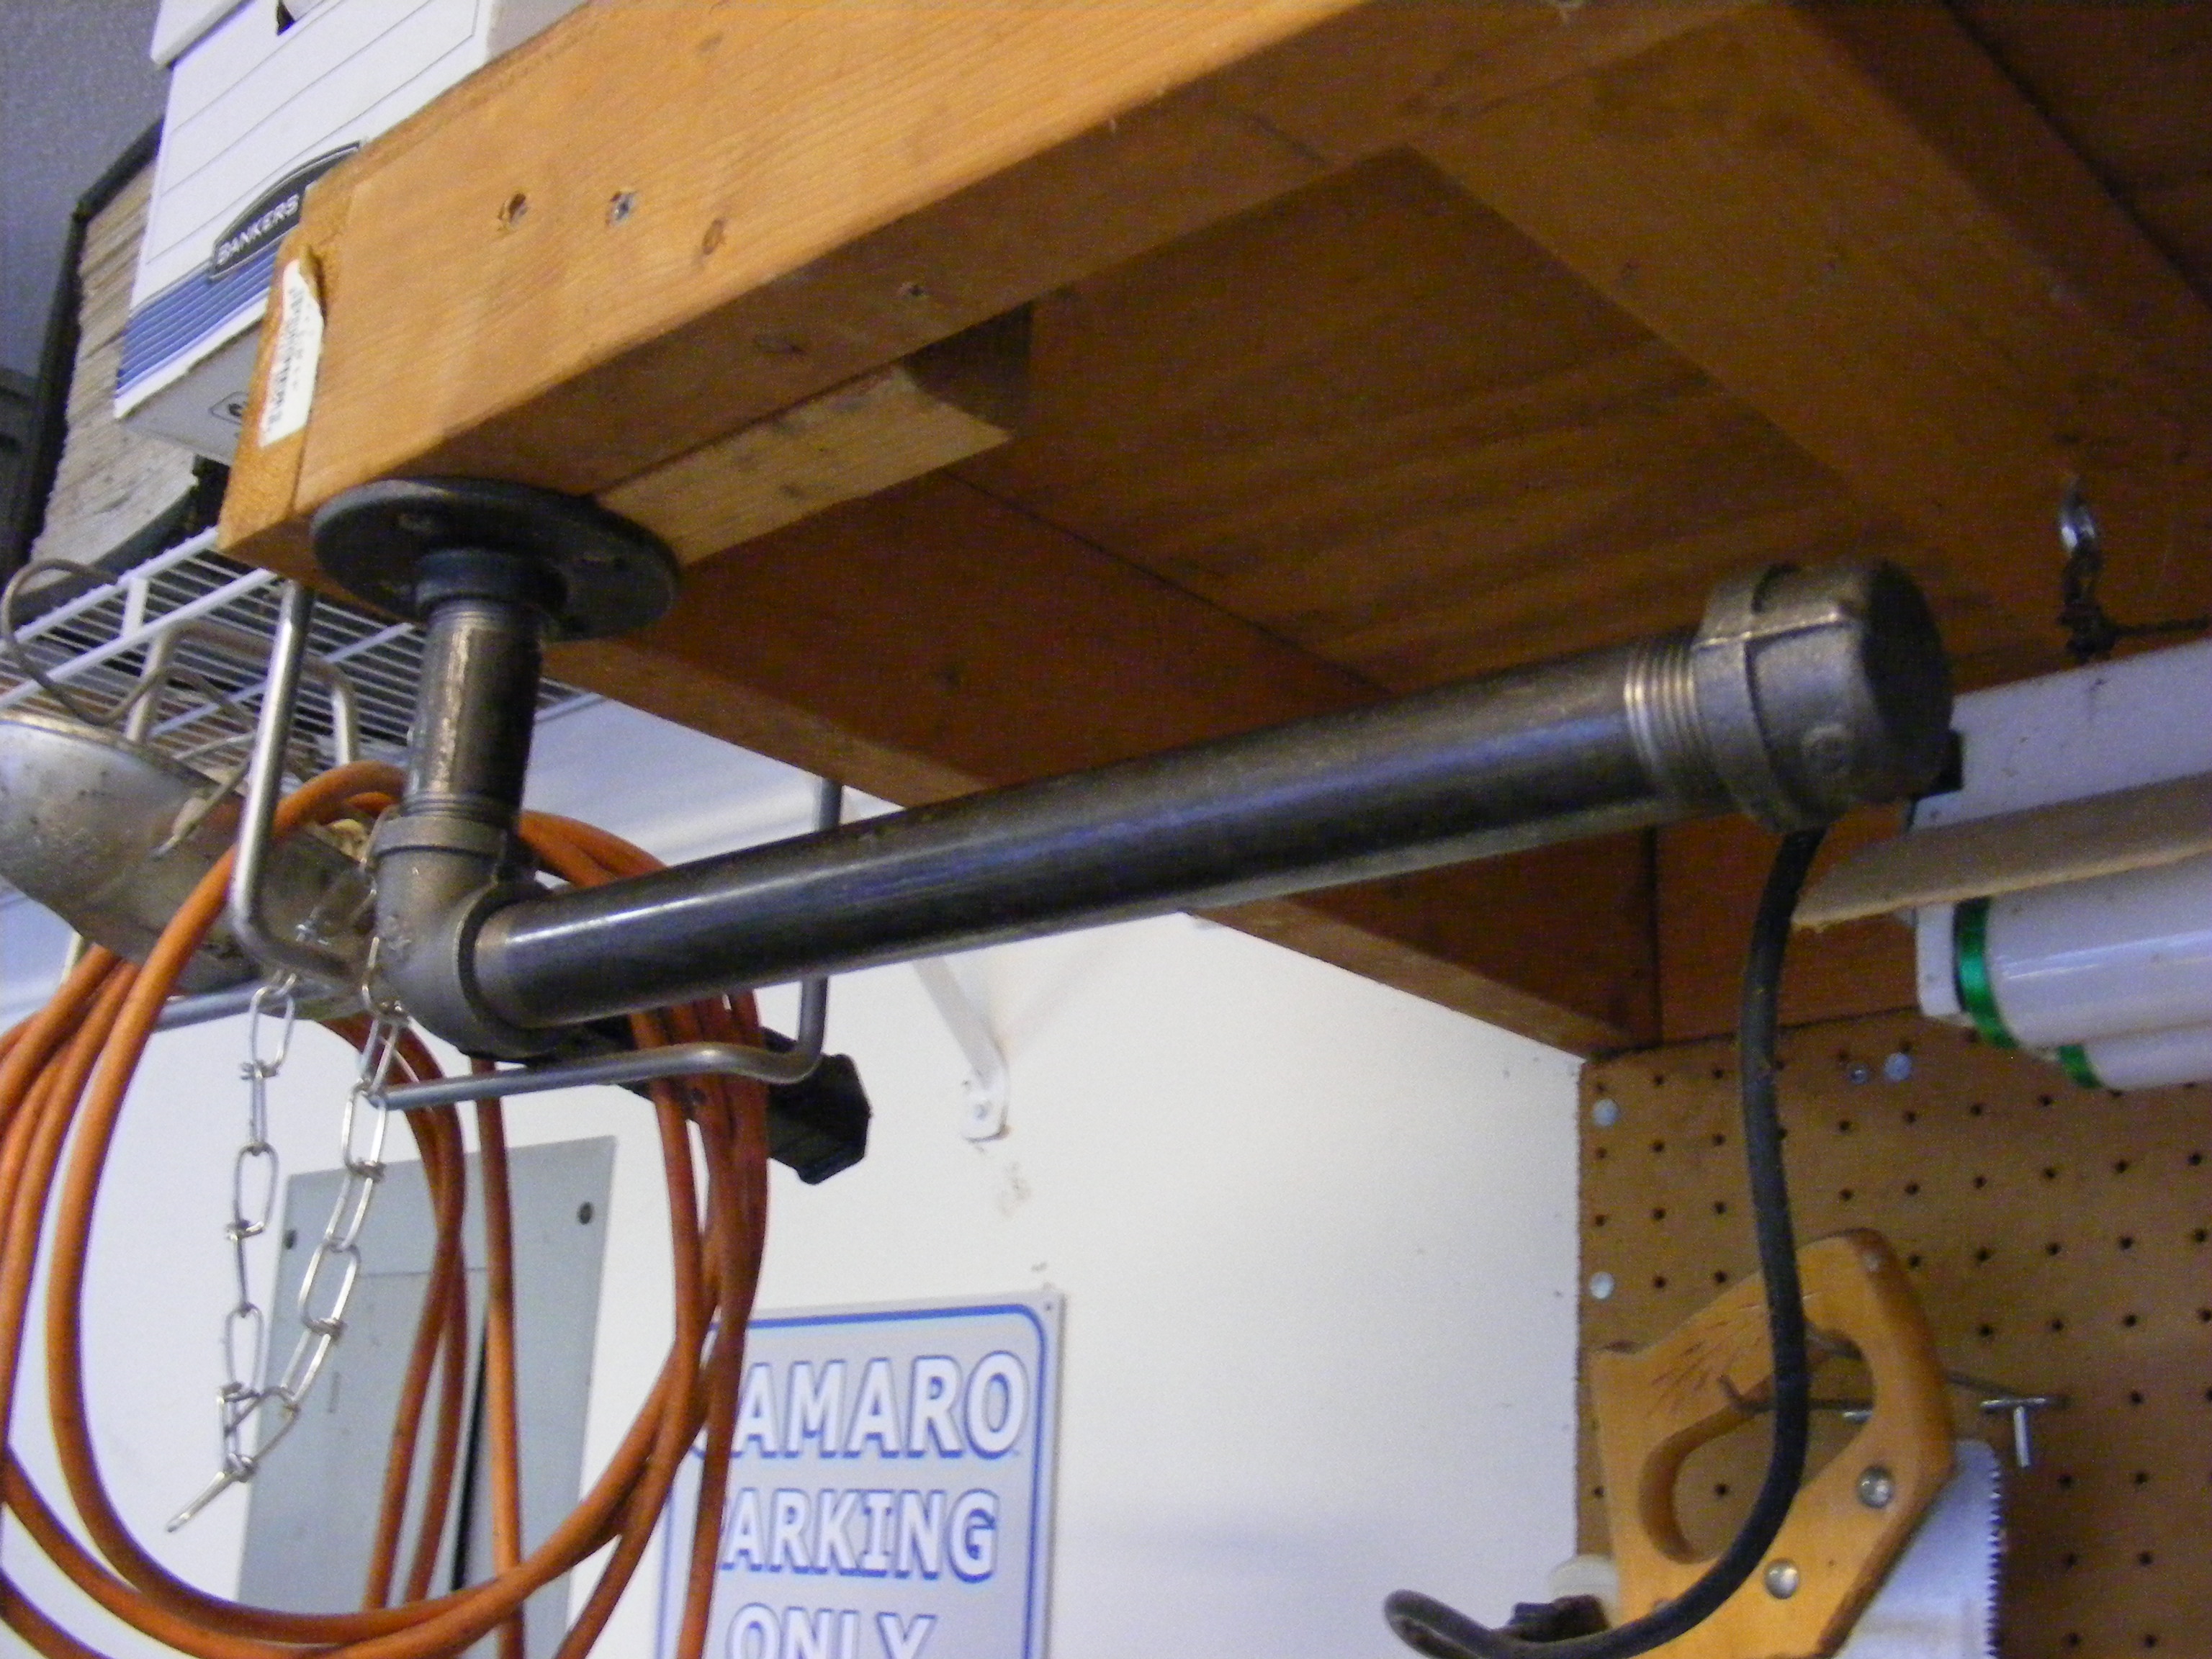
Assembling The Rack
Assembling the steel pipe towel rack is a straightforward process. It involves connecting the pipe parts, making sure the rack stays stable, and tightening all the fittings. Follow these steps carefully to build a strong and durable rack.
Connecting Pipe Sections
Start by arranging the pipe sections according to your design. Push each pipe into the corresponding fitting. Make sure the pipes fit snugly without gaps. Use a rubber mallet to gently tap pipes if needed. Check that all parts align straight before moving on.
Ensuring Stability
Stability is key for a towel rack that lasts. Place the rack on a flat surface to check balance. Adjust the pipe lengths or fittings if the rack wobbles. Use corner elbows and flanges to add support. Confirm the rack stands firm without leaning.
Tightening Fittings
Use a pipe wrench or adjustable pliers to tighten the fittings. Turn each fitting clockwise until it feels secure. Do not overtighten, or the fittings might crack. Tighten all connections evenly to keep the rack sturdy. Double-check all fittings before final use.
Finishing Touches
Finishing touches give your steel pipe towel rack a polished look. They protect the metal and make the rack last longer. Proper finishing also ensures safety and ease of use.
Cleaning The Surface
Start by wiping the steel pipes with a clean cloth. Remove dust, dirt, and grease to prepare the surface. Use a mild soap solution and rinse well. Dry the pipes completely to avoid rust.
Applying Protective Coating
Choose a rust-resistant paint or clear sealant for protection. Use a brush or spray for an even coat. Allow the coating to dry fully before handling. This step prevents corrosion and keeps the rack looking new.
Adding Mounting Hardware
Select strong brackets or flanges to hold the towel rack firmly. Attach the hardware securely to the wall or surface. Check that the rack is level and stable. Tighten all screws and bolts for safety.
Mounting The Towel Rack
Mounting the steel pipe towel rack is a key step. It ensures the rack stays strong and holds your towels well. Proper mounting also keeps your wall safe from damage. Follow these steps for a sturdy and neat installation.
Choosing The Right Wall Location
Pick a spot near your shower or sink. The rack should be easy to reach. Avoid areas where water sprays directly on the rack. Check the wall type: drywall, tile, or plaster. This affects the mounting method and tools you need. Choose a height that fits all users comfortably.
Drilling And Anchoring
Mark the drill points on the wall using a pencil. Use a level to keep the marks even. Select a drill bit size that matches the anchors. Drill holes carefully to avoid cracking tiles or walls. Insert wall anchors firmly. Anchors give extra support to hold the rack’s weight.
Securing The Rack
Align the rack’s mounting holes with the drilled holes. Use screws that fit the wall anchors. Tighten screws with a screwdriver until the rack feels secure. Avoid overtightening to prevent damage to the pipe or wall. Test the rack by gently pulling on it. Make sure it does not wobble or shift.
Maintenance Tips
Maintaining your steel pipe towel rack keeps it strong and good-looking. Simple care steps help avoid damage and extend its life. Follow these easy tips to keep your towel rack in top shape.
Regular Cleaning
Wipe the rack with a soft cloth often. Use mild soap and warm water to clean dirt and dust. Avoid harsh chemicals that can damage the steel surface. Dry the rack well after cleaning to stop water spots.
Preventing Rust
Rust can weaken the steel and spoil the look. Keep the rack dry by wiping off any moisture quickly. Use a rust-resistant spray or paint if needed. Check the rack regularly for small rust spots and treat them fast.
Tightening Loose Parts
Check all screws and joints often. Loose parts can cause the rack to wobble or fall. Use a screwdriver or wrench to tighten any loose bolts. Tight parts keep the rack safe and steady for daily use.
Credit: kaz-metiz.com
Frequently Asked Questions
What Materials Are Needed For A Steel Pipe Towel Rack?
You need steel pipes, flanges, elbows, and pipe caps. Also, get wall anchors, screws, and a drill for installation. These materials ensure durability and a sturdy towel rack.
How Do I Measure For A Steel Pipe Towel Rack?
Measure the wall space where you want to install the rack. Consider towel size and clearance for easy use. Accurate measurements ensure the rack fits perfectly.
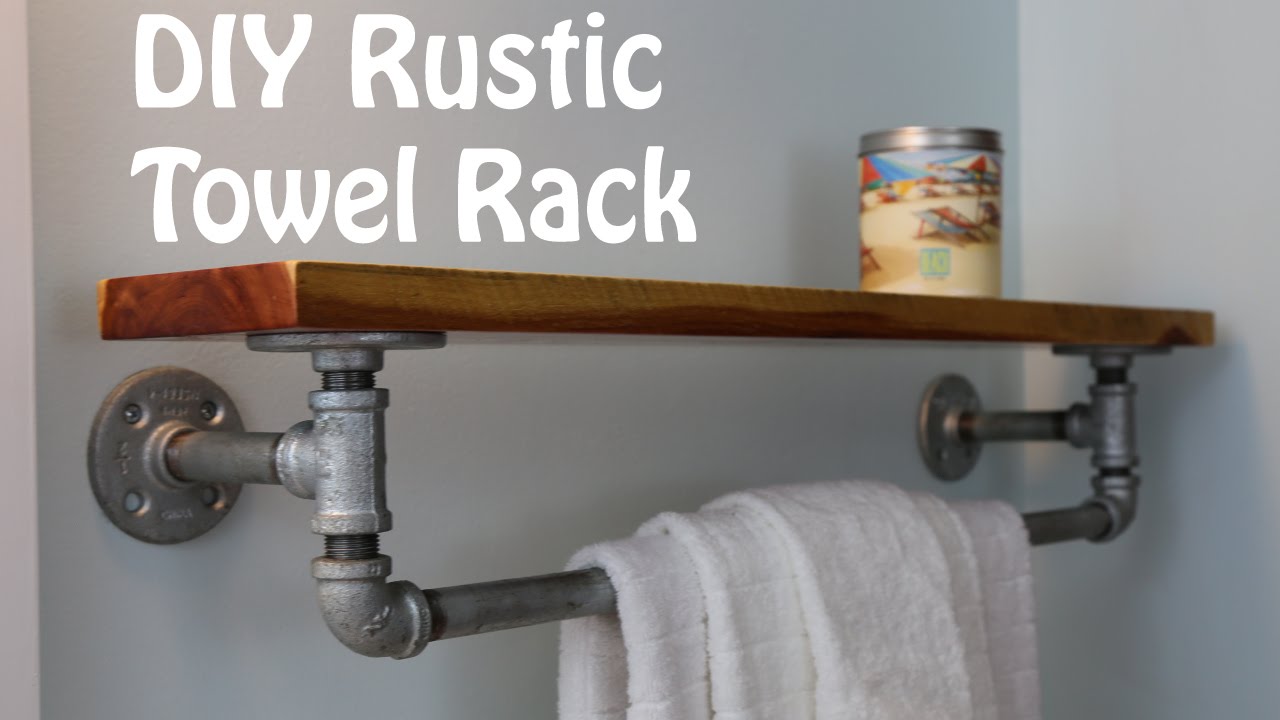
Can I Customize The Steel Pipe Towel Rack Design?
Yes, you can customize length, shape, and finish. Use different pipe sizes or add shelves for extra storage. Customization makes the rack suit your bathroom style.
Is It Difficult To Install A Steel Pipe Towel Rack?
No, installation is straightforward with basic tools. Follow the instructions to mark, drill, and secure the pipes. It’s a simple DIY project for beginners.
Conclusion
Making a steel pipe towel rack is simple and fun. You only need a few tools and parts. Follow the steps carefully for a sturdy rack. It saves money and adds style to your bathroom. You can paint or leave it plain.
Try different sizes to fit your space. This project gives a cool, industrial look. Enjoy your new towel rack every day. Start building today and see the results!

