Have you ever wanted to create a smart mirror that not only shows your reflection but also displays useful information like the weather, news, or your calendar? Imagine having a mirror that’s both stylish and functional, right in your home.
Drawing a smart mirror might sound complicated, but with the right steps, you can bring this cool idea to life. You’ll discover simple techniques to design your own smart mirror that fits your style and needs. Ready to turn your ordinary mirror into something extraordinary?
Let’s get started!
Materials Needed
Building a smart mirror needs specific materials to work well. Gathering the right tools and parts makes the project easier and more fun. This guide lists all materials needed for a successful smart mirror build.
Basic Tools
Start with simple tools like a screwdriver and a drill. You will also need a ruler or tape measure for accurate sizes. A utility knife helps cut materials cleanly. A soldering iron is useful for connecting electronic parts. Have some glue or double-sided tape to hold pieces in place.
Mirror Types
Choose the right mirror for your smart mirror. Two-way mirrors are best because they reflect and let light pass. Acrylic mirrors are lighter and safer than glass. Glass mirrors give a clearer reflection but weigh more. Pick the size that fits your space and screen.
Electronic Components
A display screen is the heart of a smart mirror. Use an old tablet or computer monitor. A small computer, like a Raspberry Pi, runs the smart mirror software. Add a power supply to keep everything working. Sensors like a microphone or camera can improve features. Don’t forget cables and connectors to link parts together.
Planning Your Design
Planning your design is the first step to create a smart mirror. This stage shapes how your mirror will look and work. Good planning saves time and avoids mistakes later. Focus on size, display, and layout to make your smart mirror both useful and stylish.
Choosing The Mirror Size
Pick a mirror size that fits your space well. Measure the wall area where you want to place it. A bigger mirror shows more details but needs more power and parts. A smaller mirror is easier to install and moves easily. Think about who will use the mirror and how close they will stand.
Selecting Display Features
Decide what information you want on the mirror screen. Common features include time, weather, news, and calendar. Choose a screen size that fits inside the mirror without blocking your view. Consider touchscreen or voice control for ease of use. Make sure the display is bright enough to see in all light conditions.
Layout Sketching
Draw a simple sketch of your smart mirror design. Mark where the screen will go and how much space the mirror will show. Plan where sensors, cameras, or speakers will fit. A clear layout helps during building and wiring. This step makes your idea real and easy to follow.
Creating The Mirror Frame
Creating the mirror frame is a key step in building a smart mirror. The frame holds the glass and display in place. It also shapes the look of the mirror. A well-made frame gives the mirror a clean and polished feel. This section covers the materials, cutting, assembly, and final touches for your frame.
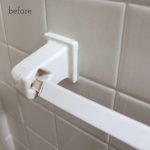
Frame Materials
Choose materials that suit your style and skill. Wood is common and easy to work with. Plywood or hardwood both work well. Metal frames offer a modern look but need special tools. Plastic frames can be lightweight and cost-effective. Pick materials that fit your budget and design.
Cutting And Assembly
Measure the mirror and display size carefully. Cut the frame pieces to match these dimensions. Use a saw for wood or plastic. For metal, use a metal cutter or have it cut professionally. Assemble the pieces with screws or nails. Use wood glue for extra strength. Make sure corners are square and tight.
Finishing Touches
Sand the frame edges to remove rough spots. Paint or stain the wood for a smooth look. Apply a clear coat to protect the finish. For metal, consider powder coating or spray paint. Add mounting hooks or brackets on the back. These help hang the smart mirror safely on your wall.
Credit: www.slashgear.com
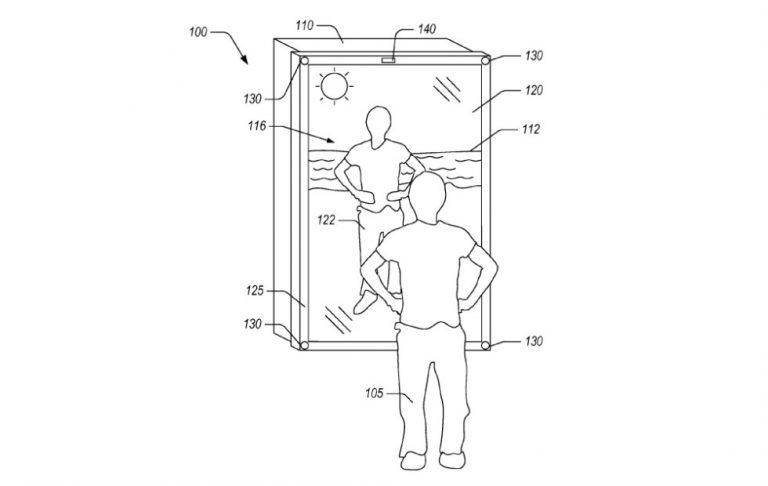
Installing The Display
Installing the display is a key step in building a smart mirror. The display shows all the useful information like time, weather, and news. It must fit well behind the mirror glass and work smoothly. This section explains how to choose the right screen, mount it properly, and set up power and wiring.
Choosing A Screen
Select a screen that matches your mirror size. LCD or LED screens work best for clear images. Pick a screen with good brightness so you can see the display through the glass. Consider low power screens to save energy. Check the screen resolution; higher is better for sharp text and icons. Make sure the screen has HDMI or other easy-to-use ports.
Mounting Techniques
Mount the screen so it stays flat and secure behind the glass. Use brackets or double-sided tape for firm holding. Avoid gaps between the screen and glass to reduce reflections. Keep space for ventilation to stop overheating. Position the screen so the display aligns with the mirror’s visible area. Test the placement before fixing it permanently.
Wiring And Power Setup
Plan wiring carefully to keep it neat and safe. Use cables long enough to reach your power source and controller. Secure wires with clips or cable ties to avoid tangles. Connect the screen power supply to a stable outlet. Check voltage requirements and use adapters if needed. Test the power setup to confirm the screen turns on without issues.
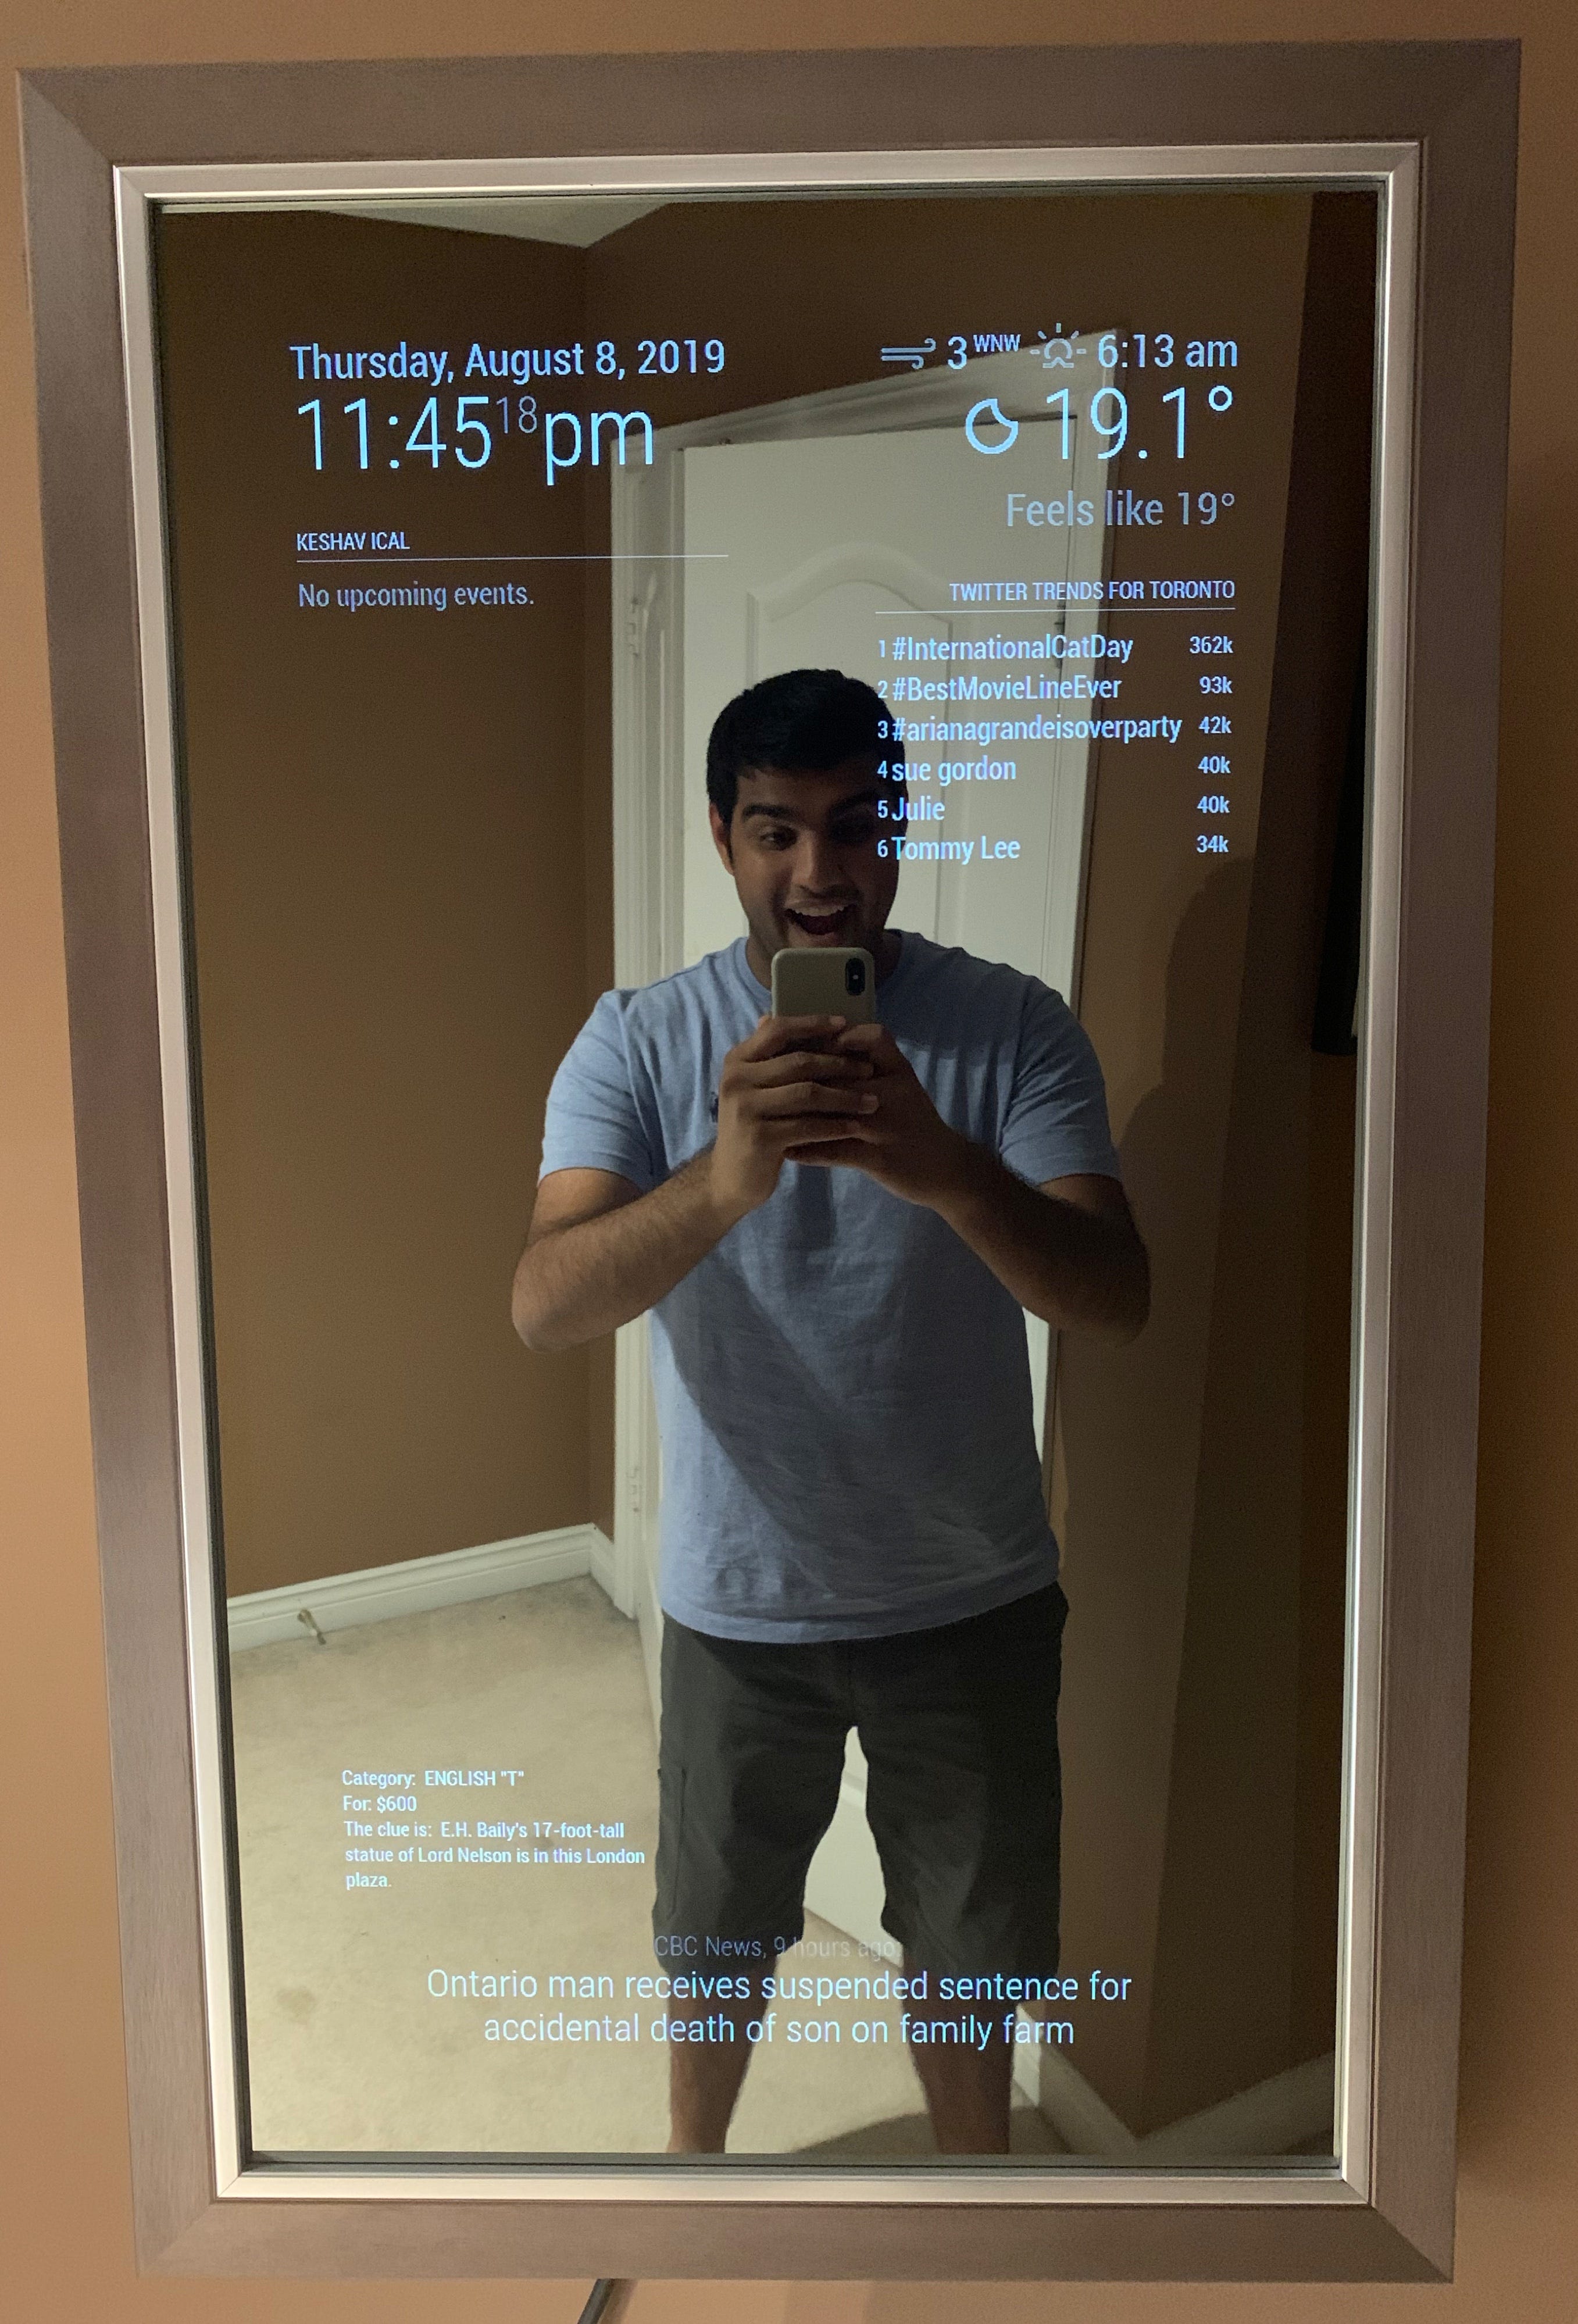
Programming The Smart Features
Programming the smart features is key to making your smart mirror useful and fun. This step brings your mirror to life by adding software that shows information and responds to commands. You can start with simple software and then add features that suit your needs.
Basic Software Options
Choose software that displays weather, news, and time. Open-source projects like MagicMirror² are great for beginners. They are free and easy to set up. These platforms allow you to add modules for different functions. Basic coding skills help customize these modules to fit your style.
Customizing The Interface
Change the look of your smart mirror’s display. Adjust colors, fonts, and layout for easier reading. Simplify the interface to show only important information. Use drag-and-drop tools or edit files directly to make changes. A clean design improves user experience and keeps your mirror neat.
Integrating Voice Control
Add voice commands to control your mirror hands-free. Use tools like Google Assistant or Amazon Alexa for integration. Voice control allows you to ask for weather updates or news. It also lets you control smart home devices through the mirror. Start with simple commands and expand as you learn more.
Testing And Troubleshooting
Testing and troubleshooting are key steps in building a smart mirror. These steps ensure your device works well and looks great. A careful check helps spot issues early. Fixing problems now saves time and effort later. Follow simple tests to confirm each part functions correctly.
Initial Power-on
Start by connecting your smart mirror to power. Watch for any lights or sounds. The mirror should show the startup screen or information display. If nothing happens, check the power cable and outlet. Make sure the power switch is on. A steady light usually means the system is running.
Checking Display Functions
Look closely at the mirror’s screen. Check if the display is clear and bright. Test touch or voice controls if your mirror has them. Try changing the settings or showing different information. Make sure the display updates without delay or errors. Small glitches can point to software or hardware issues.
Fixing Common Issues
Many problems are simple to fix. Loose cables can cause no power or screen issues. Tighten all connections firmly. Restart the smart mirror to clear small bugs. Update the software to fix known errors. If the touch does not work, clean the screen gently. Replace faulty parts only if needed.
Enhancing Your Smart Mirror
Enhancing your smart mirror makes it more useful and fun. Small improvements can bring big benefits. You can add features that respond to your needs and style. This section shows ways to upgrade your smart mirror easily.
Adding Sensors
Sensors help your smart mirror sense its surroundings. Motion sensors turn the display on when you stand nearby. Light sensors adjust the screen brightness automatically. Temperature sensors can show room temperature on the mirror. These sensors make your mirror smarter and more energy efficient.
Smart Home Integration
Connect your smart mirror to other smart devices at home. Link it to your lights, thermostat, or security cameras. Control these devices through the mirror’s interface. Use voice commands to change settings without touching anything. This makes your daily routines easier and faster.
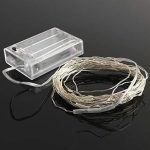
Decorative Elements
Decorative elements make your smart mirror blend with your room. Use stylish frames or LED lights around the edges. Choose colors that match your home decor. Add patterns or stickers for a personal touch. These details improve the look and feel of your smart mirror.

Credit: www.edn.com
Credit: medium.com
Frequently Asked Questions
What Materials Are Needed To Draw A Smart Mirror?
You need paper, pencils, rulers, erasers, and coloring tools. Reference images of smart mirrors help to capture design details accurately.
How To Sketch The Frame Of A Smart Mirror?
Start with a rectangle using a ruler for straight edges. Add thickness to the frame and refine corners to make it realistic.
How To Illustrate The Display Features On A Smart Mirror?
Draw a clear screen area with icons or widgets. Use light shading to represent the digital display and touch interface.
What Techniques Improve The Realism Of A Smart Mirror Drawing?
Use shading, highlights, and reflections to mimic glass and light. Add subtle shadows for depth and a polished look.
Conclusion
Drawing a smart mirror can be simple and fun. You only need basic tools and some creativity. Start with a clear plan and follow the steps carefully. Practice your drawing skills to improve over time. This project helps you learn new ideas about technology and design.
Keep trying, and soon you will create your own smart mirror drawing. Enjoy the process and share your work with friends or family. Every drawing gets better with patience and effort. Keep your imagination alive and stay curious!