Are you ready to boost your home security with the Arlo Video Doorbell Wireless? Installing this smart device might seem tricky, but with the right steps, you can have it up and running in no time.
Imagine answering your door from anywhere, seeing who’s there, and never missing a visitor again. In this guide, you’ll discover a simple, step-by-step process that makes installation quick and hassle-free. Keep reading to learn exactly how to set up your Arlo Video Doorbell Wireless and take control of your home’s safety today.

Credit: www.arlo.com
Prepare For Installation
Preparing for the installation of your Arlo Video Doorbell Wireless is a key step. It ensures a smooth setup and better performance. Taking time to get ready helps avoid problems during installation. Below are important tasks to complete before you start.
Check Package Contents
Open the box and check all items. Make sure the doorbell, mounting bracket, screws, and anchors are included. Look for the quick start guide and any other accessories. Missing parts can delay your installation. Confirm everything is present before moving on.
Charge The Doorbell Battery
Remove the battery from the doorbell. Use the supplied charger or USB cable to charge it fully. A fully charged battery ensures the doorbell works without interruption. Charging can take a few hours. Avoid installing with a low battery to prevent power issues.
Gather Necessary Tools
Collect tools needed for mounting. A drill, screwdriver, and level are usually required. Have a pencil ready to mark drill spots. Some installations may need a voltage tester if wiring is involved. Having all tools at hand saves time and effort.
Set Up Arlo App
Setting up the Arlo app is the first step to using your new video doorbell. The app lets you control the doorbell and see who is at your door from anywhere. It works on both Android and iOS devices. Follow these steps carefully to get started quickly.
Download And Install The App
Go to the Google Play Store or Apple App Store on your phone. Search for “Arlo” in the search bar. Tap the download or install button. Wait for the app to finish downloading and installing. Open the app after installation completes.
Create Or Log Into Your Account
Open the Arlo app on your device. Tap the option to create a new account if you don’t have one. Enter your email address and create a password. If you already have an account, tap log in and enter your details. Follow on-screen instructions to verify your account.
Add Your Video Doorbell
After logging in, tap the “Add Device” button in the app. Choose “Video Doorbell” from the list of devices. Follow the prompts to connect your doorbell to Wi-Fi. Scan the QR code on your doorbell if asked. Wait for the app to confirm the connection. Your doorbell is now ready to use.
Install The Doorbell Wirelessly
Installing the Arlo Video Doorbell wirelessly lets you avoid messy wires. It offers flexibility and keeps your entrance tidy. Follow these simple steps to set up your doorbell easily.
Choose The Installation Spot
Select a spot near your front door for clear video coverage. Make sure it is within Wi-Fi range for a strong signal. Avoid places with direct sunlight or heavy shadows.
Mount The Doorbell Bracket
Use the mounting bracket that comes with your doorbell. Hold it against the wall at the chosen spot. Mark the screw holes with a pencil, then drill carefully.
Secure the bracket with screws. Check that it is tight and level. The bracket must stay firm to hold the doorbell safely.
Attach The Doorbell Unit
Slide the Arlo Video Doorbell onto the mounted bracket. Press it firmly until it clicks into place. Ensure it fits snugly and does not wobble.
Check the battery level before finalizing installation. Power on the doorbell and connect it to your Wi-Fi. Your wireless doorbell is now ready to use.
Connect To Wi-fi
Connecting your Arlo Video Doorbell to Wi-Fi is a key step for smooth operation. This link lets your doorbell send alerts and stream video to your phone. Follow the steps carefully to make sure your device stays online and ready.
Select Your Network
Open the Arlo app on your phone. Tap on the setup process for the doorbell. A list of nearby Wi-Fi networks appears. Choose your home Wi-Fi network from the list. Ensure your network signal is strong for better performance.
Enter Wi-fi Credentials
Type your Wi-Fi password exactly as it is. Passwords are case-sensitive, so check uppercase and lowercase letters. Avoid spaces before or after the password. Press the connect button to continue.
Confirm Connection
The app will test the connection to your Wi-Fi. Wait a few seconds for the process to complete. A confirmation message will appear once the doorbell connects. If it fails, try re-entering your password or move closer to the router.
Customize Settings
Customizing your Arlo Video Doorbell settings helps you get the most from your device. Tailor the features to suit your home and lifestyle. Adjust the settings to improve security and ease of use.
Fine-tune motion detection, notification alerts, and video quality. Each setting can make your doorbell smarter and more responsive. Let’s explore how to customize these important features.
Adjust Motion Detection
Set motion detection to cover specific areas around your door. This reduces false alarms from cars or pedestrians. You can change sensitivity to catch smaller or larger movements. Make sure the doorbell only alerts you to real activity.
Set Notification Preferences
Choose how you want to receive alerts on your phone. Select between push notifications, emails, or both. Control alert frequency to avoid too many interruptions. Set quiet hours to pause notifications at night or during work.
Configure Video Quality
Adjust video resolution to balance quality and data use. Higher quality gives clearer images but uses more bandwidth. Lower quality saves data but may lose some detail. Find the best setting for your internet speed and needs.

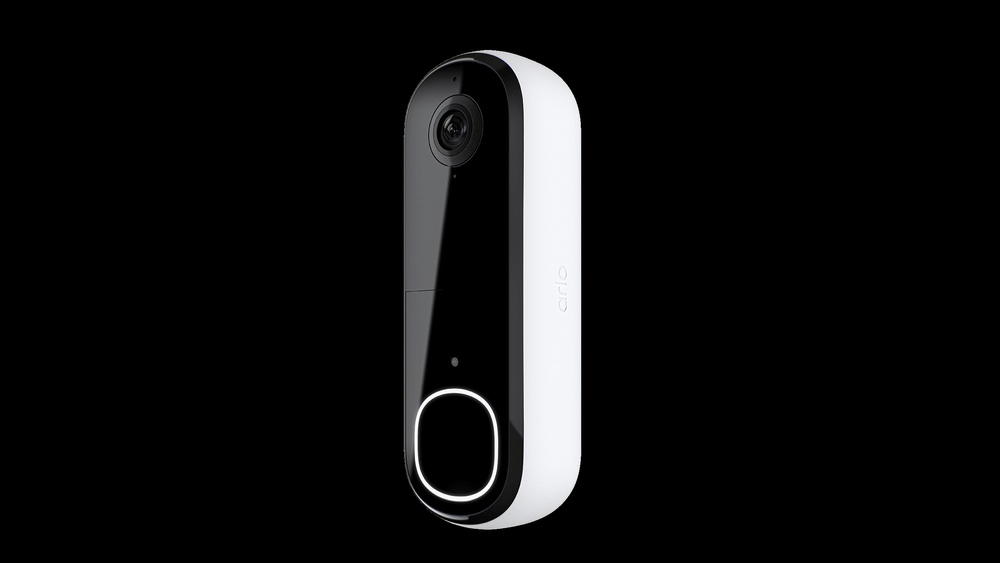
Credit: www.youtube.com
Test Your Doorbell
Testing your Arlo Video Doorbell is essential after installation. This step ensures everything works smoothly. It helps catch any issues early. Confirming the doorbell functions properly improves your home security.
Check Live Video Feed
Open the Arlo app on your phone or tablet. Look at the live video from the doorbell camera. The video should be clear and show the area in front of your door. Check the video quality in different light conditions. This confirms the camera lens is clean and unobstructed.
Test Doorbell Button
Press the doorbell button once. Your phone or connected device should ring immediately. The app should show a notification or alert. This test checks the button’s connection and response time. Make sure the chime inside your home also sounds.
Verify Motion Alerts
Walk near the doorbell to trigger motion detection. The app must send a motion alert right away. Check if the video clip of the motion event is recorded. Adjust sensitivity in the app if alerts are too frequent or missed. This step confirms motion detection works well.
Troubleshoot Common Issues
Troubleshooting common issues helps keep your Arlo Video Doorbell running smoothly. Problems like connection errors, battery troubles, or app glitches can interrupt your security. Fixing these quickly improves your experience and safety.
Wi-fi Connection Problems
Check your router’s signal strength near the doorbell. Move the router closer if the signal is weak. Restart your router to refresh the connection. Ensure your Wi-Fi network uses 2.4 GHz frequency. The doorbell may not support 5 GHz. Remove any obstacles blocking the signal path. Use the Arlo app to test connection quality.
Battery Charging Issues
Use the original charger and cable for best results. Clean the charging contacts on the doorbell and charger. Avoid charging in very cold or hot places. Check if the battery indicator shows charging status. Let the battery charge fully before use. Replace the battery if it no longer holds charge.
App Sync Errors
Close and reopen the Arlo app to refresh it. Make sure your phone’s software is up to date. Check for the latest app updates in the store. Log out and log back into your Arlo account. Restart your phone to clear temporary glitches. Confirm the doorbell firmware is current through the app.
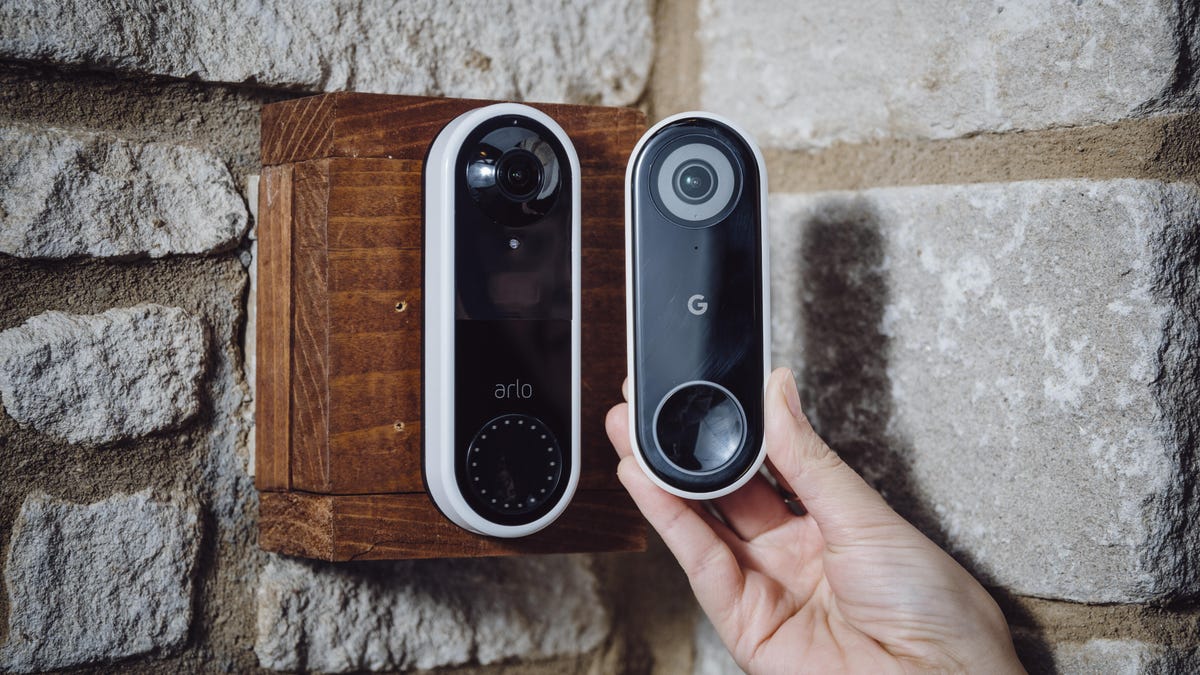
Credit: www.liftingitalia.com
Frequently Asked Questions
How Do I Set Up The Arlo Video Doorbell Wireless?
Start by charging the doorbell fully. Download the Arlo app, create an account, and follow the in-app setup steps to connect your doorbell wirelessly to Wi-Fi.
What Tools Are Needed To Install Arlo Video Doorbell?
You only need a drill, screwdriver, and mounting screws. The Arlo kit usually includes screws and wall anchors for easy installation.
Can I Install Arlo Video Doorbell Without Professional Help?
Yes, the Arlo Video Doorbell is designed for easy DIY installation. The app provides step-by-step guidance, making it simple for most users.
How To Connect Arlo Video Doorbell To Wi-fi?
Open the Arlo app, select your doorbell, and follow the prompts to connect it to your 2. 4GHz or 5GHz Wi-Fi network.
Conclusion
Installing the Arlo Video Doorbell wireless is simple and quick. Just follow the steps carefully to ensure proper setup. This doorbell adds security and lets you see visitors anytime. No wires mean less hassle and easier placement. Enjoy clear video and two-way talk with your guests.
Stay connected and protect your home with ease. Now, your front door is smarter and safer than before.