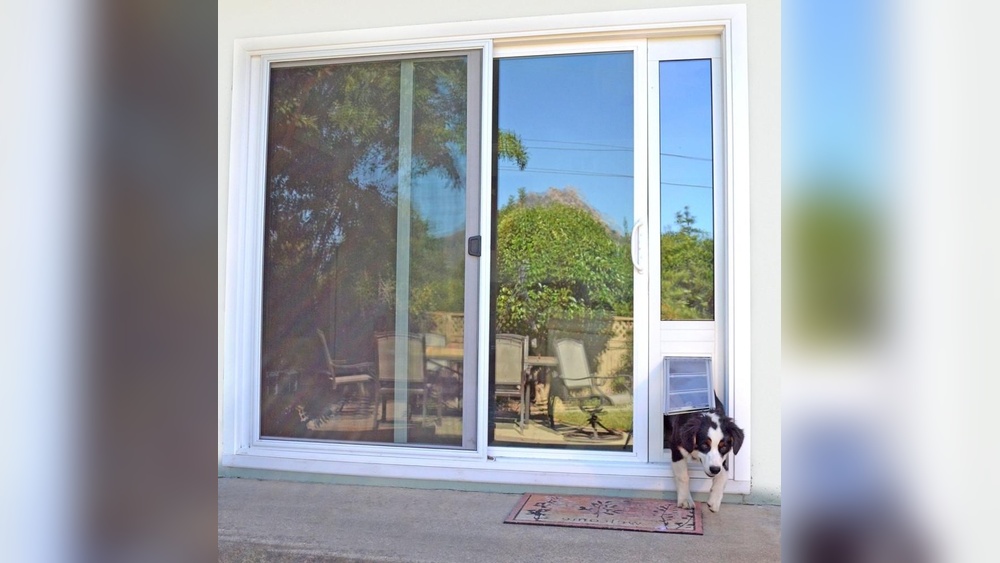

If you want to give your pet the freedom to come and go without your help, installing a pet door in your sliding door is a smart choice. You might think it’s tricky or expensive, but it’s easier than you expect—and you can do it yourself.
Imagine not having to stop what you’re doing every time your furry friend needs outside. In this guide, you’ll discover simple steps to install a pet door in your slider quickly and safely. Keep reading, and you’ll soon unlock a new level of convenience for both you and your pet.
Choose The Right Pet Door
Choosing the right pet door for your slider is the first step for a smooth installation. The right door makes sure your pet moves easily and stays safe. This choice depends on your pet’s size and the type of slider you have.
Take time to pick a door that fits your pet and your home. This saves effort later and keeps your pet happy.
Measure Your Pet
Start by measuring your pet’s height and width. Measure from the ground to the top of their shoulders. Also, measure the widest part of their body. These numbers help find a door that fits well.
The door should be big enough for your pet to pass through without squeezing. Too small a door can hurt or scare them. Too large may let in cold air or bugs.
Select Compatible Door Type
Slider doors need pet doors that fit their design. Some doors slide open, others swing. Choose a pet door made for sliding glass doors.
Check if the door has a secure locking system. Your pet’s safety depends on it. Also, consider insulation to keep your home warm.
Gather Tools And Materials
Gathering the right tools and materials is the first step to install a pet door in a slider. It saves time and helps avoid mistakes. Having everything ready makes the job easier and faster.
Essential Tools List
Start with a drill to make holes for screws. Use a jigsaw to cut the slider panel. A tape measure helps to mark the exact size. A pencil is useful for drawing lines. Screwdrivers are needed to fix the door parts. Sandpaper smooths the cut edges. A level ensures the pet door is straight.
Safety Equipment
Wear safety glasses to protect your eyes from dust and debris. Use gloves to avoid cuts from sharp tools. A dust mask keeps you safe from inhaling particles. Keep a first aid kit nearby for small injuries. Dress in long sleeves to protect your arms.
Prepare The Sliding Door
Preparing the sliding door is the first step in installing a pet door. This step makes sure the door is ready and safe for the new pet door. Taking time here helps the installation go smoothly and keeps your door in good shape.
Follow these simple steps to get your sliding door ready for the pet door installation.
Clean And Clear The Area
Start by cleaning the sliding door and the area around it. Remove dirt, dust, and debris from the glass and frame. A clean surface helps the pet door fit well and stick properly. Clear the space near the door. Move furniture and objects out of the way to give yourself room to work. This step prevents accidents and makes the process easier.
Mark Installation Spot
Decide where the pet door will go on the sliding door. Usually, it is best to place it at your pet’s shoulder height. Use a pencil or masking tape to mark the spot clearly. Measure twice to avoid mistakes. These marks guide you when cutting or attaching the pet door. Correct placement helps your pet use the door comfortably and safely.

Credit: www.shoshitamam.com
Remove Sliding Door Panel
Removing the sliding door panel is the first step to install a pet door. It gives clear access to the door surface. This step requires care to avoid damage. Follow the simple process to remove the panel safely.
Lift And Take Out Panel
Start by unlocking the sliding door if it is locked. Hold the door handle firmly. Lift the door panel straight up to release it from the track. Use slow and steady motion to avoid injury. Once free from the track, carefully pull the panel out. Set it aside safely.
Place Panel On Work Surface
Find a flat, stable surface to work on. Lay a soft cloth or blanket on the surface. Place the door panel face down on the cloth. This protects the glass from scratches or cracks. Make sure the panel is steady and will not move while you work.
Cut The Door Panel
Cutting the door panel is a key step in installing a pet door in your slider. This step needs care and accuracy. A clean cut ensures the pet door fits well and works smoothly. Follow these steps to make the cut safely and correctly.
Trace The Template
Start by placing the pet door template on the slider panel. Align it exactly where you want the pet door. Use a pencil to draw around the template edges. Make sure the lines are clear and precise. Double-check the measurements before cutting. This helps avoid mistakes and fits the door perfectly.
Use Jigsaw For Cutting
Choose a jigsaw with a fine blade for smooth cuts. Drill starter holes inside the traced area to insert the jigsaw blade. Cut slowly along the pencil lines. Keep the jigsaw steady to avoid jagged edges. Wear safety goggles to protect your eyes from dust. After cutting, sand the edges to smooth any rough parts.
Install The Pet Door Frame
Installing the pet door frame is a key step in adding a pet door to your slider. It creates a sturdy structure for the flap and ensures a proper fit. A well-installed frame helps keep the door secure and weatherproof.
Follow the steps carefully to fit the frame into the cutout and then secure it firmly. This will make sure your pet door works smoothly and lasts long.
Fit Frame Into Cutout
Place the pet door frame gently into the cutout in the slider. Check that it fits snugly without gaps. Adjust the position so the frame is level and straight. Make sure the flap swings freely without hitting the frame edges. Take your time to get a perfect fit before moving on.
Secure With Screws
Use the screws provided to fasten the frame to the slider. Start by screwing in the corners to hold the frame steady. Then add screws along the edges for extra strength. Tighten the screws evenly to avoid warping the frame. Check that the frame stays firmly in place and does not move. This step is important for durability and safety.
Reinstall The Door Panel
Reinstalling the door panel is the final step in adding a pet door to your slider. It is important to do this carefully to ensure smooth operation. A properly reinstalled panel keeps the pet door secure and your slider working well.
Place Panel Back On Track
Lift the door panel and align it with the top track. Tilt the panel slightly and insert the top edge into the track. Lower the panel gently until the bottom wheels sit on the bottom track. Make sure the panel is stable before moving on.
Test Sliding Function
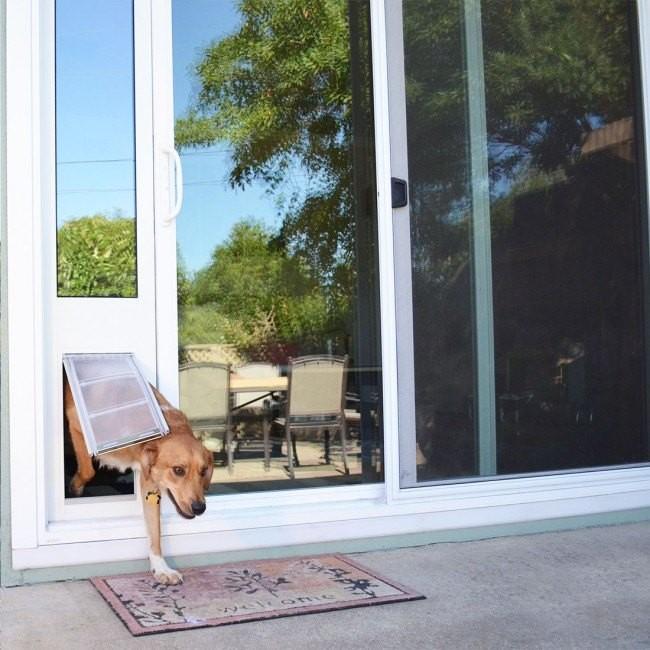
Slide the door panel back and forth slowly. Check if the panel moves smoothly without sticking or wobbling. Ensure the pet door opens and closes easily within the slider. Adjust the panel if needed to improve the sliding action.
Credit: mufaddalglass.com
Test And Adjust
After installing the pet door in your slider, testing and adjusting is key. This step ensures your pet door works smoothly and fits well. Proper testing saves future troubles and keeps your pet happy.
Check Pet Door Operation
Open and close the pet door several times. Watch how the flap moves. It should swing freely without sticking or dragging. Let your pet try it out to see if they can pass easily. Listen for any unusual sounds. These can signal issues that need fixing.
Make Necessary Adjustments
Tighten or loosen screws to improve flap movement. Adjust the frame if the door does not fit snugly. Check the alignment with the slider door. Use weather stripping if gaps let air or bugs inside. Make changes slowly and test after each one. Small tweaks create the best results.
Maintain Your Pet Door
Maintaining your pet door in a slider is essential for smooth operation. Dirt, dust, and weather can affect its function. Regular care helps keep it safe and working well. It also extends the door’s life and keeps your pet happy. Follow these simple steps to maintain your pet door easily.
Regular Cleaning Tips
Clean the pet door at least once a week. Use a soft cloth to wipe away dirt and dust. Avoid harsh chemicals that can damage the door material. Check the flap for any cracks or tears and clean both sides carefully. Remove any debris stuck in the frame or track. Lubricate moving parts lightly with a pet-safe oil. Keep the area around the door clean to prevent buildup.
Troubleshooting Common Issues
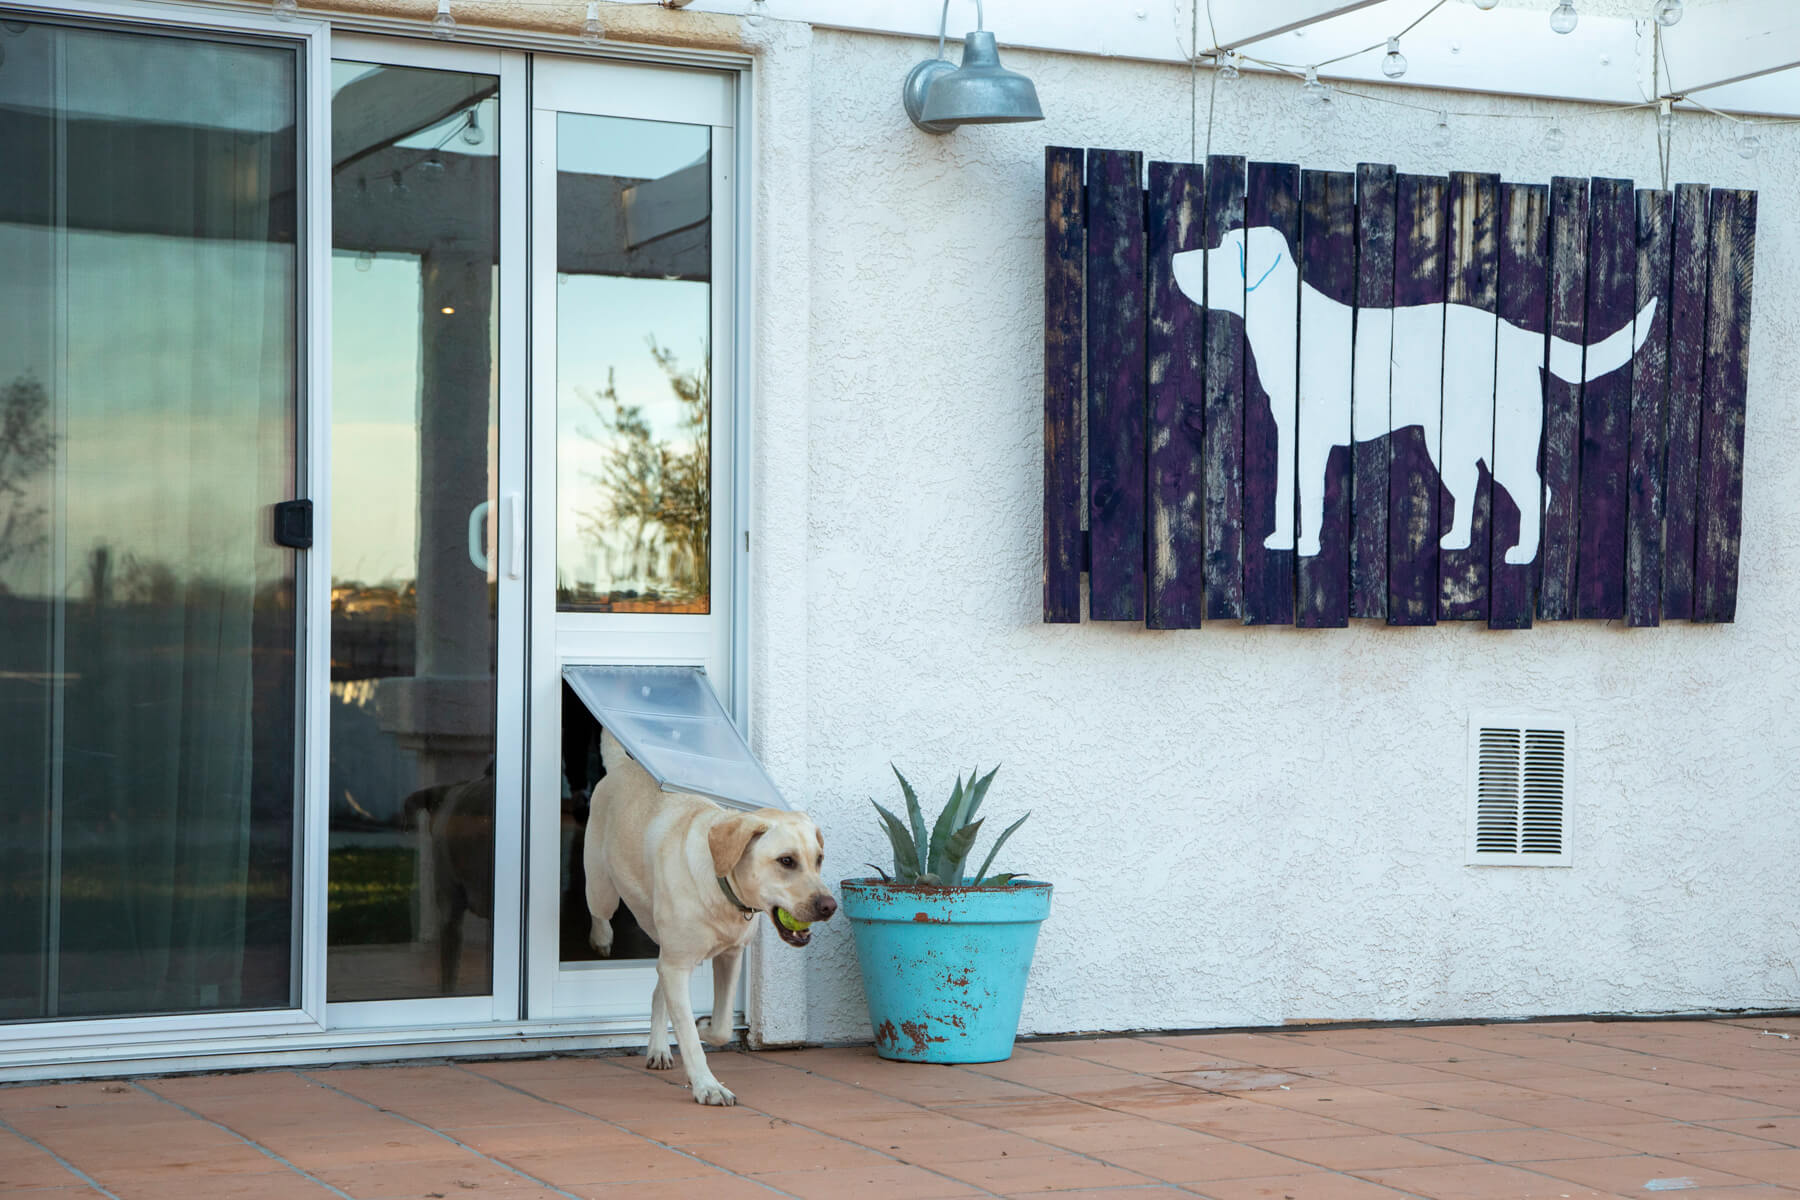
Check the door if it sticks or won’t close properly. Clean the track or frame to remove any blockage. Tighten loose screws or hinges to improve stability. Replace damaged flaps or seals to keep weather out. If the door is drafty, check for gaps and seal them. Test the locking mechanism and fix it if it is jammed. Regular checks prevent small problems from getting worse.
Credit: www.petdoors.com
Frequently Asked Questions
How Do I Choose The Right Pet Door For Sliders?
Select a pet door designed specifically for sliding glass doors. Measure your pet’s size and check door compatibility. Look for durable materials and easy installation features to ensure long-term use and pet safety.
What Tools Are Needed To Install A Slider Pet Door?
You typically need a measuring tape, screwdriver, drill, and a utility knife. Some pet doors may include installation kits. Always follow the manufacturer’s instructions for a smooth installation process.
Can I Install A Pet Door Without Damaging My Slider Door?
Yes, many pet doors fit into the track without cutting glass. Look for models with clamp or track-mounted designs to avoid permanent damage and maintain door integrity.
How Long Does It Take To Install A Pet Door In A Slider?
Installation usually takes 30 minutes to 1 hour, depending on your experience. Following the instructions carefully speeds up the process and ensures a proper fit.
Conclusion
Installing a pet door in your slider can make life easier. It lets your pet come and go freely. Follow the steps carefully for a secure fit. Measure twice, cut once, and check the door’s alignment. Use the right tools to avoid damage.
A well-installed pet door adds comfort for you and your pet. Take your time and enjoy the process. Soon, your pet will love the new freedom. Simple, practical, and helpful for any pet owner.