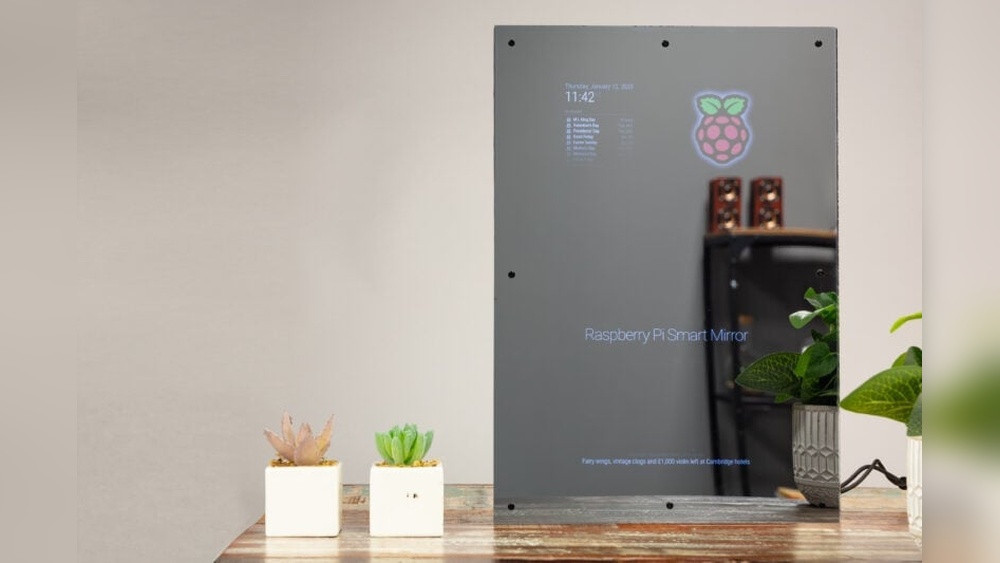
Imagine having a mirror that shows you more than just your reflection. What if it could display the weather, your calendar, news updates, and even your favorite quotes—all while you get ready in the morning?
Building a Raspberry Pi smart mirror lets you create this high-tech gadget yourself, without needing to be a tech expert. In this guide, you’ll discover simple steps to turn your ordinary mirror into a smart, personalized assistant that fits perfectly into your daily routine.
Ready to transform your space and impress everyone who sees it? Let’s dive in!

Credit: all3dp.com
Choosing The Right Raspberry Pi Model
Choosing the right Raspberry Pi model is key to building a smart mirror that works well. The Raspberry Pi is the brain of the smart mirror. It runs the software and controls the display.
Picking the correct model affects speed, power use, and cost. Some models are faster but cost more. Others save money but run slower. Knowing the differences helps you decide what fits your project best.
Comparing Popular Raspberry Pi Versions
The Raspberry Pi 4 is the most powerful. It has up to 8GB of RAM and a fast processor. It handles complex software easily. The Raspberry Pi 3 is older and slower. It has less memory but costs less.
The Raspberry Pi Zero is small and cheap. It uses less power but runs slower. This model is good for simple smart mirrors. The Pi 400 has a built-in keyboard, but it is bulkier.
Factors Affecting Performance
Processor speed affects how fast your mirror responds. More RAM lets the system run multiple apps smoothly. USB and HDMI ports help connect screens and sensors.
Network speed is important for online updates and weather info. Power consumption matters if you want the mirror to be energy efficient. Cooling systems may be needed for powerful models to avoid overheating.
Budget Considerations
Prices range from $10 for a Pi Zero to $75 for a high-end Pi 4. Decide how much you want to spend. A higher price often means better performance and more features.
Consider the cost of accessories like cases, power supplies, and displays. Choose a model that fits your budget and project needs. Spending wisely avoids extra costs later.

Credit: www.instructables.com
Gathering Essential Components
Building a Raspberry Pi smart mirror starts with gathering the right parts. Choosing good components ensures the mirror works well and looks great. This step sets the foundation for your project. It also makes the assembly process easier and more enjoyable.
Selecting The Display Screen
The display screen is the heart of your smart mirror. Pick a screen size that fits your mirror frame. A flat, high-resolution screen gives clear images and text. LCD or LED screens work best for brightness and color. Make sure the screen supports HDMI input for easy connection to the Raspberry Pi.
Picking A Two-way Mirror
A two-way mirror lets you see the display behind it. It acts like a normal mirror when the screen is off. Choose glass or acrylic based on your budget and safety needs. Glass mirrors give better reflection but can break easily. Acrylic mirrors are lighter and less fragile but may scratch faster.
Necessary Accessories And Tools
You need more than just a screen and mirror. The Raspberry Pi board is the smart brain of your mirror. Power supply and HDMI cable are essential for operation. A frame to hold all parts together helps keep the build neat. Tools like a screwdriver, glue, and double-sided tape make assembly easier and secure the components firmly.
Setting Up The Raspberry Pi
Setting up your Raspberry Pi is the first step in building a smart mirror. This process prepares your device to run the smart mirror software smoothly. It involves installing the operating system, connecting to the internet, and enabling remote access. Each step is simple and essential for a successful project.
Installing The Operating System
Download the Raspberry Pi Imager from the official website. Insert your microSD card into your computer. Use the Imager to write the Raspberry Pi OS to the card. This OS is lightweight and perfect for the smart mirror. After writing, safely eject the card and insert it into your Raspberry Pi.
Connecting To Wi-fi
Power on your Raspberry Pi. On the desktop, find the Wi-Fi icon. Click it to see nearby networks. Select your home Wi-Fi and enter the password. Wait for the Raspberry Pi to connect. This step allows your mirror to fetch live data like news and weather.
Enabling Ssh And Vnc
Open the Raspberry Pi Configuration tool from the main menu. Go to the “Interfaces” tab. Turn on SSH to allow remote command access. Enable VNC to control your Pi’s desktop from another device. These tools let you manage your smart mirror without a keyboard or mouse.
Installing Smart Mirror Software
Installing the smart mirror software is a key step in your Raspberry Pi smart mirror project. This software controls what appears on your mirror’s screen. It shows things like time, weather, news, and more. Picking the right software makes your smart mirror useful and fun.
Choosing Between Magicmirror² And Alternatives
MagicMirror² is the most popular software for smart mirrors. It has many features and a big community. You can add many modules like calendar, weather, and news feeds. Some alternatives exist, but they may have fewer features or be harder to use. For beginners, MagicMirror² is often the best choice.
Step-by-step Installation Guide
Start with a fresh Raspberry Pi OS installation. Open the terminal and update your system using sudo apt update and sudo apt upgrade. Next, install Node.js, which MagicMirror² needs. Use curl -sL https://deb.nodesource.com/setup_16.x | sudo -E bash - and then sudo apt install -y nodejs.
Download MagicMirror² by running git clone https://github.com/MichMich/MagicMirror. Move into the directory with cd MagicMirror. Install dependencies using npm install. Finally, start the mirror with npm start. Your smart mirror should display the default modules now.
Configuring Modules And Plugins
MagicMirror² allows you to customize what shows on the screen. Open the config/config.js file in a text editor. Here, you can add or remove modules. Each module has settings you can change, like location for weather or RSS feeds for news.
You can find many free plugins online to extend your mirror’s features. Install plugins by placing them in the modules folder and updating the config file. Restart your mirror after changes to see updates. Customizing modules makes your smart mirror unique and useful.
Designing The Mirror Frame
Designing the mirror frame is a key step in building a Raspberry Pi smart mirror. The frame holds the display and mirror together. It also shapes the final look of your project. A good frame makes your smart mirror look neat and professional. It protects the screen and keeps the parts safe from dust and damage. Planning the frame size and style helps in smooth assembly. Choose materials and tools that fit your skills and budget. Think about the room where you will place the mirror. The frame should match the room’s style and size.
Material Options And Tools
Wood is a popular choice for smart mirror frames. It is easy to cut and shape. Plywood and MDF boards work well. They are affordable and paintable. Plastic frames are lightweight and water-resistant. They come in various colors and finishes. Metal frames offer a modern look and strong support. Aluminum is common due to its light weight.
Basic tools include a saw, drill, screwdriver, and measuring tape. Sandpaper helps smooth wood edges. Clamps keep parts steady while gluing or screwing. A paintbrush or spray paint can add color. Choose tools you know how to use safely.
Building A Custom Frame
Start by measuring your display and mirror size. Add extra space for wiring and ventilation. Cut the frame pieces according to your design. Assemble the pieces using wood glue or screws. Check the corners for square angles. Sand the edges for a clean finish. Paint or stain the frame to protect the material. Let the paint dry fully before the next steps. Customize the frame with decorations or trim for a personal touch.
Mounting The Display And Mirror
Place the display inside the frame carefully. Secure it using brackets or double-sided tape. Avoid pressure on the screen to prevent damage. Attach the two-way mirror in front of the display. Use small clips or a thin frame to hold it. Ensure no gaps between the mirror and screen. Gaps cause light leaks and reduce display clarity. Test the display and mirror alignment before final fixing. Connect the Raspberry Pi and check the screen view. Adjust if needed for the best picture and mirror effect.
Customizing The Smart Mirror Interface
Customizing the smart mirror interface lets you create a unique and useful display. You can add features that fit your daily needs. This section covers how to add weather, news, calendar, notifications, and change the look of your smart mirror.
Adding Weather And News Modules
Start by including weather information on your mirror. It helps you plan your day with real-time updates. Use free APIs to get local weather data. Then, add news headlines to stay informed. Pick news sources that interest you. These modules keep your mirror fresh and helpful.
Integrating Calendar And Notifications
Sync your calendar to see upcoming events. It shows reminders right on the mirror’s screen. Connect notification services to get alerts for emails or messages. This way, you never miss important updates. Set priorities to control what appears first.
Personalizing Appearance And Layout
Change colors and fonts to match your style. Adjust the size and position of each module. A clean and simple design improves readability. Use dark or light themes based on your room’s lighting. Personal touches make your smart mirror truly yours.
Optimizing Performance And Power Management
Optimizing performance and power management is key to building a smooth Raspberry Pi smart mirror. A fast, efficient mirror improves user experience. It also saves energy and extends device life. Focus on reducing boot time, managing power, and automating tasks for best results.
Reducing Boot Time
Start by disabling unnecessary services on your Raspberry Pi. This helps the system boot faster. Use lightweight operating systems like Raspberry Pi OS Lite. Remove unused software to free up resources. Adjust the boot configuration to skip splash screens. This makes the mirror ready to use quickly.
Managing Power Consumption
Lower power use by dimming the display during idle times. Use scripts to turn off the screen after inactivity. Choose energy-efficient components for your build. Limit background processes to save CPU power. Monitor temperature to avoid overheating and extra cooling needs.
Automating Startup And Updates
Set your smart mirror to start automatically after power on. Use cron jobs or systemd services for reliable startup. Schedule regular updates to keep software secure and stable. Automate backup tasks to protect your data. This keeps your mirror running smoothly without manual effort.
Troubleshooting Common Issues
Building a Raspberry Pi smart mirror is exciting but can come with some challenges. Troubleshooting common issues helps keep your project on track. This section covers typical problems and easy fixes.
Display And Mirror Alignment Problems
Sometimes the display does not fit well behind the mirror glass. This causes parts of the screen to be hidden or blurry. Check the screen size and the frame measurements carefully. Adjust the screen position until the display aligns perfectly with the mirror surface. Use small spacers to fix any gaps or unevenness.
Another issue is glare or poor visibility. Ensure the mirror is designed for a smart mirror setup. A two-way glass or acrylic sheet works best. Avoid bright lights directly behind the mirror, as they cause reflections and reduce screen clarity.
Software Glitches And Fixes
The smart mirror software can freeze or fail to load widgets. Restart the Raspberry Pi to clear temporary errors. Regularly update the software to get bug fixes and new features. Use stable and tested versions of the smart mirror operating system.
Check the configuration files for syntax mistakes. Even a small typo can stop the software from working. Use a code editor that highlights errors. If a widget crashes, disable it and test again. This helps identify faulty modules.
Connectivity Challenges
Wi-Fi connection problems often affect data updates on the mirror. Place the Raspberry Pi close to the router for better signal. Re-enter the Wi-Fi password in the settings if it disconnects frequently. Use a wired Ethernet connection for more stable internet access.
Bluetooth devices may not pair correctly. Turn off other nearby Bluetooth devices to avoid interference. Restart the Bluetooth service on the Raspberry Pi to refresh connections. Keep software drivers updated to support all hardware.
Expanding Functionality
Expanding the functionality of your Raspberry Pi smart mirror makes it more useful and fun. You can add features that respond to your voice, detect movement, or connect with other smart devices. These upgrades create a more interactive and personalized experience.
Voice Control Integration
Voice control lets you use simple commands to operate your smart mirror. Adding a microphone and voice assistant software allows hands-free control. You can check the weather, play music, or get news updates by speaking.
This feature makes the mirror easier to use while you get ready. It also adds a modern touch to your smart home setup.
Adding Motion Sensors
Motion sensors detect when you approach the mirror. The mirror can turn on or display information automatically. This saves energy and adds convenience.
Motion sensors also improve the user experience by making the mirror react to your presence. It feels more natural and smart.
Smart Home Connectivity
Connecting your smart mirror to other smart home devices enhances its capabilities. You can control lights, thermostats, or security cameras from the mirror’s screen.
This integration helps you manage your home more easily. It also centralizes control for a smoother daily routine.

Credit: www.youtube.com
Frequently Asked Questions
What Components Are Needed For A Raspberry Pi Smart Mirror?
You need a Raspberry Pi, a two-way mirror, a monitor, and a frame. Additional components include a power supply, SD card, and software like MagicMirror². Optional sensors and modules enhance functionality and user experience.
How Do You Install Software On A Raspberry Pi Mirror?
Download and install MagicMirror² software via the terminal on your Raspberry Pi. Follow step-by-step setup guides to configure modules and customize the display. Ensure internet connectivity for updates and additional features.
Can A Raspberry Pi Smart Mirror Display Weather Updates?
Yes, it can show real-time weather information using weather modules. These modules fetch data from online APIs and display forecasts, temperature, and conditions. You can customize location and update intervals for accuracy.
Is Coding Knowledge Required To Build A Smart Mirror?
Basic coding skills help but are not mandatory. Many tutorials provide ready-to-use software and configurations. Customization may require minimal JavaScript or CSS knowledge to tailor the interface and modules.
Conclusion
Building a Raspberry Pi smart mirror is fun and rewarding. You get a useful device for your home. The steps are simple and clear to follow. You can customize your mirror to show weather, news, and more. This project helps you learn about coding and electronics.
Try adding your own features to make it unique. Start small, and improve your mirror over time. Enjoy the process and the smart mirror you create.