
Are you ready to boost your home security with a Ring Video Doorbell 3? Installing this smart device might seem tricky, but it’s easier than you think.
In this guide, you’ll find simple, step-by-step instructions that anyone can follow. Imagine being able to see who’s at your door from your phone, anytime and anywhere. Keep reading to discover how to set up your Ring Video Doorbell 3 quickly and start protecting your home today!

Credit: www.amazon.com
Tools And Materials Needed
Preparing to install a Ring Video Doorbell 3 starts with gathering the right tools and materials. This step saves time and makes the installation smooth. Having everything ready helps avoid interruptions during setup.
Some tools are common household items. Others might require a quick trip to the store. Knowing what you need ensures a safe and secure installation.
Basic Tools Required
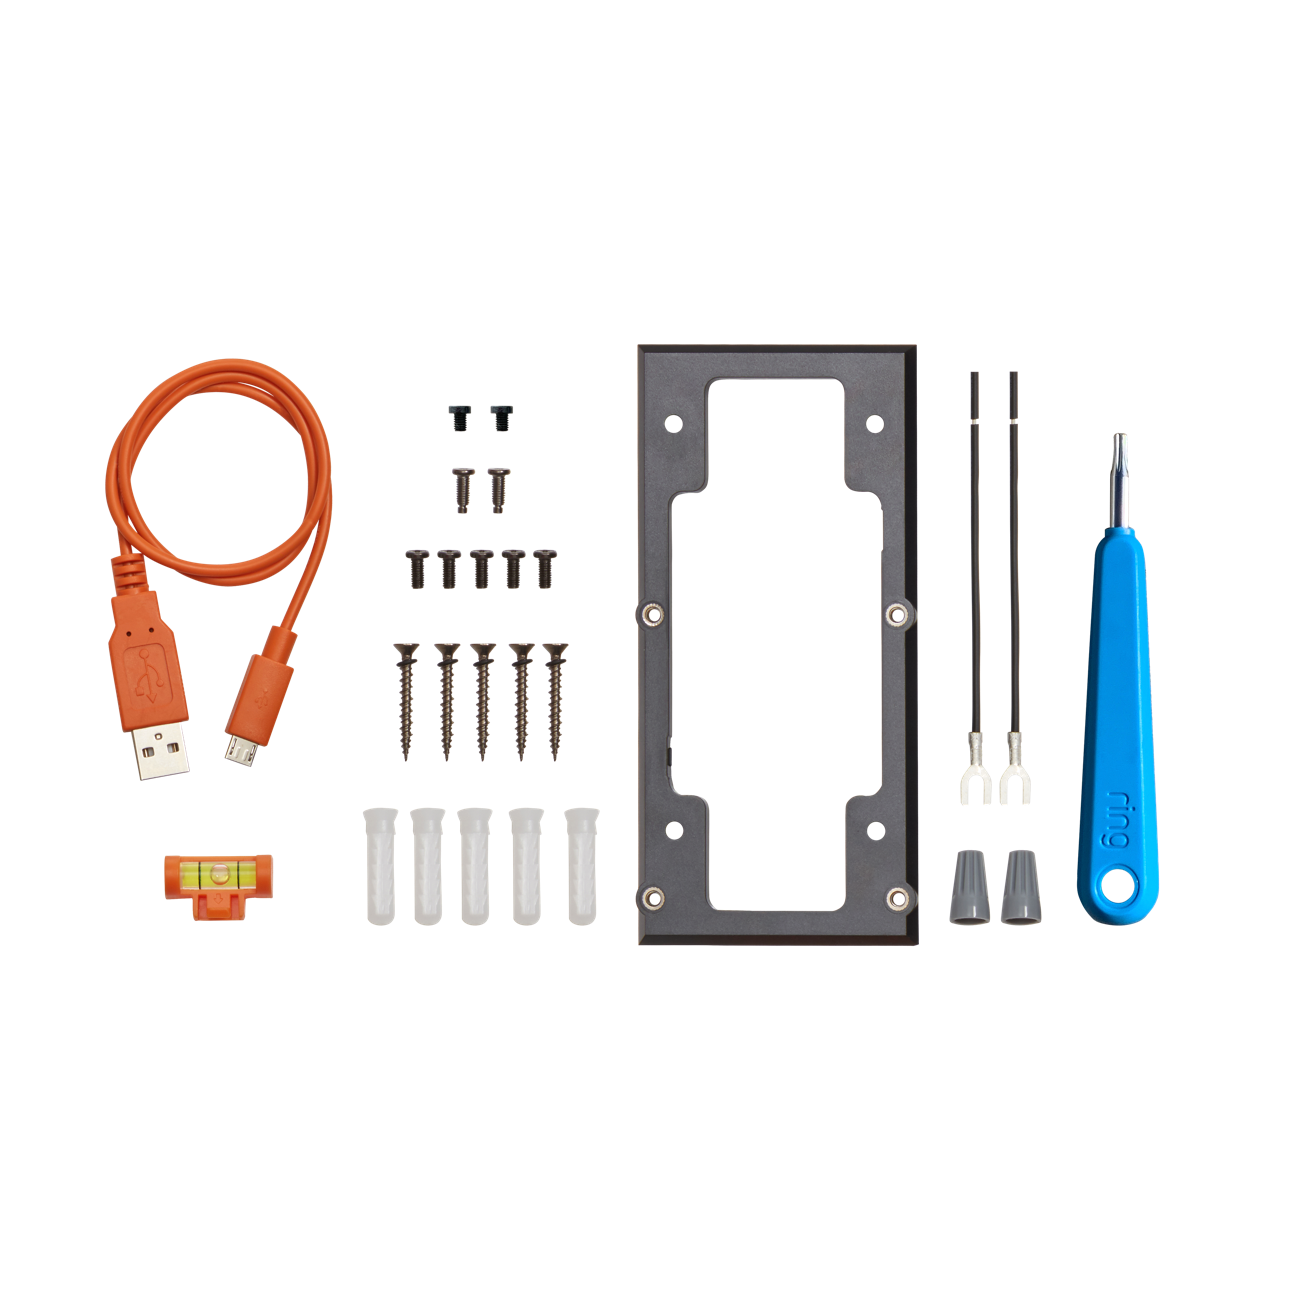
You will need a drill with a 3/32-inch drill bit. A screwdriver, both Phillips and flathead, is essential. A level helps keep the doorbell straight. A pencil for marking spots on the wall is useful.
Materials Included With The Ring Doorbell
The package includes the Ring Video Doorbell 3 unit. It also comes with mounting brackets and screws. You will find wall anchors for harder surfaces. The battery pack is inside the doorbell for easy access.
Additional Items You Might Need
For brick or stucco walls, a masonry drill bit is helpful. Wire strippers come handy if using existing doorbell wires. A ladder may be necessary to reach your door frame. Safety gloves protect your hands during drilling.
Credit: ring.com
Preparing The Installation Site
Preparing the installation site is the first step to a smooth setup of your Ring Video Doorbell 3. This stage ensures the device works well and captures clear video. Taking time to plan helps avoid common problems and saves effort later.
Choosing The Best Location
Pick a spot near your main door for clear views of visitors. The camera should cover the porch and walkway. Avoid placing it too high or too low. Around 4 feet from the ground works best. This height captures faces clearly and avoids glare. Also, avoid direct sunlight on the camera lens. It can blur the image and cause false alerts.
Checking Wi-fi Signal Strength
Your Ring Doorbell needs a strong Wi-Fi signal to work well. Test the Wi-Fi near the chosen spot using a phone or laptop. The signal should be stable and fast enough for video streaming. Poor Wi-Fi causes delays and missed alerts. Move your router closer if the signal is weak. You can also use a Wi-Fi extender to boost coverage. A strong signal ensures your doorbell stays connected and reliable.
Setting Up The Ring Video Doorbell 3
Setting up the Ring Video Doorbell 3 is a simple process. Follow these steps to get your doorbell ready. Each step helps you start using your device quickly.
Charging The Battery
First, charge the Ring Video Doorbell 3 battery. Remove the battery from the doorbell. Use the included USB cable to connect it to a power source. Charge the battery until the light turns green. This usually takes about 5 hours. Never use the doorbell until the battery is fully charged.
Downloading The Ring App
Next, download the Ring app on your smartphone or tablet. Visit the App Store or Google Play Store. Search for “Ring” and install the app. The app controls your doorbell and shows live video. It also sends alerts to your phone.
Creating A Ring Account
Open the Ring app and create an account. Enter your email and create a password. Add your phone number for extra security. Follow the app instructions to set up your profile. Your account keeps your doorbell connected and secure.
Mounting The Doorbell
Mounting the Ring Video Doorbell 3 is a key step for proper installation. A secure mount ensures the doorbell works well and stays in place. Follow clear steps to attach it safely to your wall or door frame.
Start by positioning the doorbell at the right height and spot. This makes sure the camera captures the best view. Next, prepare the wall so the doorbell fits tightly and securely.
Marking Screw Positions
Hold the mounting bracket against the wall. Use a pencil to mark the screw holes. Check the marks twice to ensure they are level. Correct marking avoids mistakes during drilling.
Drilling Holes And Installing Anchors
Use a drill with the right bit size for your anchors. Drill carefully on the marked spots. Insert wall anchors into the holes. Anchors keep screws tight on drywall or brick.
Attaching The Doorbell To The Wall
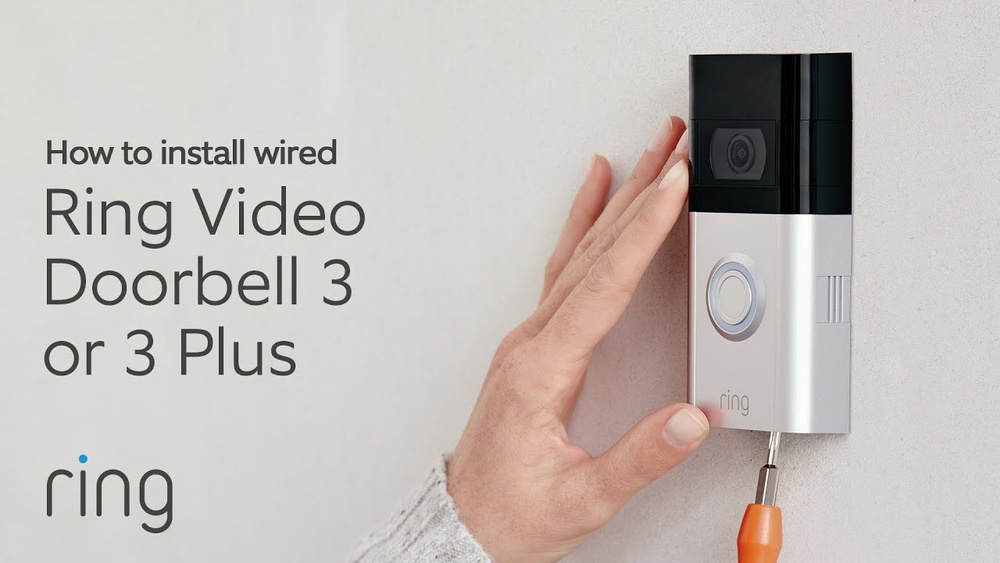
Place the mounting bracket over the anchors. Screw it firmly into the wall. Attach the Ring Video Doorbell 3 to the bracket. Press it until it clicks in place for a secure fit.
Configuring The Device
Configuring your Ring Video Doorbell 3 is the next step after installation. This process ensures your device works smoothly and keeps your home safe. Proper setup helps you receive alerts and clear video feeds. Follow these simple steps to get your device ready.
Connecting To Wi-fi
Power on your Ring Video Doorbell 3. Open the Ring app on your smartphone. Follow the app instructions to find your device. Select your home Wi-Fi network from the list. Enter your Wi-Fi password carefully. Wait for the device to connect. A strong Wi-Fi signal ensures better video quality. Avoid placing the doorbell far from your router.
Adjusting Motion Settings
Open the Ring app and go to the device settings. Tap on “Motion Settings” to customize alerts. Set the motion zones to cover your door area only. Adjust the sensitivity level to reduce false alarms. Test the motion detection by walking near the door. Fine-tune settings until alerts match your needs. Proper motion settings save battery and reduce unwanted notifications.
Testing The Camera And Audio
Use the Ring app to view live video from your doorbell. Check the video clarity and lighting during day and night. Speak through the app to test the two-way audio. Listen for clear sound without echoes or delays. Adjust the doorbell angle if the view is blocked. Regular testing helps maintain good device performance.

Credit: www.youtube.com
Troubleshooting Common Issues
Installing a Ring Video Doorbell 3 is simple but some problems may arise. These common issues can affect your experience. Troubleshooting helps fix them fast. Understanding these problems saves time and frustration. This section covers three main issues users face.
Wi-fi Connection Problems
Wi-Fi is key for your doorbell to work. Weak or unstable signals cause connection drops. Move your router closer to the doorbell. Remove objects blocking the signal. Restart your router and doorbell to refresh connection. Check your Wi-Fi password is correct. Use the Ring app to test signal strength. A stronger Wi-Fi means smoother video and alerts.
Battery Life Concerns
The doorbell runs on a rechargeable battery. Heavy use can drain battery quickly. Lower video quality to save power. Reduce motion sensitivity to limit alerts. Charge the battery fully before use. Avoid extreme temperatures that shorten battery life. Check battery status in the Ring app regularly. Replace the battery if it no longer holds charge well.
App Notification Settings
Notifications let you know when someone is at your door. Make sure notifications are enabled in the Ring app. Check your phone’s settings to allow notifications from the app. Customize alert types like motion or ring alerts only. Turn off ‘Do Not Disturb’ during important times. Test notifications by pressing the doorbell button. Proper settings keep you informed without missing alerts.
Frequently Asked Questions
How Do I Install A Ring Video Doorbell 3?
First, download the Ring app and create an account. Next, remove the old doorbell and mount the Ring Video Doorbell 3 using the provided tools. Finally, connect it to Wi-Fi and complete setup in the app.
What Tools Are Needed For Ring Doorbell 3 Installation?
You need a drill, screwdriver, level, and the included mounting screws. The Ring kit also contains a drill bit and anchors for solid mounting.
Can I Install Ring Video Doorbell 3 Without Wiring?
Yes, Ring Video Doorbell 3 has a rechargeable battery option. You can install it wire-free and recharge the battery when needed.
How To Connect Ring Doorbell 3 To Wi-fi?
Open the Ring app, select your device, and follow the Wi-Fi setup prompts. Ensure your phone is close to the doorbell during connection.
Conclusion
Installing a Ring Video Doorbell 3 is simple and quick. Follow each step carefully for best results. Your home will feel safer with this device. Enjoy seeing visitors and talking to them from anywhere. Regular checks keep your doorbell working well.
Stay connected and protect your home easily. This small device makes a big difference. Now, you can welcome guests with confidence.