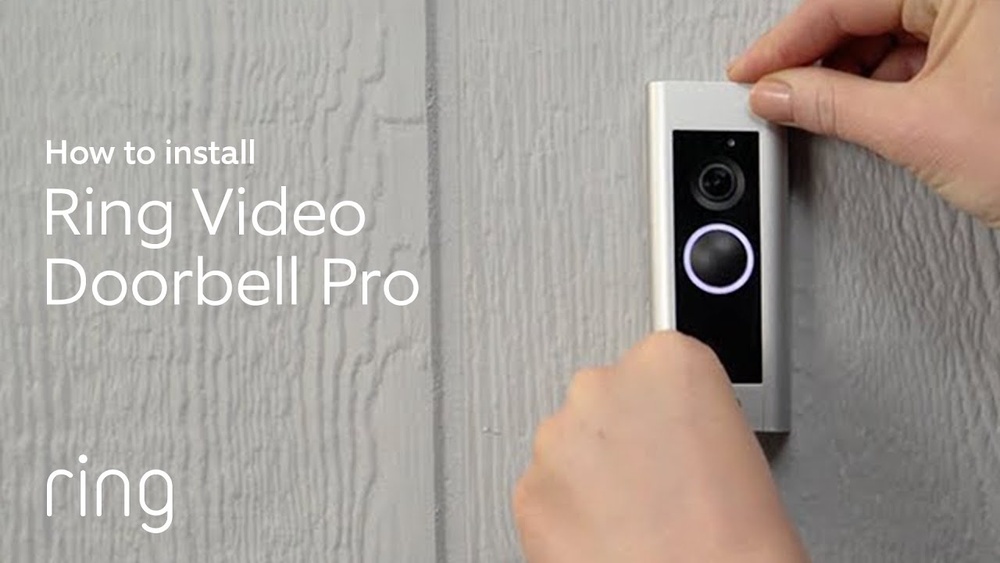

Are you ready to upgrade your home security with the Ring Video Doorbell Pro? Installing this smart device might seem tricky at first, but with the right steps, you can have it up and running quickly.
Imagine knowing who’s at your door, even when you’re not home. This guide will walk you through every part of the installation, making it simple and stress-free. Keep reading, and you’ll gain the confidence to secure your home like a pro.
Credit: vicentetorns.com
Preparing For Installation
Preparing for installation is the first step to set up your Ring Video Doorbell Pro. This step ensures everything is ready before you start the actual installation. Proper preparation helps avoid problems during the process.
It is important to check if your doorbell system matches your home setup. Also, gather all needed tools to keep the process smooth. Turning off the power is a must for safety before handling any wires.
Checking Compatibility
Make sure your doorbell works with your existing doorbell system. The Ring Video Doorbell Pro requires a doorbell transformer with 16-24 volts AC. Check if your home doorbell wiring meets these needs. Confirm your Wi-Fi network is strong near your door.
Gathering Tools And Materials
Collect all tools before starting. You will need a drill, screwdriver, level, and wire stripper. Keep the mounting bracket and screws from the Ring box handy. A ladder might be necessary if your doorbell is high. Having everything ready saves time and hassle.
Turning Off Power
Safety first. Turn off the power to your doorbell at the circuit breaker. This prevents electric shock while working with wires. Test that the power is off by pressing your current doorbell button. No sound means it is safe to proceed.
Credit: vicentetorns.com
Mounting The Doorbell Pro
Mounting the Ring Video Doorbell Pro is a key step in securing your home. Proper mounting ensures the doorbell works perfectly and captures clear video. This section guides you through the mounting process with easy steps.
Choosing The Right Location
Pick a spot near your front door. It should have a clear view of visitors. Avoid places with too much sun or shade. The doorbell needs power, so check for nearby wiring. Mount it about 48 inches high for the best angle.
Marking Drill Points
Hold the mounting bracket on the wall. Use a pencil to mark where the screws will go. Double-check the marks are level. This helps the doorbell sit straight. Make sure marks match the bracket’s holes exactly.
Drilling And Anchoring
Use a drill bit that fits the anchors. Drill holes at the marked points carefully. Push the anchors into the holes firmly. They keep the screws tight in place. Screw the bracket onto the wall until secure. The doorbell is now ready for installation.
Wiring The Doorbell
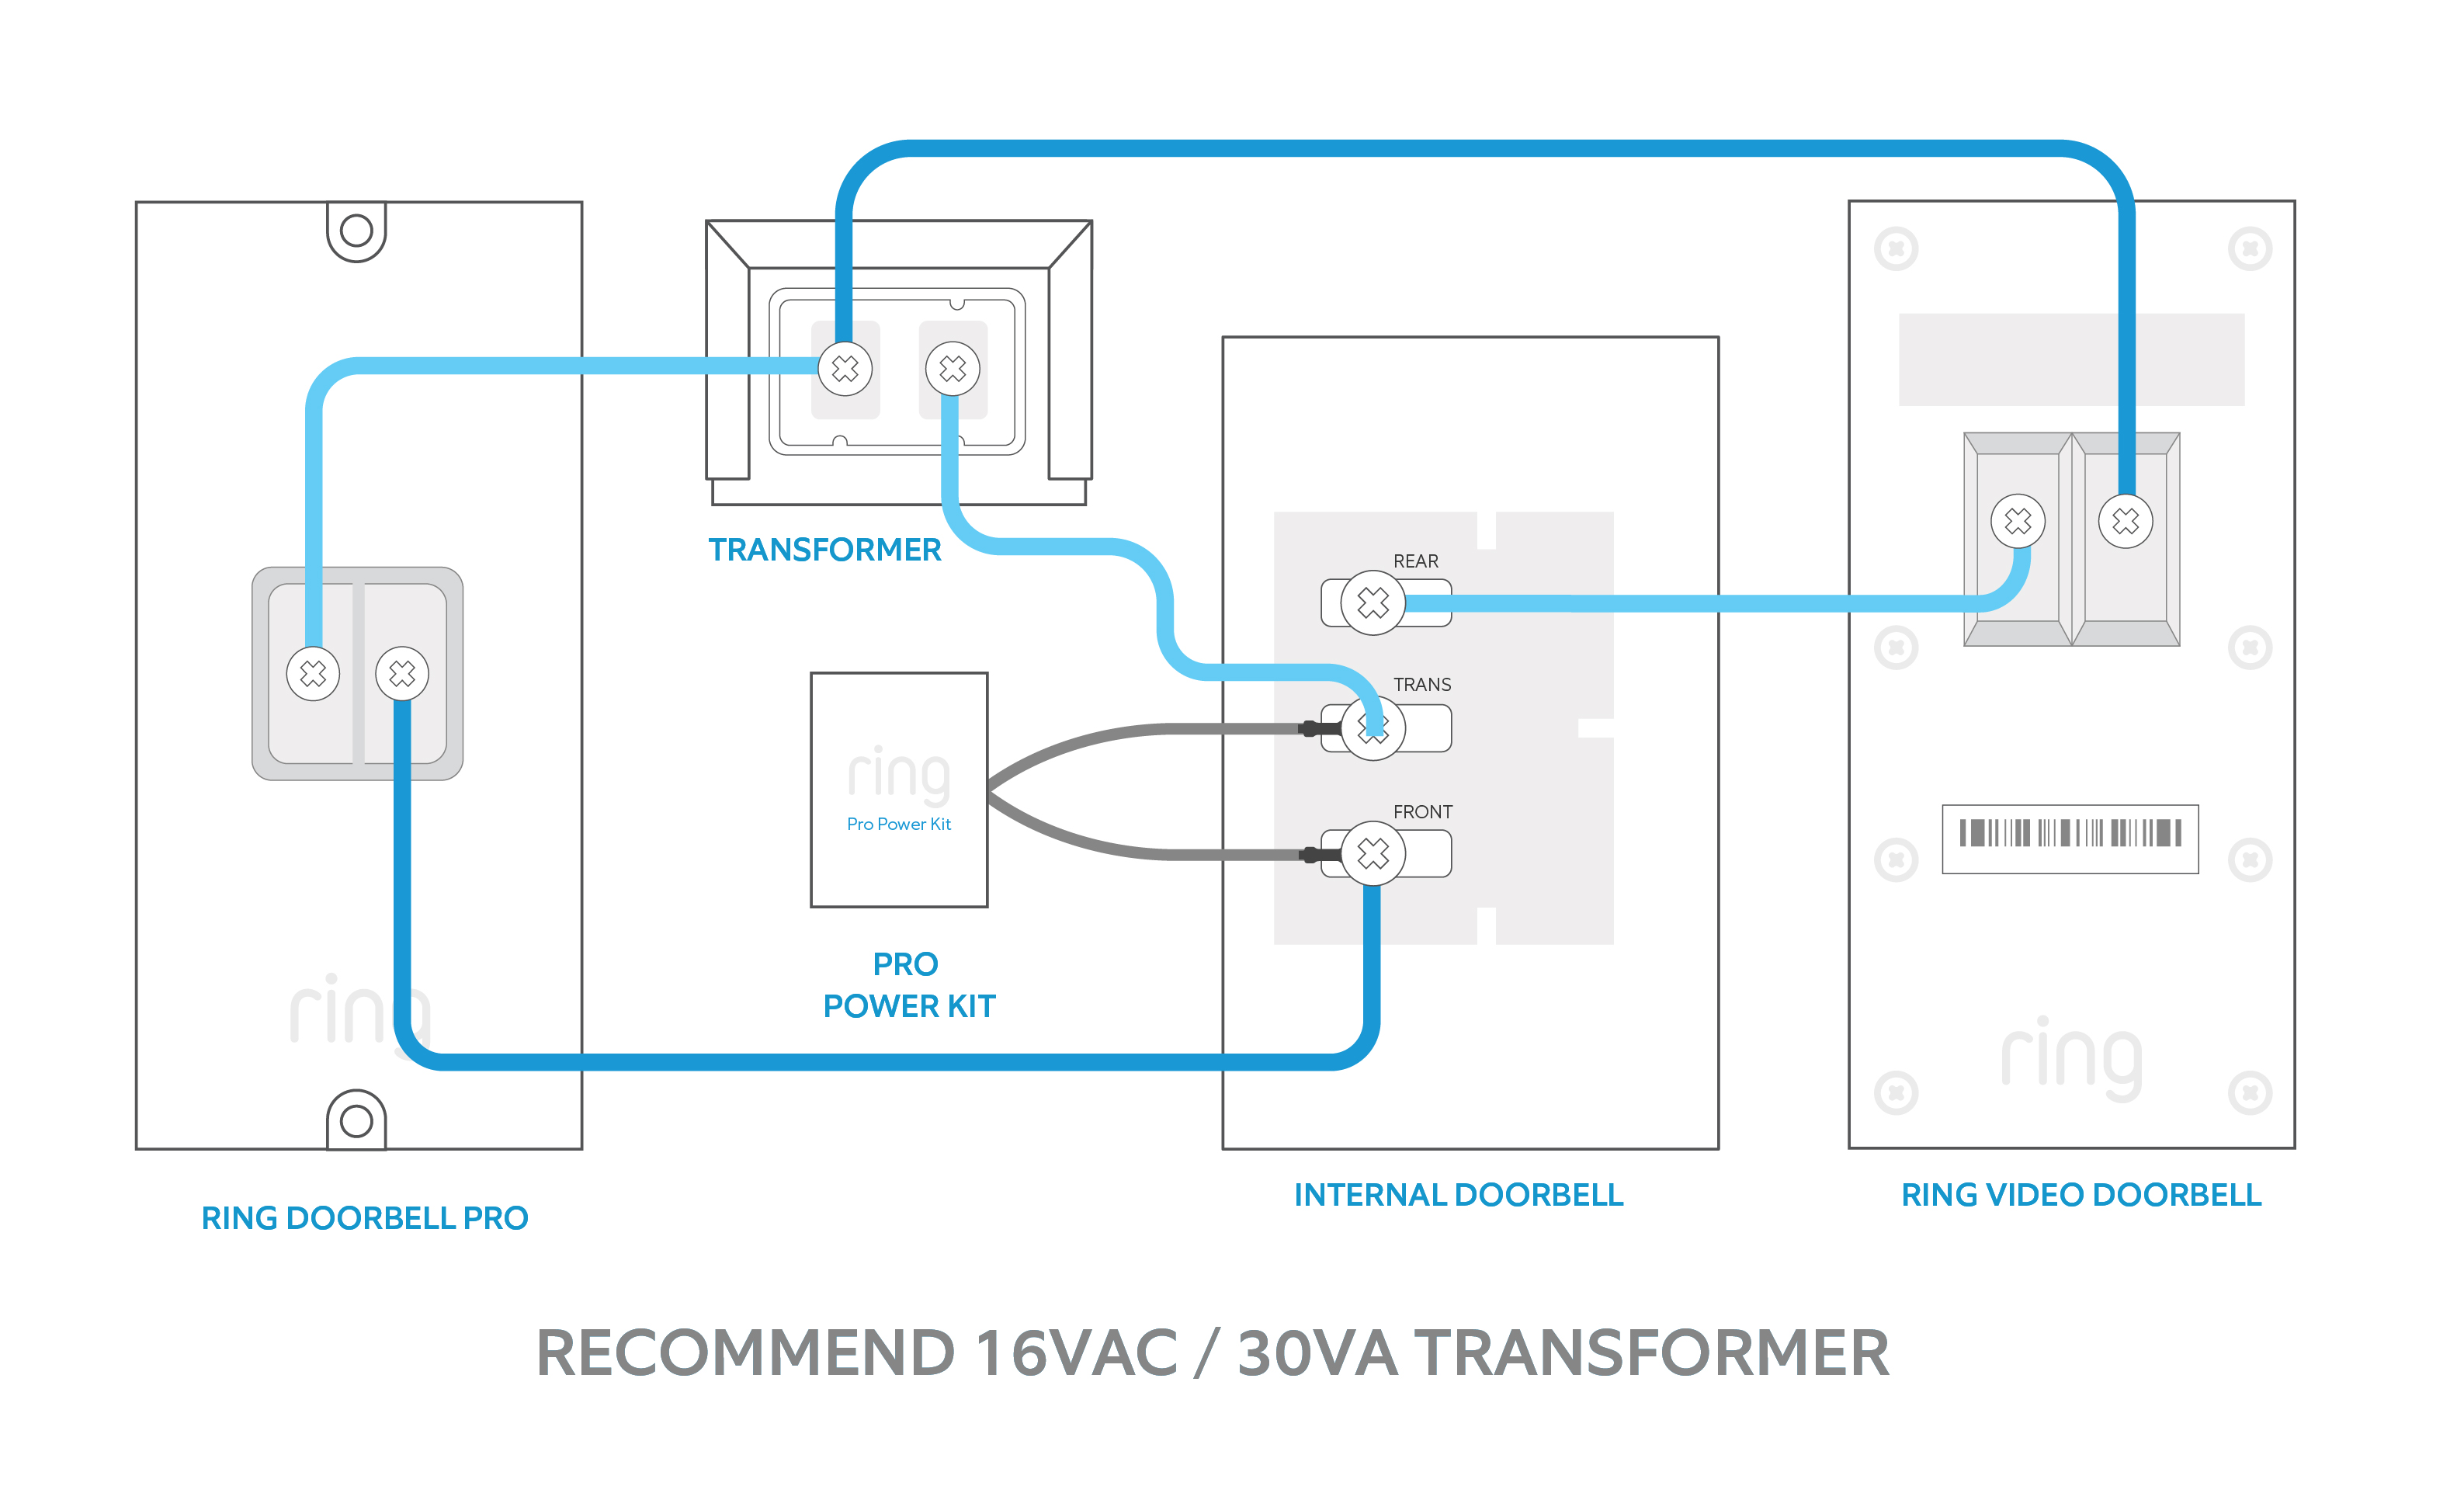
Wiring the Ring Video Doorbell Pro is a key step for proper installation. It connects the device to your home’s power and lets it work seamlessly. This step needs careful attention to safety and accuracy.
Follow simple instructions to identify and connect wires correctly. Secure the doorbell unit firmly to avoid future issues. Let’s break down the wiring process into clear parts for easy understanding.
Identifying Wires
Start by turning off the power to your existing doorbell at the breaker. Remove the old doorbell to expose the wires behind it. Usually, there are two wires: one for power and one for the chime.
Use a voltage tester to check the wires. Identify the positive and negative wires carefully. Label them if needed to avoid confusion later.
Connecting Wires Safely
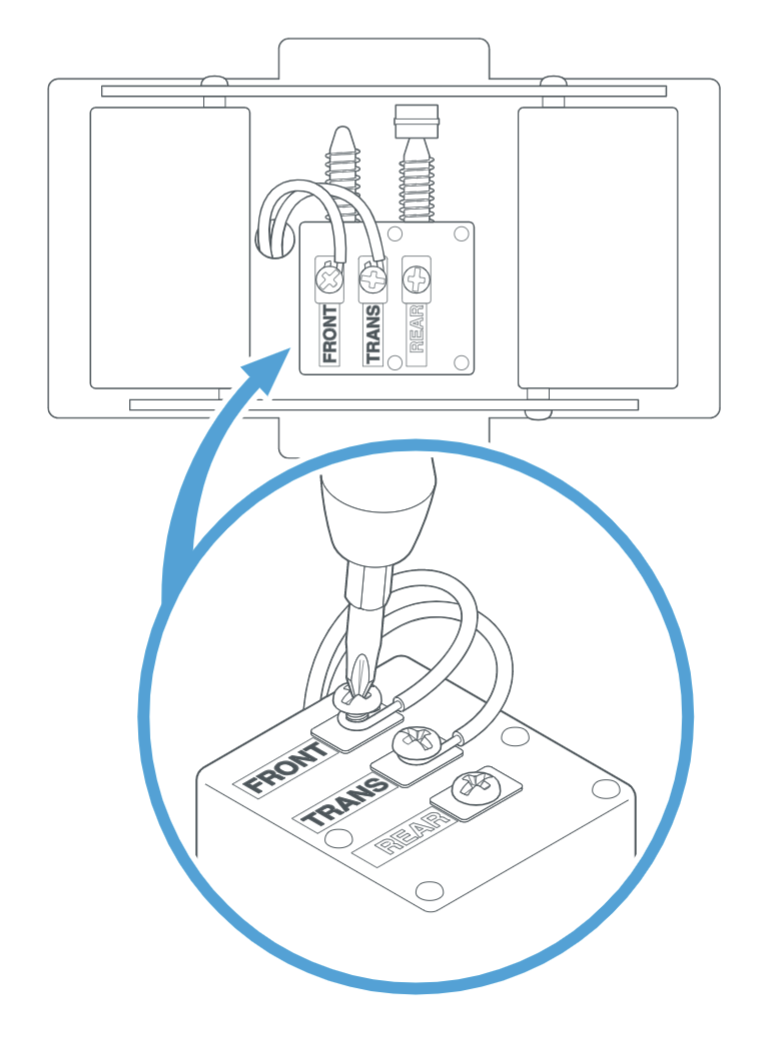
Attach the wires to the Ring Video Doorbell Pro’s terminals. Use a screwdriver to secure each wire tightly. Make sure no bare wire is exposed outside the terminals.
Check that connections are solid and not loose. Turn the power back on and test the doorbell for power. If it does not work, turn off the power and recheck the wiring.
Securing The Doorbell Unit
Place the Ring Video Doorbell Pro on the mounting bracket. Align the screw holes and insert the screws provided. Tighten screws firmly, but do not over-tighten to avoid damage.
Ensure the doorbell is flush against the wall. This helps with weather resistance and proper camera view. Now your doorbell is ready for setup and use.

Credit: www.youtube.com
Setting Up The Device
Setting up your Ring Video Doorbell Pro is a simple process. It begins with preparing the device to connect with your smartphone. Follow these steps to get your doorbell ready for use quickly.
Downloading The Ring App
Start by downloading the Ring app on your phone. It is available for free on both iOS and Android devices. Search for “Ring” in the app store and tap install. The app will guide you through the rest of the setup process.
Creating An Account
Open the Ring app after installation. You will see an option to create a new account. Enter your email address and create a password. Choose a password that is easy for you to remember but hard for others to guess. This account will keep your device secure and let you access it remotely.
Connecting To Wi-fi
Next, connect your Ring Doorbell Pro to your home Wi-Fi. The app will ask you to select your Wi-Fi network. Enter your Wi-Fi password carefully. A strong and stable connection is important. This allows your doorbell to send alerts and stream video smoothly.
Finalizing Installation
Finalizing the installation of your Ring Video Doorbell Pro ensures it works properly and looks great. This step includes testing the doorbell, adjusting settings, and mounting the faceplate securely. Each part helps your doorbell function smoothly and keeps your home safe.
Testing The Doorbell
Press the button to check the sound and video. Make sure the chime inside your home rings. Confirm the live video feed shows clearly on your phone. Test motion detection by walking in front of the doorbell. This ensures alerts work correctly and quickly.
Adjusting Settings
Open the Ring app and fine-tune the motion zones. Set the alert sensitivity to match your needs. Adjust the volume and notification preferences. Customize privacy settings for peace of mind. These changes help your doorbell respond the way you want.
Mounting The Faceplate
Choose the right faceplate for your doorbell style. Align it carefully over the doorbell unit. Press firmly until it clicks into place. Secure it with the included screws for extra safety. A well-mounted faceplate protects your device and gives a neat finish.
Troubleshooting Tips
Installing the Ring Video Doorbell Pro can be smooth, but sometimes issues arise. Troubleshooting helps fix problems fast. It saves time and effort. This section covers common issues and easy fixes. Follow these tips to get your doorbell working well.
Common Installation Issues
Power problems often cause installation troubles. Check the wiring and power supply. A weak Wi-Fi signal can stop the doorbell from connecting. Move your router closer or use a Wi-Fi extender. Incorrect mounting may affect performance. Ensure the doorbell is level and secure. Firmware updates might delay setup. Wait for the device to update before continuing.
Resetting The Doorbell
Resetting the Ring Doorbell Pro clears many issues. Press and hold the reset button for 15 seconds. The light will flash, showing the reset is active. After reset, re-install the device using the app. Reset helps if the device is unresponsive or not connecting. It restores factory settings but keeps your account data safe.
Getting Help From Support
Ring support offers help if problems persist. Use the Ring app to contact customer service. They provide step-by-step guidance and solutions. Support can assist with tricky wiring or software errors. You can also find help in Ring’s online help center. Don’t hesitate to ask for help to get your doorbell working.
Frequently Asked Questions
How Do I Install The Ring Video Doorbell Pro?
First, turn off your doorbell’s power at the breaker. Remove the old doorbell and mount the Ring Pro using the provided screws. Connect the wires to the Ring device, then restore power and follow the app setup instructions.
What Tools Are Needed For Installation?
You’ll need a drill, screwdriver, level, and a voltage tester. These tools ensure proper mounting and safe wiring of your Ring Video Doorbell Pro.
Can I Install Ring Video Doorbell Pro Without Professional Help?
Yes, the Ring Video Doorbell Pro is designed for easy DIY installation. Follow the step-by-step instructions in the app and use the included mounting hardware.
How Long Does The Installation Take?
Installation typically takes about 20 to 30 minutes. This includes mounting, wiring, and app setup. Having the right tools ready speeds up the process.
Conclusion
Installing the Ring Video Doorbell Pro is simple and quick. Follow each step carefully for best results. Make sure your doorbell connects to Wi-Fi properly. Test the video and audio to confirm everything works. Enjoy the added security and convenience it brings.
This device helps you see who is at your door anytime. Stay safe and keep your home protected with ease.