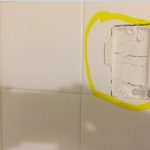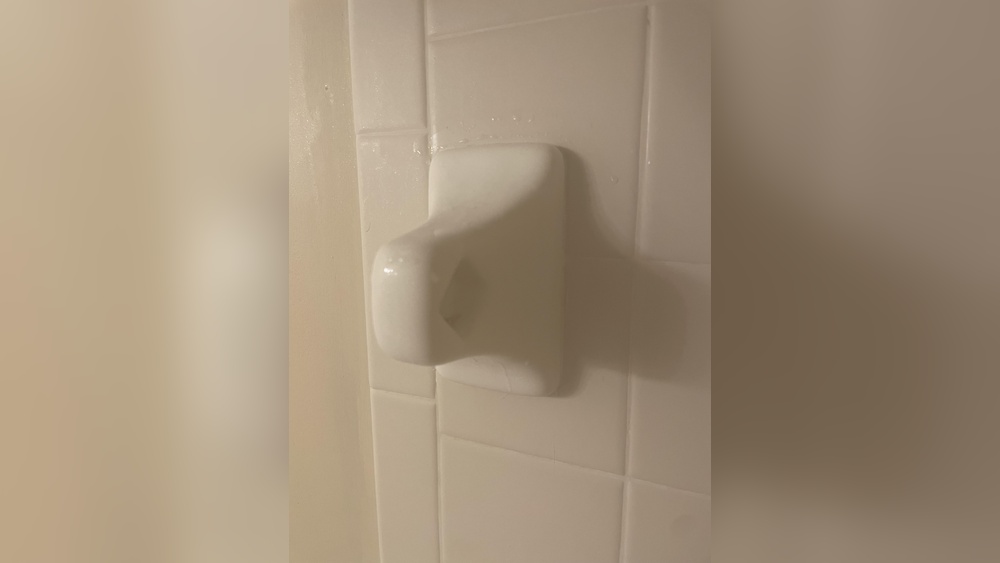

Are you tired of that old ceramic bathroom towel rack taking up space or clashing with your new decor? Removing it might seem tricky, but you don’t have to call a professional or risk damaging your walls.
In this guide, you’ll discover simple, step-by-step tips to safely and easily remove your ceramic towel rack. By the end, you’ll feel confident handling the job yourself—and ready to upgrade your bathroom with a fresh, modern look. Keep reading to learn how to make the process smooth and hassle-free!
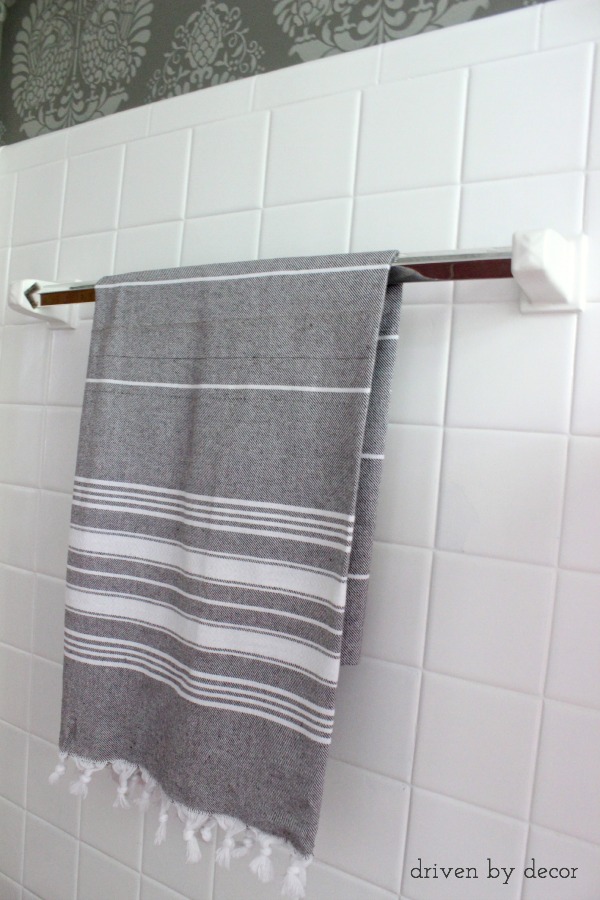
Credit: www.drivenbydecor.com
Tools Needed
Removing a ceramic bathroom towel rack requires a few basic tools. These tools make the process smooth and safe. Having the right tools ready saves time and effort. Below are the essential tools needed for this task.
Screwdriver
A screwdriver is needed to remove screws holding the rack. Usually, a Phillips head screwdriver works best. Sometimes, a flathead screwdriver may be required. Choose the one that fits your screws perfectly.
Putty Knife
A putty knife helps to gently pry the rack from the wall. It prevents damage to the ceramic surface. Use it carefully to avoid scratches or cracks. A thin, flexible putty knife works best.
Adjustable Wrench
An adjustable wrench is useful if the rack has bolts or nuts. It provides a firm grip to loosen tight parts. Adjust the wrench to fit the size of the bolts. This tool helps avoid stripping or rounding off the nuts.
Utility Knife
A utility knife can cut through any caulk or sealant around the rack. It helps to loosen the rack from the wall. Use it with care to prevent cutting into the wall surface. A sharp blade makes the job easier.
Safety Gloves
Safety gloves protect your hands from sharp edges and rough surfaces. They also improve grip on tools and parts. Wear gloves throughout the removal process. This keeps your hands safe and clean.
Prepare The Area
Preparing the area is the first step in removing a ceramic bathroom towel rack. It helps keep the space safe and clean. Taking time to prepare saves effort later.
Clear the space around the towel rack. This gives you room to work freely without knocking things over. Protect nearby surfaces from dust and debris.
Clear The Surrounding Space
Remove any items near the towel rack. Towels, toiletries, and decorations should be moved. Keep the work area open to avoid accidents.
Protect Nearby Surfaces
Cover countertops and floors with a drop cloth or old towels. This prevents damage from falling debris or tools. Use painter’s tape to secure covers in place.
Gather Necessary Tools
Collect tools like a screwdriver, putty knife, and safety gloves. Having everything ready speeds up the removal process. Wear gloves to protect your hands from sharp edges.
Turn Off Water Supply If Needed
Check if the towel rack is near plumbing fixtures. Shut off the water supply to avoid leaks or water damage. This step is crucial for racks mounted close to sinks.
Turn Off Water Supply
Turning off the water supply is the first step before removing a ceramic bathroom towel rack. This step stops water leaks and keeps your bathroom safe. Even if your towel rack is not near water pipes, it is smart to turn off the water. It prevents accidents and water damage during the removal process.
Locate the main water valve in your home. Usually, it is near the water meter or where the main pipe enters your house. Turn the valve clockwise to close it. This stops water flow to your bathroom. Check if water is off by opening a faucet and seeing if water still flows.
Find The Main Water Valve
Look for the valve near the water meter or outside walls. It might be in the basement, garage, or outside your home. The valve often looks like a round handle or a lever. Knowing its location saves time and trouble.
Turn Off The Water Valve
Turn the valve clockwise to close it. Use a wrench if the valve is hard to turn. Make sure it is fully closed to stop water flow. This stops water from leaking during towel rack removal.
Check For Water Flow
Open a faucet in your bathroom. Water should stop or slow down. If water still flows, the valve might not be fully closed. Turn the valve again or locate a different shutoff valve. Confirming no water flows ensures a safe removal process.
Remove Decorative Covers
Removing the decorative covers is the first step in taking off a ceramic bathroom towel rack. These covers hide the screws and keep the rack looking neat. Removing them carefully protects the wall and the rack’s finish.
Most decorative covers snap or slide off easily. You need to be gentle to avoid breaking them. Use your fingers or a flat tool to lift the cover away from the wall.
Locate The Decorative Covers
Look at the ends of the towel rack. The covers are usually at the mounting points. They may be round or rectangular, matching the rack style.
Use A Flat Tool For Removal
Take a flathead screwdriver or a plastic putty knife. Slide it gently between the cover and the wall. Pry the cover away slowly to avoid damage.
Work Slowly And Carefully
Apply light pressure and wiggle the cover if it feels stuck. Don’t force it. Breakage can cause extra repairs.
Set Covers Aside Safely
Keep the covers in a safe place. You will need them to reinstall the rack or for future use. Avoid losing or scratching them.
Unscrew The Towel Rack
Removing a ceramic bathroom towel rack starts with unscrewing it carefully. This step is important to avoid damaging the wall or the rack itself. Use the right tools and follow simple steps to make the process smooth and safe.
Gather The Right Tools
Prepare a screwdriver that fits the screws well. A flathead or Phillips screwdriver works depending on the screw type. Keep a cloth or small container handy to hold the screws safely.
Locate The Screws
Look closely at the towel rack to find the screws holding it to the wall. They are usually on the sides or under small covers. Remove any covers gently with the screwdriver or a flat tool.
Unscrew Slowly And Carefully
Turn the screwdriver counterclockwise to loosen each screw. Do not rush to avoid stripping the screws or cracking the ceramic. Keep steady pressure and take your time.
Hold The Rack Steady
Hold the towel rack with one hand while unscrewing. This prevents it from falling and breaking. Ask for help if the rack is large or heavy.
Remove The Rack And Screws
Once all screws are out, gently pull the rack away from the wall. Keep the screws in the container for reuse or disposal. Check the wall for any damage or leftover anchors.

Credit: treefruitresearch.org
Detach The Ceramic Holders
Detaching the ceramic holders is a key step in removing a ceramic bathroom towel rack. These holders keep the rack firmly on the wall. Removing them carefully avoids damage to your bathroom walls and the holders themselves.
Take your time and follow each step closely. This makes the process smooth and safe.
Gather The Right Tools
Prepare a flathead screwdriver, a cloth, and a small wrench. These tools help loosen screws and protect the ceramic from scratches. Having the right tools ready saves time and effort.
Loosen The Screws Carefully
Find the screws holding the ceramic holders to the wall. Use the screwdriver to turn them slowly. Avoid force to prevent cracking the ceramic. Turn each screw until it is fully loose.
Protect The Ceramic Surface
Wrap a cloth around the screwdriver tip. This avoids scratching the ceramic holders. Handle each holder gently to keep it intact. Protecting the surface keeps your bathroom looking neat.
Remove The Ceramic Holders From The Wall
Once screws are loose, pull the holders away from the wall. Use both hands to support each holder’s weight. Avoid sudden movements to prevent breaking or chipping. Place the holders on a soft surface for safety.
Clean The Wall Surface
Cleaning the wall surface after removing a ceramic bathroom towel rack is essential. It prepares the wall for painting or installing a new fixture. Dust, glue, and small debris often remain on the wall. These can affect the look and adhesion of paint or new mounts.
Take time to clean the wall carefully. This step helps your bathroom look neat and fresh. A clean wall also prevents damage and makes future work easier.
Remove Loose Debris And Dust
Start by brushing off loose debris and dust from the wall. Use a soft brush or a dry cloth. This removes small particles left after rack removal. Avoid pressing too hard to protect the wall surface.
Use Warm Soapy Water
Mix mild soap with warm water in a bucket. Dip a sponge or cloth into the soapy water. Gently wipe the wall to remove dirt and glue residues. Do not soak the wall; use a damp cloth only. Rinse the sponge often to avoid spreading dirt.
Scrape Off Stubborn Glue
For glue that won’t come off, use a plastic scraper. Hold the scraper at a low angle to avoid wall damage. Scrape carefully until the glue peels away. Avoid using metal tools that can scratch or gouge the wall.
Dry The Wall Thoroughly
After cleaning, dry the wall completely. Use a clean, dry cloth to absorb moisture. Let the wall air dry for at least 30 minutes. A dry surface ensures better paint or adhesive sticking.
Repair Wall Damage
Removing a ceramic bathroom towel rack can leave holes and marks on the wall. Repairing these damages is important to keep your bathroom looking neat. This section explains simple ways to fix wall damage after removing the rack.
Assess The Damage
First, check the wall for any holes, cracks, or leftover adhesive. Small holes need filling, while bigger cracks may require extra care. Clear away dust and loose paint around the damaged area.
Fill Holes And Cracks
Use a good-quality wall filler or spackle to fill holes and cracks. Apply it with a putty knife and press firmly. Smooth the surface and remove extra filler for a clean finish.
Let The Filler Dry
Wait for the filler to dry completely. Drying time depends on the product and the size of the damage. Avoid touching or sanding the area until it feels hard and dry.
Sand The Repaired Area
Use fine-grit sandpaper to smooth the filled area. Sand lightly until the surface is even with the wall. This step helps the paint stick better and hides the repair.
Prime And Paint
Apply a primer to the repaired spot for better paint adhesion. After the primer dries, paint the area with matching wall paint. Use thin coats and let each dry before adding more.
Disposal And Recycling Tips
Removing a ceramic bathroom towel rack leaves behind parts that need proper disposal. Handling these materials responsibly helps protect the environment. Ceramic pieces and metal parts can often be recycled or reused.
Knowing how to sort and dispose of these materials saves landfill space and reduces waste. Follow easy steps to recycle or throw away parts safely.
Proper Disposal Of Ceramic Parts
Ceramic materials do not break down easily. They should not go in regular trash bins. Check with your local waste center about ceramic disposal rules. Some centers accept ceramics for special handling. Wrap sharp ceramic pieces in newspaper before disposal to avoid injuries.
Recycling Metal Components
The metal parts of the towel rack can be recycled. Separate screws, brackets, and mounts from ceramic pieces. Take metal parts to a scrap metal recycling facility. Metal recycling saves natural resources and energy.
Donation And Reuse Options
Some ceramic towel racks remain usable after removal. Donate them to thrift stores or community centers. Reusing materials reduces waste and benefits others. Craft enthusiasts may want old ceramic pieces for projects.

Credit: www.youtube.com
Frequently Asked Questions
How Do I Safely Remove A Ceramic Towel Rack?
First, turn off any nearby water sources. Use a screwdriver to remove screws gently. Pry the rack off using a flat tool to avoid damage.
What Tools Are Needed To Remove Ceramic Bathroom Racks?
You need a screwdriver, a flat pry tool, and possibly pliers. A utility knife helps cut caulk if present. Gloves protect your hands during removal.
Can Removing A Ceramic Towel Rack Damage Walls?
Yes, improper removal can chip tiles or damage drywall. Use gentle pressure and proper tools to minimize damage. Patch any holes or cracks afterward.
How To Remove Adhesive From Ceramic Towel Rack Mounts?
Apply a heat gun or hair dryer to soften adhesive. Scrape gently with a plastic scraper. Use adhesive remover if residue remains, then clean the surface.
Conclusion
Removing a ceramic bathroom towel rack can be simple and safe. Use the right tools and take your time. Avoid rushing to protect your wall and tiles. Clean the area after removal to keep it neat. Following these steps helps you finish the job well.
Now, you can update your bathroom or fix the wall easily. Small projects like this improve your space bit by bit. Give yourself credit for handling it yourself.