
Are you tired of cluttered towels taking up all your bathroom space? Imagine having a stylish, double height wood towel rack that not only saves room but also adds a touch of charm to your space.
Making one yourself is easier than you think, and this guide will walk you through every step. By the end, you’ll have a beautiful, sturdy towel rack that fits your needs perfectly. Ready to transform your bathroom and impress your guests?
Let’s get started!
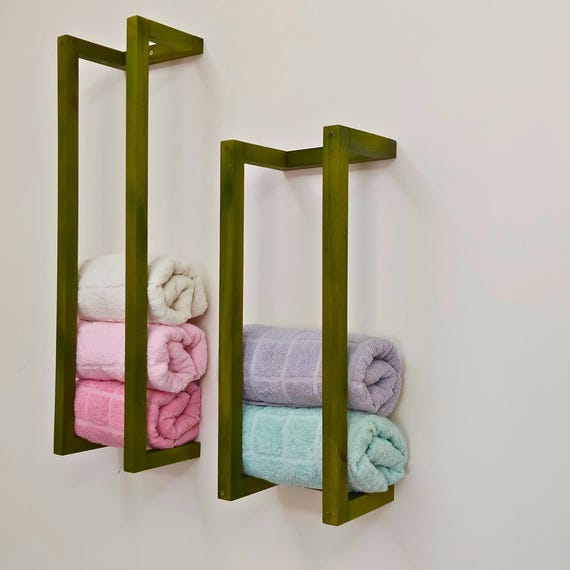
Credit: www.etsy.com
Materials And Tools Needed
Gathering the right materials and tools is the first step to build a double height wood towel rack. Using suitable wood and having the proper tools makes the project easier and the rack stronger. This section lists what you need for a smooth building process.
Types Of Wood Suitable For Towel Racks
Choose wood that resists moisture well. Cedar and teak are excellent choices. They handle wet environments without warping or rotting. Pine is an affordable option but needs a good finish to protect it. Avoid soft woods that absorb water quickly.
Essential Tools For The Project
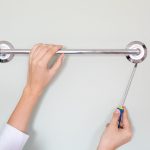
You need some basic tools to create your towel rack. A saw cuts the wood to size. A drill makes holes for screws. Sandpaper smooths rough edges. A screwdriver tightens screws. A measuring tape ensures precise cuts. A level helps keep the rack straight on the wall.
Additional Hardware And Supplies
Use screws that resist rust to hold the rack together. Wall anchors add strength when mounting on drywall. Wood glue can help join pieces firmly. Finish the rack with waterproof sealant or varnish to protect it from moisture. Have a pencil handy for marking measurements.
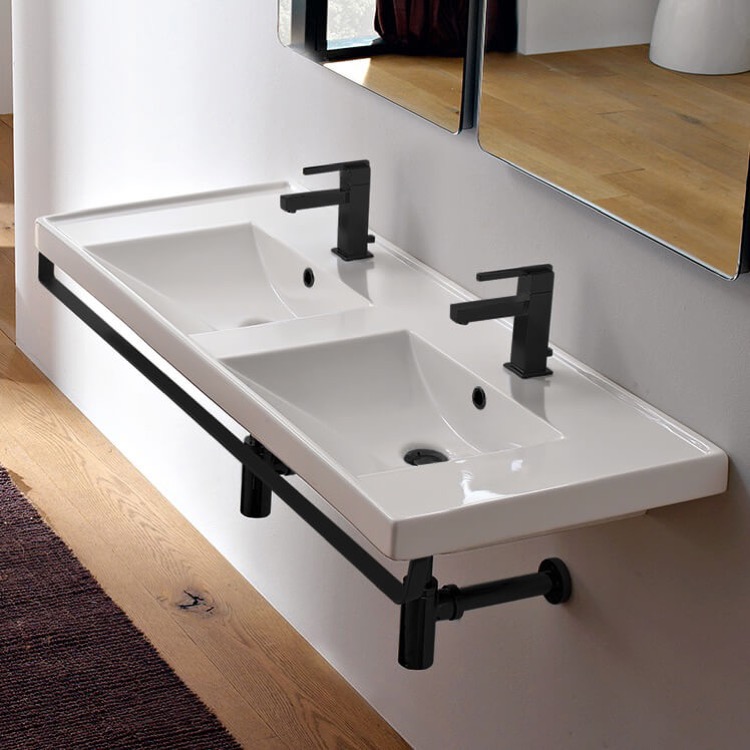
Credit: www.thebathoutlet.com
Planning Your Towel Rack
Planning your double height wood towel rack is the first step to success. Careful thought saves time and effort later. You need a clear idea of size, design, and safety. This guide helps you make smart choices for a strong, useful rack.
Focus on dimensions, how to use the double height feature, and stability. Each part matters to create a towel rack that fits your space and needs.
Choosing The Right Dimensions
Measure your wall space before starting. Decide how tall and wide the rack should be. The rack must fit the room and allow towels to hang freely. Make sure the width suits the number of towels you want to hold. Keep the height easy to reach for everyone in the home.
Designing For Double Height Functionality
Think about how you will use two levels of towel bars. The top bar can hold larger towels or extra towels. The bottom bar is good for smaller or frequently used towels. Space the bars far enough apart to let towels dry well. Make the design simple but practical for everyday use.
Safety And Stability Considerations
Wood racks must be strong and steady. Choose quality wood that can hold weight without bending. Plan to fix the rack securely to the wall studs. Use proper screws and anchors for safety. Check the rack’s balance to stop it from tipping or wobbling.
Cutting And Preparing Wood Pieces
Cutting and preparing wood pieces is a key step in building a double height wood towel rack. This process sets the foundation for a sturdy and neat rack. Taking time here helps avoid mistakes later. Follow each step carefully to get the right shapes and sizes.
Measuring And Marking Wood
Start by measuring each wood piece with a tape measure. Double check your numbers to avoid errors. Use a pencil to mark where you will cut. Mark clear lines along the wood grain for better visibility. Measure twice, cut once is a good rule to follow.
Tips For Accurate Cutting
Use a sharp saw for clean cuts. A handsaw or circular saw works well. Cut slowly and follow the pencil lines. Keep your hand steady to avoid slips. Clamp the wood to a stable surface for safety and precision. Take breaks if you feel tired to keep focus sharp.
Sanding And Smoothing Edges
After cutting, sand all edges smoothly. Use medium-grit sandpaper first, then fine-grit for a soft finish. Sand along the wood grain to avoid scratches. Check for splinters and rough spots carefully. Smooth edges make the rack safer and look better. Wipe away dust before assembly.
Assembling The Frame
Building the frame of your double height wood towel rack sets the base for a strong and stable piece. This step needs care and precision. The frame holds the entire structure, so focus on making it solid. Follow simple methods to join wood parts tightly and keep everything aligned.
Joining Techniques For Strength
Use strong joints to keep the frame firm. Pocket holes or wood screws work well. Drill pilot holes first to avoid splitting wood. Apply wood glue for extra hold. Clamp pieces while drying to prevent movement. These steps make the frame durable and sturdy.
Aligning Vertical Supports
Place the vertical supports straight and even. Use a carpenter’s square to check right angles. Measure twice before fixing to avoid mistakes. Keep supports parallel to each other for balance. This ensures your towel rack stands tall without wobbling.
Securing Crossbars
Attach crossbars between vertical supports to add stability. Position crossbars evenly spaced for good towel hanging. Fix them with screws and glue for a tight fit. Make sure crossbars are level and flush with supports. This step strengthens the frame and completes the basic shape.
Adding Finishing Touches
Adding finishing touches to your double height wood towel rack makes it look complete and professional. These final steps protect the wood and enhance its appearance. The right finish also helps the rack last longer in a bathroom environment.
Applying Stain Or Paint
Choose a stain or paint color that matches your bathroom decor. Stain shows the wood’s natural grain and adds warmth. Paint offers a smooth, colorful finish and hides imperfections. Use a brush or cloth to apply an even coat. Let it dry completely before the next step.
Sealing For Durability
Apply a clear sealant to protect the wood from moisture. Polyurethane or varnish works well for bathrooms. This layer prevents water damage and keeps the finish looking fresh. Apply thin, even coats and allow each coat to dry fully. Lightly sand between coats for a smooth surface.
Attaching Hooks Or Rails
Choose sturdy hooks or rails for hanging towels. Position them evenly on the rack for balance. Secure each hook or rail tightly with screws. Test the strength by gently pulling on them. Proper attachment keeps towels in place and prevents damage.
Mounting And Installation
Mounting and installation are key steps in building your double height wood towel rack. Proper setup ensures the rack holds towels safely and looks great. Take time to plan how to fix it to the wall or floor. Secure installation keeps it stable and easy to use every day.
Wall Mounting Vs. Free Standing
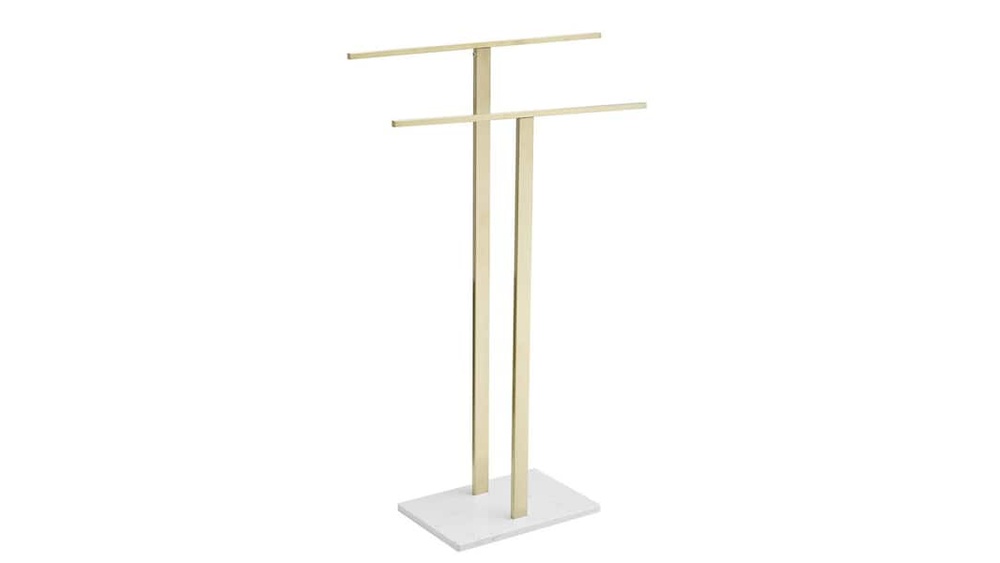
Choose wall mounting to save floor space and keep towels within reach. This method works well in small bathrooms. Free standing racks stand alone and can move around easily. They need more floor space but offer flexibility in placement. Think about your bathroom size and use before deciding.
Anchoring For Stability
Use strong anchors when attaching your rack to walls. Drywall alone cannot hold heavy wood racks. Find wall studs with a stud finder for best support. Use screws and anchors made for your wall type. For free standing racks, add rubber pads or a weighted base to stop wobbling.
Final Adjustments And Checks
Check your rack after installation for level and balance. Use a spirit level to make sure it is straight. Tighten all screws and bolts firmly but avoid cracking the wood. Test the rack by hanging towels and seeing if it stays steady. Make small fixes if needed before using it daily.
Maintenance Tips
Maintaining your double height wood towel rack keeps it looking great and working well. Regular care helps avoid damage and extends the rack’s life. Small efforts make a big difference. Follow these simple tips to keep your towel rack in top shape.
Cleaning And Care
Use a soft cloth to clean the wood surface. Avoid harsh chemicals that can damage the finish. A mild soap and water mix works best. Dry the rack fully after cleaning to prevent water spots and warping. Clean the rack weekly to stop dust build-up.
Preventing Wear And Tear
Hang towels gently to avoid scratches or dents. Avoid overloading the rack with heavy items. Use hooks or padded hangers to reduce pressure on the wood. Keep the rack away from direct sunlight to prevent fading. Control humidity to avoid wood swelling or cracking.
Periodic Tightening And Inspection
Check screws and joints every few months. Tighten any loose parts to keep the rack stable. Look for signs of wood damage like cracks or splits. Repair small issues early to avoid bigger problems. Regular inspections ensure safety and durability.
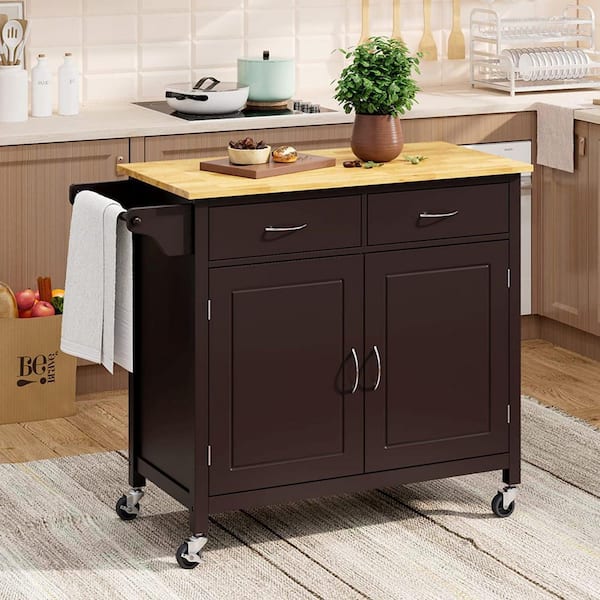
Credit: www.homedepot.com
Frequently Asked Questions
What Materials Are Needed For A Double Height Wood Towel Rack?
You need quality wood, screws, wood glue, sandpaper, and a sealant. Optional tools include a saw, drill, and clamps for assembly.
How Do You Ensure Stability In The Towel Rack Design?
Use sturdy wood and secure joints with screws and wood glue. Proper measurements and balanced spacing improve overall stability and durability.
Can The Towel Rack Fit Small Bathroom Spaces?
Yes, the double height design maximizes vertical space, making it ideal for small bathrooms. It holds more towels without using extra floor area.
What Type Of Wood Is Best For Towel Racks?
Cedar, pine, and teak are excellent choices. They resist moisture and are durable, ensuring your towel rack lasts longer in humid bathroom conditions.
Conclusion
Building a double height wood towel rack is simple and fun. It saves space and looks great in any bathroom. Use basic tools and follow easy steps carefully. You can paint or stain the wood to match your style. This project lets you add a personal touch to your home.
Try making one to enjoy a useful and stylish rack. Small projects like this bring big satisfaction. Give it a try and see how handy it can be.