Are you tired of towels cluttering your bathroom or staying damp for too long? Installing a towel rack can change that instantly.
It’s a simple upgrade that keeps your space organized and your towels dry and within reach. In this guide, you’ll discover easy, step-by-step instructions to install a towel rack yourself—no special skills needed. By the end, you’ll have a neat, functional bathroom that feels fresh every day.
Ready to get started? Let’s dive in and make your bathroom work better for you.
Credit: www.homedepot.com
Choosing The Right Towel Rack
Choosing the right towel rack is important for both function and style. The right rack keeps towels dry and your bathroom neat. Consider the space, your needs, and your bathroom style before picking a rack.
Types Of Towel Racks
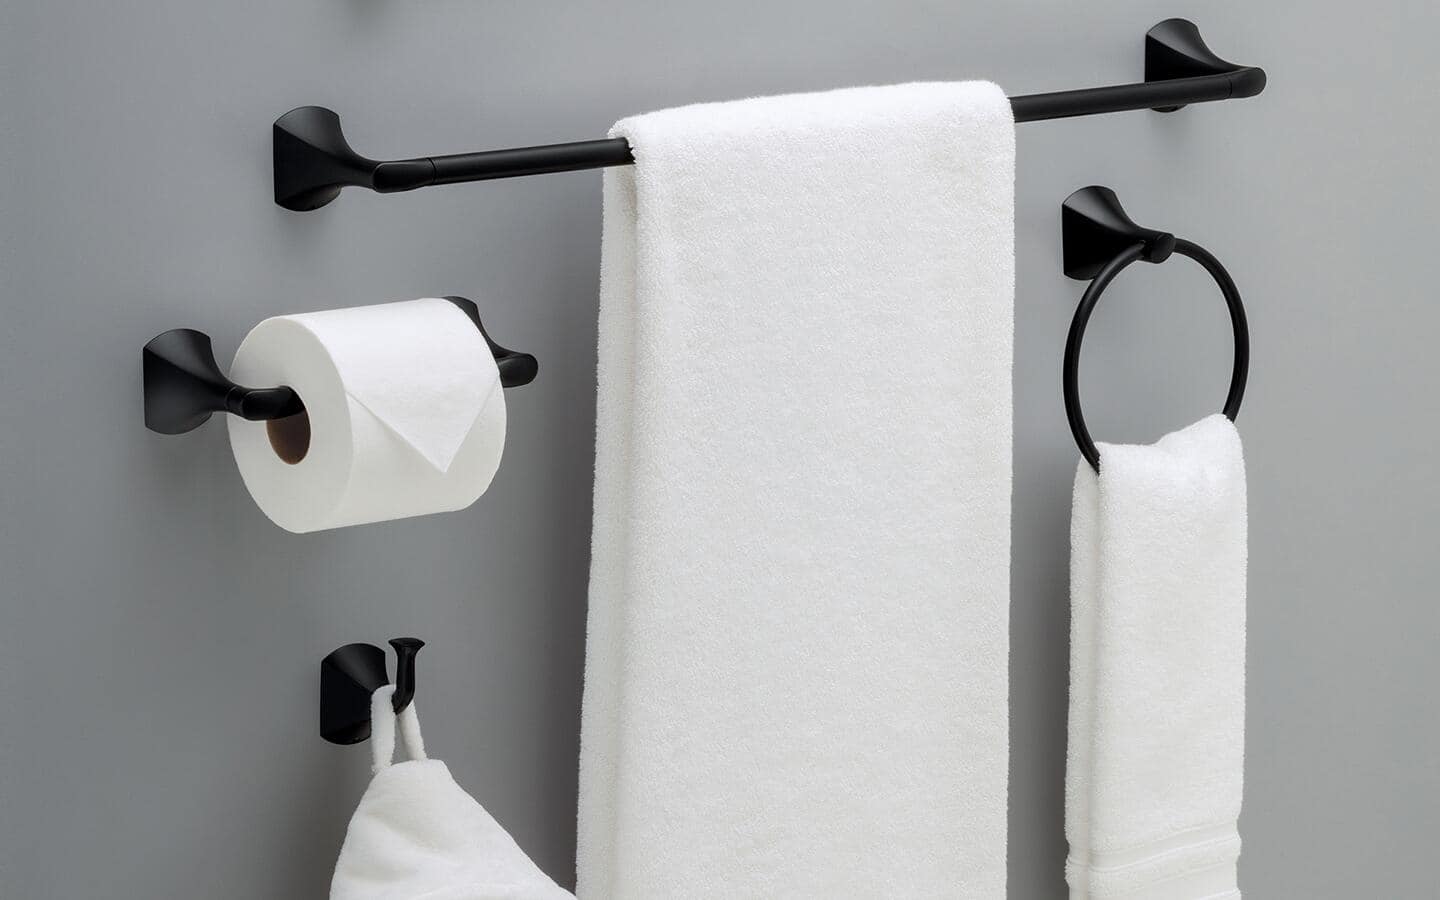
Towel racks come in many styles. Wall-mounted racks save floor space. Freestanding racks can move easily. Over-the-door racks fit on doors without drilling. Towel bars hold one or two towels. Towel rings work well near sinks.
Materials And Finishes
Materials affect look and durability. Stainless steel resists rust and lasts long. Chrome offers a shiny, modern look. Wood adds warmth but needs good care. Plastic racks are budget-friendly but less durable. Choose finishes that match your bathroom fixtures.
Size And Placement Considerations
Pick a size that fits your space. Large racks hold more towels but need more room. Small racks suit compact bathrooms. Place racks near showers or sinks for convenience. Keep racks at a reachable height for all users.

Credit: www.youtube.com
Tools And Materials Needed
Installing towel racks is a simple task that needs the right tools and materials. Preparation helps the job go smoothly and saves time. This guide covers the basic tools, hardware, and safety gear required for the job.
Essential Tools
You will need a drill for making holes in the wall. A screwdriver helps to fix screws tightly. A level ensures the rack is straight. A measuring tape is useful for accurate placement. A pencil marks the spots where holes go. A stud finder locates the strong wall beams for support.
Hardware Components
Towel racks usually come with screws and wall anchors. Anchors hold the rack securely if there is no stud behind the wall. Screws come in different sizes. Choose the size that fits your rack and wall type. Sometimes, brackets are included to hold the rack firmly.
Safety Gear
Wear safety goggles to protect your eyes from dust and debris. Gloves keep your hands safe from sharp edges and tools. Use ear protection if the drill is noisy. Keep the workspace clean to avoid accidents. Safety ensures the task is done without injuries.
Preparing The Installation Area
Preparing the installation area is the first step to a secure towel rack setup. A well-prepared space ensures your towel rack stays firmly in place. It also helps avoid damage to your wall. Follow the steps below to get ready for the installation.
Measuring And Marking
Start by measuring the height you want for your towel rack. Usually, 48 inches from the floor works well. Use a pencil to mark the spots where the rack brackets will go. Make sure marks are level and even. A level tool helps keep your marks straight. Double-check measurements before drilling any holes.
Locating Studs Or Anchors
Check for wall studs behind your marks. Studs provide strong support for towel racks. Use a stud finder to locate them easily. If no studs are in the right spots, choose wall anchors. Anchors help hold screws in drywall safely. Pick anchors that match the weight of your towel rack.
Surface Preparation
Clean the wall area where you will install the rack. Remove dust, dirt, and grease with a damp cloth. Let the wall dry completely before drilling. Smooth any bumps or rough spots with sandpaper. A flat surface helps the rack sit flush against the wall. This step prevents wobbling and damage later.
Step-by-step Installation
Installing a towel rack is a simple task anyone can do. Follow these clear steps to place your rack safely and securely. Take your time and use the right tools. This guide will help you install your towel rack correctly.
Drilling And Mounting
Mark the spots for the screws on the wall. Use a level to keep the rack straight. Drill holes at the marked points carefully. Insert wall anchors if the wall is hollow. These anchors hold the screws firmly.
Securing The Rack
Align the rack brackets with the drilled holes. Insert screws into the anchors or wall. Tighten the screws to hold the brackets in place. Attach the towel rack to the brackets. Make sure it fits snugly and is centered.
Checking Stability
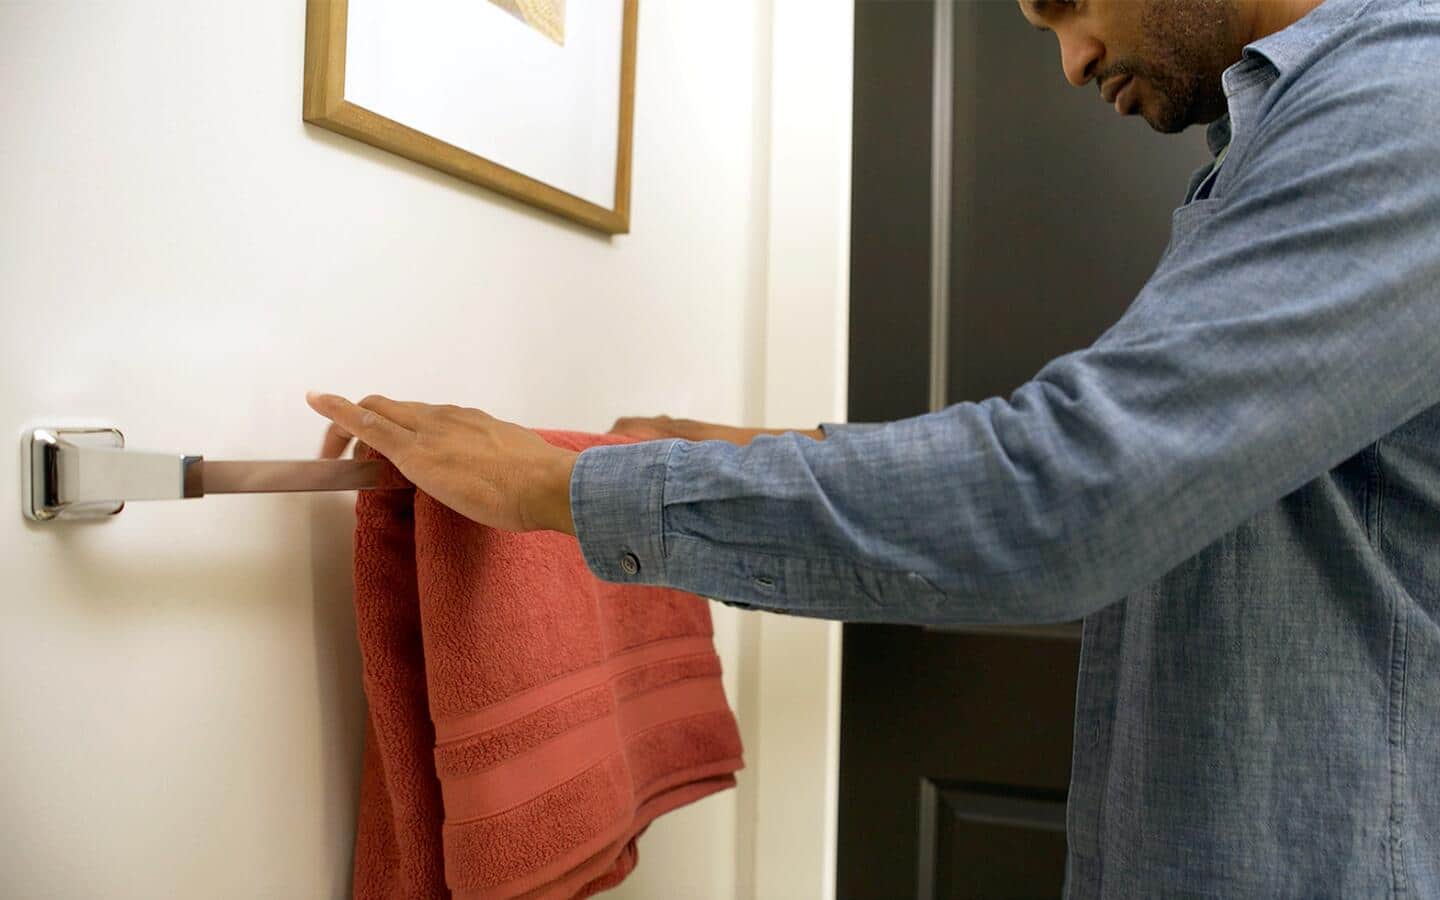
Gently pull the towel rack to test strength. It should not move or feel loose. Tighten screws again if there is any wobble. A stable rack will hold towels without falling. Your towel rack is now ready to use.
Finishing Touches
Finishing touches complete the towel rack installation. They make your space neat and inviting. Small steps here ensure your rack looks great and lasts long. Take time to clean, decorate, and maintain the rack properly.
Cleaning Up
Remove dust and debris from the installation area. Use a soft cloth to wipe the rack and surrounding wall. Clean screws and mounting brackets for a polished look. Check for leftover adhesive or marks. This keeps your bathroom tidy and fresh.
Adding Decorative Elements
Choose towels that match your bathroom’s color scheme. Fold or hang them neatly on the rack. Add small accessories like hooks or baskets nearby. These can hold extra towels or toiletries. Decorative elements make your space feel cozy and personal.
Maintaining Your Towel Rack
Check the rack regularly for loose screws or parts. Tighten them gently to keep the rack stable. Wipe the rack weekly to prevent dust and rust. Avoid hanging wet towels for long periods. Good maintenance keeps the rack strong and clean.
Troubleshooting Common Issues
Towel rack installation can sometimes face small problems. These issues stop the rack from working well or looking good. Fixing these common problems is simple. It saves time and stops damage to your walls.
Loose Fixtures
Loose fixtures make the towel rack unstable. Check screws for tightness. Use a screwdriver to tighten them firmly. If screws do not hold, use wall anchors. Anchors add support and keep racks secure. Avoid using too much force to prevent damage.
Wall Damage
Wall damage happens when drilling or mounting is careless. Small holes and cracks weaken the area. Fill holes with spackle or putty. Let it dry, then sand smooth. Paint over to match the wall color. Use proper tools and gentle pressure to avoid damage.
Uneven Mounting
Uneven mounting makes the rack look crooked and unstable. Use a level tool before fixing screws. Adjust the position until the rack is straight. Mark the spots with a pencil for accuracy. Proper alignment improves both function and appearance.
Credit: www.homedepot.com
Frequently Asked Questions
How Do I Choose The Right Towel Rack Size?
Choose a towel rack size based on your bathroom space and towel dimensions. Measure the wall area and towel length. Ensure enough room for towels to hang freely without touching the floor or each other. This prevents dampness and keeps towels fresh.
What Tools Are Needed To Install Towel Racks?
You need a drill, screwdriver, level, measuring tape, wall anchors, and screws. These tools help ensure secure and straight installation. Using the right tools prevents damage to walls and keeps the rack stable for daily use.
Can I Install Towel Racks On Tile Walls?
Yes, you can install towel racks on tile walls. Use a masonry drill bit to avoid cracking tiles. Insert wall anchors to secure screws firmly. This method ensures your towel rack is stable and your tiles stay intact.
How High Should Towel Racks Be Installed?
Install towel racks about 48 inches from the floor for easy reach. Adjust height based on user preference and bathroom layout. Proper height ensures towels dry efficiently and are accessible to all users.
Conclusion
Installing towel racks can be simple and quick. Measure the space carefully before drilling holes. Use the right tools to avoid mistakes. Secure the rack tightly to keep towels safe. Choose a spot that is easy to reach. This small project improves bathroom organization and style.
You will enjoy having towels neat and handy. Try it yourself and see the difference today.