Are you tired of towels slipping off hooks or cluttering your bathroom counter? Mounting a towel rack on tile might seem tricky, but with the right steps, you can have a sturdy and stylish solution in no time.
This guide will walk you through the process, making it simple and stress-free. By the end, you’ll know exactly how to install your towel rack securely, saving space and adding convenience to your daily routine. Ready to transform your bathroom?
Let’s get started!
Tools And Materials Needed
Mounting a towel rack on tile needs the right tools and materials. Having these ready makes the job easier and safer. This section lists what you need before starting the work.
Essential Tools
You need a drill with a masonry bit to drill into tile. A screwdriver helps to fix screws tightly. A level ensures your towel rack is straight. Use a tape measure to mark the exact spot. A pencil or marker works to mark holes. Safety glasses protect your eyes from dust and small chips.
Choosing The Right Towel Rack
Pick a towel rack that fits your bathroom style and space. Metal racks are strong and last long. Plastic racks are lighter and easier to mount. Check the size to hold your towels properly. Choose one with mounting holes that match your drill size.
Selecting Suitable Anchors And Screws
Use anchors made for tile or masonry to hold screws firmly. Plastic anchors work for light loads. Metal anchors are better for heavy racks. Choose screws that fit the anchors and rack holes. Stainless steel screws resist rust in wet bathrooms.
Preparing The Tile Surface
Preparing the tile surface is a crucial step before mounting a towel rack. It ensures the rack stays secure and the tiles do not get damaged. Proper preparation also helps the screws and anchors hold better. Taking time here saves effort later.
Cleaning The Area
Start by cleaning the tile where you want to mount the rack. Use a mild cleaner and a soft cloth. Remove all dirt, dust, and grease. Clean tiles help adhesives and anchors stick well. Let the surface dry completely before moving on.
Marking The Mounting Points
Next, mark where the screws will go. Hold the towel rack against the tile. Use a pencil to mark holes through the mounting brackets. Double-check the marks for even spacing and level alignment. Correct marks make drilling easier and accurate.
Drilling Into Tile
Drilling into tile can feel tricky. Tiles are hard and can crack easily. Careful steps help you drill clean holes without damage. This section shows how to drill safely for your towel rack.
Choosing The Correct Drill Bit
Use a carbide-tipped or diamond-tipped drill bit. These bits cut through tile smoothly. Avoid regular wood or metal bits. They can slip and crack the tile. Match the drill bit size to your anchor or screw.
Using Tape To Prevent Slipping
Place a small piece of painter’s tape over the drill spot. The tape helps the drill bit grip the tile surface. It stops the bit from sliding around. Mark the spot on the tape with a pencil for accuracy.
Drilling Technique For Tiles
Start drilling at a low speed. Do not push hard. Let the drill bit do the work gently. Keep the drill straight to avoid cracking. Pause often to cool the bit and tile. Use water or a damp cloth for cooling.
Credit: www.lepage.ca
Installing Anchors And Screws
Installing anchors and screws is a key step in mounting a towel rack on tile. It ensures the rack stays secure and supports weight without damaging the wall. The process requires care to avoid cracking the tile and to hold the rack firmly. Follow the steps below to install anchors and screws correctly for a strong, lasting mount.
Inserting Wall Anchors
Start by marking the holes on the tile where the towel rack will go. Use a drill with a masonry bit to make holes in the tile. Drill slowly to prevent cracks. The hole size must match the wall anchor size. Gently tap the anchors into the holes using a hammer. They should fit snugly and stay flush with the tile surface. These anchors hold the screws tightly and keep the rack stable.
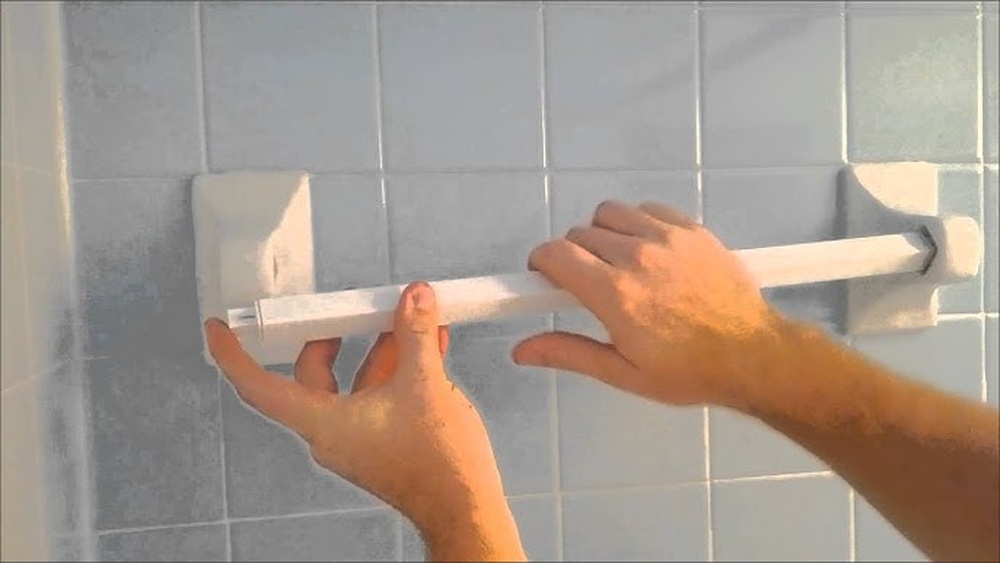
Securing The Towel Rack
Place the towel rack brackets over the anchors. Align the screw holes with the anchors carefully. Use a screwdriver to insert screws into the anchors. Turn the screws until the rack feels secure but avoid over-tightening. Over-tightening can crack the tile or strip the anchors. Check the rack stability by applying light pressure. Adjust screws if needed for a firm hold.
Finishing Touches
After installing your towel rack on tile, the final steps matter a lot. These finishing touches ensure your towel rack stays strong and looks good. Taking care now helps avoid damage and keeps your bathroom neat.
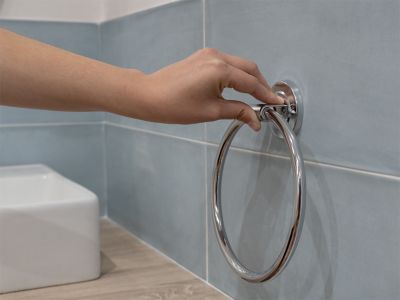
Checking Stability
Test the towel rack by gently pulling it. Wiggle it slightly to check for loose spots. If it moves, tighten the screws or anchors again. A stable rack holds towels without wobbling or falling.
Sealing Around Mounts
Apply a small bead of clear silicone sealant around each mount. This stops water from seeping behind the tile. Smooth the sealant with your finger or a tool for a clean finish. Let it dry fully before using the towel rack.

Credit: www.renovatorstore.com.au
Common Mistakes To Avoid
Mounting a towel rack on tile can be tricky. Many people make mistakes that cause damage or weak holds. Avoiding these errors ensures your rack stays secure and your tiles stay intact. Learn the common mistakes to avoid for a smooth installation.
Drilling Without Proper Preparation
Tile is hard and can crack easily. Drilling without the right tools or plan can ruin the tile. Always use a drill bit designed for tile. Mark the spot clearly before you start. Use tape on the tile to prevent slipping. Take your time and drill slowly to avoid cracks.
Using Incorrect Anchors
Not all anchors work on tile. Using the wrong type can cause the rack to fall. Choose anchors made for tile or masonry. These hold tight without damaging the tile. Check the weight limit of the anchors. Strong anchors keep your towel rack stable and safe.
Overtightening Screws
Tightening screws too much can crack the tile or strip the anchors. Turn screws gently and stop when they are snug. Avoid forcing the screws after they feel tight. Proper tightening protects your tile and keeps the rack firm. A careful hand makes a big difference.

Credit: www.youtube.com
Frequently Asked Questions
How Do I Drill Into Tile Without Cracking It?
Use a carbide-tipped drill bit for tile. Start with low speed and light pressure. Apply masking tape to prevent slipping. Cool the bit with water to avoid overheating and cracking the tile.
What Type Of Anchors Work Best For Tile Walls?
Plastic expansion anchors or toggle bolts work well. Choose anchors rated for the towel rack’s weight. Avoid using drywall anchors, as they may damage the tile and provide weak support.
How Do I Ensure Towel Rack Is Level On Tile?
Use a spirit level or laser level. Mark the drill holes accurately with a pencil. Double-check measurements before drilling to ensure the rack hangs straight and looks professional.
Can I Mount A Towel Rack On Ceramic And Porcelain Tiles?
Yes, both ceramic and porcelain tiles can support towel racks. Use the right drill bit and anchors for hardness. Follow proper installation steps to avoid tile damage and ensure a secure hold.
Conclusion
Mounting a towel rack on tile is simple with the right tools. Take time to measure and mark the spots carefully. Use a drill bit made for tile to avoid cracks. Secure the rack tightly to keep it stable. This small task can improve your bathroom’s look and function.
Enjoy having towels within easy reach every day. Keep these steps in mind for a smooth installation. You will feel proud of your work once done.

