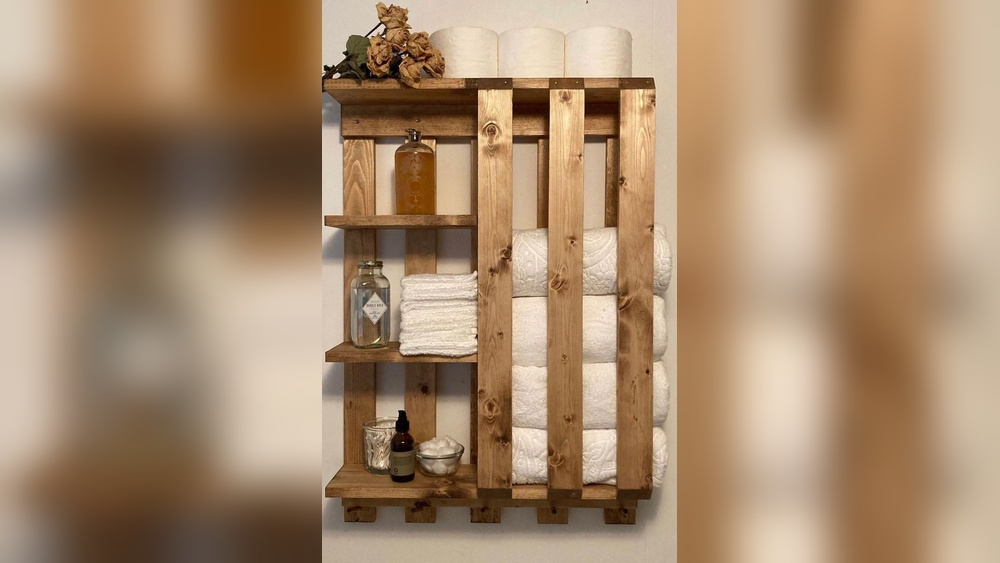

Looking to add a unique touch to your bathroom or laundry room? Building a towel rack out of pallets is easier than you think—and it can save you money while giving your space a rustic, charming look.
Imagine having a sturdy, custom rack that fits perfectly with your style and needs. In this guide, you’ll discover simple steps to turn old pallets into a beautiful, functional towel rack. Ready to transform your space and impress your guests?
Let’s get started!
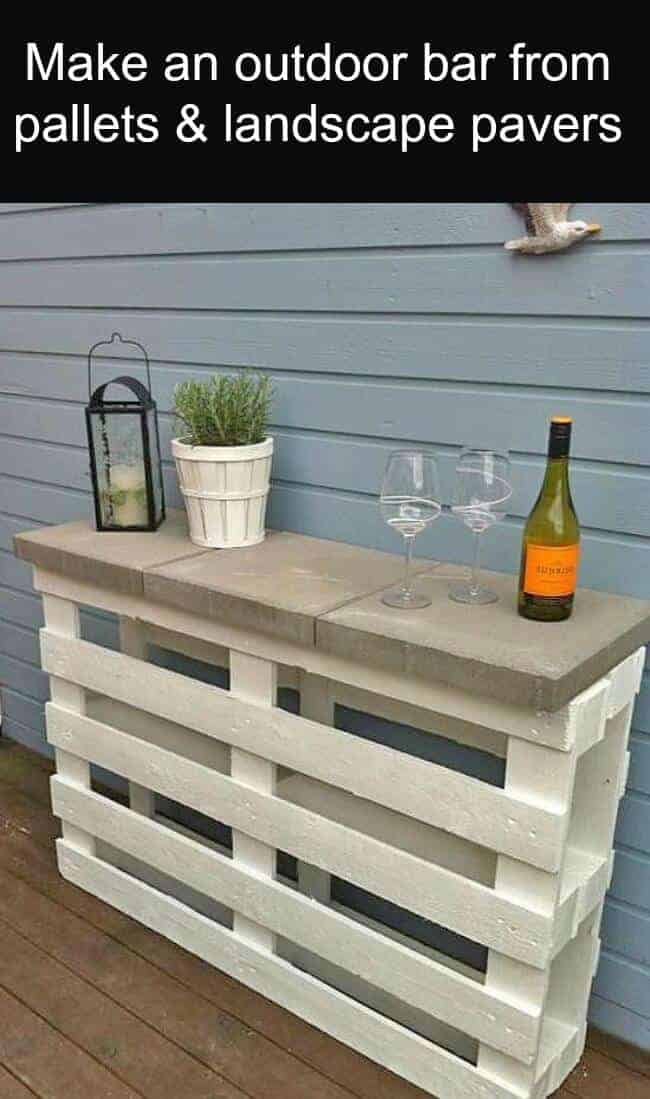
Credit: www.liftingitalia.com
Materials Needed
Building a towel rack from pallets is a fun and simple project. Having the right materials makes the job easier and the final product stronger. Gathering everything before starting saves time and avoids frustration.
Selecting The Right Pallets
Choose pallets made of solid wood for durability. Avoid pallets with cracks or signs of rot. Look for pallets that are clean and free of chemicals. Pallets marked with “HT” are heat-treated and safer for indoor use. Pick pallets that have enough slats to hold towels securely.
Tools And Hardware
Basic tools include a saw, hammer, and drill. Sandpaper or a power sander helps smooth rough edges. Use wood screws to join pieces firmly. A screwdriver or drill bit fits the screws. Add hooks or pegs for hanging towels. Finish with wood glue for extra strength. A measuring tape and pencil help with precise cuts.
Preparing The Pallets
Preparing the pallets is a key step before building your towel rack. This process makes the wood safe and smooth. It also helps your rack last longer. Proper preparation saves time and effort later.
Start by cleaning the pallets to remove dirt and dust. Then, sanding makes the surface smooth and splinter-free. Disassembling lets you use the wood parts you need. Each step is important for a sturdy towel rack.
Cleaning And Sanding
First, clean the pallets with a stiff brush. Remove dirt, dust, and any loose wood pieces. Use soap and water if pallets are very dirty. Let them dry completely before sanding.
Next, sand the wood with medium-grit sandpaper. Sand all surfaces to remove rough spots and splinters. Smooth wood feels nice and is safe to touch. Wipe away dust after sanding.
Disassembling The Pallets
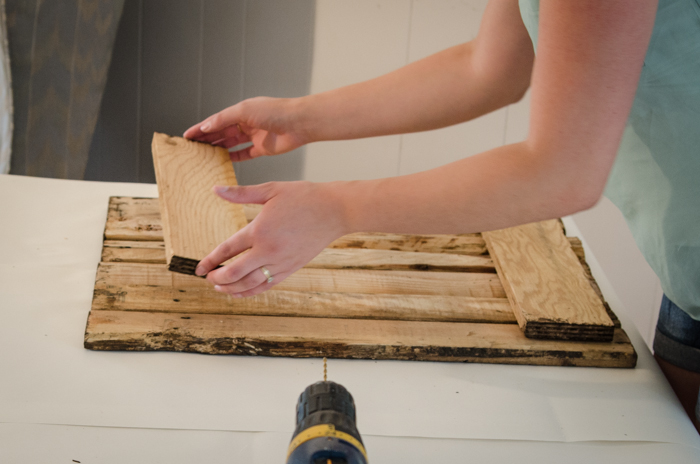
Use a crowbar or hammer to carefully take pallets apart. Remove nails or staples from the wood pieces. Work slowly to avoid breaking the wood. Save the best boards for your towel rack.
Disassembling gives you more control over the size and shape. Choose pieces that fit your design. Keep wood clean and dry until ready to use.
Designing The Towel Rack
Designing the towel rack is the first step in your pallet project. It sets the foundation for the entire build. Thoughtful design makes the rack functional and attractive. Consider the space where you will place it. Think about how many towels you want to hang. This helps create a clear plan and saves time during assembly.
Choosing The Rack Size
Decide the size based on your available wall space. Measure the area carefully before starting. Keep in mind the length and height of towels. A rack too small will crowd your towels. Too big takes up unnecessary space. A good size balances utility and room aesthetics. Usually, 24 to 36 inches wide works well.
Planning The Layout
Sketch the layout on paper or use design software. Plan the number of bars or hooks you want. Space them evenly for a neat look. Consider adding shelves for folded towels or toiletries. Think about the height of each bar for easy reach. Use straight lines for a simple design. Avoid clutter to keep the rack practical.
Credit: www.lemonthistle.com
Assembling The Rack
Assembling the towel rack is the key step to turn pallet wood into a useful piece. This process involves shaping the wood and connecting parts to create a sturdy frame. Careful cutting and solid joining ensure the rack lasts long and holds towels well.
Cutting The Wood Pieces
Start by measuring the pallet wood carefully. Cut the pieces to the sizes needed for the rack frame and bars. Use a saw that fits your skill level and tools available. Smooth rough edges with sandpaper to avoid splinters. Proper cuts make assembly easier and result in a clean look.
Joining The Components
Arrange the wood pieces according to your design. Use screws or nails to join the frame parts tightly. Drill pilot holes to prevent the wood from splitting. Attach the bars evenly spaced for hanging towels. Check that all parts are secure and the rack stands firm. Tight joints keep the rack stable and safe to use.
Finishing Touches
Finishing touches make your towel rack look great and last longer. These final steps protect the wood and give your project a clean, polished feel. Take time here to ensure smooth edges and a nice color or finish. A well-finished rack feels good to touch and looks inviting in any bathroom.
Sanding And Smoothing
Start by sanding all wooden surfaces carefully. Use medium-grit sandpaper to remove rough spots and splinters. Then switch to fine-grit sandpaper for a smooth finish. Sand edges and corners well to avoid sharp points. Wipe away dust with a damp cloth after sanding. Smooth wood prevents injuries and helps paint or stain stick better.
Painting Or Staining
Choose paint or stain to suit your bathroom style. Paint adds color and covers wood grain completely. Stain shows the natural wood texture and adds warmth. Apply thin, even coats using a brush or cloth. Let each coat dry fully before adding another. Finish with a clear sealant to protect from moisture. This step keeps your towel rack looking fresh and strong for years.
Mounting The Towel Rack
Mounting the towel rack is a key step in your DIY pallet project. It secures the rack to the wall and makes it functional. Proper mounting keeps the rack stable and safe for everyday use.
Selecting The Mounting Location
Choose a spot near your bathroom or kitchen sink. The rack should be easy to reach and not block doors or drawers. Check the wall surface. Drywall and tile need different anchors. Avoid areas with pipes or wires behind the wall. Use a stud finder to locate solid support. Mounting on a stud holds more weight and is safer.
Installing Wall Brackets
Mark the bracket positions on the wall using a pencil. Use a level to keep the rack straight. Drill pilot holes for screws. Insert wall anchors if you are not drilling into studs. Attach the brackets securely with screws. Hang the pallet rack on the brackets. Test the rack by gently pulling to ensure it stays firm. Adjust screws if needed for a tight fit.
Maintenance Tips
Building a towel rack out of pallets is a smart and creative project. To keep it looking great, some care is needed. Regular maintenance helps the rack stay strong and last longer.
Cleaning The Rack
Dust and dirt can build up on the pallet wood. Use a soft cloth or brush to remove loose dirt. For tougher spots, a damp cloth with mild soap works well. Avoid soaking the wood to prevent damage. Dry the rack completely after cleaning to stop mold or mildew growth.
Protecting The Wood
Wood from pallets can wear out without protection. Apply a clear wood sealant or varnish to keep moisture out. This also stops cracks and splits. Reapply the sealant every few months, especially in humid areas. Check for any signs of damage and fix them early to maintain strength.

Credit: www.lazygeniusmom.com
Frequently Asked Questions
How Do I Start Building A Towel Rack From Pallets?
Begin by selecting a sturdy pallet and disassembling it carefully. Sand the wood to smooth rough edges. Plan the design and gather necessary tools like screws and a drill before assembling.
What Tools Are Needed To Build A Pallet Towel Rack?
You need a saw, drill, screwdriver, measuring tape, and sandpaper. Optional tools include a hammer and wood glue. These tools help cut, shape, and assemble the pallet pieces efficiently.
Can I Customize The Pallet Towel Rack Design?
Yes, you can customize size, shape, and finish. Add hooks, shelves, or paint for style. Customization lets you match your rack to your bathroom decor perfectly.
How Long Does It Take To Build A Pallet Towel Rack?
Building a towel rack usually takes 2 to 4 hours. Time depends on design complexity and drying time for paint or finish. Simple designs take less time.
Conclusion
Building a towel rack from pallets is simple and fun. You only need a few tools and basic skills. Pallets give a rustic look that fits many rooms. This project saves money and recycles wood. You can customize the rack to fit your space.
Try adding hooks or shelves for extra storage. Enjoy making something useful with your own hands. Pallet towel racks bring charm and function together. Give it a try, and see how easy it is. Your bathroom will look neat and unique.