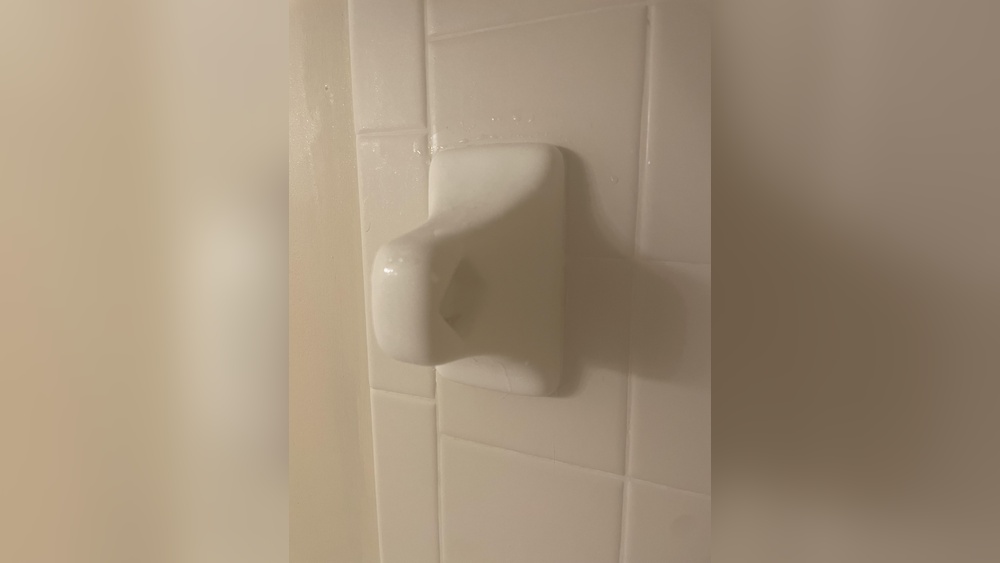

Are you tired of that old towel rack ruining the look of your bathroom tiles? Removing a tile towel rack might seem tricky, but it doesn’t have to be.
With the right steps, you can take it down quickly and without damaging your tiles. In this guide, you’ll discover simple, effective techniques to get the job done right. Keep reading, and you’ll learn how to transform your space with ease—no stress, no mess.
Your bathroom makeover starts here!
Credit: www.reddit.com
Tools Needed
Removing a tile towel rack requires the right tools for a smooth job. Using proper tools helps avoid damage to tiles and walls. Prepare all items before starting. This saves time and effort.
Safety Gear
Protect yourself with safety glasses and gloves. Tiles can chip or break unexpectedly. Safety gear keeps your eyes and hands safe.
Putty Knife Or Flathead Screwdriver
Use a putty knife or flathead screwdriver to pry off the rack. Insert gently under the rack base to loosen it. These tools help separate the rack from the wall.
Drill With Screwdriver Bits
Many towel racks are held by screws. A drill with screwdriver bits removes these quickly. Choose the right bit size for your screws to avoid stripping.
Utility Knife
A utility knife cuts through caulk or adhesive around the rack. Run the blade carefully along edges to loosen the seal. This prevents tile damage during removal.
Putty Or Spackle
After removal, holes will need filling. Use putty or spackle to cover screw holes and gaps. This prepares the wall for repainting or new fixtures.
Prepare The Area
Clear the area around the towel rack to avoid damage and make space. Lay down a cloth or paper to catch dust and debris. Gather your tools nearby for easy access.
Clear The Surrounding Space
Start by removing items near the towel rack. Clear shelves, counters, and hooks around it. This gives you room to work safely. Avoid knocking over anything fragile or heavy. A clean space helps prevent accidents and keeps tools handy.
Protect The Tile Surface
Cover tiles around the rack with painter’s tape. This prevents scratches or chips during removal. Use thin foam or cardboard under your tools for extra protection. Protecting tiles keeps your bathroom looking good after the job.
Gather Necessary Tools
Collect all tools before starting. You may need a screwdriver, putty knife, or drill. Having tools ready saves time and reduces frustration. Check tools for damage to avoid delays.
Wear Safety Gear
Put on safety glasses to protect your eyes. Gloves help protect your hands from sharp edges. Consider wearing a mask if dust might form. Safety gear keeps you safe and comfortable during work.
Locate Mounting Hardware
Locating the mounting hardware is the first step in removing a tile towel rack. This hardware holds the rack firmly to the wall. Finding it helps you remove the rack without damaging the tile surface.
Mounting hardware can be hidden under decorative covers or caps. These covers protect the screws and give the rack a clean look. Removing these covers carefully reveals the screws underneath.
Check For Decorative Caps
Look closely at the towel rack for small caps on the ends or base. These caps often snap or slide off easily. Use a flat tool, like a screwdriver, to gently pry them off. Be careful not to chip the tile or scratch the rack.
Identify Screw Locations
Once the caps are removed, you will see the screws holding the rack. These screws secure the rack to the wall anchors inside the tile. Note the number and position of the screws for easier removal.
Use Proper Tools To Access Screws
Use a screwdriver that fits the screws well to avoid stripping them. A Phillips head or flathead screwdriver is common for towel racks. Turn the screws slowly to loosen them without damaging the tile.

Credit: www.youtube.com
Remove Screws And Anchors
Removing screws and anchors is the key step in taking off a tile towel rack. This part needs care to avoid damage to the tile surface. Use the right tools and steady hands for best results.
Start by locating all screws holding the towel rack. Screws may be hidden under caps or covers. Gently pry off any covers to expose the screws.
Gather The Necessary Tools
Use a screwdriver that fits the screw heads exactly. A wrong size can strip the screws. A drill with a screwdriver bit can help but use low speed.
Remove The Screws Carefully
Turn screws counterclockwise to loosen them. Apply steady pressure and keep the screwdriver straight. Remove screws one by one and set them aside safely.
Handle Anchors With Care
Anchors hold screws tightly in tile walls. Pull anchors gently with pliers or push them into the wall if possible. Avoid forcing them to prevent tile cracks.
Check For Hidden Screws Or Clips
Some racks use extra clips or brackets. Look behind the rack edges or under the mounting plate. Remove any remaining fasteners before pulling off the rack.
Handle Adhesive Residue
After removing a tile towel rack, sticky adhesive residue often remains. This residue can look messy and attract dirt. Removing it helps restore the tile’s smooth surface. The process requires care to avoid damaging the tiles.
Softening The Adhesive
Start by softening the adhesive to make it easier to remove. Use a hairdryer on low heat. Hold it close to the adhesive for a few minutes. The warmth loosens the glue, reducing its grip on the tile. Avoid using too much heat to protect the tile surface.
Scraping Off Residue
Use a plastic scraper or an old credit card to scrape the softened adhesive. Gently push the tool under the residue. Work slowly to prevent scratches. For stubborn spots, reapply heat and scrape again. Clean the tile with warm soapy water after scraping.
Repair Tile Surface
Removing a tile towel rack can leave the tile surface damaged. Small holes and scratches often appear where screws were fixed. Repairing the tile surface improves the look of your bathroom. It also protects the tile from water damage and stains.
Repairing the tile surface does not need special tools. Simple steps can restore your tiles to a smooth finish. Below are easy ways to fix small holes and touch up paint on tiles.
Filling Small Holes
Clean the tile surface first. Use a soft cloth and mild cleaner to remove dust and dirt. Dry the area completely before filling the holes. Use a tile filler or epoxy putty made for tiles. Apply the filler with a small putty knife. Press it firmly into the hole to fill it fully. Smooth the surface with the knife to level it with the tile. Let the filler dry as per the instructions on the package. Once dry, lightly sand the area with fine sandpaper. This makes the repair blend with the tile surface.
Touching Up Paint
Choose a paint color that matches your tile. Use ceramic or tile paint for best results. Clean the area around the hole or scratch. Use a small paintbrush to apply paint in thin layers. Let each layer dry before adding another. Apply enough layers to cover the repair completely. Avoid thick coats to prevent paint peeling. After the paint dries, the tile will look smooth and new again.
Preventing Tile Damage
Removing a tile towel rack can be tricky. Tiles are delicate and can crack or chip easily. Protecting your tiles during removal saves time and money. Careful steps help keep your bathroom looking new.
Using Proper Tools
Choose tools made for delicate work. A plastic putty knife or a small pry bar works well. Avoid metal tools that can scratch or break tiles. Use a utility knife to cut any caulk around the rack first. This softens the seal and reduces pulling force.
Applying Gentle Pressure
Push slowly and gently when prying the rack away. Sudden force can crack tiles or damage grout. Work a little at a time on each side. Listen for any cracks or sounds that signal damage. Stop and adjust if you feel too much resistance.

Credit: www.youtube.com
Frequently Asked Questions
How Do I Safely Remove A Tile Towel Rack?
Use a utility knife to cut caulk around the rack. Then, unscrew mounting brackets carefully to avoid tile damage.
What Tools Are Needed To Remove A Tile Towel Rack?
You need a utility knife, screwdriver, putty knife, and possibly a drill with a masonry bit.
How To Prevent Tile Damage When Removing A Towel Rack?
Cut all caulk lines first. Use gentle prying motions and avoid excessive force near tiles.
Can I Reuse The Towel Rack After Removal?
Yes, if the rack is undamaged, clean it thoroughly before reinstalling in a new location.
Conclusion
Removing a tile towel rack can be simple with the right steps. Take your time and use the correct tools for safety. Clean the area well to avoid damage or stains. Repair any holes or marks left behind before installing a new rack.
This keeps your bathroom looking neat and fresh. With patience, you can complete this task without help. A little effort goes a long way in home care. Keep these tips handy for your next bathroom update.