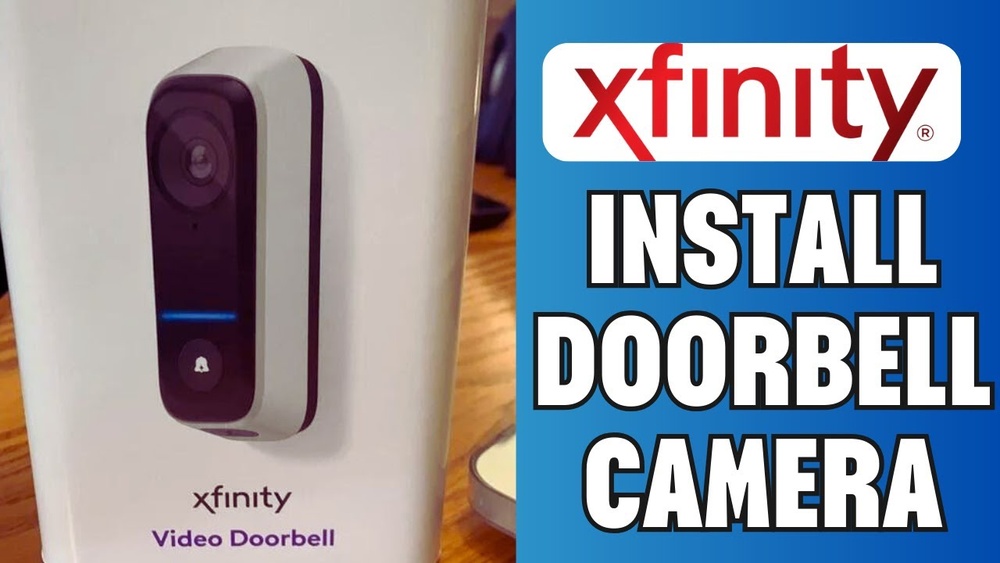
Are you ready to boost your home’s security with an Xfinity Video Doorbell but don’t know where to start? Installing it yourself might seem tricky, but it’s easier than you think.
Imagine being able to see who’s at your door from anywhere, right on your phone. In this guide, you’ll get clear, simple steps to install your Xfinity Video Doorbell quickly and confidently. By the end, you’ll have peace of mind knowing your home is safer—and you did it all on your own.
Keep reading to discover how easy it can be!

Credit: www.youtube.com
Tools And Materials Needed
Installing an Xfinity Video Doorbell requires a few simple tools and materials. Having everything ready makes the process smooth and fast. This section lists all items needed for a successful installation.
Basic Tools
Prepare a screwdriver, either Phillips or flathead, to remove screws. A drill is useful for making holes if your door frame is solid. A level helps keep the doorbell straight. Wire strippers come in handy if you need to adjust wires.
Materials Provided With The Doorbell
The Xfinity Video Doorbell box contains mounting screws and anchors. It also includes a mounting bracket to attach the doorbell. Keep the quick start guide for reference. The doorbell usually comes with a rechargeable battery or power adapter.
Additional Materials
Have electrical tape ready for securing wires. Use a ladder if your doorbell is high. A voltage tester ensures the power is off before you start. Keep a smartphone or tablet nearby for setup after installation.

Credit: yao.com.do
Preparing The Installation Site
Preparing the installation site is the first step to a smooth Xfinity Video Doorbell setup. This phase ensures your doorbell works well and stays safe. Taking time here saves effort later. Let’s break down the key tasks you need to do.
Choosing The Best Location
Select a spot near your front door. The camera should capture visitors clearly. Avoid bright lights or direct sunlight. These can affect video quality. Pick a height about 4 to 5 feet from the ground. Make sure the Wi-Fi signal is strong at this spot.
Checking Existing Doorbell Wiring
Look for your current doorbell wires behind the wall plate. These wires power the new doorbell. Confirm the wires are in good shape and not damaged. Use a voltage tester to check if wires carry power. Note the wire colors to connect properly later.
Turning Off Power Safely
Before touching wires, turn off power at your breaker box. This prevents electric shock. Double-check power is off using a voltage tester. Never skip this safety step. Working with electricity needs care and attention.
Removing The Old Doorbell
Removing the old doorbell is the first step to install your new Xfinity video doorbell. It prepares the space and wiring for the new device. Take care during removal to avoid damage to the wires and wall.
Turn off power at the circuit breaker before starting. Safety is crucial when handling electrical parts. Use a voltage tester to confirm no electricity flows to the doorbell wires. This prevents shocks and injuries.
Gather Necessary Tools
Collect a screwdriver, voltage tester, and pliers. These tools help to remove screws and handle wires safely. Having everything ready makes the process faster and smoother.
Remove The Doorbell Cover
Unscrew the doorbell cover gently. Some models have clips; others use screws. Use the screwdriver to loosen screws and lift off the cover without forcing it.
Disconnect The Wires
Note the wire positions before disconnecting. Take a photo for reference. Loosen the screws holding the wires. Carefully pull wires away from terminals without damage.
Remove The Mounting Plate
Unscrew the mounting plate from the wall. Keep screws safe for new installation. Check the wall for damage or dirt. Clean the surface for better mounting of the new doorbell.
Mounting The Xfinity Video Doorbell
Mounting the Xfinity Video Doorbell is an important step for proper installation. It ensures the device stays secure and works well. Follow simple steps to attach the mounting plate, connect wires, and secure the doorbell unit. Each step is easy and quick to do.
Attaching The Mounting Plate
Start by placing the mounting plate against the wall near your door. Use a pencil to mark where the screws go. Drill holes at the marked spots to fit the anchors. Insert the anchors, then screw the mounting plate firmly in place. Make sure the plate is level for the best view.
Connecting The Wires
Turn off power to your doorbell wiring before starting. Connect the existing doorbell wires to the screws on the mounting plate. Tighten the screws to hold the wires securely. If wires are loose, the doorbell might not work properly. Double-check the connections before moving on.
Securing The Doorbell Unit
Align the doorbell unit with the mounting plate. Slide or snap it into place according to the instructions. Use the provided screws to lock the unit firmly. Give it a gentle tug to confirm it is secure. Your Xfinity Video Doorbell is now ready for setup and use.
Powering Up The Device
Powering up the Xfinity Video Doorbell is a crucial step after installation. The device needs steady electrical power to work correctly. Without power, the doorbell will not record video or send alerts. This section guides you through restoring power and checking the device’s power status.
Restoring Electrical Power
First, check the circuit breaker or fuse box. The power to your doorbell’s wiring might be off. Switch the breaker back on or replace the fuse if needed. Next, ensure the doorbell’s wiring connects firmly to the power source. Loose wires can cause power loss. Use a voltage tester to confirm electricity flows to the doorbell wires. This step prevents electrical issues that can stop the device from working.
Verifying Power Status
Turn on your Xfinity Video Doorbell. Look for a steady light on the device. A blinking or no light means no power or a problem. Use the Xfinity app to check the device’s status. The app shows if the doorbell is online and receiving power. If the app shows no power, double-check your wiring and breaker. Confirm power before moving to the next installation step.
Setting Up The Doorbell App
Setting up the doorbell app is a key step to use your Xfinity Video Doorbell. This app lets you control the doorbell, view live video, and receive alerts. Follow these steps to get started quickly and easily.
Downloading The Xfinity App
First, download the Xfinity app on your smartphone. Visit the App Store for iPhone or Google Play for Android devices. Search for “Xfinity” and tap download. The app is free and small in size. Wait until the app fully installs before opening it.
Creating Or Logging Into Your Account
Open the app after installation. You will see options to log in or create a new account. If you already have an Xfinity account, enter your email and password. New users should select “Create Account” and follow the instructions. Use a real email for verification. This account links your phone to the doorbell system.
Connecting The Doorbell To Wi-fi
Next, connect the doorbell to your Wi-Fi network through the app. The app guides you to add a new device. Choose “Video Doorbell” from the list. Enter your Wi-Fi name and password carefully. The doorbell needs a strong signal for good video quality. Wait a few moments while the doorbell connects. The app will confirm the connection when done.
Testing The Doorbell Features
After installing your Xfinity Video Doorbell, testing its features is important. This step ensures the device works properly and meets your needs. Testing helps you avoid future issues and enjoy security without interruptions.
Checking Video And Audio Quality
Start by checking the video quality on your phone or tablet. Make sure the picture is clear and bright. Test the audio by speaking through the doorbell and listening to the response. Clear sound helps you communicate with visitors easily. Adjust the camera angle if needed for better coverage.
Configuring Motion Detection
Set up motion detection to catch any movement near your door. Choose the detection zones to avoid false alerts from passing cars or animals. Adjust the sensitivity level to match your environment. Test by walking in front of the doorbell and watching for notifications.
Adjusting Notification Settings
Customize your notification settings to control when and how you get alerts. Turn on alerts for rings, motion, or both. Choose sounds and vibrations that suit your preference. Test notifications by pressing the doorbell button and triggering motion. This helps you stay informed without being overwhelmed.
Troubleshooting Common Issues
Installing an Xfinity Video Doorbell is simple, but some problems may occur. Troubleshooting common issues helps keep your doorbell working well. This section covers easy fixes for usual problems.
Wi-fi Connectivity Problems
Wi-Fi issues often stop the doorbell from working. Check if your Wi-Fi signal reaches the doorbell area. Move your router closer if the signal is weak. Restart your router to refresh the connection. Make sure you enter the correct Wi-Fi password during setup. Update your router’s firmware to fix bugs. Avoid Wi-Fi interference from other devices. Use the 2.4 GHz band if your doorbell does not support 5 GHz.
Power Supply Concerns
The doorbell needs steady power to function. Confirm the doorbell is wired correctly to your home’s power system. Use the right transformer with the correct voltage. If battery-powered, check battery level and replace if low. Avoid loose or damaged wires. Reset the doorbell after fixing power issues. Power interruptions can cause the device to stop working properly.
App Configuration Errors
App problems can prevent the doorbell from connecting. Ensure your phone and app are updated to the latest version. Log out and log back into the app to refresh settings. Delete and reinstall the app if errors continue. Check app permissions, especially for camera and microphone access. Verify the doorbell is added to your account. Follow the app’s setup steps carefully to avoid mistakes.

Credit: www.xfinity.com
Frequently Asked Questions
How Do I Install An Xfinity Video Doorbell?
To install, first turn off your doorbell power. Mount the bracket, connect wires, attach the doorbell, and restore power. Follow the app setup for Wi-Fi connection and configurations.
What Tools Are Needed For Installation?
You need a drill, screwdriver, wire stripper, and level. These help mount the bracket and connect wiring properly. Always use tools safely and follow instructions.
Can I Install It Without Professional Help?
Yes, the installation is designed for DIY. Follow step-by-step instructions and safety tips. If unsure, consult a professional to avoid electrical hazards.
How Do I Connect The Doorbell To Wi-fi?
Use the Xfinity app to connect your doorbell to Wi-Fi. Follow in-app prompts to select your network and enter the password. Ensure strong Wi-Fi signal at the doorbell location.
Conclusion
Installing an Xfinity video doorbell is simple with clear steps. Follow the instructions carefully and take your time. Check your Wi-Fi connection before starting the setup. Test the doorbell after installation to ensure it works well. This device helps keep your home safe and lets you see visitors easily.
Enjoy the convenience and peace of mind it brings every day. Stay secure with your new video doorbell.