If your pet door flap is worn out or damaged, replacing it doesn’t have to be a hassle. You want a quick, simple way to get your pet’s door back in perfect shape—without spending hours or calling a pro.
This guide will walk you through how to install the Ideal Pet Products pet door replacement flap step-by-step. By the end, you’ll have your pet’s door working like new, giving your furry friend the freedom they love and the peace of mind you need.
Ready to make the switch? Let’s get started!
Tools And Materials Needed
Before starting the installation of the Ideal Pet Products pet door replacement flap, gather the right tools and materials. Having everything ready makes the process smooth and quick.
Using the correct tools helps avoid damage to the door or the flap. It also ensures a tight fit and proper function.
Replacement Flap
Choose the exact replacement flap that fits your pet door model. Check size and style carefully for compatibility.
Screwdriver
A Phillips head screwdriver is usually needed. It helps remove and tighten screws on the pet door frame.
Measuring Tape
Measure the flap and door opening to confirm the right size. Accurate measurements prevent fitting problems.
Cleaning Cloth
Use a soft cloth to clean the door frame before installing the new flap. This removes dirt and debris.
Sealant Or Weatherstripping (optional)
Sealant or weatherstripping helps improve insulation around the flap. Use it if your door frame allows.
Step Ladder (if Needed)
A step ladder may be necessary for high door installations. It provides safe and easy access.

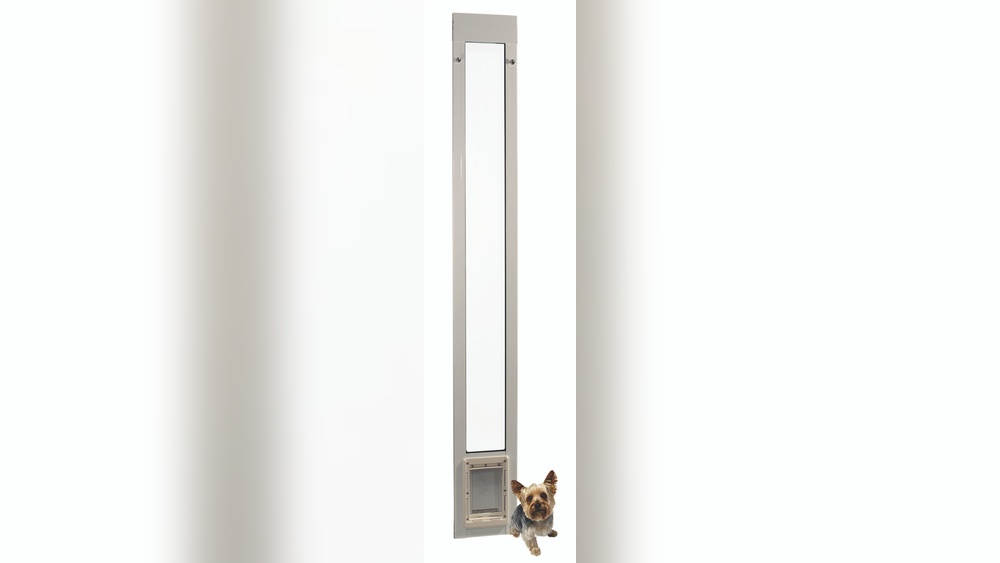
Credit: www.esseg.eu
Preparing The Pet Door
Preparing the pet door is the first step to install the new Ideal Pet Products replacement flap. This part is important for a smooth and secure fit. Taking time here saves effort later. Start by removing the old flap carefully. Then clean the frame well. These tasks help the new flap work properly and last longer.
Removing The Old Flap
Look at the flap and find how it attaches to the frame. Most flaps have screws or clips. Use a screwdriver to remove screws gently. If clips hold the flap, press or slide them to release. Pull the flap straight out. Be careful not to damage the frame or surrounding wall. Keep the screws or clips in case you need them later.
Cleaning The Frame
Clear away dirt, dust, and old adhesive from the frame. Use a damp cloth or sponge with mild soap. Wipe all edges and corners well. Dry the frame with a clean towel. Check for any damage or cracks. Fix small problems before installing the new flap. A clean frame helps the flap seal tight and keeps pets safe.
Measuring The Door Flap
Measuring the door flap is the first step in replacing your Ideal Pet Products pet door flap. Getting the right size ensures your pet door works well and keeps the weather out. Take your time and measure carefully for the best fit.
Measuring Width Of The Existing Flap
Use a tape measure to find the width of the current flap. Measure from one side to the other at the widest point. Write down this number to avoid confusion later. The new flap should match this width exactly.
Measuring Height Of The Flap
Next, measure the height from the top to the bottom of the flap. Hold the tape measure straight to get an accurate number. Note this measurement carefully. The replacement flap must fit the height for proper closing.
Checking The Thickness Of The Flap
Look at the edge of the flap to check its thickness. Use a ruler or caliper for a precise measurement. This helps in choosing a flap that fits the frame snugly. Thickness affects how well the flap seals and stays in place.
Verifying The Frame Size
Measure the pet door frame opening inside the door. Compare these numbers with your flap measurements. The flap must be slightly smaller or equal to the frame size. This step avoids gaps and ensures smooth operation.
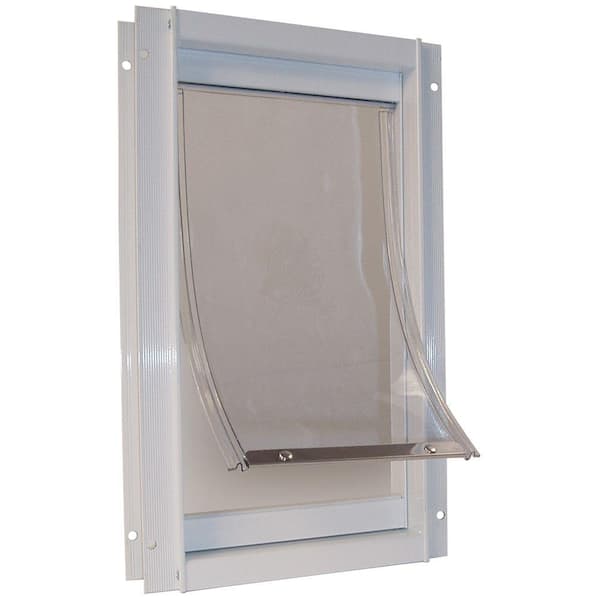
Credit: www.homedepot.com
Installing The New Flap
Installing the new flap on your Ideal Pet Products pet door is a simple task. It lets your pet move freely while keeping your home secure. Follow these steps carefully for a perfect fit. This guide helps you attach the flap quickly and correctly.
Aligning The Replacement Flap
Start by holding the new flap up to the pet door frame. Make sure the flap lines up with the mounting holes. Check that it hangs straight without twisting. Proper alignment ensures the flap swings smoothly. Take your time to position it right.
Securing The Flap In Place
Use the screws provided with the replacement flap. Insert each screw into the holes and tighten gently. Avoid over-tightening to prevent damage. The flap should be secure but still able to move easily. Test the flap by pushing it to open and close smoothly.
Testing The Pet Door
Testing the pet door is a key step after installation. It ensures the door works well and keeps your home safe. Proper testing helps your pet use the door easily. It also prevents drafts and bugs from entering.
Checking The Flap Movement
Push the flap gently to check its movement. It should swing smoothly without sticking. Watch the flap return to its closed position quickly. If it moves too slowly, adjust the hinges or magnets. Make sure the flap is not too loose or too tight. A smooth flap lets your pet enter and exit with ease.
Ensuring A Tight Seal
Look for gaps around the flap edges. Gaps can let cold air or insects inside. Press the flap firmly against the frame to check the seal. The magnets should hold the flap tightly closed. Replace or adjust magnets if the seal is weak. A tight seal keeps your home comfortable and clean.

Credit: www.esseg.eu
Maintenance Tips
Maintaining your Ideal Pet Products pet door replacement flap keeps it working well. Regular care helps prevent damage and extends its life. Simple steps can keep the flap clean, flexible, and secure.
Cleaning The Flap
Wipe the flap with a damp cloth every week. Remove dirt, dust, and pet hair from the edges. Avoid harsh cleaners that can damage the material. Mild soap and water work best for cleaning.
Checking For Wear And Tear
Look at the flap for cracks or tears monthly. Damaged flaps can let cold air or bugs inside. Replace the flap if you find any holes or weak spots. Early checks save money and keep pets safe.
Lubricating Moving Parts
Apply a small amount of silicone spray to hinges or locks. This helps the flap open and close smoothly. Do this every three months or if the flap sticks. Avoid oil-based lubricants that attract dirt.
Securing The Flap Properly
Make sure the flap fits snugly in the frame. Loose flaps can flap in the wind or let drafts in. Tighten screws or fasteners if needed. A well-secured flap works better and lasts longer.
Frequently Asked Questions
How Do I Remove The Old Ideal Pet Door Flap?
To remove the old flap, first unlock any locks or latches. Then, carefully pull the flap out from the frame. Remove screws or fasteners holding it in place. Keep these for installing the new replacement flap. Clean the frame before installing the new flap.
What Tools Do I Need For Installation?
You will need a screwdriver, measuring tape, and possibly a drill. A level helps ensure proper alignment. Have replacement screws handy if the old ones are worn. Using the right tools makes installation easier and more secure.
How Do I Align The New Pet Door Flap?
Align the new flap with the frame holes. Ensure the flap swings freely without obstruction. Use a level to keep it straight. Tighten screws evenly to avoid warping. Proper alignment ensures smooth flap operation and pet safety.
Can I Install The Replacement Flap Myself?
Yes, the replacement flap is designed for easy DIY installation. Basic tools and minimal skills are required. Follow the manufacturer’s instructions carefully. If unsure, consult a professional to avoid damage or improper fitting.
Conclusion
Installing the Ideal Pet Products pet door flap is simple and quick. Follow each step carefully to ensure a perfect fit. Your pet will enjoy easy access to the outdoors. The new flap keeps your home safe from drafts and pests.
Check the flap regularly for wear and tear. Replace it when needed to keep it working well. A good pet door flap makes life easier for you and your pet. Try it today and see the difference.