If you own a Ring Video Doorbell 2, knowing how to remove its battery can save you time and hassle when it’s time to charge or replace it. You might be wondering if the process is complicated or if you’ll need special tools.
The good news is, it’s simpler than you think. You’ll discover step-by-step instructions that make removing your battery quick and easy. By the end, you’ll feel confident handling your doorbell’s battery like a pro. Keep reading to learn exactly what to do!
Tools Needed
Removing the battery from your Ring Video Doorbell 2 requires a few simple tools. Having the right tools makes the job easier and safer. This section covers the basic tools needed for this task.
Screwdriver Types
The Ring Video Doorbell 2 uses special screws that need specific screwdrivers. A small Phillips screwdriver usually fits these screws. Sometimes, a Torx screwdriver (T6 size) works better. Using the correct screwdriver avoids damaging the screws or the doorbell.
Safety Gear
Safety gear protects you while working. Wearing gloves helps prevent cuts or scratches. Eye protection is useful in case small parts fly off. Always work in a clean, dry area to avoid slipping or losing parts.
Credit: www.youtube.com
Locating The Battery
To remove the battery from your Ring Video Doorbell 2, you first need to find it. The battery is hidden inside the doorbell unit. You cannot see it from the outside. Knowing where to look helps make the process easy and quick.
The battery is behind the faceplate. You must take off the faceplate carefully. After that, you can spot the battery compartment. This step is important to avoid damage.
Removing The Faceplate
Start by locating the small screw at the bottom of the doorbell. Use the screwdriver that came with your Ring Video Doorbell 2. Turn the screw counterclockwise to remove it. Keep the screw safe; you will need it later.
Once the screw is out, gently pull the faceplate away from the doorbell. The faceplate should come off easily. Avoid using too much force. The faceplate is fragile and may break.
Identifying The Battery Compartment
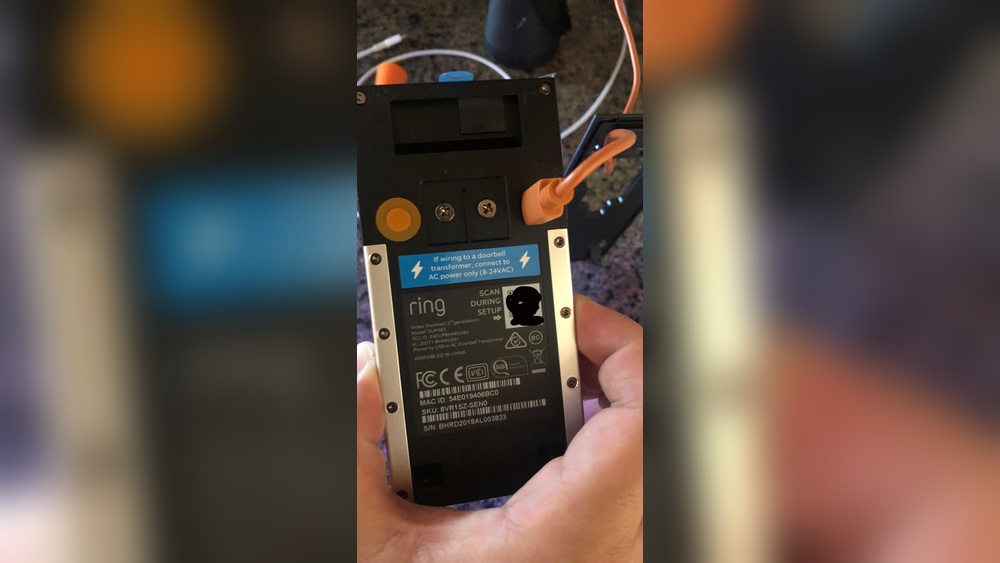
After removing the faceplate, look inside the doorbell. You will see a black rectangular battery pack. This is the battery compartment. The battery has a small tab to help you pull it out.
Make sure the battery is fully visible. If not, move any cables lightly aside. The battery compartment is designed for easy access. This design helps you remove or replace the battery without trouble.
Removing The Battery
Removing the battery from the Ring Video Doorbell 2 is a simple process. It helps with charging or replacing the battery. Follow the steps carefully to avoid damaging the device.
Unlocking The Battery
Start by locating the small screw at the bottom of the doorbell. Use the provided screwdriver or a small Phillips head screwdriver. Turn the screw counterclockwise to loosen it. Do not remove the screw completely. Just loosen it enough to open the battery cover.
Taking Out The Battery
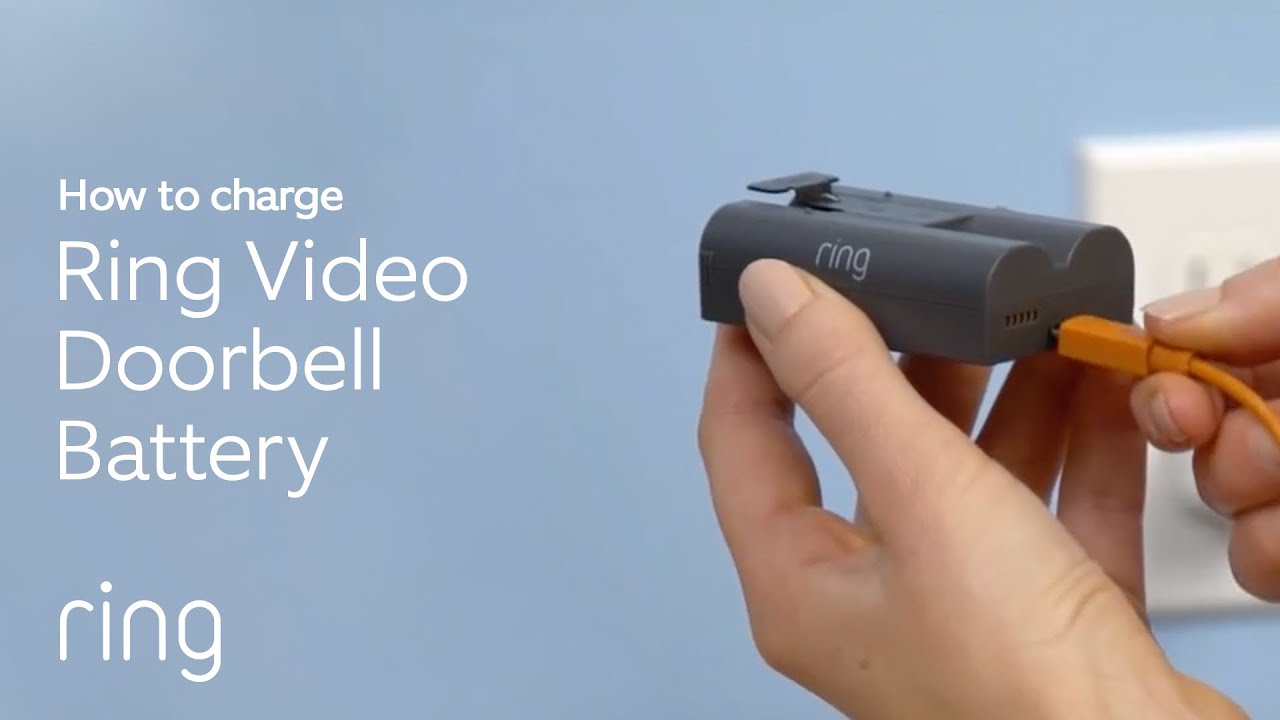
After loosening the screw, gently pull the battery cover away from the doorbell. The battery will be visible inside the device. Grip the battery and pull it out carefully. Avoid using sharp objects to remove the battery. This keeps your doorbell safe and undamaged.

Credit: ring.com
Battery Maintenance Tips
Proper battery maintenance helps extend your Ring Video Doorbell 2’s battery life. It keeps the device working well for longer. Taking small steps can prevent common battery problems.
Clean and store the battery the right way. These tips save you time and money. They keep your doorbell ready to protect your home.
Cleaning Contacts
Dirty contacts reduce battery performance. Use a dry cloth or soft brush to clean them. Avoid water or liquid cleaners. Gently remove dust and dirt from the battery and doorbell contacts. Clean contacts help the battery connect well. This improves power flow and device function.
Storing The Battery
Remove the battery if not using the doorbell for a long time. Store it in a cool, dry place away from sunlight. Avoid extreme heat or cold. Keep the battery at room temperature for best results. Charge it halfway before storage. This prevents battery damage and loss of capacity.
Reinstalling The Battery
Reinstalling the battery in your Ring Video Doorbell 2 is a simple step. It helps keep your device working properly. Follow the steps carefully to avoid any damage. Proper battery placement ensures long-lasting performance and reliable video monitoring.
Aligning The Battery
Hold the battery with the contacts facing down. Match the contacts on the battery with the contacts inside the doorbell. Slide the battery gently into the compartment. Push it until it fits snugly and does not move.
Securing The Faceplate
Place the faceplate back onto the doorbell. Make sure it lines up with the edges. Press firmly until you hear a click. This locks the faceplate in place. Check if the faceplate is secure before use.

Credit: www.amazon.com
Troubleshooting Common Issues
Troubleshooting common issues helps keep your Ring Video Doorbell 2 working well. Some problems may stop you from removing the battery or powering the device on. These tips solve those problems fast. Follow each step carefully to avoid damage or frustration.
Battery Not Removing
The battery may stick if the doorbell is dirty or tight. Clean around the battery with a soft cloth. Avoid using sharp tools that can damage the device. Press the release button firmly. Pull the battery out gently but steadily. If it still does not move, check for any debris blocking the slot. Try wiggling the battery slightly while pulling.
Device Not Powering On
Check if the battery is fully charged before inserting it. A low battery may stop the device from turning on. Make sure the battery sits properly in its place. Press the setup button after installing the battery. If it still won’t power on, reset the doorbell by holding the setup button for 15 seconds. This can fix minor software glitches. Replace the battery if the problem continues.
Frequently Asked Questions
How Do I Safely Remove The Battery From Ring Video Doorbell 2?
To safely remove the battery, first unlock the security screw at the bottom. Then, press the battery release tab and slide the battery out gently.
Can I Remove The Battery Without Tools From Ring Doorbell 2?
No, you need a small security screwdriver to unlock the battery compartment screw before removing the battery safely.
How Do I Know When To Remove The Ring Doorbell 2 Battery?
Remove the battery when the device shows low battery alerts or before long storage to maintain battery health.
Is It Necessary To Turn Off Ring Doorbell 2 Before Battery Removal?
No, Ring Doorbell 2 doesn’t have a power button, but removing the battery will turn it off automatically.
Conclusion
Removing the battery from your Ring Video Doorbell 2 is simple and quick. Just follow the steps carefully to avoid damage. Keep your device clean and dry while working on it. Regular battery checks help your doorbell stay active longer.
Now you can replace or charge the battery without trouble. This small task keeps your home security running smoothly. Take your time and handle the doorbell gently. You’ll feel more confident with each battery change. Ready for the next step?
Your Ring doorbell will thank you.