Are you looking to add a stylish and functional touch to your home’s entrance? Building a wood and glass pet storm door is a perfect way to do just that.
Not only will it protect your main door from harsh weather, but it also lets your furry friend enjoy fresh air safely. Imagine giving your pet the freedom to come and go while keeping your home secure and cozy. In this guide, you’ll discover simple steps to create a beautiful, durable pet storm door that fits your space and style.
Ready to transform your doorway and make life easier for both you and your pet? Let’s get started!

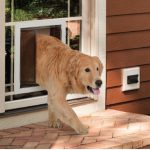
Credit: www.liftingitalia.com
Choosing Materials
Choosing the right materials is key to building a strong wood and glass pet storm door. Good materials make the door last longer and look better. This section helps you pick wood, glass, and all the tools needed for the project.
Selecting The Right Wood
Choose wood that resists weather well. Cedar and redwood are great choices. They do not rot or warp easily. Pine is cheaper but needs extra protection. Make sure the wood is smooth and free of cracks. This helps with painting and sealing later.
Picking Suitable Glass
Use tempered glass for safety. It breaks into small pieces if it shatters. Plexiglass or acrylic works well too. These plastics are lighter and less likely to break. Clear glass gives a good view outside. Frosted glass offers more privacy but less visibility.
Gathering Tools And Supplies
Get all tools before starting. You will need a saw to cut wood. A drill makes holes for screws. Sandpaper smooths rough edges. Use wood glue for strong joints. Also, buy weatherproof paint or sealant. These protect the door from rain and sun.
Measuring And Planning
Measuring and planning are the first and most important steps to build your wood and glass pet storm door. Careful measurement ensures the door fits perfectly and works well. Planning helps you think about the design and pet access. This avoids mistakes and saves time and materials.
Taking Accurate Door Measurements
Start by measuring the width and height of the door opening. Use a metal tape measure for the best accuracy. Measure at three points: top, middle, and bottom for width. Take height measurements on both sides and the middle. Note the smallest width and height to avoid fitting problems. Double-check your numbers before cutting any wood.
Designing The Door Frame
Choose a strong wood type that resists weather damage. Plan the frame thickness to hold glass panels securely. Decide if you want a full glass door or a window section. Draw a simple sketch with all dimensions. Mark where hinges and handles will go. This helps you visualize the final product and make changes early.
Planning For Pet Access
Think about your pet’s size and behavior. Plan a pet door that is easy for your pet to use but secure from outside animals. Decide on the door’s position—bottom, middle, or side. Choose a flap material that suits your climate and pet. Include a locking mechanism for safety. Proper planning makes your pet happy and keeps your home safe.
Cutting And Preparing Wood
Cutting and preparing wood is the first step in building a sturdy wood and glass pet storm door. This part shapes the door’s frame and ensures it fits perfectly. Good preparation helps the door last longer and look great.
Careful cutting and smoothing make the work easier during assembly. The wood must be ready to hold the glass securely. Let’s explore how to cut, sand, and treat the wood properly.
Cutting Frame Pieces
Measure the door opening accurately. Mark the wood pieces clearly before cutting. Use a saw to cut the frame pieces straight and clean. Cut the top, bottom, and side pieces to size. Check each piece for accuracy after cutting. Precise cuts ensure the frame fits well and is strong.
Sanding And Treating Wood
Sand the cut pieces with medium-grit sandpaper. Smooth all edges and surfaces carefully. Sanding removes splinters and rough spots. Treat the wood with a water-resistant sealant or wood finish. This protects the wood from moisture and damage. Let the treatment dry completely before assembly.
Assembling The Frame
Lay out the cut pieces on a flat surface. Join corners using wood glue and screws or nails. Clamp the frame to hold pieces firmly while drying. Check the frame for square corners using a carpenter’s square. Tight joints make the frame strong and stable. Wipe off excess glue before it dries.
Installing The Glass Panel
Installing the glass panel is a key step in building a wood and glass pet storm door. This part lets light inside and keeps your pet safe. Careful work ensures the glass fits well and stays secure. Follow these simple steps to install the glass correctly.
Cutting Glass To Size
Measure the frame carefully. Mark the glass with a non-permanent marker. Use a glass cutter to score the glass along the mark. Snap the glass gently along the score line. Wear safety gloves and goggles during this step. Double-check the glass size before moving on.
Securing Glass In Frame
Place the glass panel into the door frame. Use glazing points or clips to hold the glass steady. Press them gently into the wood around the glass. Make sure the glass does not move or rattle. Tighten any screws or fasteners if needed. This keeps the glass safe and firm.
Sealing And Insulating
Apply a thin bead of clear silicone sealant around the glass edges. This stops air and water from leaking. Smooth the sealant with your finger or a tool. Add weatherstripping or foam tape for extra insulation. Let the sealant dry fully before using the door. This step helps keep your home warm and dry.
Adding Pet Door Features
Adding pet door features to your wood and glass storm door makes life easier for your furry friend. It lets pets go outside and come in without help. This section shows how to choose, cut, and install a pet door in your storm door.
Choosing A Pet Door Style
Pick a pet door style that fits your pet’s size and habits. Small flap doors suit cats and small dogs. Larger swinging doors work well for big dogs. Some pet doors have magnetic closures to keep out drafts. Choose a style that blends well with your storm door design.
Cutting Opening For Pet Door
Mark the spot on the door where your pet can easily reach. Measure twice to avoid mistakes. Use a drill to make starter holes at the corners of the marked area. Then cut along the lines with a jigsaw. Smooth the edges with sandpaper for safety and neatness.
Installing Pet Door Components
Fit the pet door frame into the cut opening. Align it carefully to avoid gaps. Secure the frame with screws provided in the kit. Attach the door flap or panel according to instructions. Test the door to ensure it opens and closes smoothly for your pet.
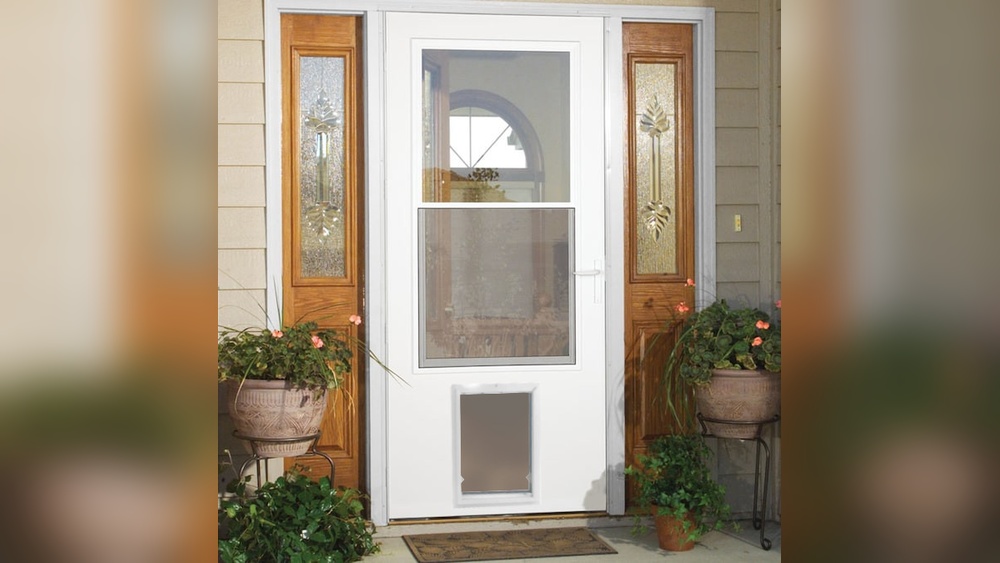
Credit: www.screendoors.com
Finishing Touches
Finishing touches make your wood and glass pet storm door look complete and last longer. These final steps protect the door and add function. Focus on painting or staining, installing hardware, and mounting the door carefully. Each step adds strength and style to your project.
Painting Or Staining Door
Choose paint or stain to protect the wood from weather damage. Paint gives a solid color and shields the door well. Stain shows the wood grain and offers a natural look. Use a brush or roller for an even coat. Let the first coat dry fully before applying a second layer. This step keeps your door strong and beautiful for years.
Installing Door Hardware
Select sturdy hinges and handles suited for your door’s weight. Attach hinges firmly to the frame and door edges. Use screws that fit tightly without splitting the wood. Install the handle and latch at a comfortable height. Check that the door opens and closes smoothly. Hardware adds ease and security to your storm door.
Mounting The Door
Place the door in the opening carefully. Align it so it fits flush with the frame. Secure hinges to the door frame with strong screws. Test the swing and adjust if needed for smooth motion. Add weather stripping around edges to block drafts. Mounting correctly ensures your door works well and keeps pets safe.
Maintenance Tips
Proper care keeps your wood and glass pet storm door looking great. Regular maintenance helps avoid damage and costly repairs. Simple steps extend the door’s life and keep it working well.
Cleaning Wood And Glass
Use a soft cloth to wipe the wood gently. Avoid harsh chemicals that can damage the finish. For glass, use a mild glass cleaner or soapy water. Wipe with a lint-free cloth to avoid streaks. Clean both sides of the glass for clear visibility.
Checking Door Seals
Inspect the seals around the door regularly. Look for cracks, gaps, or worn-out areas. Replace damaged seals to keep out drafts and moisture. Proper seals help maintain energy efficiency in your home. Press the door firmly to test for air leaks.
Repairing Wear And Tear
Check the door for scratches, dents, or loose parts. Sand and repaint minor wood damage to protect against moisture. Tighten screws and hinges to keep the door stable. Fix small issues early to prevent bigger problems later. Regular checks keep your door safe and functional.
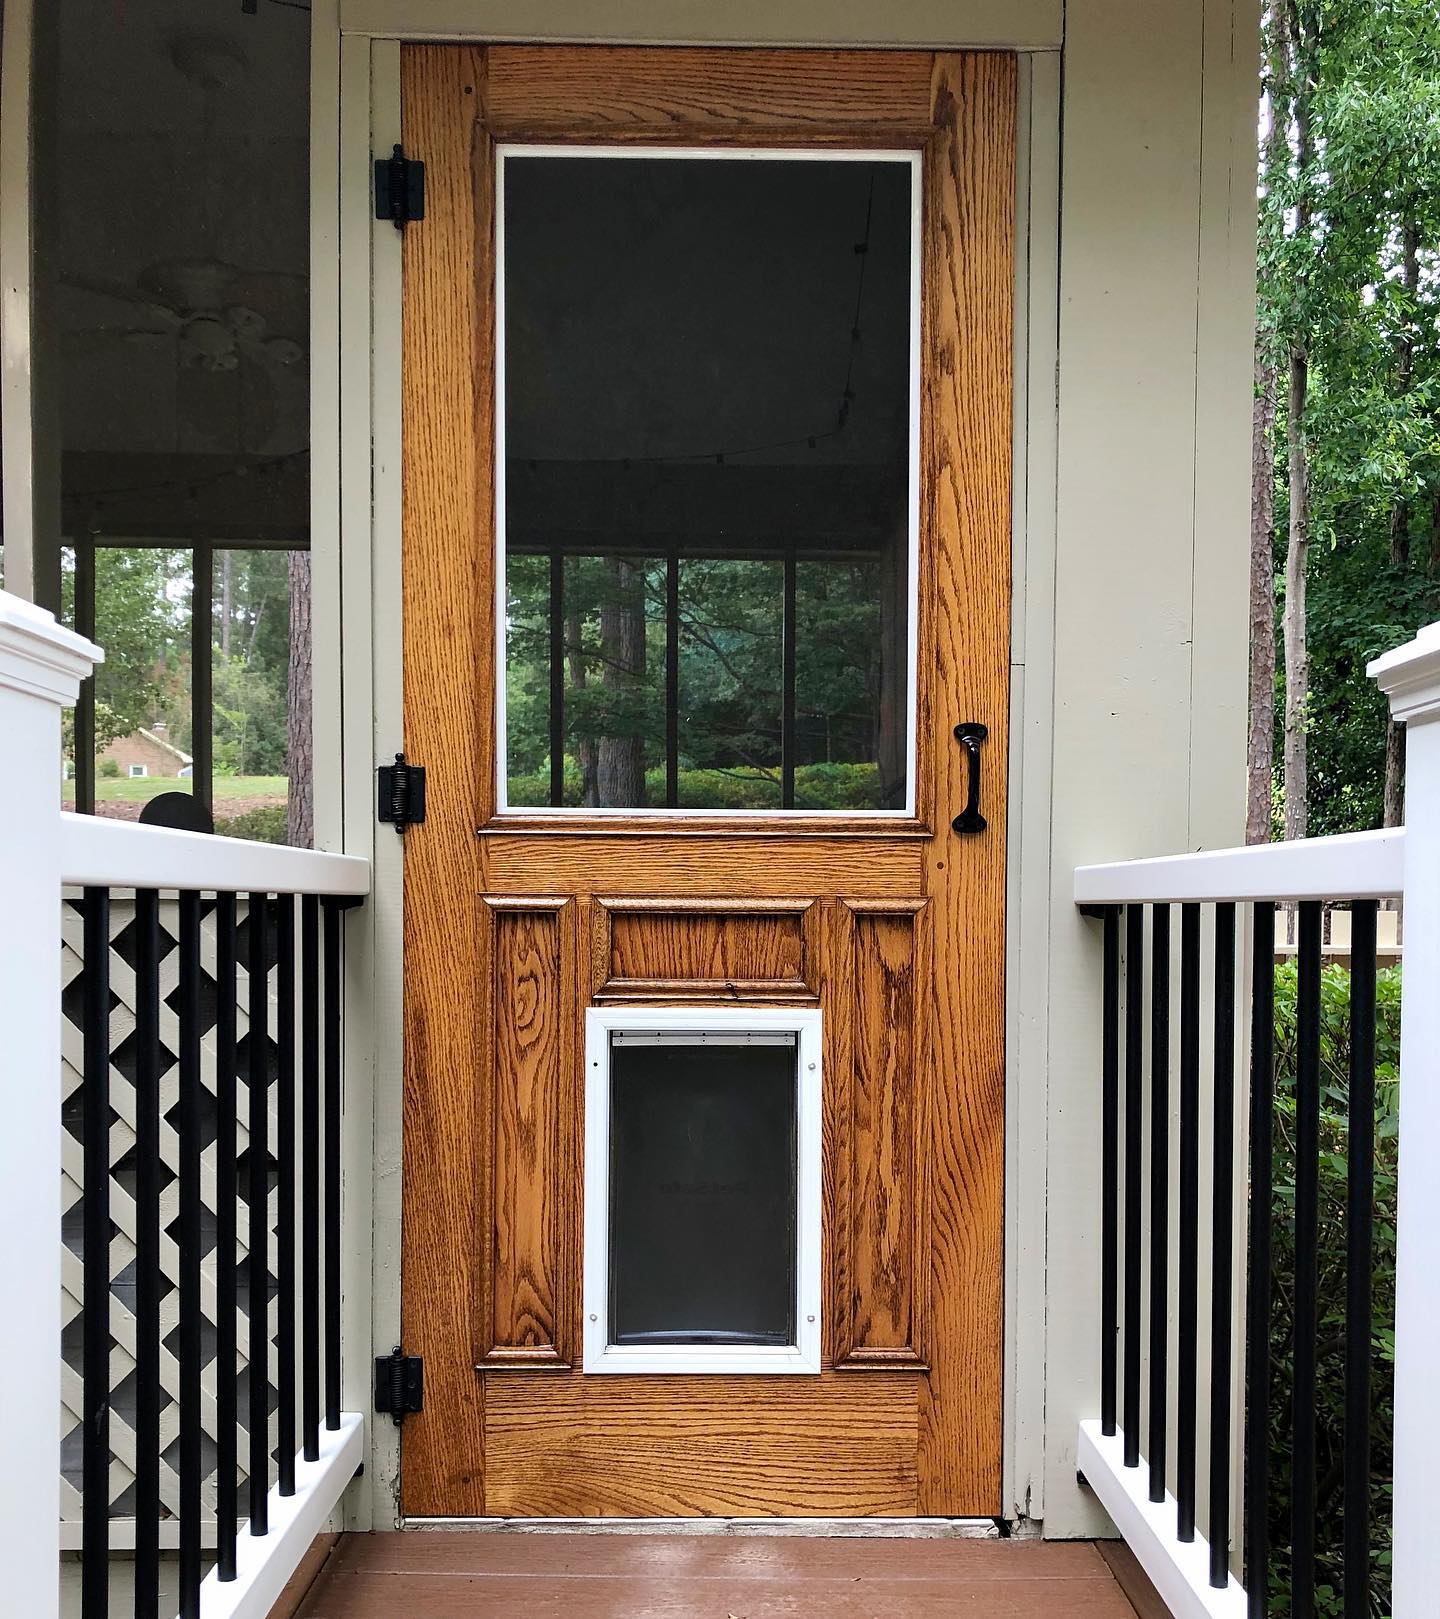
Credit: kdfoundation.org
Frequently Asked Questions
What Materials Are Needed For A Wood And Glass Pet Storm Door?
You need quality wood, tempered glass, hinges, screws, weatherstripping, and a pet door insert. Choose durable, weather-resistant materials for longevity and safety.
How Do I Measure For A Pet Storm Door Correctly?
Measure the door frame’s width and height precisely. Also, measure your pet’s size to fit the pet door comfortably. Accurate measurements ensure proper fit and function.
Can I Install A Wood And Glass Pet Door Myself?
Yes, with basic carpentry skills and tools, you can install it yourself. Follow the instructions carefully and take safety precautions during installation.
How Do I Maintain A Wood And Glass Pet Storm Door?
Regularly clean the glass and wood surface with gentle cleaners. Check seals, hinges, and pet door components for wear and repair as needed.
Conclusion
Building a wood and glass pet storm door takes time and care. Start with clear steps and the right tools. Measure everything twice to avoid mistakes. Choose quality wood and glass for best results. Take your time fitting the pieces together.
A well-built door keeps pets safe and lets light in. Enjoy the process and learn as you go. Your home will look better, and your pet will thank you. Small projects like this bring great satisfaction and value. Keep practicing, and your skills will grow.