Are you tired of that old towel rack ruining the look of your bathroom? Changing your towel rack can instantly refresh your space and make it more functional.
But you might be wondering, “Is it hard to do? Will I need special tools? ” The good news is, you don’t have to be a handyman to get it done. In this guide, you’ll discover simple, step-by-step instructions that anyone can follow.
By the end, you’ll have a brand-new towel rack that fits perfectly and looks great. Ready to transform your bathroom with a small change that makes a big difference? Let’s get started!

Credit: www.youtube.com
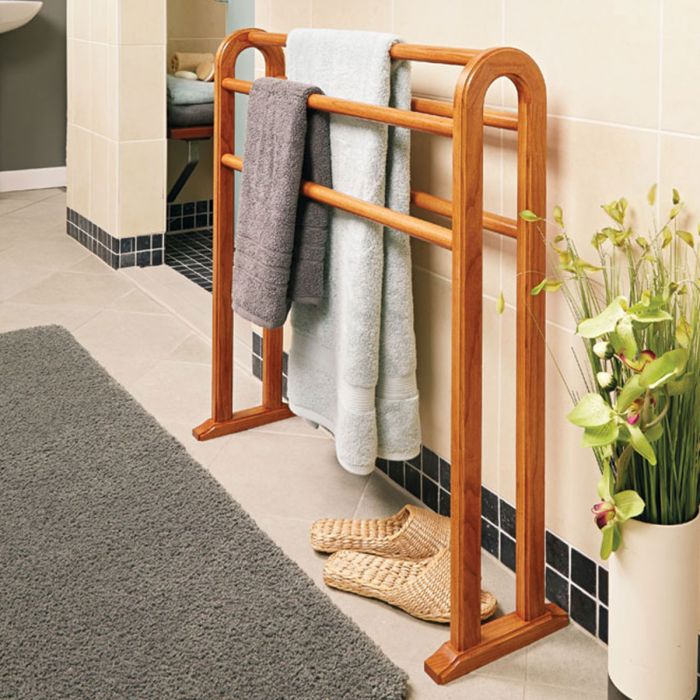
Choose The Right Towel Rack
Choosing the right towel rack is important for your bathroom’s look and function. A good towel rack keeps towels dry and easy to reach. It also matches your bathroom’s style and fits the space well.
Consider Style And Material
Pick a towel rack that matches your bathroom’s design. Metal racks look modern and shiny. Wood racks bring warmth and a natural feel. Plastic racks can be simple and affordable. Think about the colors and shapes that fit your room best.
Measure Your Space
Measure the wall or area where you want to place the towel rack. Know the width and height available. Make sure the rack will not block doors or cabinets. This step avoids buying a rack that is too big or too small.
Pick The Best Mounting Type
Choose how the towel rack will attach to your wall. Some racks use screws for strong hold. Others use adhesive strips for easy installation. Decide if you want a fixed rack or one that can move. The mounting type affects how easy it is to change or move the rack later.
Credit: www.woodpeck.com
Gather Necessary Tools
Gathering the necessary tools is the first step to changing a towel rack smoothly. Having the right tools saves time and avoids frustration. It also ensures the job is done correctly without damage. Prepare your workspace and get everything ready before starting.
Basic Tools Checklist
Start with a screwdriver set. Most towel racks use screws that fit standard Phillips or flathead screwdrivers. A drill with drill bits helps for making new holes. A level ensures the rack hangs straight. A tape measure helps place the rack at the right height. Use a pencil to mark drill spots clearly. A stud finder locates wall studs for secure mounting. Keep a wrench or pliers handy if nuts or bolts are involved.
Safety Equipment
Wear safety glasses to protect eyes from dust and debris. Use gloves to avoid cuts from sharp edges or tools. Work in a well-lit area to see clearly. Keep a first aid kit nearby just in case. Turn off power if drilling near electrical outlets. Follow safety rules to prevent accidents.
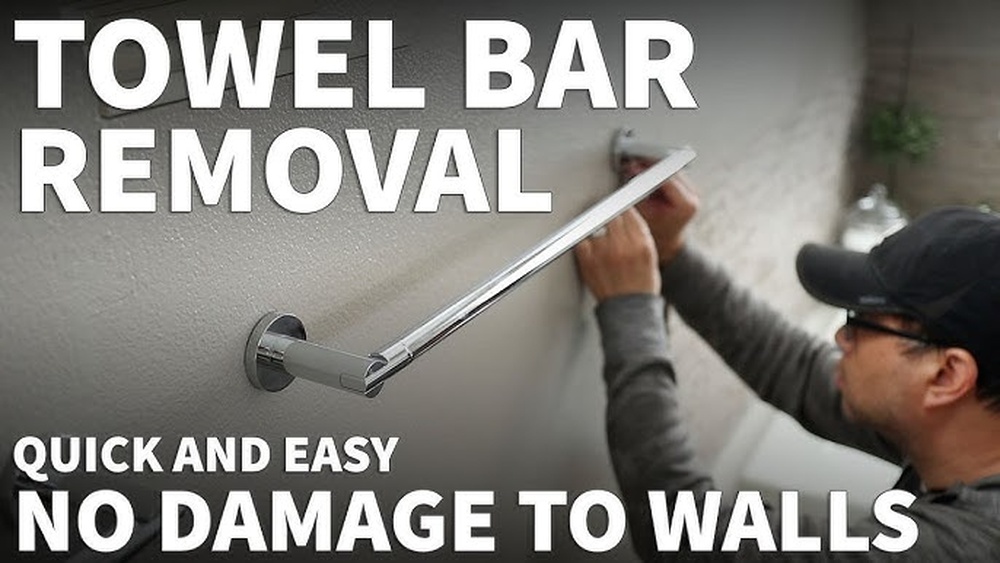
Remove The Old Towel Rack
Removing the old towel rack is the first step in installing a new one. This task requires care to avoid damage to the wall or plumbing. Follow simple steps to remove the rack safely and prepare the area for the new installation.
Turn Off Water Supply If Needed
Most towel racks do not connect to water lines, but check just in case. If the rack has a heated bar or built-in lighting, switch off the water or power supply. This prevents accidents and keeps the workspace safe.
Unscrew And Detach Carefully
Locate the screws holding the rack to the wall. Use a screwdriver to remove all screws slowly. Hold the rack firmly to avoid dropping it. If the rack feels stuck, gently wiggle it to loosen. Avoid pulling hard to prevent wall damage.
Prepare The Wall Surface
After removing the rack, inspect the wall for holes or marks. Fill holes with wall putty or spackle. Smooth the surface with sandpaper once dry. This step ensures a clean base for the new towel rack. A smooth wall helps the new rack fit better and look neat.

Credit: www.amazon.com
Install The New Towel Rack
Installing the new towel rack is a simple task that requires careful steps. Proper installation ensures the rack holds towels securely. Follow these steps to place the rack correctly on your wall.
Mark Mounting Points
Hold the towel rack against the wall at the desired height. Use a pencil to mark the holes on the wall. Double-check the marks to ensure they are level and aligned. Accurate marks prevent the rack from being crooked.
Drill Holes And Insert Anchors
Use a drill with the correct bit size for your wall type. Drill holes on the marked points carefully. Insert wall anchors into the drilled holes for added support. Anchors keep the rack stable, especially on drywall.
Secure The Rack Firmly
Position the towel rack over the anchors and align the holes. Use screws to attach the rack tightly to the wall. Tighten all screws until the rack feels solid. Check the stability by gently pulling on the rack.
Add Final Touches
After installing your new towel rack, some final steps will make it look perfect and last longer. These small actions ensure safety, cleanliness, and style in your bathroom. Let’s go through these important finishing touches.
Check Stability
Make sure the towel rack is firmly attached to the wall. Gently pull or push it to test if it moves. Tighten any loose screws or brackets. A stable rack holds towels without falling or wobbling.
Clean Up The Area
Remove dust, debris, or fingerprints around the rack. Use a damp cloth to wipe the wall and rack surface. Clean the floor and any tools left behind. A neat space enhances the fresh look of your bathroom.
Style With Towels And Accessories
Choose towels that match your bathroom’s color and theme. Fold or hang them neatly on the rack. Add small accessories like hooks or baskets nearby. These details create a cozy and organized space.
Troubleshooting Tips
Troubleshooting is a key step after changing a towel rack. It ensures the rack stays secure and looks good. Common issues include loose mounts and wall damage. Fixing these problems early saves time and effort later.
Fixing Loose Mounts
Loose mounts make the towel rack shaky. Tighten the screws using a screwdriver. If screws do not hold, use wall anchors for extra support. Check that the rack is level before tightening. Repeat tightening until the rack feels firm.
Dealing With Wall Damage
Wall damage can happen when removing an old rack. Fill holes with spackle or putty. Let the filler dry completely. Sand the area smooth with fine sandpaper. Paint the spot to match the wall color. This fixes the look and prepares the wall for a new rack.
Frequently Asked Questions
How Do I Remove An Old Towel Rack Safely?
To remove an old towel rack, first unscrew the mounting brackets carefully. Use a screwdriver or drill. Gently pull the rack away from the wall. Patch any holes or damage before installing a new rack. This prevents wall damage and ensures a smooth installation.
What Tools Are Needed To Change A Towel Rack?
You need a screwdriver, drill, level, measuring tape, and wall anchors. These tools help remove the old rack and securely mount the new one. A stud finder is useful to locate wall studs for better support. Proper tools ensure a safe, stable installation.
How To Choose The Right Towel Rack Size?
Measure the available wall space before buying a towel rack. Choose a size that fits comfortably without crowding the area. Consider towel size and user needs. Proper sizing improves bathroom functionality and aesthetics, making towel storage convenient and neat.
Can I Install A Towel Rack On Tile Walls?
Yes, you can install a towel rack on tile walls using a masonry drill bit. Use wall anchors designed for tile to avoid cracking. Drill slowly and carefully. Proper tools and techniques ensure secure installation without damaging tiles.
Conclusion
Changing a towel rack is simple and saves money. Gather your tools and remove the old rack carefully. Measure and mark where the new rack will go. Secure the new rack firmly to the wall. Take your time to avoid mistakes.
Enjoy your updated bathroom with a fresh look. Small projects like this boost your home’s style. Try it yourself and feel proud of your work.