
Are you looking to give your burlap wreath a fresh, personalized touch? Adding decorations can transform a simple wreath into a stunning piece that reflects your style and brightens any space.
Whether you want to add flowers, ribbons, or seasonal accents, this guide will show you easy and creative ways to make your wreath stand out. Keep reading to discover simple steps that will help you turn your burlap wreath into a beautiful decoration everyone will admire.
Choosing Burlap For Your Wreath
Choosing burlap for your wreath is an important step. The right burlap sets the base for your decoration. It affects the look, feel, and durability of your wreath. Understanding burlap types, colors, and where to buy it helps you make the best choice.
Types Of Burlap Fabric
Burlap comes in many forms. Natural burlap is rough and rustic. It has a classic look that fits many themes. Jute burlap is softer and smoother. It feels gentler to touch and drapes well. Synthetic burlap blends last longer outdoors. They resist moisture and fading. Choose a type that matches your project’s style and use.
Selecting The Right Color And Texture
Burlap is not just brown anymore. It comes in many colors. Neutral tones like beige and cream are popular. Bright colors add a fun, modern touch. The texture also varies. Coarse burlap adds rugged charm. Fine burlap looks clean and neat. Pick a color and texture that match your wreath’s purpose and style.
Where To Buy Quality Burlap
Quality burlap makes a big difference. Craft stores offer many choices. Online shops provide a wider variety. Check reviews to find trusted sellers. Buying in bulk can save money. Always look for burlap that is tightly woven and strong. This ensures your wreath lasts long and looks great.
Essential Tools And Materials
Adding decorations to a burlap wreath is fun and creative. The right tools and materials help make the process smooth and enjoyable. Prepare well to get the best results. Gather all you need before starting.
Basic Crafting Supplies
Start with essential supplies. You need a burlap wreath base to decorate. Hot glue gun and glue sticks hold decorations in place. Scissors help cut ribbons and burlap. Floral wire can secure heavier items. Wire cutters make trimming wire easier. Crafting needles help attach delicate pieces.
Optional Decorative Elements
Choose decorations that match your style. Artificial flowers add color and texture. Ribbons bring softness and design. Small pine cones or berries offer a natural touch. Wooden letters or signs can personalize your wreath. Buttons and beads give extra detail. Choose items that fit your theme and size of wreath.
Preparing Your Workspace
Clear a flat surface to work on. Cover the area with newspaper or a cloth. Keep all tools and materials within reach. Ensure good lighting to see details. Protect surfaces from glue and cuts. Keep children and pets away from sharp tools. A tidy workspace helps you focus and stay safe.
Preparing The Burlap Wreath Base
Preparing the burlap wreath base is the first step in creating a beautiful decoration. A well-prepared base holds the decorations firmly. It also helps the wreath look clean and balanced. Follow simple steps to shape and secure the burlap properly. A strong frame supports the wreath’s weight. Small tips can make the base neat and tidy. This preparation sets the stage for adding your favorite decorations.
Shaping And Securing Burlap
Start by cutting burlap into strips about 6 inches wide. Fold or gather the burlap to create a full look. Use floral wire or pipe cleaners to secure the burlap to the wreath frame. Wrap the wire tightly around the burlap and frame. This keeps the burlap from slipping or unraveling. Work evenly around the wreath for a balanced shape.
Creating A Sturdy Frame
Choose a wire or foam wreath form as the base. Wire frames offer strong support for heavy decorations. Foam frames are easy to work with and hold pins well. Attach burlap tightly to the frame using wire or hot glue. Check the frame’s strength by gently pressing it. A sturdy base prevents the wreath from sagging over time.
Tips For A Neat Base
Trim loose burlap threads for a clean look. Tuck ends of burlap strips under secured parts. This hides rough edges and keeps the base smooth. Use consistent spacing between burlap folds. This makes the wreath look even and full. Avoid bulky knots; small tight ties work best. A neat base makes decorating easier and the final wreath more attractive.

Credit: thehouseonsilverado.com
Adding Floral Decorations
Adding floral decorations to a burlap wreath brings life and color to your creation. Flowers add texture and charm. They make the wreath stand out on any door or wall. This section helps you choose flowers and place them well. Learn to attach them firmly for long-lasting beauty.
Choosing Artificial Vs. Real Flowers
Artificial flowers last longer and need no care. They come in many colors and styles. Real flowers give a fresh look and lovely scent. But they wilt fast and need replacing. Choose artificial flowers for durability and ease. Pick real flowers for a natural feel and special occasions.
Arranging Flowers On The Wreath
Start by spreading flowers evenly around the wreath. Mix small and big flowers for balance. Use leaves or greenery to fill empty spots. Group flowers in clusters for a bold look. Step back often to check the overall design. Adjust flowers to keep the wreath looking full and fresh.
Attaching Flowers Securely
Use hot glue to fix artificial flowers on the burlap. Press each flower firmly until the glue sets. For real flowers, tie stems to the wreath with floral wire. Wrap wire tightly but gently to avoid damage. Check that all flowers feel secure before hanging the wreath. This keeps your decoration safe and neat.
Incorporating Seasonal Elements
Incorporating seasonal elements into a burlap wreath brings life and charm to your decoration. It reflects the time of year and adds a personal touch. Seasonal items make the wreath feel fresh and inviting.
You can use natural pieces, colorful accents, or holiday-themed items. These decorations create a warm and festive atmosphere. Seasonal elements also help your wreath match your home’s style and surroundings.
Using Leaves And Pinecones
Leaves and pinecones are simple, natural choices for seasonal wreaths. Use dried or artificial leaves in fall colors like orange, red, and yellow. Pinecones add texture and a rustic feel. Attach them with hot glue or floral wire for a secure hold. These elements suit autumn and winter wreaths well.
Adding Ribbons And Bows
Ribbons and bows add color and softness to burlap wreaths. Choose ribbons in seasonal hues such as deep reds for Christmas or pastels for spring. Make large bows or simple loops and place them on the wreath’s side or bottom. These touches make the wreath look polished and festive.
Themed Decorations For Holidays
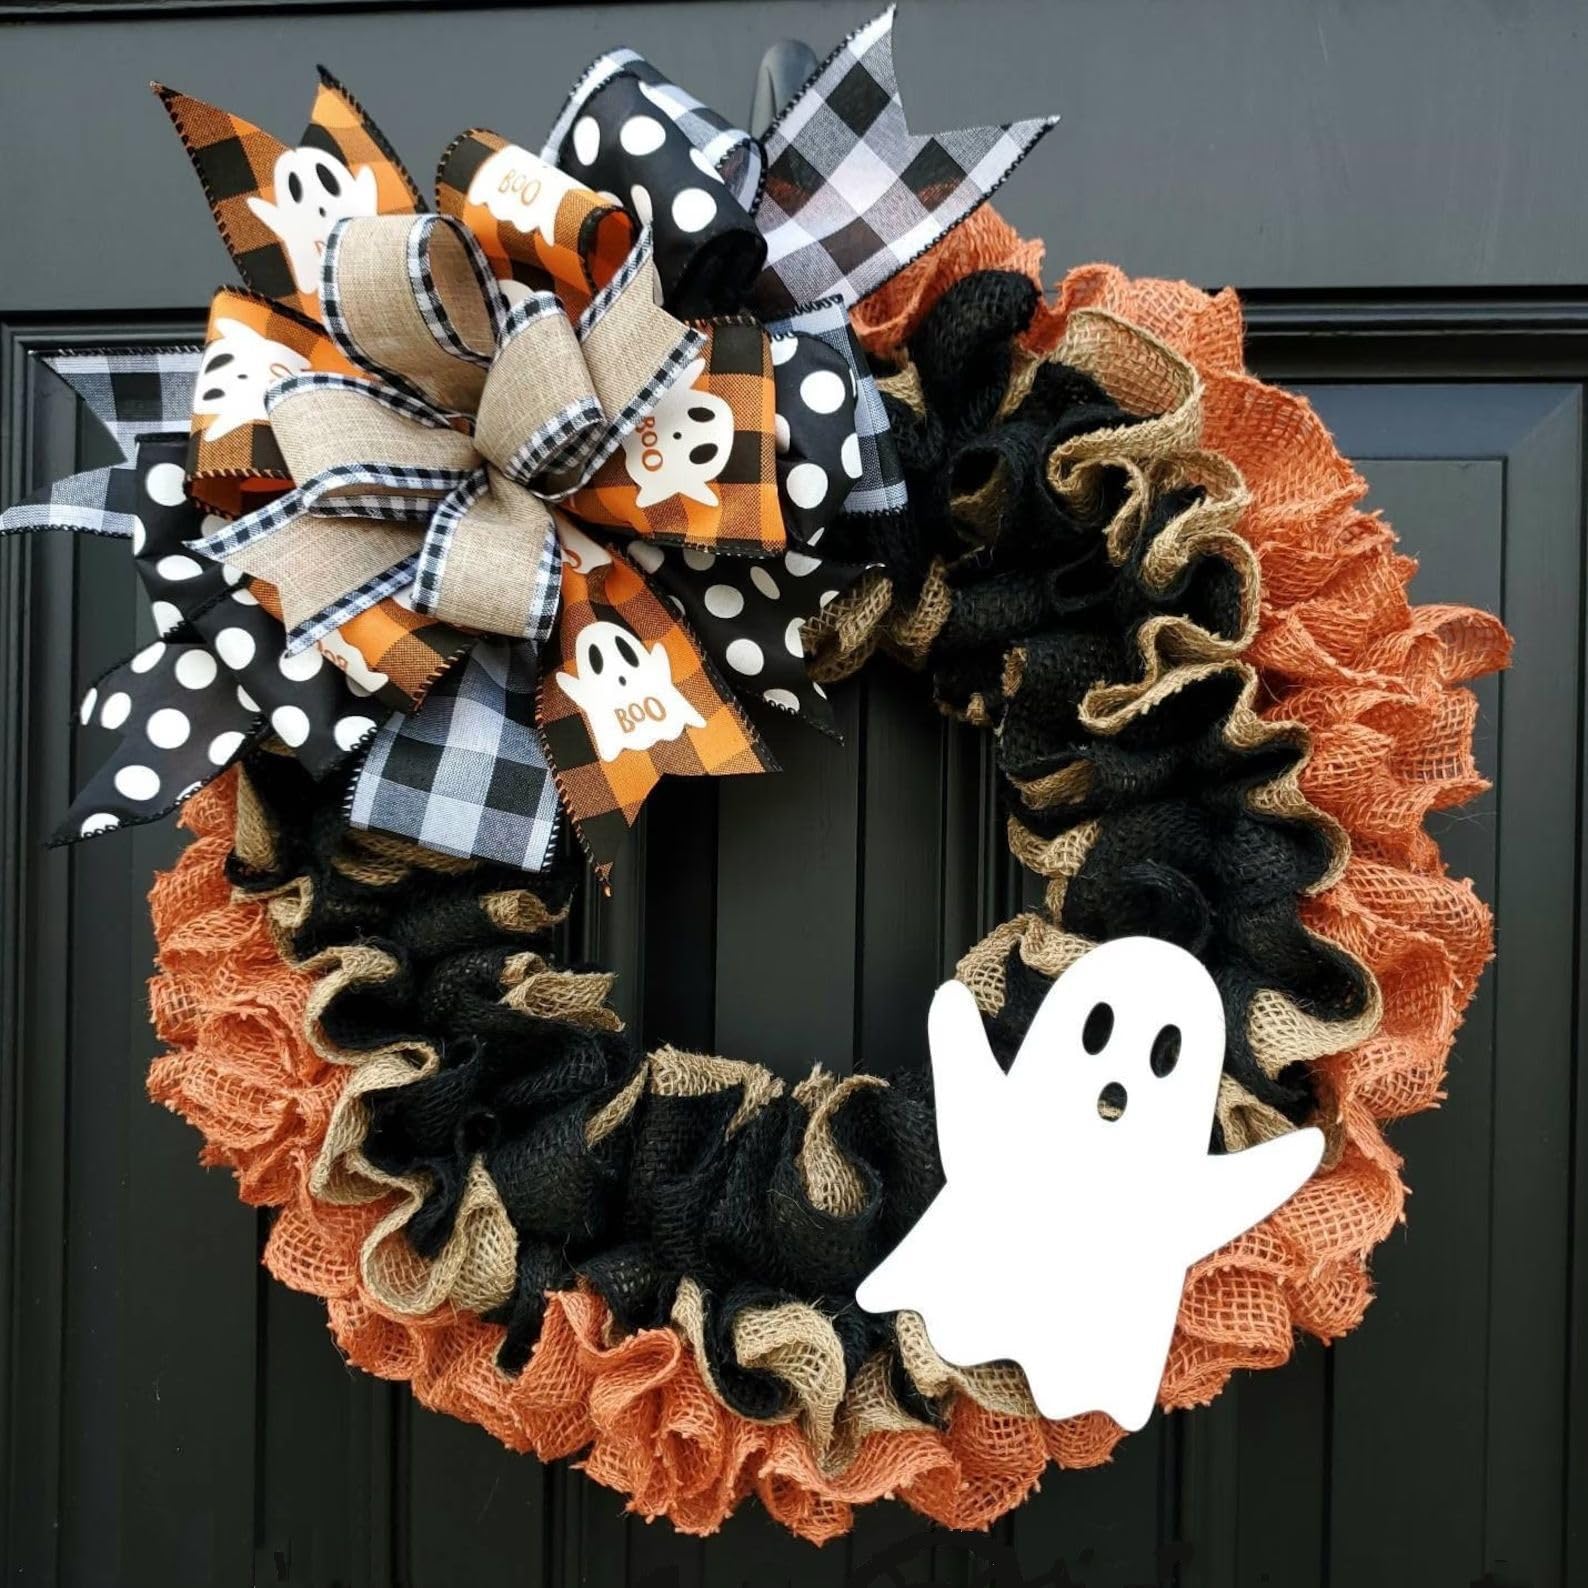
Holiday-themed decorations make your wreath stand out for special occasions. Use small ornaments, miniature pumpkins, or candy canes depending on the holiday. For Halloween, add tiny spiders or black cats. For Easter, use small eggs or flowers. These details give your wreath a unique holiday spirit.
Personalizing With Letters And Signs
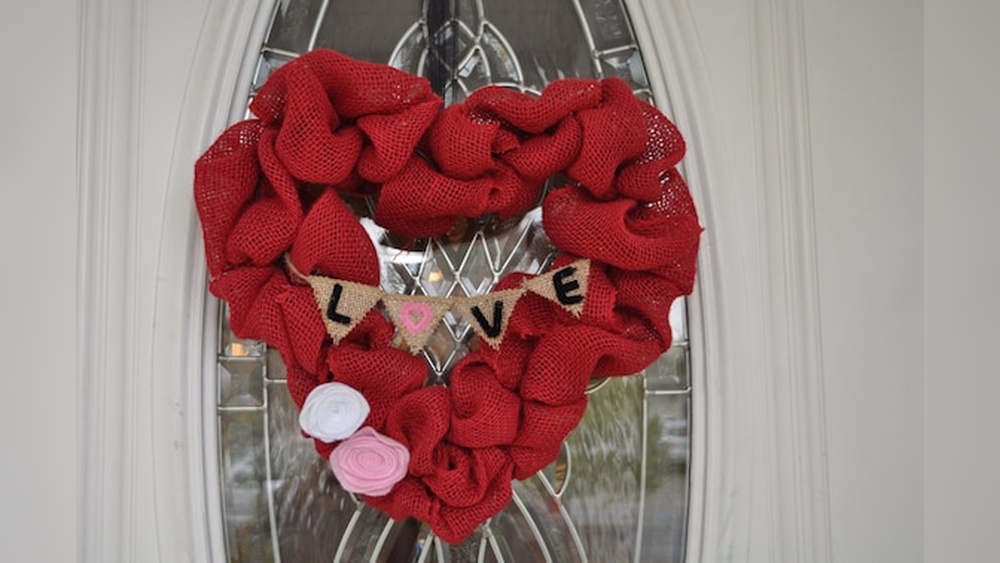
Adding letters and signs to a burlap wreath gives it a unique, personal touch. This step makes your wreath stand out and tells a story. You can use letters to spell names, greetings, or special words. Signs add charm and character to the wreath’s look.
Selecting Letter Styles And Materials
Choose letters that match your wreath’s theme and colors. Wooden letters offer a rustic feel and fit well with burlap. Metal letters give a modern, sleek look. Foam or felt letters are light and easy to attach. Pick sizes that balance with the wreath without overpowering it.
Attaching Letters To Burlap
Secure letters firmly to keep them from falling off. Hot glue works well for most materials and holds tight. Use floral wire to wrap around the wreath frame and letters for extra support. Make sure the letters sit flat and face forward. Test the attachment by gently shaking the wreath.
Creative Message Ideas
Simple words like “Welcome” or “Home” fit many styles. Use names for birthdays or family events. Seasonal words such as “Joy” or “Fall” suit holiday wreaths. Short phrases like “Be Happy” add positive vibes. Mix letters and small signs to create a fun design.
Finishing Touches And Protection
Finishing touches and protecting your burlap wreath ensure it looks great longer. These steps keep decorations secure and guard against weather damage. Small efforts here make a big difference in your wreath’s lifespan.
Securing Loose Ends
Check all burlap edges for loose threads. Use hot glue or clear craft glue to fix them. Tuck ends neatly under layers for a clean look. This prevents unraveling and keeps the wreath tidy.
Adding A Hanging Loop
Cut a sturdy piece of twine or ribbon for hanging. Attach it firmly to the back of the wreath frame. Secure with hot glue or wire for extra strength. A good loop makes hanging easy and stable.
Protecting Your Wreath From Weather
Spray the wreath lightly with a clear sealant made for fabric. This repels moisture and dirt without changing the look. Avoid placing the wreath in direct rain or sun. Bring it indoors during bad weather to keep it fresh.
Credit: www.amazon.com
Creative Ideas For Different Occasions
Decorating a burlap wreath can bring charm to any occasion. Simple materials and small touches make big impacts. This section shares creative ideas to decorate burlap wreaths for weddings, holidays, and everyday use.
Wreaths For Weddings
Use soft colors like white, blush, and green for a wedding wreath. Add silk flowers or fresh greenery for a natural look. Tie on satin ribbons for elegance. Small wooden letters with the couple’s initials add a personal touch. Keep decorations light to keep the rustic feel of burlap.
Holiday-themed Wreaths
Choose decorations that match each holiday’s theme. For Christmas, add pine cones, red berries, and mini ornaments. For Halloween, use small pumpkins, black ribbon, and faux spider webs. Easter wreaths look great with pastel eggs and tiny flowers. Use glue or thin wire to attach items securely to the wreath.
Everyday Home Decor
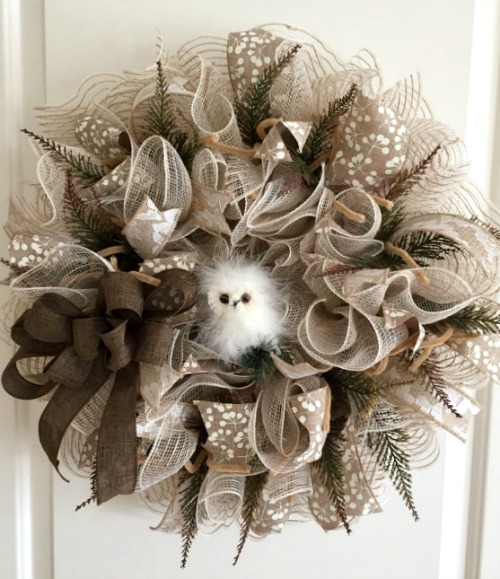
Create wreaths that fit daily home style. Use neutral colors and natural elements like twine, wood slices, or dried flowers. Add small signs with welcoming words or seasonal greetings. Change the decorations easily to refresh your home look. Burlap wreaths give a cozy, rustic feel all year.
Credit: howtomakeaburlapwreath.com
Frequently Asked Questions
What Materials Work Best For Burlap Wreath Decorations?
Natural elements like pinecones, dried flowers, and ribbons complement burlap well. Avoid heavy items that may weigh down the wreath. Use lightweight decorations for a balanced look that enhances burlap’s rustic charm.
How Do You Attach Decorations To A Burlap Wreath?
Use hot glue or floral wire to secure decorations firmly. Hot glue works best for small items, while wire suits larger pieces. Ensure attachments are stable to prevent decorations from falling off over time.
Can I Reuse Decorations On Different Burlap Wreaths?
Yes, many decorations like faux flowers and ribbons can be reused. Store them carefully to avoid damage. Reusing decorations saves money and allows creative flexibility for seasonal wreath updates.
What Themes Suit Burlap Wreath Decorations?
Rustic, farmhouse, seasonal, and holiday themes suit burlap wreaths perfectly. Choose colors and elements that match your décor or event. This enhances the wreath’s appeal and personalizes your decoration style.
Conclusion
Adding decorations to a burlap wreath can be simple and fun. Choose items that match your style and season. Use glue or wire to secure decorations firmly. Small touches like ribbons, flowers, or ornaments bring life to the wreath. Take your time to arrange pieces nicely.
Personalizing your wreath makes it unique and special. Enjoy the process and show off your creation proudly. Your home will look warm and inviting with a decorated burlap wreath. Try different ideas and keep crafting!