Are you ready to boost your home security with the Ring Video Doorbell 3 Plus? Installing this smart device might seem tricky, but with the right steps, you can have it up and running in no time.
Imagine seeing who’s at your door from anywhere, anytime, right on your phone. In this guide, you’ll discover simple, clear instructions that make installation easy—even if you’re not tech-savvy. Keep reading, and by the end, you’ll have your Ring Doorbell set up perfectly, giving you peace of mind and full control over your doorstep.
Gathering Required Tools
Before installing the Ring Video Doorbell 3 Plus, gather all necessary tools. Having the right tools ready saves time and avoids frustration. This step ensures a smooth installation process for your new doorbell.
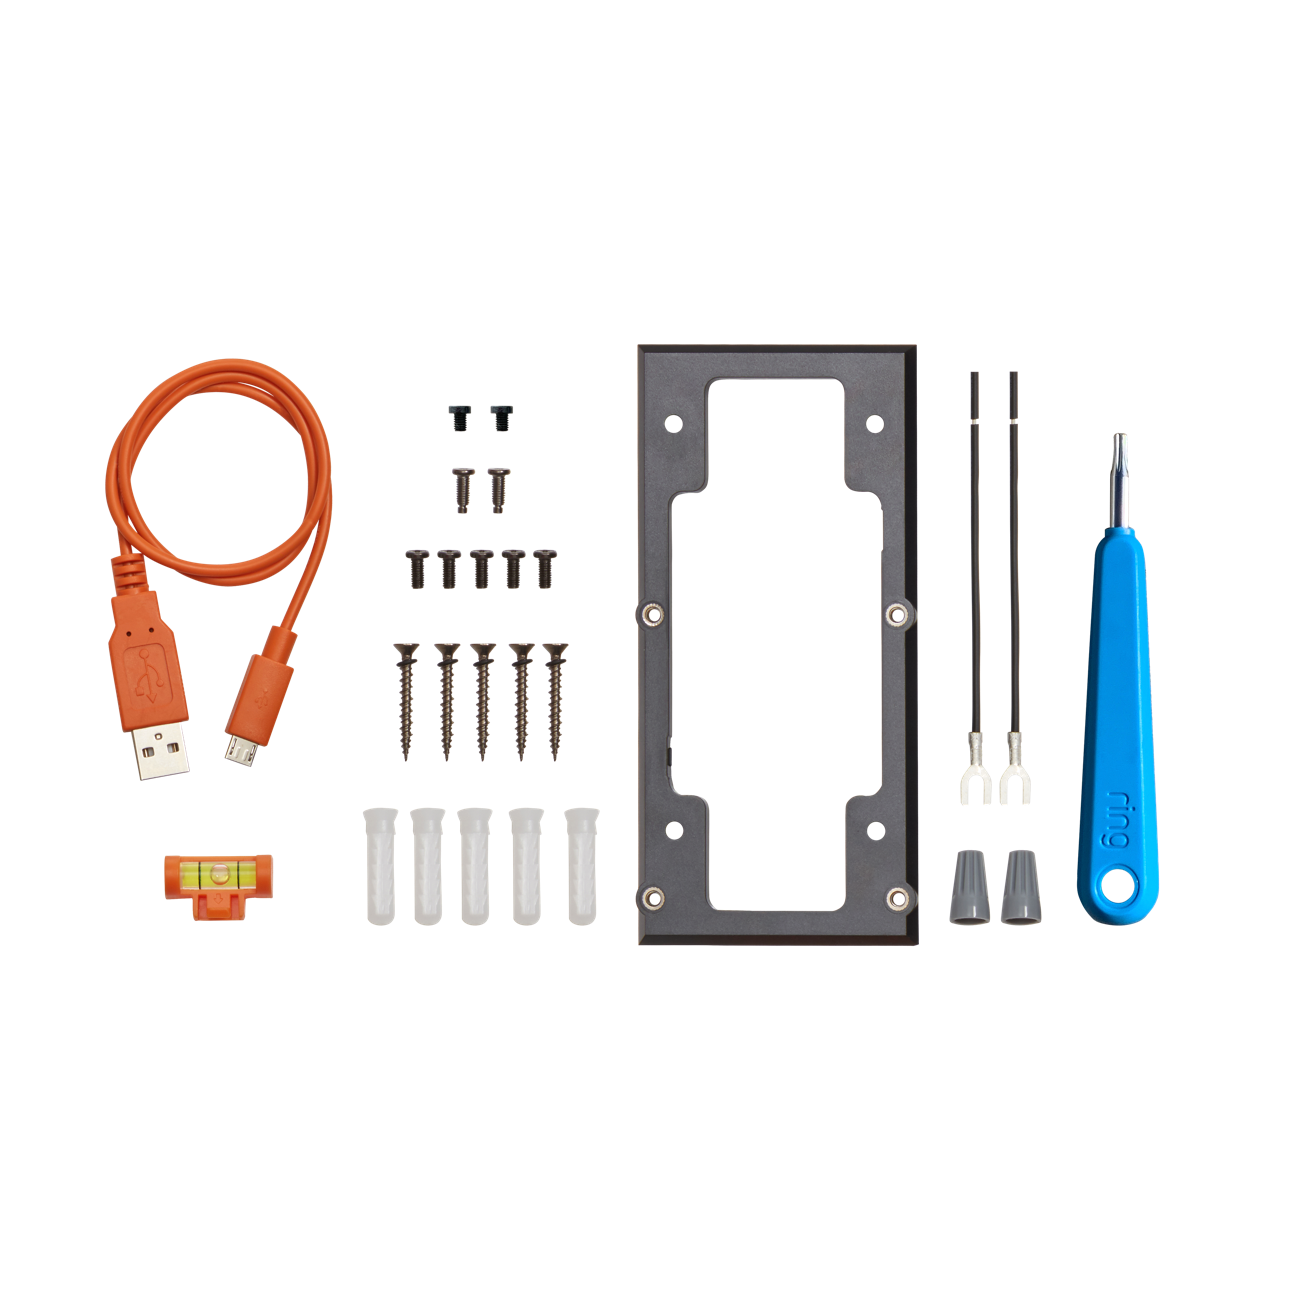
What You Need
Start with the tools included in the Ring package. Usually, it contains screws, anchors, and a screwdriver bit. You will also need a drill to make holes in the wall. A level tool helps align the doorbell straight. A pencil is useful to mark drill points. A ladder might be needed for higher doorframes. Having these tools ready makes installation easier.
Checking Compatibility
Check if your home’s doorframe supports the Ring Video Doorbell 3 Plus. It works with most standard doorframes and walls. Confirm your Wi-Fi signal reaches the installation spot. The doorbell needs a good connection to function well. Also, check if your existing doorbell wiring matches Ring’s requirements. This step avoids problems during installation.
Preparing Your Doorbell Location
Preparing your doorbell location sets the stage for a smooth installation. A good spot helps your Ring Video Doorbell 3 Plus work well. It also ensures clear video and sound. Take time to pick the right place before you start.
Think about visibility, ease of access, and safety. These points matter for the doorbell’s performance. A well-chosen location makes your home safer and smarter.
Choosing The Best Spot
Pick a spot near your front door or main entry. The doorbell should capture visitors clearly. Avoid places with direct sunlight that can cause glare. Make sure the area is easy to reach for installation and maintenance. The doorbell must be 48 inches from the ground. This height gives a good view of faces and packages.
Ensuring Wi-fi Coverage
Check your Wi-Fi signal strength at the chosen spot. The doorbell needs a strong, stable connection. A weak signal can cause delays or missed alerts. Use a phone or laptop to test the Wi-Fi speed there. Consider moving your router closer or adding a Wi-Fi extender. Good coverage means better video and faster alerts.
Installing The Mounting Bracket
Installing the mounting bracket is the first step to set up your Ring Video Doorbell 3 Plus. This bracket holds the doorbell securely on your wall. A proper installation ensures the doorbell works well and stays in place.
Follow the steps carefully to mount the bracket. Use the tools and hardware that come with your Ring doorbell. Take your time to get the bracket aligned correctly.
Marking Drill Points
Hold the mounting bracket against the wall near your door. Use a pencil to mark the spots where you will drill holes. Make sure the bracket is straight before marking.
Double-check the marks to avoid mistakes. These drill points guide where you insert screws later. Accuracy helps keep the doorbell stable and neat on the wall.
Securing The Bracket
Use a drill to make holes on the marked points. Pick drill bits that match the size of screws provided. Insert wall anchors if mounting on drywall or brick.
Place the bracket over the drilled holes. Screw it firmly into place using a screwdriver. The bracket should not wobble or move after securing.
Check the bracket’s position one last time. A solid bracket means your Ring doorbell will stay safe and work well.

Credit: www.youtube.com
Connecting The Doorbell
Connecting the Ring Video Doorbell 3 Plus is a simple process. The device offers two main ways to power it: wired and battery. Choosing the right method depends on your home setup and personal preference.
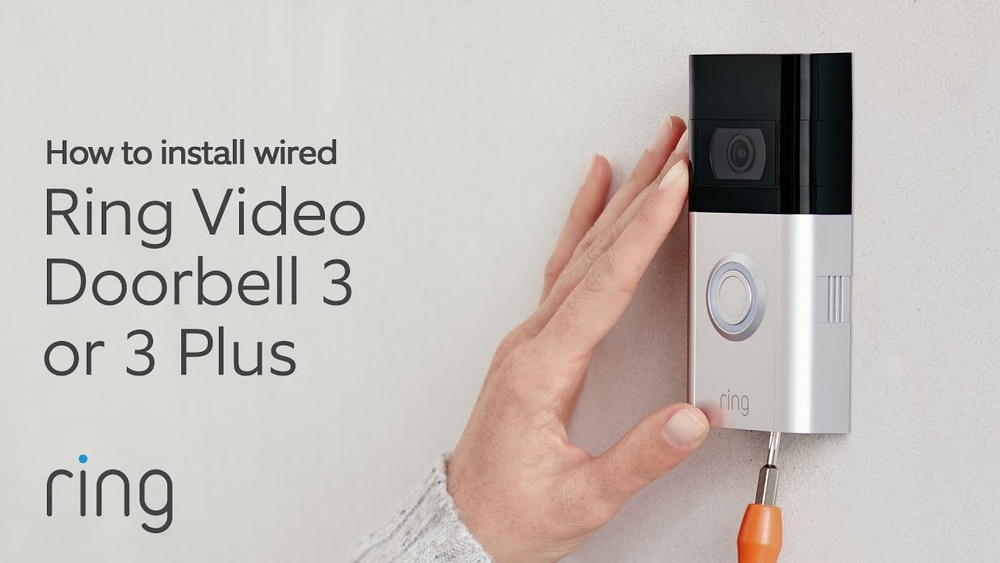
Wired Installation Steps
Turn off the power to your doorbell at the circuit breaker. Remove your old doorbell carefully. Connect the Ring doorbell wires to the screws on the back of the device. Use the included screws to attach the doorbell to the wall. Turn the power back on. Follow the Ring app instructions to complete setup and test the connection.
Battery Installation Option
Remove the Ring doorbell from its base. Open the battery compartment and insert the rechargeable battery. Close the compartment securely. Attach the doorbell to the mounting bracket without connecting wires. Use the Ring app to activate the device. Charge the battery fully before first use for best performance.
Setting Up The Ring App
Setting up the Ring app is the first step to using your Ring Video Doorbell 3 Plus. The app helps you control the doorbell and see who is at your door. It lets you get alerts and watch live video on your phone. Follow these steps to get the app ready.
Creating An Account
Download the Ring app from the App Store or Google Play. Open the app and tap “Create Account.” Enter your name, email, and create a strong password. Accept the terms and conditions. Verify your email by clicking the link sent to your inbox. This account keeps your home secure and connects your devices.
Connecting To Wi-fi
Once logged in, the app will guide you to connect your doorbell to Wi-Fi. Choose your home Wi-Fi network from the list. Enter your Wi-Fi password carefully. The doorbell needs a strong Wi-Fi signal to work well. Wait for the app to confirm the connection. This step ensures you can receive alerts and stream video smoothly.
Testing Your Doorbell
Testing your Ring Video Doorbell 3 Plus is important after installation. It ensures the device works properly and keeps your home safe. Testing helps catch any issues early. This way, you can enjoy clear video and audio without interruptions.
Checking Video And Audio
Start by pressing the doorbell button. Watch the live video feed on your phone or tablet. Check if the video is clear and shows the right area. Listen to the audio to confirm you can hear sounds outside. Speak through the app to test the two-way audio. Make sure your voice is heard from the doorbell speaker.
Troubleshooting Common Issues
If the video is blurry or delayed, check your Wi-Fi connection. Weak signal can cause poor video quality. Restart the Ring app or your router to improve connection. Audio problems often come from volume settings or microphone blockages. Clean the doorbell and adjust volume in the app. Reset the doorbell if problems continue. Follow the app’s instructions for a factory reset.
Tips For Optimal Performance
To get the best from your Ring Video Doorbell 3 Plus, follow key tips. These help improve video quality and save battery. Small changes in settings make a big difference. Your doorbell will work smoothly and catch every important moment.
Adjusting Motion Settings
Set motion zones to focus on key areas like your porch or driveway. This reduces false alerts from passing cars or trees. Adjust motion sensitivity to avoid too many or too few notifications. Test different settings at various times of day. This ensures you only get alerts for real activity.
Maintaining Battery Life
Charge your doorbell regularly to keep it running well. Lower motion sensitivity to save power. Use the Ring app to check battery status often. Turn off unnecessary features like live view alerts if not needed. Keep the doorbell clean and free from dirt to avoid extra power use.
Credit: ring.com

Credit: www.amazon.com
Frequently Asked Questions
How Do I Prepare For Ring Video Doorbell 3 Plus Installation?
Before installation, charge the battery fully and turn off power at the breaker. Gather required tools like a drill, screwdriver, and level. Ensure your Wi-Fi is strong at your door for smooth setup and connectivity.
Can I Install Ring Video Doorbell 3 Plus Myself?
Yes, the Ring Video Doorbell 3 Plus is designed for easy DIY installation. Follow the step-by-step instructions in the app for mounting and setup. It typically takes 20-30 minutes to complete the process.
What Tools Are Needed To Install Ring Video Doorbell 3 Plus?
You need a drill, screwdriver, level, and anchor screws provided in the box. A pencil helps mark drill points. These basic tools ensure proper mounting and alignment for your Ring Doorbell.
How Do I Connect Ring Doorbell 3 Plus To Wi-fi?
During setup, the Ring app guides you to select your Wi-Fi network and enter the password. Ensure your phone is near the doorbell for a strong signal. Connection is usually quick and stable.
Conclusion
Installing the Ring Video Doorbell 3 Plus is simple and quick. Follow each step carefully for best results. Test the doorbell after installation to ensure it works well. Enjoy better home security and easy access to visitors. This device helps you feel safer every day.
Keep your instructions handy for future reference. You can update settings anytime through the app. Stay connected with your home, no matter where you are. A smart choice for better home safety and peace of mind.