Is your towel rack loose, crooked, or just not holding up like it used to? You’re not alone—and the good news is, fixing it yourself is easier than you think.
Imagine stepping out of the shower and having your towel right where it should be, neat and ready. In this guide, you’ll discover simple, step-by-step solutions to get your towel rack back in perfect shape. No need to call a professional or spend a lot of money.
Keep reading, and you’ll have your bathroom looking tidy and functional again in no time.

Credit: www.reddit.com
Identify The Problem
Identifying the problem is the first step to fixing your towel rack. Knowing what is wrong helps you choose the right fix. Check each part carefully. This saves time and effort.
Loose Brackets
Loose brackets cause the rack to wobble or fall. Look at the brackets holding the rack. Wiggle them gently. If they move, the brackets are loose. Tighten the screws or bolts to secure them.
Broken Screws
Broken screws cannot hold the rack properly. Remove the screws and inspect them closely. Look for cracks or bends. Replace any damaged screws. Use screws of the same size and type.
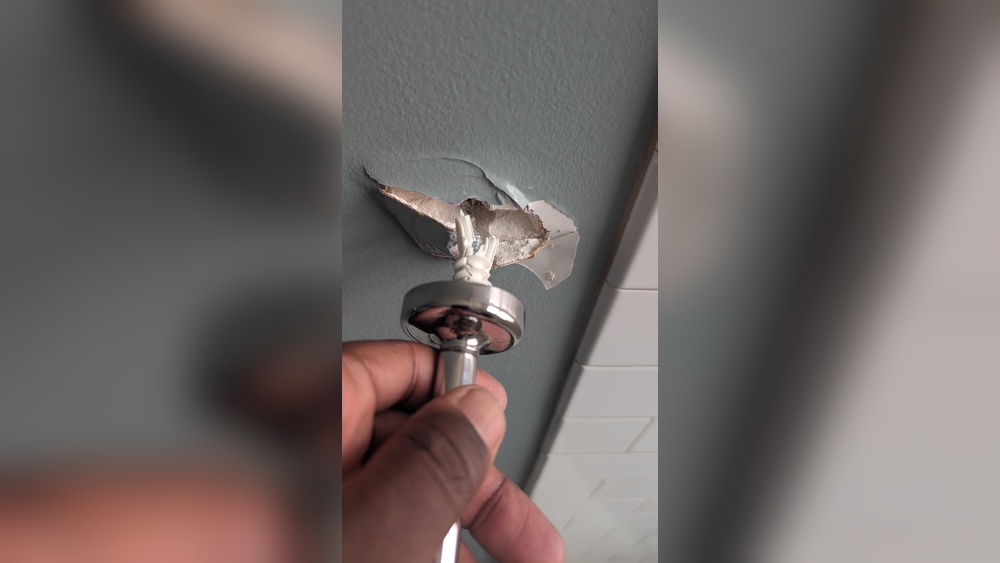
Damaged Wall Anchors
Wall anchors support the screws in the wall. Check if the anchors are cracked or pulled out. Damaged anchors cause the rack to become unstable. Remove and replace weak anchors with new ones. This ensures a strong hold.

Credit: www.youtube.com
Gather Required Tools
Before fixing your towel rack, gather all the tools you need. Having the right tools makes the job easier and faster. It also helps you avoid mistakes and keeps the rack secure.
Screwdrivers
Screwdrivers are essential for removing and tightening screws. Choose both flathead and Phillips screwdrivers. They fit different screw types on your towel rack. Using the correct screwdriver prevents damage to screws and the rack.
Drill And Bits
A drill helps make holes in the wall for mounting. Use drill bits that match the size of your screws. Drilling holes accurately ensures the rack holds well. It also saves time and effort during installation.
Wall Anchors And Screws
Wall anchors provide extra support in drywall or plaster walls. Choose anchors that fit your screws and wall type. Screws should be strong enough to hold the towel rack and towels. Using the right anchors and screws keeps the rack stable.
Level And Measuring Tape
A level ensures your towel rack is straight on the wall. Measuring tape helps mark the exact spot for holes. Accurate measuring and leveling make the rack look neat and professional. It also prevents towels from slipping off.
Remove The Towel Rack
Removing a towel rack is the first step in fixing it. You need to take it off carefully. This allows you to see what is wrong and make repairs. Follow these steps to remove your towel rack safely and easily.
Unscrew Brackets
Start by finding the screws that hold the towel rack brackets. Use a screwdriver to turn the screws counterclockwise. Keep the screws in a safe place for later use. If the screws are stuck, try applying some oil to loosen them. Once all screws are out, gently pull the brackets away from the wall.
Inspect For Damage
After removing the rack, check the brackets and wall mounts for damage. Look for cracks, rust, or bent parts on the brackets. Examine the wall to see if it has holes or weak spots. Noticing damage early helps you decide what to fix or replace. Repair or buy new parts before putting the rack back.

Credit: www.reddit.com
Repair Or Replace Parts
Repairing or replacing parts is key to fixing your towel rack. Small problems like loose screws or damaged brackets cause instability. Fix these parts to make the rack strong again. This saves money and time. You can do simple repairs yourself with basic tools.
Tighten Or Replace Screws
Check all screws holding the towel rack. Loose screws make the rack wobble or fall. Use a screwdriver to tighten them firmly. If screws are rusty or stripped, replace them with new ones. Choose screws that fit the holes exactly. This keeps the rack secure and stable.
Install New Wall Anchors
Wall anchors hold screws tightly in drywall or plaster. Old anchors can become weak and fail. Remove damaged anchors carefully. Insert new anchors that fit your wall type. Push or screw them into the wall until tight. New anchors provide strong support for the towel rack.
Replace Damaged Brackets
Brackets support the towel rack on the wall. Broken or bent brackets cannot hold weight properly. Remove damaged brackets by unscrewing them. Buy new brackets that match your rack style and size. Attach new brackets firmly to the wall. This restores the rack’s strength and safety.
Reinstall The Towel Rack
Reinstalling a towel rack is a simple task that helps keep your bathroom tidy. It requires careful steps to make sure the rack is secure and level. Follow the guide below to reinstall your towel rack quickly and correctly.
Mark Drill Points
Start by holding the towel rack against the wall. Use a pencil to mark where the screws will go. Check that the rack is straight by using a level tool. Mark both sides clearly to avoid mistakes.
Drill Holes Properly
Choose a drill bit that fits your wall anchors or screws. Drill holes at the marked points carefully. Do not drill too deep or too wide. Clean out any dust from the holes before moving on.
Attach Brackets Securely
Insert wall anchors if needed to support the rack. Screw the brackets into the drilled holes tightly. Make sure they do not wobble or feel loose. Attach the towel rack to the brackets and test its stability.
Test Stability
Testing the stability of your towel rack is key after fixing it. A stable rack holds towels safely without wobbling or falling. This step helps you see if the repair worked well. It also keeps your bathroom neat and safe.
Apply Gentle Pressure
Press lightly on the towel rack with your hand. Push it in different directions. This shows if it moves or stays firm. Gentle pressure helps avoid breaking a weak rack. Feel if it holds steady or shifts.
Check For Movement
Look closely for any shaking or loosening parts. Try to wiggle the rack slightly. If it moves, tighten screws or anchors again. No movement means your rack is secure. A stable towel rack lasts longer and works better.
Prevent Future Issues
Fixing your towel rack is just the first step. Preventing future problems keeps it strong and safe. Small actions can make a big difference over time. Protect your investment and avoid extra repairs.
Avoid Overloading
Only hang towels that the rack can hold. Heavy loads pull the rack from the wall. Wet towels weigh more, so limit how many you hang. Use hooks or extra racks for heavy items. This stops damage and keeps the rack stable.
Regular Maintenance
Check your towel rack often for loose screws or parts. Tighten screws to keep the rack secure. Clean the rack to remove dust and moisture. Moisture can cause rust or weaken the wall. Fix small issues before they get worse. Regular care extends the life of your rack.
Frequently Asked Questions
How Do I Fix A Loose Towel Rack?
Tighten the screws holding the rack to the wall. Use a screwdriver or drill for better grip. If the holes are stripped, insert wall anchors for a secure hold.
What Tools Are Needed To Repair A Towel Rack?
You need a screwdriver, wall anchors, a drill, and a level. These tools help remove, secure, and align the towel rack properly on the wall.
How To Fix A Towel Rack That Falls Off The Wall?
Check if screws are loose or missing. Replace or tighten them. Use wall anchors in drywall to support the rack and prevent it from falling again.
Can I Fix A Towel Rack Without Wall Anchors?
Yes, if the rack is mounted on a stud, screws alone may hold it. Otherwise, wall anchors are essential for stability in drywall installations.
Conclusion
Fixing your towel rack is easier than it seems. Start by checking the screws and wall anchors. Tighten or replace any loose parts. Use a level to keep the rack straight. Choose the right tools for a smooth repair. Taking small steps leads to big results.
Your bathroom looks better, and towels stay secure. Don’t let a broken rack cause frustration. A little effort brings comfort and order back. Keep your space neat and functional with simple fixes. You’ve got this!