

Imagine looking into your mirror each morning and seeing more than just your reflection. What if your mirror could show you the weather, your calendar, or even the news while you get ready?
Programming a smart mirror lets you create this magic for your own home. In this guide, you’ll discover simple steps to build and customize your smart mirror, even if you’re new to coding. By the end, you’ll have a powerful tool that makes your daily routine smoother and more connected.
Ready to transform your mirror into something extraordinary? Let’s dive in.

Credit: vixencomposites.com
Choosing The Right Hardware
Choosing the right hardware is key to building a smart mirror that works well. The hardware affects how clear the display looks, how fast the mirror responds, and what features it can have. Picking the best parts saves time and avoids problems later. This guide helps you find the right components for your smart mirror project.
Selecting A Display
The display is the main part of your smart mirror. It shows all the information you want to see. A good display should be bright and clear. Many builders use LCD or LED screens. A size between 15 and 27 inches fits most mirrors. Choose a screen with a high resolution for sharp text and images. Also, consider a screen that supports touch if you want to interact directly.
Picking A Microcontroller Or Computer
The microcontroller or computer runs the software of your smart mirror. Raspberry Pi is a popular choice because it is small and powerful. It can handle many apps and sensors. Other options include Arduino boards or small PCs. Choose a device with enough memory and speed. This ensures smooth performance and faster updates on your mirror.
Necessary Sensors And Components
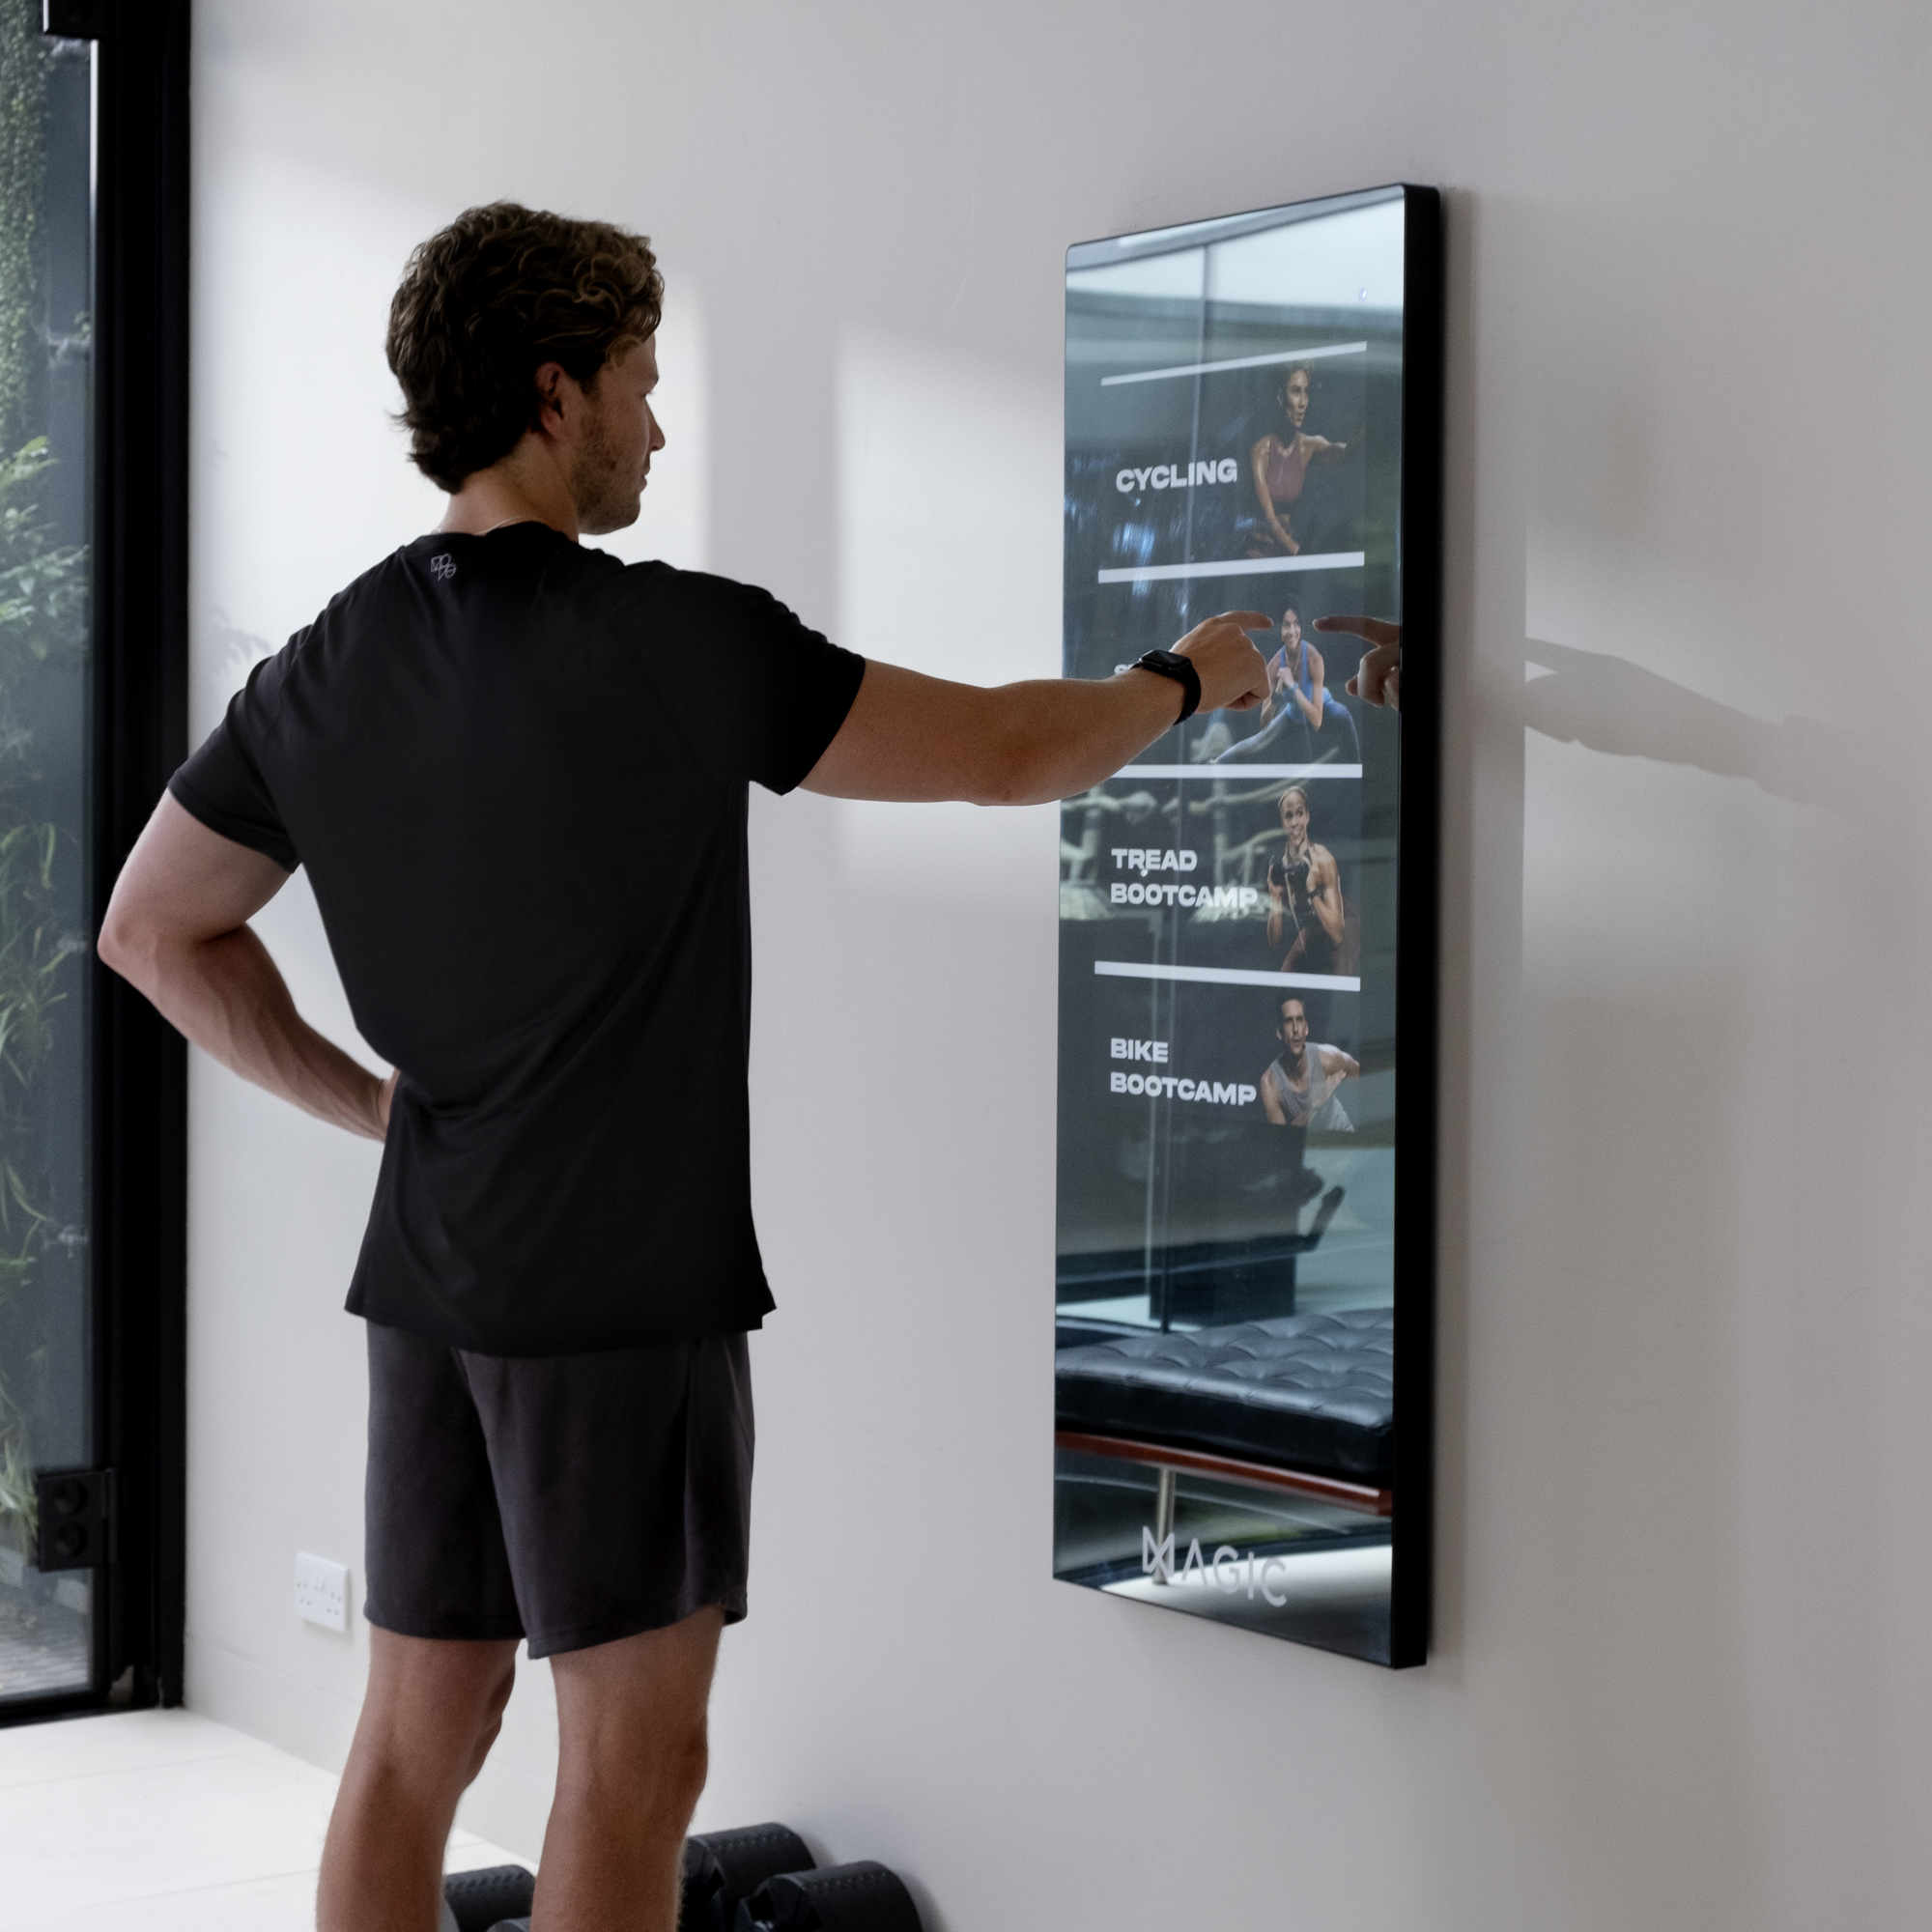
Sensors add extra features to your smart mirror. Common sensors include motion detectors to wake the screen when you approach. Light sensors adjust the screen brightness based on room light. A microphone allows voice commands. You may also add a camera for facial recognition. Don’t forget cables, power supplies, and a frame to hold everything together. Each part should fit your design and budget.
Credit: magic.fit
Setting Up The Software Environment
Setting up the software environment is the first step in programming a smart mirror. This step prepares your computer and tools for smooth development. A well-prepared environment reduces errors and saves time. You need to install the right operating system, configure development tools, and pick a programming language. Each choice shapes how you build and run your smart mirror software.
Installing Required Operating Systems
Choose an operating system that supports smart mirror software. Popular options include Linux distributions like Raspbian or Ubuntu. These systems are lightweight and work well on devices like Raspberry Pi. Download the OS image from the official website. Use a tool like Etcher to flash the image onto an SD card. Insert the card into your device and complete the initial setup. This process creates a stable base for your smart mirror project.
Configuring Development Tools
Development tools help you write, test, and debug code. Install a code editor such as Visual Studio Code or Sublime Text. These editors offer features like syntax highlighting and extensions. Install Node.js for running JavaScript-based smart mirror frameworks. Use Git to manage your project files and track changes. Set up SSH access to control your device remotely. Proper tool configuration speeds up your coding workflow.
Choosing A Programming Language
Select a programming language that fits your skill level and project needs. JavaScript is popular for smart mirrors due to available frameworks like MagicMirror². Python offers simplicity and many libraries for hardware interaction. Consider your goals and device compatibility. Pick a language with good community support. A clear choice makes coding easier and more effective.
Designing The User Interface
Designing the user interface (UI) for your smart mirror is a key step. It shapes how you interact with the mirror daily. A clear and simple UI makes the mirror easy to use. Think about what you want to see at a glance. The right design helps you find information fast. Let’s explore how to create a smart mirror UI that fits your needs.
Creating A Minimalist Layout
A minimalist layout keeps the screen clean and focused. Use only the most important information. Avoid cluttering the display with too many details. Space items evenly to make the screen pleasant to look at. Choose large, clear fonts for easy reading. This style helps you see what matters quickly. Less is more in smart mirror design.
Adding Widgets And Modules
Widgets show useful data like weather, time, or news. Modules add special features like calendars or reminders. Pick widgets that fit your daily routine. Place them in logical spots on the screen. Balance the amount of widgets to avoid overwhelming the display. Use simple icons and clear labels. Interactive modules can make the mirror more helpful.
Customizing Appearance And Themes
Customize colors and themes to match your style. Dark themes reduce glare and save power. Light themes make the screen bright and clear. Choose colors that are easy on the eyes. Adjust brightness for different lighting conditions. Personal touches make the mirror feel like your own. Keep the look consistent for a smooth experience.
Integrating Voice Control
Adding voice control to a smart mirror makes it easy to use. Voice commands let users interact without touching the screen. This feature adds convenience and a modern feel. It also helps those with limited mobility operate the mirror.
Integrating voice control needs careful setup. Choosing the right tools and programming clear commands are key steps. Testing ensures the mirror understands and responds correctly.
Choosing A Voice Recognition System
Select a voice recognition system that fits your project. Popular options include Google Assistant, Amazon Alexa, and open-source tools like Mozilla DeepSpeech. Consider factors like accuracy, language support, and ease of integration. Lightweight systems work better for low-power devices.
Check if the system supports offline use for privacy. Also, look for APIs and libraries that match your programming skills. Simplicity is important for smoother development.
Implementing Voice Commands
Start by defining what commands the mirror should recognize. Common commands include asking for weather, news, or calendar events. Use simple phrases to improve recognition accuracy.
Write code to connect voice inputs to mirror actions. Use the voice system’s API to capture and process speech. Map commands to functions like displaying information or changing settings.
Include feedback responses. For example, the mirror can confirm commands with voice or text. This builds user trust and improves interaction.
Testing Voice Interactions
Test the voice control in real environments. Speak commands clearly and vary your tone to check recognition. Try different accents and background noises.
Fix any commands the system mishears or ignores. Adjust the code or add synonyms for better understanding. Repeat tests until the mirror responds accurately.
Gather feedback from others to find common issues. Frequent testing ensures a smooth user experience. Voice control should feel natural and reliable.
Adding Smart Features
Adding smart features makes your mirror more useful every day. It can show important information at a glance. This saves time and helps you stay organized. You can customize the mirror to show what you need most.
These features make your mirror feel alive. It becomes more than just a mirror. It can show news, weather, reminders, and even control your smart home devices.
Displaying Weather And News
Show current weather to plan your day better. Use simple APIs to get weather updates. Display temperature, conditions, and forecasts clearly. News headlines keep you informed with little effort. Pick reliable news sources for accurate updates. Update the information regularly to keep it fresh.
Calendar And Reminder Integration
Connect your calendar to see daily events. Show reminders to help you remember tasks. Sync with Google Calendar or other apps easily. Display upcoming meetings and deadlines on the mirror. Use clear text and icons for quick reading. This feature helps you stay on track all day.
Smart Home Connectivity
Control lights, thermostat, and other devices from the mirror. Use platforms like Alexa, Google Home, or Home Assistant. Show device status and control buttons on the screen. Turn devices on or off with a tap or voice. This makes your home more comfortable and easy to manage.
Testing And Debugging
Testing and debugging are key steps in building a smart mirror. They help find and fix problems early. This makes sure your smart mirror works well and lasts long.
Testing checks if all parts work together. Debugging finds errors and solves them. Both improve the user experience and device reliability.
Common Issues And Fixes
Screen glitches often happen. Restart the system to clear bugs. Check cables and connections for loose parts.
Apps may freeze or crash. Update software regularly. Remove unused apps to free memory.
Sensor errors cause wrong readings. Clean sensors gently. Recalibrate sensors if readings stay off.
Optimizing Performance
Keep software updated for smooth operation. Use lightweight apps that need less power. Limit background processes to save resources.
Clear cache and temporary files often. This frees storage and speeds up response. Monitor CPU and memory use to avoid overload.
Ensuring Security And Privacy
Set strong passwords for your smart mirror. Change default login details immediately. Enable automatic updates for security patches.
Avoid storing sensitive data on the mirror. Use encryption if data must be saved. Turn off microphone and camera when not in use.
Maintaining And Updating Your Smart Mirror
Maintaining and updating your smart mirror keeps it working smoothly and adds new functions. Regular care helps avoid problems and extends the mirror’s life. Updates improve security and bring fresh features.
Software Updates
Check for software updates often. Updates fix bugs and improve performance. Use the smart mirror’s settings to download and install new versions. Restart the mirror after updating. This keeps the system safe and fast.
Hardware Maintenance
Clean the mirror surface gently with a soft cloth. Avoid harsh chemicals that damage the screen. Check cables and connections to ensure they are tight and not worn out. Keep the mirror in a dry place to prevent moisture damage.
Adding New Features Over Time
Explore adding new apps or widgets to your mirror. Many smart mirrors support voice control and weather updates. Try new features that suit your daily needs. This keeps your mirror useful and interesting for longer.

Credit: www.ameelectrical.co.uk
Frequently Asked Questions
What Tools Do I Need To Program A Smart Mirror?
You need a Raspberry Pi, monitor, two-way mirror glass, and basic programming tools. Python or JavaScript are popular languages for smart mirror projects.
How Do I Connect A Smart Mirror To The Internet?
Use Wi-Fi or Ethernet to connect your smart mirror’s Raspberry Pi to the internet. This enables live updates and voice commands.
Can I Customize The Smart Mirror Display?
Yes, you can customize widgets like weather, news, and calendar. Modify the code to personalize information shown on your smart mirror.
How Long Does It Take To Program A Smart Mirror?
Programming a basic smart mirror takes a few hours to several days. It depends on your coding experience and desired features.
Conclusion
Programming a smart mirror can be fun and useful. You control what shows on the screen. Start with simple steps and build your skills. Use clear code and test often to avoid errors. Small changes can make your mirror smarter.
Keep learning and trying new features. This project helps you understand coding better. Soon, your smart mirror will fit your daily needs. Enjoy the process and keep experimenting.