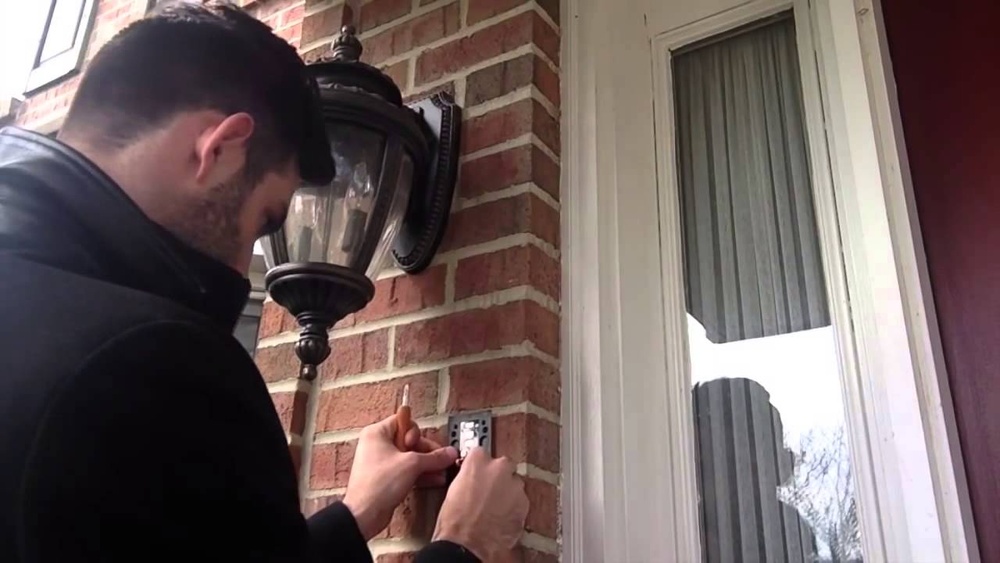

Are you ready to boost your home’s security with a Ring Wi-Fi Enabled Video Doorbell but worried about installing it on your stucco wall? You’re not alone.
Stucco can be tricky to work with, and improper installation might lead to damage or a faulty connection. But don’t worry—this guide will walk you through every step, making the process simple and stress-free. By the end, you’ll have your video doorbell up and running smoothly, giving you peace of mind and control right at your doorstep.
Keep reading to learn exactly how to do it right!

Credit: www.youtube.com
Tools And Materials Needed
Installing a Ring Wi-Fi enabled video doorbell on stucco needs the right tools and materials. Preparing these items before starting makes the job easier and faster. This section lists everything required for a smooth installation.
Essential Tools
Gather these basic tools to install the doorbell properly. A drill is necessary to make holes in the stucco. Use a masonry drill bit for tough surfaces. A screwdriver will help secure screws tightly. A level ensures the doorbell is straight on the wall. Wire strippers allow you to expose the wires for connection. A tape measure helps place the doorbell at the right height. A pencil is useful for marking drill spots.
Recommended Materials
Use these materials to protect your installation and ensure it lasts long. Wall anchors provide strong support in stucco walls. Silicone sealant prevents water from entering holes. Electrical tape secures wire connections and adds safety. The mounting bracket comes with the Ring doorbell and fits on the stucco surface. Extra screws may be needed if the original ones don’t fit well. Make sure your Wi-Fi signal is strong near the doorbell location for best performance.
Preparing Your Stucco Surface
Preparing your stucco surface is important before installing the Ring Wi-Fi Enabled Video Doorbell. Proper preparation helps the doorbell stay secure and work well over time. Taking time to clean and mark the surface ensures a smooth installation process.
Stucco can be rough and dusty. Cleaning it first removes dirt and loose particles. This step helps the mounting plate stick better. It also makes drilling easier and more accurate.
Cleaning The Area
Start by wiping the stucco with a dry brush. Remove all dust and loose debris from the surface. Use a damp cloth to clean stubborn dirt. Let the area dry completely before moving on. Dry stucco helps the mounting hardware hold tight.
Marking Drill Points
Hold the mounting bracket against the stucco. Use a pencil to mark where the screws will go. Check the marks for even spacing and alignment. This step avoids mistakes when drilling holes. Clear marks save time and prevent damage to the wall.
Drilling Into Stucco Safely
Drilling into stucco requires care and the right tools. Stucco is a hard surface made from cement and sand. It can crack if drilled improperly. Follow safe steps to protect your home and drill clean holes for your Ring Wi-Fi video doorbell.
Start by picking the correct drill bit. Use the right drilling method. This helps avoid damage and keeps the installation secure.
Choosing The Right Drill Bit
Use a masonry drill bit for stucco. These bits have a strong tip made for hard surfaces. Avoid regular wood or metal bits. They can break or cause cracks. Select a bit size that matches the wall anchors for your doorbell.
Make sure the drill bit is sharp. Dull bits increase pressure and risk damage. Replace the bit if it looks worn or chipped.
Drilling Techniques For Stucco
Start with a small pilot hole. This guides the larger bit and reduces stress. Drill slowly and apply steady pressure. Let the drill bit do the work. Pressing too hard can crack stucco.
Keep the drill straight. Angled holes weaken the mount and cause damage. Stop drilling if you hear cracking sounds. Clean dust from the hole before inserting anchors.

Credit: lionclima.com.br
Mounting The Doorbell Bracket
Mounting the doorbell bracket is a key step when installing your Ring Wi-Fi Video Doorbell on stucco. The bracket holds the doorbell firmly in place. Proper mounting ensures your device works well and stays secure over time.
Stucco is a tough surface, so use the right tools for drilling and securing. This prevents cracks and keeps the bracket steady. Follow each step carefully to avoid damage and ensure a strong hold.
Using Anchors And Screws
Start by marking the spots for the screws on the stucco. Use a drill with a masonry bit to make holes. These holes should match the size of your anchors.
Insert plastic or metal anchors into the holes. They help hold the screws tightly in the stucco. Next, place the bracket over the anchors. Use screws made for outdoor use to fix the bracket firmly.
Ensuring Secure Attachment
Check that the bracket does not move after tightening the screws. A loose bracket can cause the doorbell to fall or work poorly. Use a level tool to keep the bracket straight.
Apply gentle pressure around the bracket to test its grip. If it feels loose, tighten the screws more or replace the anchors. A secure attachment keeps your Ring doorbell safe and functional.
Connecting The Doorbell Wiring
Connecting the doorbell wiring is a key step for installing your Ring Wi-Fi Enabled Video Doorbell on stucco. It ensures the doorbell gets power and works correctly. This part requires care and attention to avoid mistakes. Follow simple steps to identify and connect the wires safely.
Identifying Wires
First, find the existing doorbell wires inside the stucco wall. Usually, two wires carry power to the doorbell. These wires are often thin and copper-colored or covered with white and black insulation.
Turn off the power at the breaker before touching any wires. Use a voltage tester to confirm no power is flowing. This prevents electric shock.
Label each wire to avoid confusion during connection. Knowing which wire is which helps connect correctly.
Making Proper Connections
Strip about half an inch of insulation from each wire end. This exposes the metal for a solid connection. Connect the wires to the Ring doorbell terminals marked “Front” or “Trans.”
Use the included screws or wire nuts to secure the wires tightly. Loose connections cause the doorbell to lose power or malfunction.
After wiring, tuck the wires neatly behind the doorbell. Avoid pinching or bending wires sharply. This keeps the connection safe and stable.
Setting Up The Video Doorbell
Setting up your Ring Wi-Fi Enabled Video Doorbell on stucco is simple. This part focuses on attaching the doorbell and adjusting its angle. Proper setup ensures clear video and smooth operation. Follow the steps carefully for best results.
Attaching The Doorbell Unit
Start by choosing the right spot on your stucco wall. Use the provided mounting bracket as a guide. Mark the drill holes with a pencil. Drill holes carefully using a masonry bit. Insert wall anchors to hold the screws firmly. Attach the mounting bracket to the wall with screws. Align the doorbell unit with the bracket. Snap the doorbell onto the bracket until it clicks. Check that it is secure and does not move.
Adjusting The Angle
Adjust the doorbell angle for the best view of your door. Use the included wedge or corner kit for better positioning. Loosen the screws slightly to tilt the doorbell. Find the right angle to capture faces clearly. Tighten the screws to lock the angle in place. Test the view with the Ring app to confirm the setup. Make small changes if needed for clearer video.
Configuring Wi-fi And App
Setting up your Ring Wi-Fi Enabled Video Doorbell involves more than just physical installation. The next vital step is configuring the Wi-Fi connection and the Ring app. This process lets you control the doorbell remotely and receive instant alerts on your phone.
Connecting the doorbell to your home Wi-Fi ensures smooth video streaming and quick notifications. The app gives you full control over settings, video history, and alerts. Proper configuration improves your security and user experience.
Connecting To Your Network
Start by downloading the Ring app on your smartphone. Open the app and create an account or log in. Follow the on-screen prompts to connect the doorbell to your Wi-Fi network.
Choose your home Wi-Fi from the list shown in the app. Enter your Wi-Fi password carefully. The doorbell will connect to your network within a few moments. Check the app for confirmation that the connection is successful.
Customizing Settings
Once connected, explore the app to customize your doorbell settings. Adjust motion sensitivity to avoid false alerts. Set quiet hours to mute notifications during certain times.
Enable or disable video recording based on your preference. You can also link the doorbell to other smart devices. Personalize alert tones to recognize notifications easily.
Testing And Troubleshooting
Testing and troubleshooting your Ring Wi-Fi Enabled Video Doorbell on stucco ensures it works smoothly. This step helps catch problems early. You get clear video and sound for better security. Follow simple tips to check and fix common issues fast.
Checking Video And Audio
Start by opening the Ring app on your phone. Check the live video feed for clarity. The image should be bright and clear. Tap the microphone icon to test two-way audio. Speak into the app and listen through the doorbell. Confirm the doorbell picks up sound well. Adjust the angle if the video misses important areas. Make sure the doorbell is not blocked by dirt or paint. Good lighting around the doorbell helps video quality.
Common Issues And Fixes
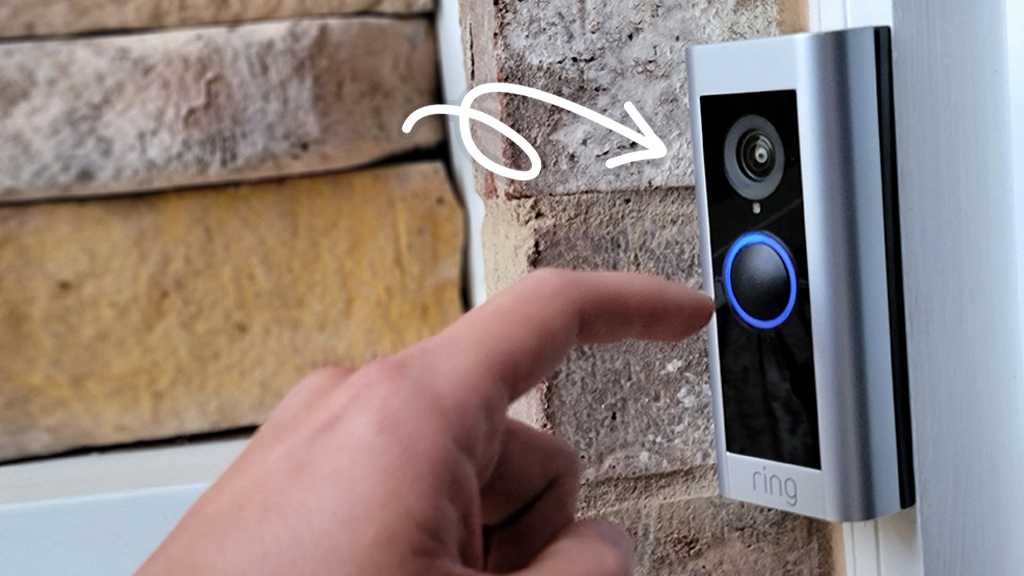
Weak Wi-Fi signals can cause video lag or disconnection. Move your router closer or add a Wi-Fi extender. Check if the doorbell battery is charged or wired correctly. A low battery can stop the device from working. Restart the Ring app or your phone to clear glitches. If the video freezes, reboot the doorbell by pressing its button. Dirty lenses cause blurry images; clean gently with a soft cloth. Update the Ring app and device firmware for best performance.
Credit: lionclima.com.br
Frequently Asked Questions
How Do I Mount Ring Doorbell On Stucco Walls?
To mount on stucco, use a masonry drill bit to create holes. Insert anchors before screwing the bracket securely. This ensures a stable hold despite the rough surface.
What Tools Are Needed For Stucco Installation?
You’ll need a masonry drill bit, power drill, anchors, screwdriver, and level. These tools help you drill into stucco and mount the doorbell correctly.
Can I Install Ring Doorbell Without Damaging Stucco?
Yes, by using anchors and proper drill bits, you minimize damage. Avoid excessive force and seal around screws to protect the stucco.
How To Ensure Wi-fi Connectivity On Stucco Walls?
Place the Ring Doorbell within your router’s Wi-Fi range. Stucco can slightly weaken signals, so test connection strength before final installation.
Conclusion
Installing your Ring Wi-Fi video doorbell on stucco is straightforward. Take your time to drill carefully and use the right anchors. Connect the wires securely and check your Wi-Fi signal strength before finalizing. Test the doorbell to ensure it works well.
This setup keeps your home safe and lets you see visitors easily. Enjoy the convenience and peace of mind it brings every day. Simple steps, great results.