If you want to keep your pet safe without making permanent changes to your home, building a non-fixed pet gate is the perfect solution. Imagine having a gate that you can easily move, adjust, or remove whenever you need—giving you full control and flexibility.
You’ll discover simple steps to create a sturdy, reliable pet gate tailored to your space and your pet’s needs. By the end, you’ll have a practical way to protect your furry friend and your belongings, all without any hassle or damage to your walls.
Keep reading, and you’ll learn how to make this smart, pet-friendly barrier yourself.
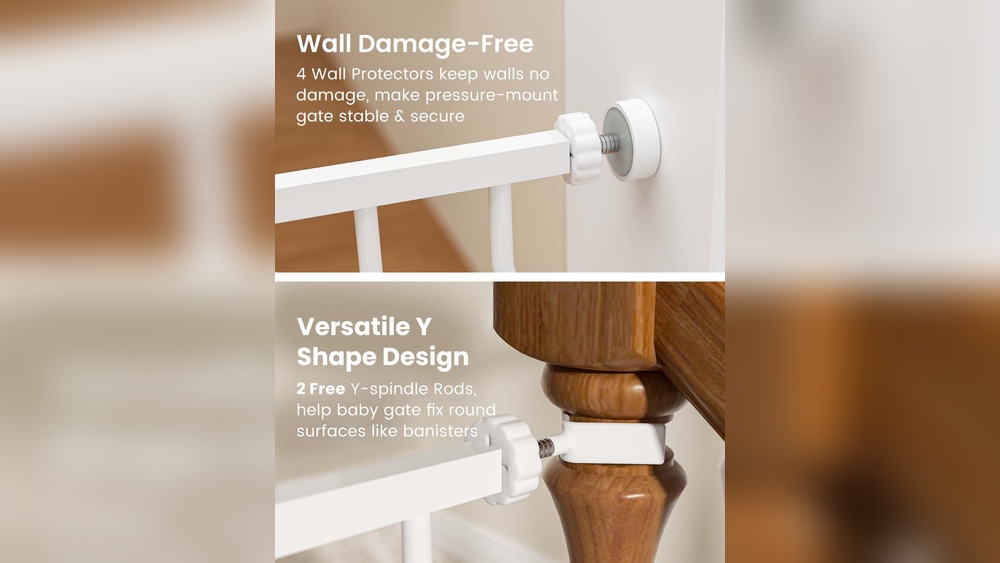
Credit: www.amazon.com
Benefits Of Non Fixed Pet Gates
Non fixed pet gates offer many benefits for pet owners. They provide a simple way to control pet movement. These gates do not require drilling or permanent installation. This makes them ideal for renters and those who want easy setup. The benefits go beyond convenience, helping protect pets and homes effectively.
Flexibility And Portability
Non fixed pet gates can be moved from room to room. This allows you to change pet boundaries easily. The gates fit various doorways and openings without damage. You can store them away when not in use. This flexibility suits homes with active pets and changing needs.
Protecting Pets And Home
These gates create safe spaces for pets to avoid hazards. They keep pets away from stairs, kitchens, or fragile items. This helps prevent accidents and injuries. The gates also protect furniture and belongings from damage. Pets and your home stay safe and secure.
Cost-effectiveness
Non fixed pet gates usually cost less than permanent gates. They save money on installation fees and repairs. The gates last long and can be reused in new homes. This makes them a smart choice for budget-conscious pet owners. Investing in these gates helps protect pets without high costs.
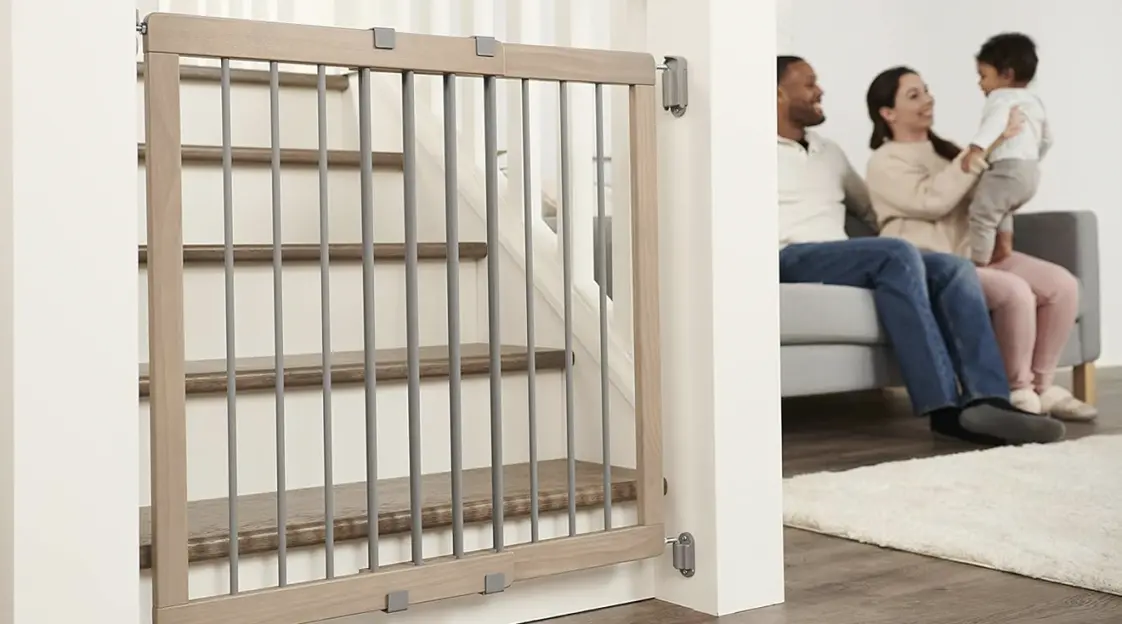
Credit: www.thebump.com
Materials And Tools Needed
Building a non-fixed pet gate requires the right materials and tools. Choosing good materials ensures the gate is strong and safe. Having the correct tools makes assembly easier and faster. Safety gear protects you during the building process.
Selecting Suitable Materials
Use lightweight wood like pine or plywood for easy handling. Choose wood that is smooth and free of splinters. Pick metal hinges that are sturdy and rust-resistant. Use screws that fit the wood and hold parts tightly. Consider a latch that is easy to open but secure for pets.
Essential Tools For Assembly
A drill helps make holes quickly and cleanly. A screwdriver is needed to tighten screws securely. Use a saw to cut wood pieces to size. Sandpaper smooths rough edges for safety. A measuring tape ensures all parts fit correctly. A pencil marks cutting lines clearly.
Safety Gear Recommendations
Wear safety goggles to protect your eyes from dust and debris. Use gloves to avoid splinters and cuts. A dust mask keeps you from breathing sawdust. Ear protection is helpful if using loud power tools. Dress in clothes that cover arms and legs for extra safety.
Measuring And Planning
Measuring and planning are the first steps to build a non-fixed pet gate. Careful planning helps create a safe and fit gate. Accurate measurements stop mistakes and save time. Planning lets you design a gate that works well in your space.
Choosing The Right Location
Pick a spot where the gate will block pets easily. Choose a place with solid walls or sturdy furniture nearby. Avoid areas with slippery floors or too much traffic. The right location keeps your pet safe and the gate stable.
Taking Accurate Measurements
Measure the width of the space where the gate will go. Use a tape measure and write down the exact number. Measure the height to stop your pet from jumping over. Double-check all measurements to avoid errors.
Designing The Gate Structure
Plan a gate that fits your measurements and location. Decide on materials that are strong but light to move. Think about how the gate will open and close. Design for easy setup and removal without tools.
Step-by-step Assembly
Building a non fixed pet gate is easier than many think. This guide breaks down the process into clear, simple steps. Follow each step carefully for a strong, safe gate. Use basic tools and materials. You can finish the project in a few hours.
Start by preparing your materials and tools. Measure your space well. Accuracy makes the gate fit perfectly. Take your time during assembly to avoid mistakes.
Cutting Materials To Size
Measure the space where you want the gate. Mark your wood or metal pieces clearly. Cut the pieces using a saw suited for the material. Smooth the edges with sandpaper for safety. Double-check each piece after cutting to ensure correct size.
Constructing The Frame
Lay out the cut pieces on a flat surface. Join the pieces using screws or nails at corners. Use a square tool to keep corners right-angled. Tighten connections to avoid wobbling. The frame forms the gate’s basic shape and strength.
Adding Support And Stability
Add crossbars inside the frame to increase strength. Attach these bars evenly for balance. Use brackets or corner braces for extra support. Check the gate for any weak spots. Reinforce areas that feel loose or weak.
Finishing Touches
Sand the entire gate to remove rough spots. Paint or stain the gate for protection and look. Attach non-slip pads to the bottom if the gate rests on smooth floors. Add handles or latches for easy use. Make sure all hardware is secure and safe for pets.
Installation Tips
Installing a non-fixed pet gate needs care and planning. Proper setup keeps pets safe and lets you move the gate easily. Follow these tips for a smooth installation.
Positioning The Gate Securely
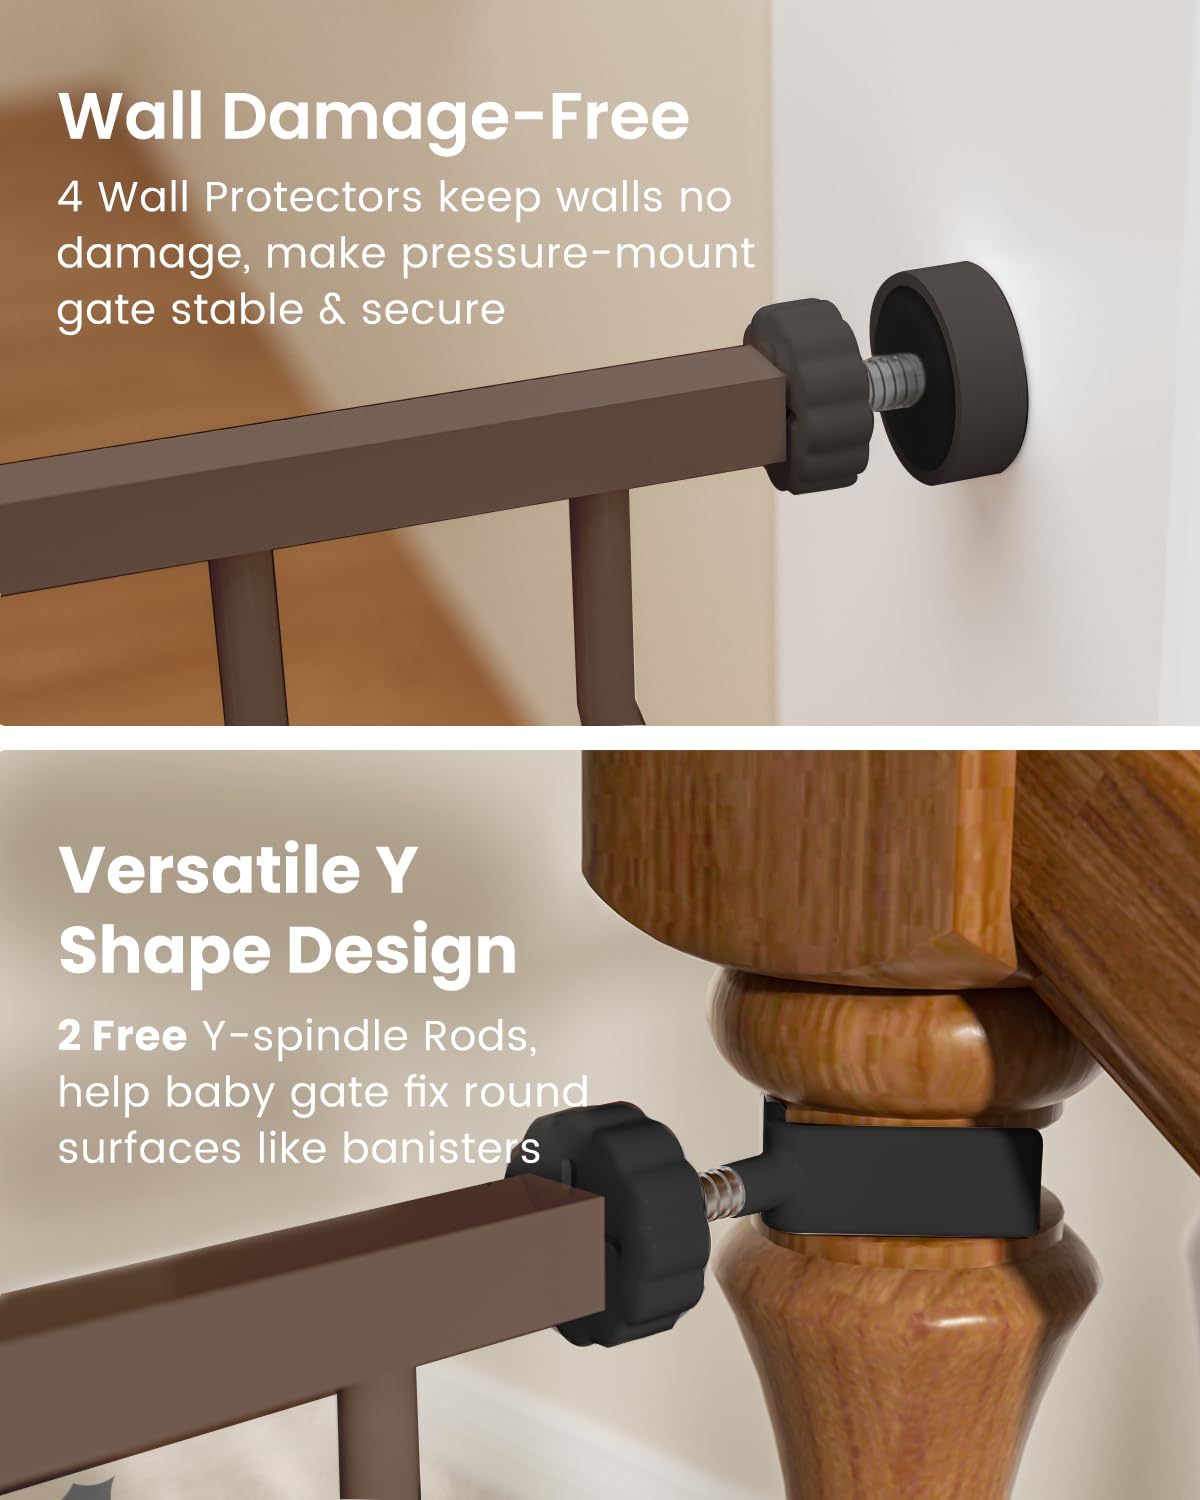
Place the gate in a spot where it fits well. Choose a flat surface like a doorway or hallway. Avoid uneven floors or thick carpet. Check the width to match your gate’s size. Use pressure mounts or rubber pads to hold it tight. This stops the gate from slipping or falling.
Ensuring Easy Removal
Pick a gate that you can take down quickly. Avoid using screws or nails that damage walls. Pressure-mounted gates work well for this. Keep the removal parts clear and easy to reach. This helps you open or move the gate fast when needed.
Testing Stability And Safety
Push the gate gently from different sides. Make sure it does not wobble or shift. Check all locks and latches to keep pets safe. Look for gaps where a pet might squeeze through. Adjust the gate until it feels strong and secure.
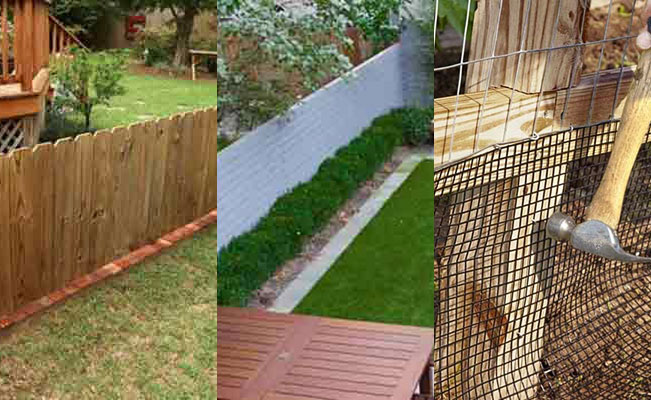
Credit: www.woohome.com
Maintenance And Troubleshooting
Maintaining a non fixed pet gate keeps it safe and reliable. Regular care prevents damage and stops small problems from growing. Troubleshooting helps fix issues quickly to keep your pet safe. Follow simple steps to maintain and repair your gate easily.
Routine Checks
Look at the gate every week. Check for loose screws or bolts. Make sure the gate fits snugly in the doorway. Test the latch to see if it opens and closes smoothly. Clean the gate to remove dirt and dust. Look for cracks or worn parts. Tighten any parts that feel loose. Keep the gate free from obstacles.
Common Issues And Fixes
The gate might not close properly. Check if the latch is stuck or blocked. Lubricate the latch with a little oil if it feels stiff. The gate may wobble or lean. Tighten all screws and bolts. Check if the gate frame is bent or damaged. Replace any broken parts quickly. If the gate moves too easily, add non-slip pads to the bottom.
Extending Gate Longevity
Keep the gate dry to prevent rust or warping. Store it indoors during bad weather. Use gentle cleaners to avoid damaging the surface. Avoid putting heavy weight on the gate. Regularly oil moving parts to keep them smooth. Replace worn parts as soon as possible. Check the gate’s fit often to ensure it stays secure. Proper care helps your gate last many years.
Frequently Asked Questions
What Materials Are Needed To Build A Non-fixed Pet Gate?
You need wood or PVC pipes, screws, hinges, and a latch. Optional items include paint and rubber pads for floor protection. These materials ensure durability and safety for your pet.
How Do You Measure Space For A Non-fixed Pet Gate?
Measure the width and height of the doorway or area. Allow extra space for hinges and latch placement. Accurate measurements ensure a perfect fit and secure gate installation.
Can A Non-fixed Pet Gate Be Easily Moved?
Yes, non-fixed gates are designed for easy relocation. They are lightweight and don’t require permanent installation. This makes them ideal for renters or flexible pet areas.
How Do You Secure A Non-fixed Pet Gate Without Damage?
Use pressure-mounted systems or non-invasive hooks and pads. Avoid drilling holes or using nails. This protects walls and door frames while keeping the gate stable.
Conclusion
Building a non-fixed pet gate can be simple and cost-effective. Choose the right materials and measure your space carefully. Assemble the parts with basic tools and test the gate’s stability. This type of gate offers flexibility and easy removal. It helps keep pets safe without permanent changes.
Try this DIY project to create a pet-friendly space in your home. Enjoy the balance of safety and convenience it brings.