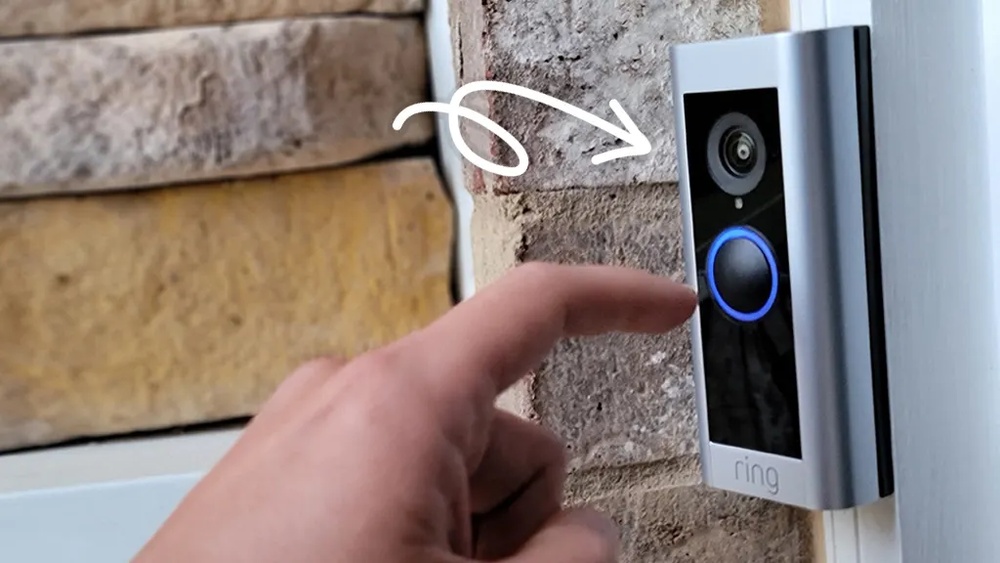

Imagine knowing who’s at your door without even getting up. Building your own video doorbell can give you that power, plus a sense of pride in creating something useful with your own hands.
If you’ve ever wanted to boost your home’s security and convenience while saving money, this guide is for you. You’ll discover simple steps, clear instructions, and helpful tips that make the whole process easy—even if you’re not a tech expert.
Ready to take control of your doorstep? Let’s dive in and build your very own video doorbell together.
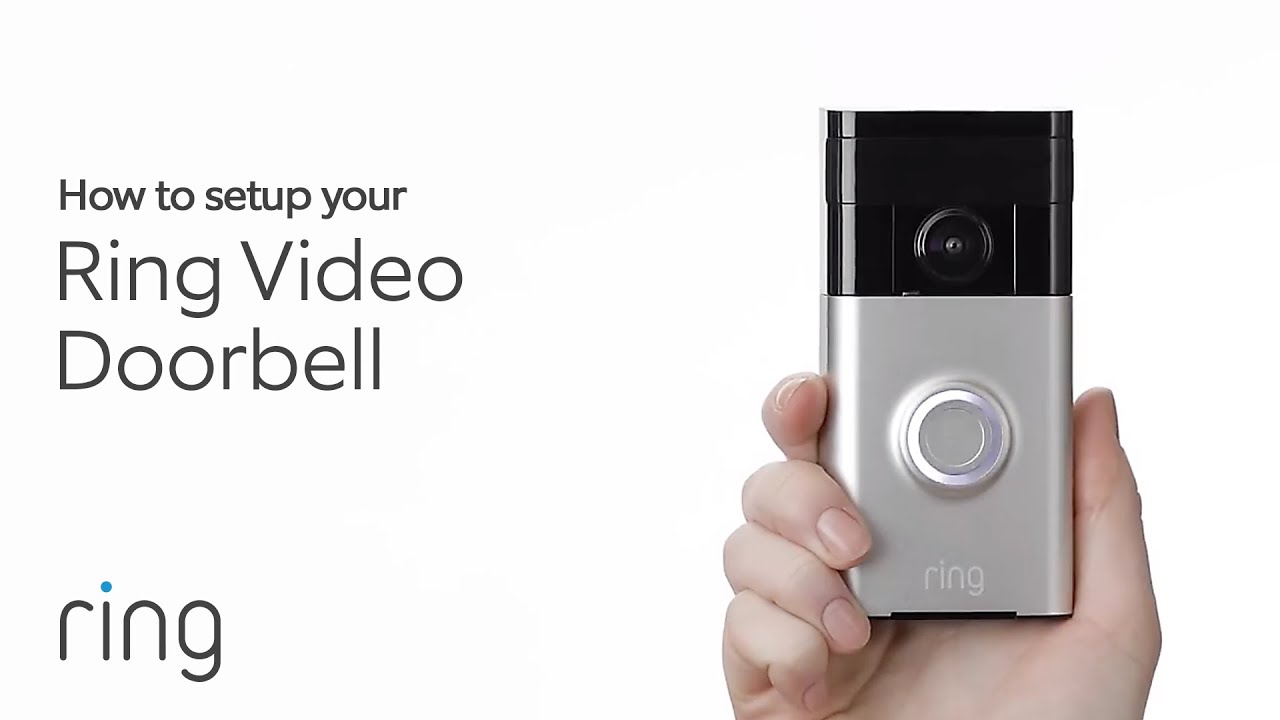
Credit: www.youtube.com
Choosing The Right Components
Choosing the right components is key to building a reliable video doorbell. Each part affects how well your doorbell works. Picking good parts ensures clear video, sound, and smooth operation. This guide helps you select the best parts for your project.
Selecting The Camera Module
Choose a camera with good resolution. A 1080p camera offers clear images. Look for a wide viewing angle to see more area. Night vision is important for low light. Check if the camera supports video compression to save space. Small size helps fit the camera in your doorbell case.
Picking The Microphone And Speaker
Use a microphone that captures clear sound. It should filter background noise well. A speaker with good volume makes communication easy. Test the speaker for clear voice playback. Small, low-power parts work best for battery life. Place the mic and speaker to avoid echo and feedback.
Choosing A Motion Sensor
Select a sensor that detects motion accurately. Passive Infrared (PIR) sensors are common and reliable. They sense body heat and movement well. Choose one with adjustable sensitivity to reduce false alarms. The sensor should cover the area near your door. Low power use is best for long operation.
Power Supply Options
Decide between wired and battery power. Wired power gives constant electricity but needs installation. Batteries offer easy setup and placement freedom. Use rechargeable batteries for cost savings. Consider solar panels for outdoor charging. Make sure your power choice supports all components well.
Assembling The Hardware
Assembling the hardware is the key step in building your video doorbell. This process brings together all the parts you need for a working device. Careful assembly ensures your doorbell works well and lasts long.
Focus on connecting the wires correctly, placing the camera and sensors in the right spots, and setting up a reliable power source. Each step builds on the previous one. Take your time and follow the instructions carefully.
Wiring The Components
Start by connecting the wires for the camera, microphone, and speaker. Use a small screwdriver to attach each wire to its terminal. Match the wire colors to the instructions to avoid mistakes. Secure all connections tightly to prevent loose contacts.
Double-check the wiring before moving forward. Incorrect wiring can cause the doorbell to fail or damage parts. Use electrical tape on exposed wires for safety. Keep wires neat to fit inside the casing easily.
Mounting The Camera And Sensors
Choose a spot near your door with a clear view. Attach the camera and sensors using screws or mounting brackets. Make sure the camera lens faces the area you want to monitor. Position the motion sensor to cover the widest range.
Test the camera angle and sensor coverage before final tightening. Adjust if needed for better view and detection. Secure the devices firmly to avoid movement or damage from weather.
Setting Up The Power Source
Select a power source that matches your doorbell’s needs. Common options include batteries or a direct connection to your home’s electrical system. Follow safety rules when working with electricity. Turn off power before wiring.
If using batteries, insert them correctly and check voltage levels. For wired power, connect to the transformer or power adapter as instructed. Test the doorbell to ensure it powers on without issues.
Programming The Device
Programming the video doorbell is a key step to make it work correctly. It controls how the device responds to visitors. The software inside the doorbell manages the camera, sensors, and communication features. Writing clear and simple code helps the device run smoothly.
This part covers setting up the microcontroller, handling the camera feed, motion alerts, and two-way audio. Each piece must connect well for the doorbell to function properly.
Setting Up The Microcontroller
Start by choosing a suitable microcontroller, like an Arduino or ESP32. Connect it to your computer and install the necessary drivers. Use an easy programming environment, such as Arduino IDE. Write basic code to test inputs and outputs. This ensures the microcontroller controls buttons and sensors properly.
Next, program the microcontroller to handle simple tasks like reading button presses. Test the response time to make sure it feels instant to users. Keep your code clean and organized for future updates.
Integrating The Camera Feed
Connect the camera module to the microcontroller or a small computer like Raspberry Pi. Write code to capture video frames and send them to a mobile app or cloud service. Use simple libraries for image processing. Make sure the video feed updates quickly and clearly.
Optimize the stream to reduce delays and save bandwidth. Test the video quality under different lighting conditions. This step gives users a live view of their doorstep anytime.
Configuring Motion Detection Alerts
Use a motion sensor or analyze the camera feed to detect movement. Program the microcontroller to recognize motion patterns. Send alerts to the user’s phone when motion is detected. Keep false alarms low by setting a clear detection threshold.
Test the system by walking near the doorbell to trigger alerts. Adjust sensitivity to balance security and convenience. This feature helps users know when someone approaches their door.
Enabling Two-way Audio
Connect a microphone and speaker to the microcontroller or main board. Write code to capture audio from the visitor and send it to the user’s phone. Allow the user to speak back through the app. Manage audio input and output to avoid echo and noise.
Test audio quality for clear conversations. Make sure the connection is stable and responsive. Two-way audio lets users talk to visitors without opening the door.

Credit: ring.com
Connecting To A Network
Connecting your video doorbell to a network is a key step. It allows the device to send alerts and stream video to your phone. A strong, reliable connection ensures smooth operation and quick notifications. This section covers the basics of network connection for your video doorbell.
Choosing Wi-fi Or Ethernet
Decide between Wi-Fi and Ethernet based on your setup. Wi-Fi offers wireless convenience and easy installation. Ethernet gives a stable and fast connection but requires a cable. Think about your home layout and internet speed. Choose what fits your needs and technical skills.
Securing Network Access
Protect your network to keep your video doorbell safe. Use strong, unique passwords for your Wi-Fi or router. Enable encryption like WPA3 or WPA2 for better security. Avoid default settings that hackers can guess. Keep your network devices updated with the latest software.
Configuring Remote Notifications
Set up alerts to know who is at your door anytime. Use the video doorbell app to enable push notifications. Customize alerts for motion, doorbell rings, or specific times. Test notifications on your phone to ensure they work. This setup keeps you connected, even when away.
Testing And Calibration
Testing and calibration are key steps in building your video doorbell. These steps ensure your device works well and meets your needs. Proper testing helps avoid issues later. Calibration lets you fine-tune settings for best performance. This section guides you through checking video, motion, and audio features.
Verifying Video Quality
Start by checking the video clarity. Look at the image on your screen. The picture should be sharp and clear. Test in different light conditions. Check daytime and nighttime views. Adjust the camera angle if needed. Make sure the lens is clean. A clear video helps you see visitors easily.
Adjusting Motion Sensitivity
Set the motion detection to catch movement accurately. Too sensitive, it triggers false alarms. Not sensitive enough, it misses visitors. Walk near the doorbell to test. Adjust the sensitivity slider slowly. Find the balance between too much and too little. This saves battery and reduces unwanted alerts.
Testing Audio Communication
Check the microphone and speaker for clear sound. Speak through the doorbell and listen on your phone. Ask someone to talk while you listen. Make sure voices are loud and clear. Reduce background noise if possible. Good audio lets you hear and talk to visitors easily.
Installing The Doorbell
Installing the video doorbell is a key step to make your home smarter and safer. Proper installation ensures the device works well and lasts long. Focus on choosing the right place, mounting the device securely, and checking its security features.
Selecting The Installation Spot
Pick a spot near your front door where visitors usually stand. The camera needs a clear view of the porch or entryway. Avoid places with direct sunlight or glare, which can blur the video. Mount the doorbell at about 4 to 5 feet from the ground. This height captures faces clearly and allows easy access.
Mounting The Device Safely
Use the mounting bracket that comes with the doorbell. Mark drill holes carefully to avoid damage to walls or wires. Use a level to keep the doorbell straight. Tighten screws firmly to prevent the device from falling. If you have wiring, turn off power before connecting to avoid shocks. Follow the manufacturer’s wiring guide step by step.
Final Security Checks
Test the doorbell button and camera after installation. Check the video feed on your phone for a clear picture. Ensure the device connects well to your Wi-Fi network. Secure the device with any included screws or locks. Confirm notifications work so you won’t miss any visitors. These steps keep your video doorbell safe and functional.
Maintaining Your Video Doorbell
Maintaining your video doorbell is key for its long-term performance. Proper care keeps it working smoothly and protects your investment. Simple steps help avoid common problems and extend device life.
Regular Software Updates
Keep the video doorbell’s software up to date. Updates fix bugs and add new features. They improve security and overall device function. Check for updates often through the app or device settings. Install them quickly to avoid vulnerabilities.
Cleaning And Hardware Care
Clean the doorbell regularly to keep the camera clear. Use a soft, dry cloth to wipe the lens and body. Avoid harsh chemicals that can damage the surface. Check the mounting bracket and screws for tightness. Protect the device from extreme weather if possible.
Troubleshooting Common Issues
Restart the device if it stops responding. Reset the doorbell to factory settings if problems continue. Check your Wi-Fi connection for stability. Replace batteries if the device uses them and runs low. Consult the manual or support if issues persist.

Credit: www.youtube.com
Frequently Asked Questions
What Tools Do I Need To Build A Video Doorbell?
You need a camera module, microcontroller, power supply, speaker, and wiring tools. Basic soldering equipment and a Wi-Fi module are also essential for connectivity.
How Do I Connect The Video Doorbell To Wi-fi?
Use a microcontroller with Wi-Fi capability like ESP8266 or ESP32. Program it to connect your home network using secure credentials for remote access.
Can I Build A Video Doorbell Without Professional Help?
Yes, with basic electronics knowledge and online tutorials, you can build one. Follow step-by-step instructions and use readily available components for a successful project.
How Do I Ensure My Video Doorbell Has Good Video Quality?
Choose a high-resolution camera module with good low-light performance. Proper lighting and lens placement also significantly improve video clarity and reliability.
Conclusion
Building a video doorbell can be simple and rewarding. You save money and learn new skills. This project helps improve home security and convenience. Follow each step carefully to avoid mistakes. Test your doorbell before final installation. Enjoy the satisfaction of a job well done.
Keep your home safe and stay connected easily. Try building one today and see the benefits yourself.