
Imagine stepping out of a warm shower and wrapping yourself in a toasty towel every single time. Sounds amazing, right?
You don’t have to spend a fortune or wait for a fancy bathroom upgrade to enjoy this comfort. Making your own heated towel rack is easier than you think, and it can add a touch of luxury to your daily routine.
In this guide, you’ll discover simple steps to create a cozy towel warmer that fits your style and budget. Ready to bring warmth and comfort to your bathroom? Let’s get started!
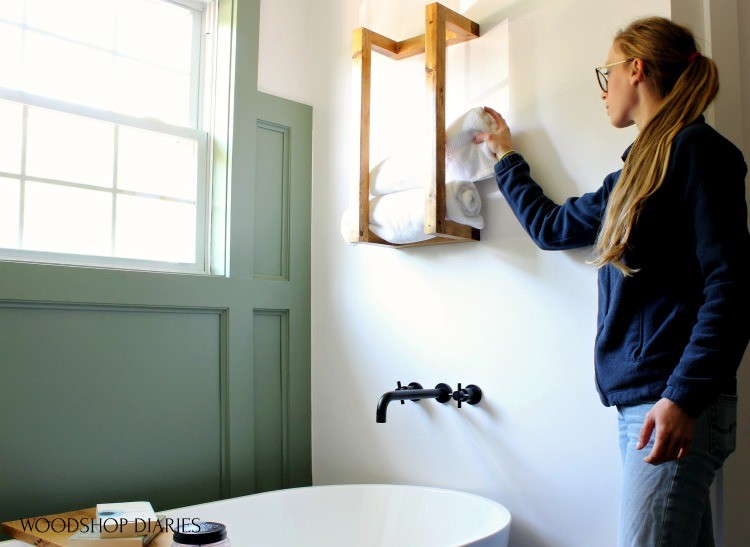
Credit: www.woodshopdiaries.com
Choosing The Right Materials
Choosing the right materials is key to building a reliable heated towel rack. The materials affect safety, heat efficiency, and durability. Picking items that work well together ensures the rack heats evenly and lasts long. Focus on pipes, heating elements, and essential tools. Each part plays a vital role in the final product.
Selecting Suitable Pipes
Pipes form the structure of your towel rack. Copper pipes are a popular choice. They conduct heat well and resist corrosion. Steel pipes offer strength but may need a coating to prevent rust. Choose pipe size based on rack design and towel weight. Smooth surfaces help towels dry faster and avoid damage.
Picking The Heating Element
Heating elements provide the warmth your towels need. Electric heating cables fit inside or wrap around pipes. They heat quickly and are easy to control. Consider wattage to match rack size. Low wattage may not heat enough, while high wattage uses more energy. Safety certifications ensure the element meets standards.
Essential Tools And Supplies
Having the right tools makes assembly easier and safer. Pipe cutters, wrenches, and screwdrivers are essential. Heat-resistant electrical tape and connectors secure wiring. A multimeter helps test electrical connections. Include mounting brackets and screws for wall installation. Proper tools help create a sturdy and safe rack.

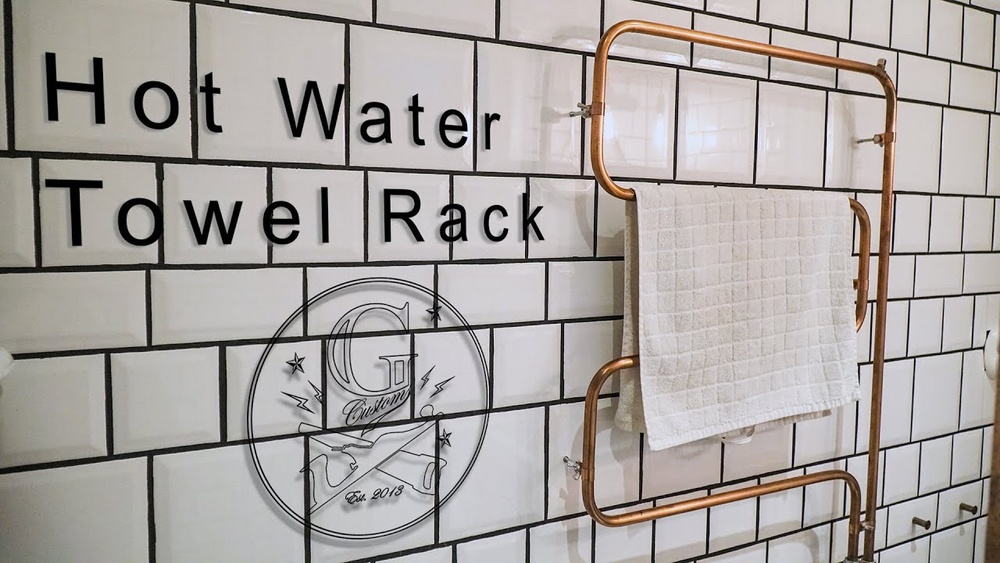
Credit: jonbondy.wordpress.com
Planning Your Design
Planning your heated towel rack design is the first key step. It shapes how your rack looks and works. Thoughtful planning ensures safety and saves energy. Consider where you want to place the rack. Think about the style and size that fits your space. These ideas guide your entire project.
Determining Size And Shape
Choose a size that fits your bathroom well. Too big can crowd the space. Too small may not hold enough towels. Decide on a shape that matches your room style. Straight bars are simple and classic. Curved racks add a modern touch. Measure your wall space before buying materials. This prevents mistakes and extra costs.
Safety Considerations
Safety is very important for heated racks. Use materials that handle heat well. Avoid plastics that can melt or catch fire. Secure the rack firmly to the wall. Loose racks can cause accidents. Make sure electrical parts are water-resistant. Keep wires away from water sources. Check local electrical codes for rules. Hire a professional if unsure about wiring.
Energy Efficiency Tips
Save energy by choosing the right heating element. Low wattage heaters use less power. Add a timer to control heating periods. Turn off the rack when not needed. Use insulation to keep heat focused on towels. Reflective backing can help direct heat forward. These small steps reduce electricity bills. An efficient rack warms towels without wasting energy.
Assembling The Frame
Assembling the frame is a key step in making your own heated towel rack. The frame holds all parts together and ensures stability. Focus on accuracy and safety to build a strong rack. Follow each step carefully for the best result.
Cutting And Preparing Pipes
Start by measuring the pipes to fit your space. Use a pipe cutter or saw to cut each piece cleanly. Remove any sharp edges with sandpaper for safety. Clean the pipes to remove dust and dirt. Proper preparation makes assembly easier and safer.
Connecting Components Securely
Join the pipes using the right fittings and connectors. Apply plumber’s tape to threaded areas to prevent leaks. Tighten each joint firmly but avoid over-tightening. Check that all connections are stable and aligned. A secure frame will support the towel rack well.
Mounting Options
Decide where to place your heated towel rack. Wall mounting saves space and keeps towels warm. Use strong anchors and screws for a safe mount. Alternatively, a freestanding frame offers flexibility in placement. Ensure the rack is level and steady before final use.
Installing The Heating System
Installing the heating system is a key step in making your heated towel rack. This part needs care and attention. The heating element must be wired correctly. It also requires proper insulation. Testing the system ensures it works safely and well. Follow these steps carefully to get the best results.
Wiring The Heating Element
Start by connecting the heating element wires to the power supply. Use a voltage tester to confirm the power is off before wiring. Match the wires by color: live, neutral, and ground. Secure connections with wire nuts or connectors. Avoid loose or exposed wires. Use electrical tape to cover connections. Double-check the wiring diagram specific to your heating element.
Ensuring Proper Insulation
Insulation protects the wiring and prevents electric shocks. Wrap wires with heat-resistant electrical tape. Use insulated sleeves for extra safety. Ensure no wires touch the metal parts of the rack. Keep insulation tight and secure. Check for any gaps or weak spots. Proper insulation extends the life of your towel rack.
Testing Functionality
Turn on the power to test the heating element. Use a multimeter to check voltage and resistance. The rack should warm up evenly. Look for any sparks or unusual smells. Switch off the power immediately if you find problems. Test all safety switches and thermostats. Confirm everything works before final assembly.
Finishing Touches
Finishing touches make your heated towel rack safe and easy to use. These steps protect your work and add convenience. Pay attention to details for long-lasting results.
Applying Protective Coating
Apply a clear, heat-resistant coating to protect the metal. This prevents rust and keeps the rack looking new. Use a brush or spray, covering all surfaces evenly. Let it dry fully before use to avoid sticky spots.
Adding Controls And Timers
Install a simple on/off switch to control power safely. Adding a timer helps save electricity by turning the rack off automatically. Choose easy-to-use controls that match your bathroom style. Make sure all wiring is secure and insulated.
Tips For Maintenance
Clean the rack regularly with a soft cloth and mild soap. Avoid harsh chemicals that can damage the coating. Check connections and wiring every few months for safety. Tighten any loose screws to keep the rack stable. Proper care extends the life of your heated towel rack.
Credit: fundacioninbursa.org
Frequently Asked Questions
How Do I Build A Heated Towel Rack At Home?
To build a heated towel rack, gather materials like metal pipes, heating elements, and wiring. Assemble the frame, install heating parts, and connect to power safely. Follow electrical codes and test for heat distribution before use.
What Materials Are Best For Diy Heated Towel Racks?
Metal pipes like copper or stainless steel work best for heat conduction. Use waterproof heating elements and insulated wiring for safety. Choose rust-resistant finishes to ensure durability in moist bathroom environments.
Is It Safe To Install A Heated Towel Rack Myself?
DIY installation can be safe if you follow electrical codes and safety guidelines. Always turn off power before wiring, use proper insulation, and test connections. When unsure, consult a professional electrician to prevent hazards.
How Much Does It Cost To Make A Heated Towel Rack?
Costs vary but typically range from $50 to $150 for materials. Copper pipes and heating elements are the pricier parts. DIY projects save money compared to buying pre-made racks but consider tools and time investment.
Conclusion
Building your own heated towel rack saves money and adds comfort. You control the size and style to fit your space. Installation takes some care but is doable with basic tools. Warm towels will make your bathroom cozy every day.
Try this project to enjoy a small but useful upgrade. You’ll feel proud using something made by your own hands. Simple steps lead to great results. Ready to add warmth and style? Start your heated towel rack today.