Are you dreaming of a bathroom that feels spacious, sleek, and easy to maintain? Bathroom wet room design might be exactly what you need.
Imagine stepping into a seamless, open shower area that blends effortlessly with the rest of your bathroom. No bulky shower trays or curtains—just a smooth, stylish space that’s both practical and modern. But how do you create this look while keeping everything dry and functional?
You’ll discover simple design tips, crucial steps, and expert advice to help you transform your bathroom into a beautiful wet room. Ready to unlock the secrets to a stunning wet room that fits your lifestyle? Let’s dive in!
Wet Room Essentials
Creating a wet room requires careful planning and the right materials. Wet room essentials ensure your space stays dry and functional. Every element plays a key role in lasting durability and comfort. Understanding these basics helps you design a safe, stylish wet room.
Key Features
Wet rooms have an open shower area without a tray. The entire floor is waterproofed and slopes toward a drain. Walls and floors use water-resistant materials like tiles or sealed concrete. A glass screen or door may keep water from splashing. Good ventilation prevents moisture build-up and mold.
Waterproofing Basics
Waterproofing protects surfaces from water damage. Use a waterproof membrane on floors and walls. Seal all joints and corners carefully. Waterproof paint or coatings add extra protection. Check that pipes and fittings are sealed tightly. Proper waterproofing avoids leaks and costly repairs.
Floor Slope And Drainage
The floor must slope gently toward the drain. This guides water away quickly and prevents puddles. A slope of about 1-2% is ideal. Choose a drain type that fits your design and plumbing. Regular cleaning keeps the drain clear and working well. Good drainage keeps the room safe and dry.
:max_bytes(150000):strip_icc()/318604958_372950651704658_7362870092596105563_n-954e1c4d3141441195bd4841b3f38237.jpg)
Credit: www.thespruce.com
Design Styles
Bathroom wet rooms offer versatile design options to suit various tastes. Choosing the right style shapes the room’s atmosphere and functionality. Wet room design styles range from simple to opulent, each with unique appeal. Understanding these styles helps create a space that feels personal and inviting.
Explore popular design styles for bathroom wet rooms that blend beauty and practicality. Whether you prefer clean lines or natural elements, there is a style for every home.
Minimalist Looks
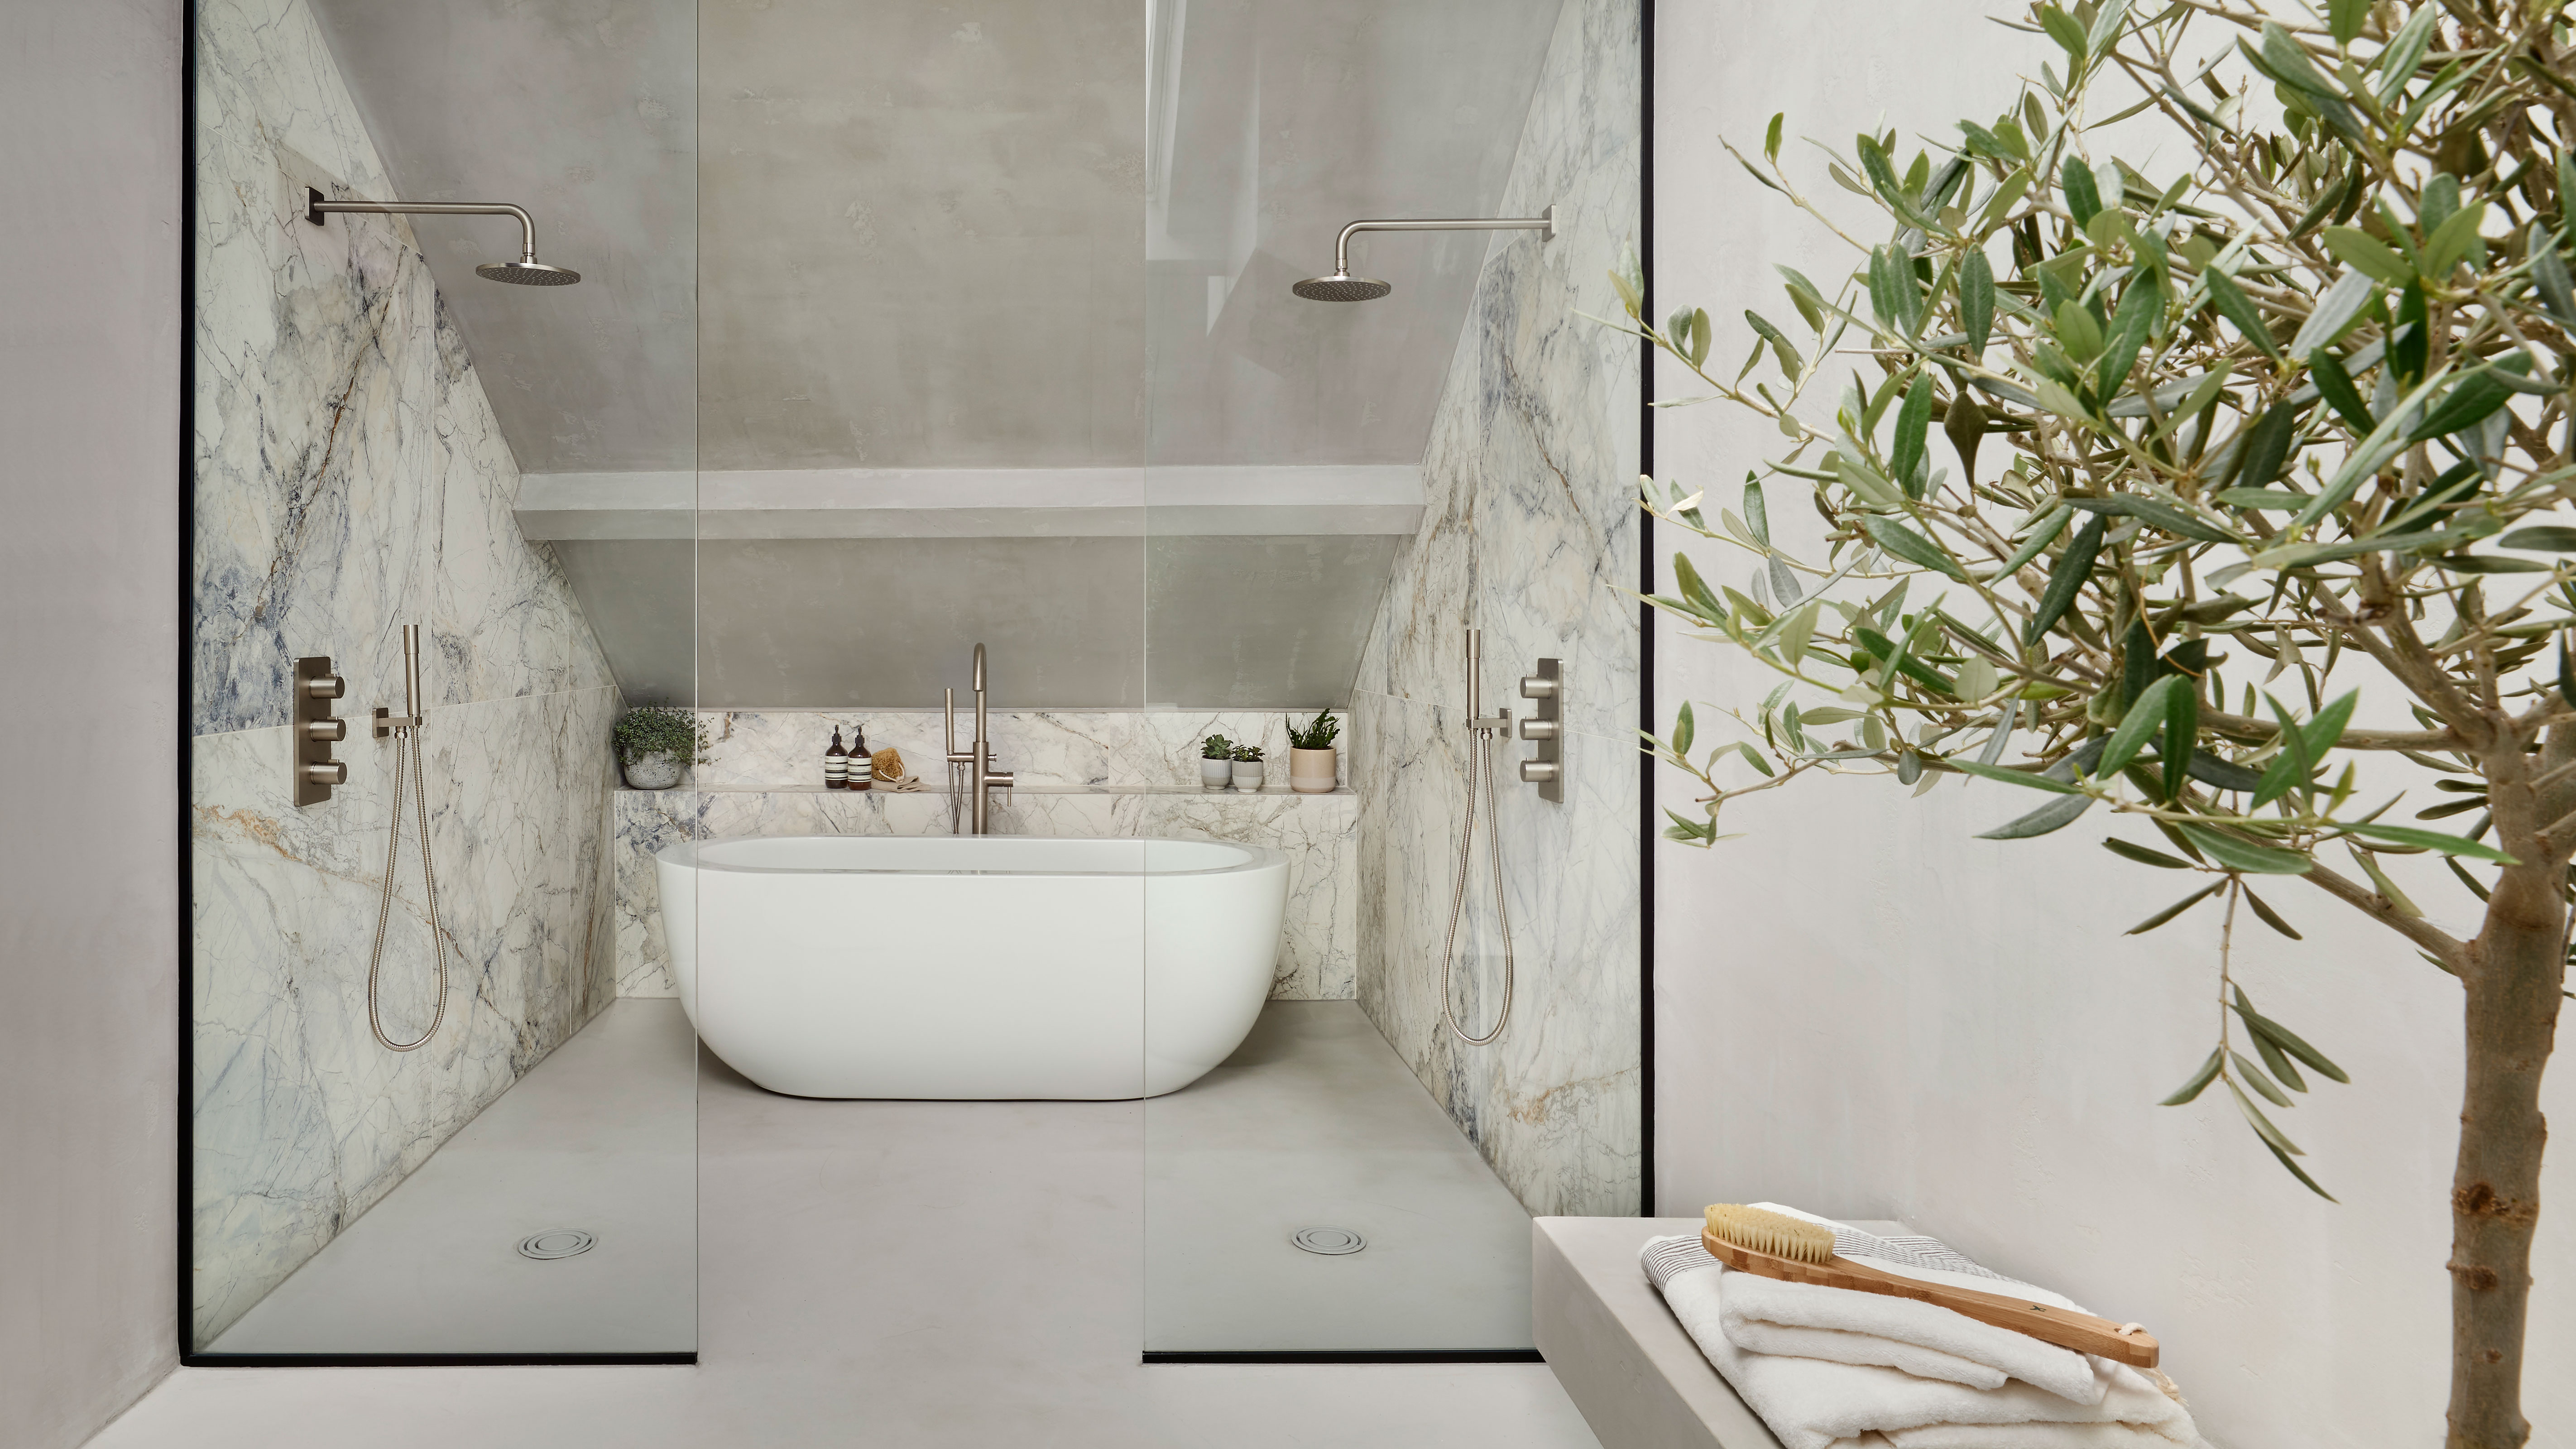
Minimalist wet rooms focus on simplicity and clean spaces. Use neutral colors like white, gray, or beige. Smooth surfaces and hidden storage keep clutter away. Frameless glass panels enhance openness and light. Minimal fixtures create a calm, spacious feel. This style suits small bathrooms well.
Luxurious Touches
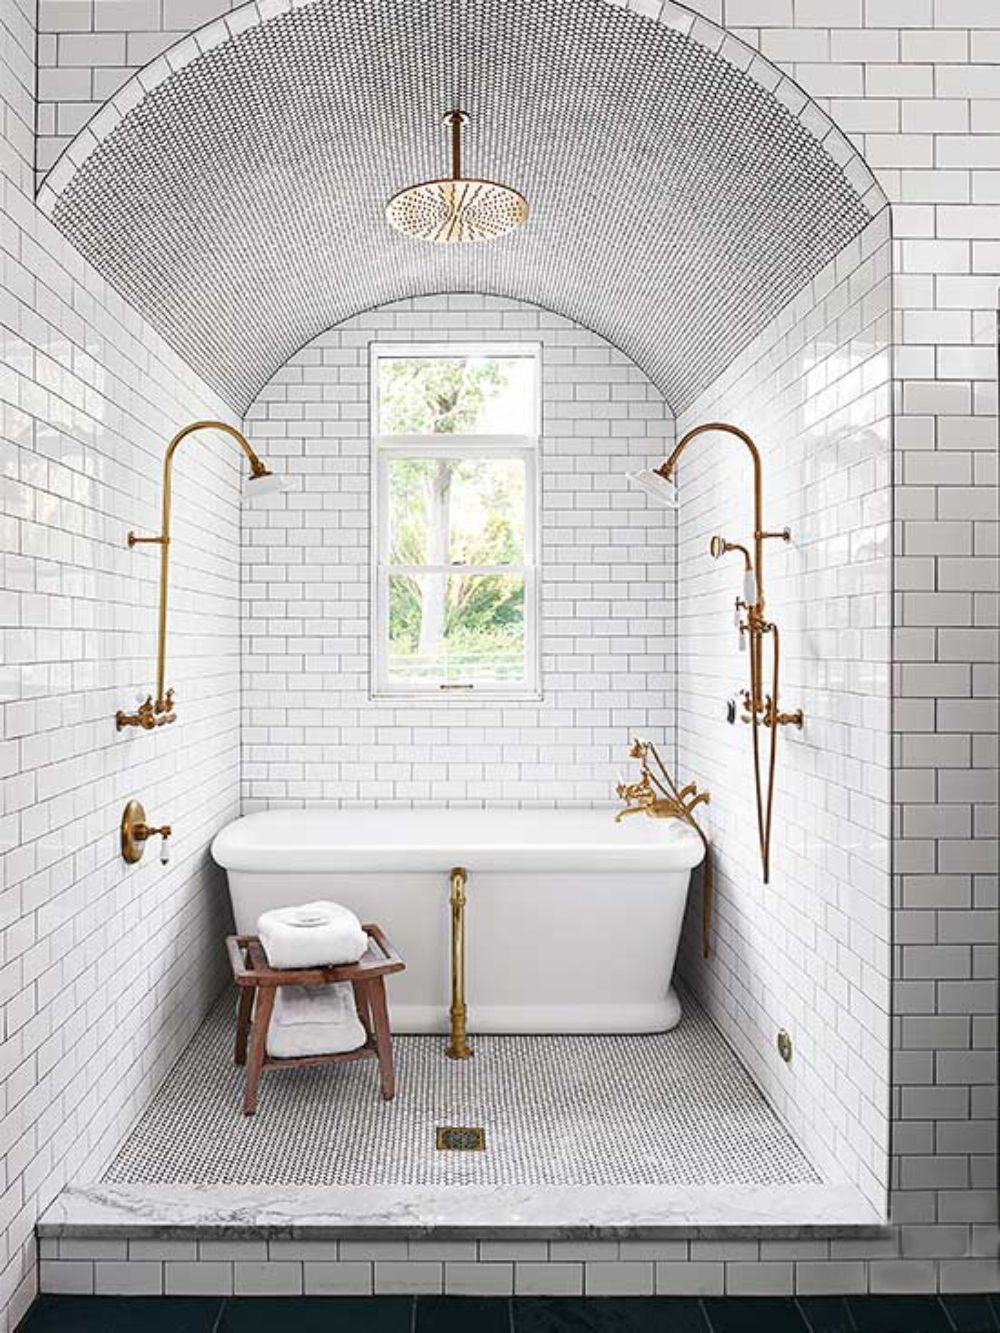
Luxurious wet rooms feature high-end materials and elegant details. Marble walls and floors add richness and shine. Gold or matte black fixtures create striking contrasts. Soft lighting highlights textures and shapes. Large mirrors and heated floors increase comfort. This style turns a wet room into a relaxing retreat.
Natural And Organic Themes
Natural wet rooms bring the outdoors inside with organic materials. Wood-look tiles and stone add warmth and texture. Earthy tones like greens, browns, and soft blues create calm vibes. Plants and natural light enhance the organic feel. This style promotes a soothing, spa-like environment.
Material Choices
Choosing the right materials is key in bathroom wet room design. Materials must handle constant moisture and stay durable. They also need to look good and fit the style of your space.
Good material choices create a safe, easy-to-clean, and long-lasting wet room. Each element plays a role in protecting the room from water damage. They also add to the overall feel and comfort.
Tiles And Stone
Tiles are popular for wet rooms due to their water resistance. Ceramic and porcelain tiles offer many colors and patterns. Stone tiles, like slate or marble, add a natural, elegant look. Both tile types should have a non-slip finish for safety. Grout must be sealed well to prevent mold and water seepage.
Waterproof Paints
Waterproof paints protect walls and ceilings from moisture. They create a strong barrier against water damage. Use paints designed for bathrooms or wet areas. These paints resist mold and mildew growth. Applying multiple coats ensures better protection and durability.
Glass And Metal Fixtures
Glass panels keep water inside the shower area and make the room feel bigger. Tempered glass is strong and safe. Metal fixtures, like taps and showerheads, should be rust-resistant. Stainless steel and brass are good choices. Choose finishes that match the room’s style and resist water spots.
Credit: farmhouseliving.com
Space Planning
Space planning is vital in bathroom wet room design. It ensures the area feels open and functions well. A well-thought layout avoids clutter and maximizes usability. Careful planning creates a smooth flow between zones. It also helps keep wet and dry areas distinct for comfort and safety.
Curbless Shower Layouts
Curbless showers create a seamless, open space. Removing the step makes entering easier and safer. The floor slopes gently toward the drain for water flow. This design suits small and large wet rooms alike. It gives a modern, clean look while improving accessibility.
Storage Solutions
Smart storage keeps the wet room tidy and organized. Use built-in niches or recessed shelves in shower walls. Waterproof cabinets with sealed doors protect items from moisture. Floating vanities save floor space and add style. Good storage prevents clutter and keeps essentials within reach.
Lighting Ideas
Proper lighting enhances safety and mood in wet rooms. Use bright, even lighting for visibility. Waterproof LED lights work well near water sources. Consider layered lighting: overhead, task, and accent lights. Natural light adds freshness and makes the space feel larger.
Practical Tips
Designing a bathroom wet room requires more than style. Practical tips help keep the space functional and comfortable. Small details make daily use easier and protect your investment.
Keeping Essentials Dry
Wet rooms expose everything to water. Use shelves or cabinets with doors to store towels and toiletries. Place hooks or heated rails away from the shower spray. Consider waterproof containers for items like toilet paper and electronics. A glass screen or partial divider can limit water spread.
Ventilation And Humidity Control
Proper ventilation stops mold and mildew growth. Install a good extractor fan with enough power for the room size. Open windows if possible for fresh air. Use moisture-resistant paint and materials to protect walls and ceilings. Keep the fan running during and after showers to clear humidity quickly.
Cleaning And Maintenance
Choose non-porous tiles and grout for easy cleaning. Squeegee walls and floors after use to remove water drops. Regularly check seals and waterproofing to avoid leaks. Use gentle cleaners to maintain surfaces without damage. Prompt cleaning prevents soap scum and grime buildup.
Credit: www.livingetc.com
Conversion Process
Transforming a traditional bathroom into a wet room requires careful planning and precise work. The conversion process involves several key steps to ensure a fully functional, waterproof space. Each phase focuses on preparing the area for a seamless wet room experience. This section breaks down the essential stages of converting your bathroom.
Removing Old Fixtures
Start by taking out all existing fixtures. This includes the bathtub, shower tray, and sometimes the toilet. Removing these elements creates a blank canvas. It allows full access to the floor and walls for necessary adjustments. Proper removal helps avoid damage to plumbing and wiring behind surfaces.
Plumbing Adjustments
Wet rooms require careful plumbing changes. Install a new drainage system with a sloped floor to guide water to the drain. Adjust water supply lines to fit new fixtures, such as wall-mounted showers. Ensure all plumbing connections are secure and leak-free. This step is vital to prevent water damage in the future.
Floor And Wall Preparation
Prepare floors and walls by making them fully waterproof. Apply a waterproof membrane over the entire surface. This barrier stops water from seeping into the building structure. Create a slight slope on the floor towards the drain to prevent pooling. Finish by tiling or using water-resistant panels for durability and style.
Installation Steps
Installing a bathroom wet room requires careful planning and precise steps. Each phase ensures the space stays dry and functional. The process starts with waterproofing, followed by setting up the drain. Finally, tiling and finishing touches complete the look. This guide breaks down the key steps for a successful wet room installation.
Waterproof Membrane Application
Applying a waterproof membrane is vital for wet room safety. It stops water from leaking into walls and floors. First, clean the surfaces thoroughly to remove dust and dirt. Next, apply the membrane evenly with a brush or roller. Overlap edges to avoid gaps. Let it dry completely before moving to the next step.
Drain Installation
The drain directs water away to keep the floor dry. Choose a drain suited for wet rooms, often linear or central. Install it at the lowest point of the floor. Ensure the floor slopes gently towards the drain. Connect the drain securely to the plumbing system. Test for leaks before covering it up.
Tiling And Finishing Touches
Tiles protect the floor and walls from water damage. Select water-resistant tiles with a non-slip surface. Apply tile adhesive over the waterproof membrane carefully. Lay tiles starting from the drain area, working outward. Use grout to fill gaps and seal edges well. Add finishing touches like trims and silicone seals for a neat look.
Common Challenges
Designing a bathroom wet room comes with unique challenges. These challenges affect the room’s safety, comfort, and durability. Understanding them helps create a practical, stylish space. Below are common issues encountered during wet room design.
Water Containment
Keeping water inside the wet area is essential. Without barriers, water can spread across the whole bathroom floor. This can cause slippery floors and damage to furniture. Proper waterproofing and careful layout help contain water effectively. Sealed walls and floors reduce the risk of leaks and dampness.
Proper Drainage
Drainage is a key factor in wet room design. The floor must slope gently toward the drain. This guides water away quickly and prevents pooling. Poor drainage leads to standing water and potential mold growth. Installing a high-quality drain and ensuring correct slope are vital steps.
Professional Help
Wet room construction needs expert knowledge. Specialists understand waterproofing, drainage, and building codes. Mistakes can cause costly damage and repairs. Hiring professionals ensures the job is done right. They provide lasting results and peace of mind.
Wet Room Benefits
Wet rooms are becoming a popular choice in modern bathroom design. These open, fully waterproofed spaces offer several advantages. They create a sleek look and improve the bathroom’s usability. The benefits of wet rooms go beyond style, making them a smart investment for many homeowners.
Modern Aesthetics
Wet rooms offer a clean and minimalist look. Without the barriers of a shower screen or tray, the space feels larger and more open. Tiles can cover walls and floors seamlessly. This creates a smooth, uniform surface that is easy on the eyes. The design suits contemporary homes and adds a touch of luxury.
Accessibility
Wet rooms provide easy access for everyone. There are no steps or raised edges to trip over. This makes them perfect for people with mobility challenges or the elderly. A wet room also offers more space to move around. It can accommodate wheelchairs and walkers comfortably. Safety and convenience improve significantly in this design.
Increased Home Value
Adding a wet room can boost your property’s value. Buyers often seek modern and practical bathroom features. Wet rooms meet this demand with their stylish and functional design. They also show that the home has been updated thoughtfully. This can lead to a quicker sale and potentially higher offers.
Frequently Asked Questions
What Is The Downside Of A Wetroom?
A wetroom can cause the entire bathroom to become wet, making it hard to keep towels and toilet paper dry. It requires expert waterproofing and plumbing to prevent leaks.
How To Make A Bathroom A Wet Room?
Convert a bathroom to a wet room by installing a sloped floor with a drain, waterproofing walls and floors, and reworking plumbing. Remove existing fixtures and ensure a curbless shower design. Hire professionals to handle plumbing and waterproofing for a leak-free, fully waterproof space.
How Much Does It Cost To Make A Bathroom A Wet Room?
Converting a bathroom to a wet room typically costs between $5,000 and $15,000. Prices vary by size, materials, and labor. Waterproofing, plumbing changes, and floor adjustments drive costs. Hiring professionals ensures proper installation and prevents leaks. Expect higher costs for luxury finishes or complex layouts.
Is $10,000 Enough For A Bathroom Remodel?
Yes, $10,000 can cover a basic bathroom remodel. Costs vary by size, materials, and labor in Austin, Texas.
Conclusion
Bathroom wet room design offers a sleek and practical solution. It creates a spacious and easy-to-clean area. Proper waterproofing keeps the space safe and dry. Choosing the right materials improves durability and style. Hiring skilled professionals ensures a smooth installation.
A wet room adds value and modern appeal to your home. Think about your daily needs and space size. Wet rooms suit many lifestyles and enhance comfort. Consider this design for a fresh bathroom update.