When disaster strikes, every second counts—and having the right emergency preparedness images can make all the difference for you and your loved ones. Visual guides help you understand what to do, how to act quickly, and what essentials to have on hand.
Imagine having clear, easy-to-follow pictures that show you step-by-step how to stay safe before, during, and after an emergency. This article will walk you through powerful emergency preparedness images that speak louder than words, giving you the confidence to protect yourself and those around you.
Ready to see how images can empower your safety plan? Keep reading to discover the most effective visuals that could save lives when it matters most.
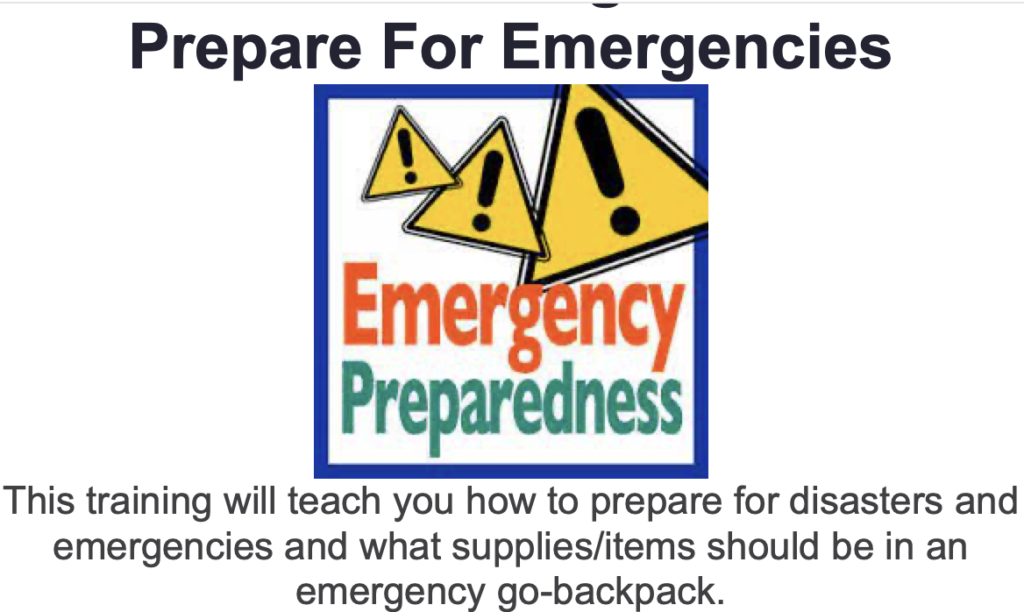
Credit: www.matrixparents.org
Importance Of Emergency Images
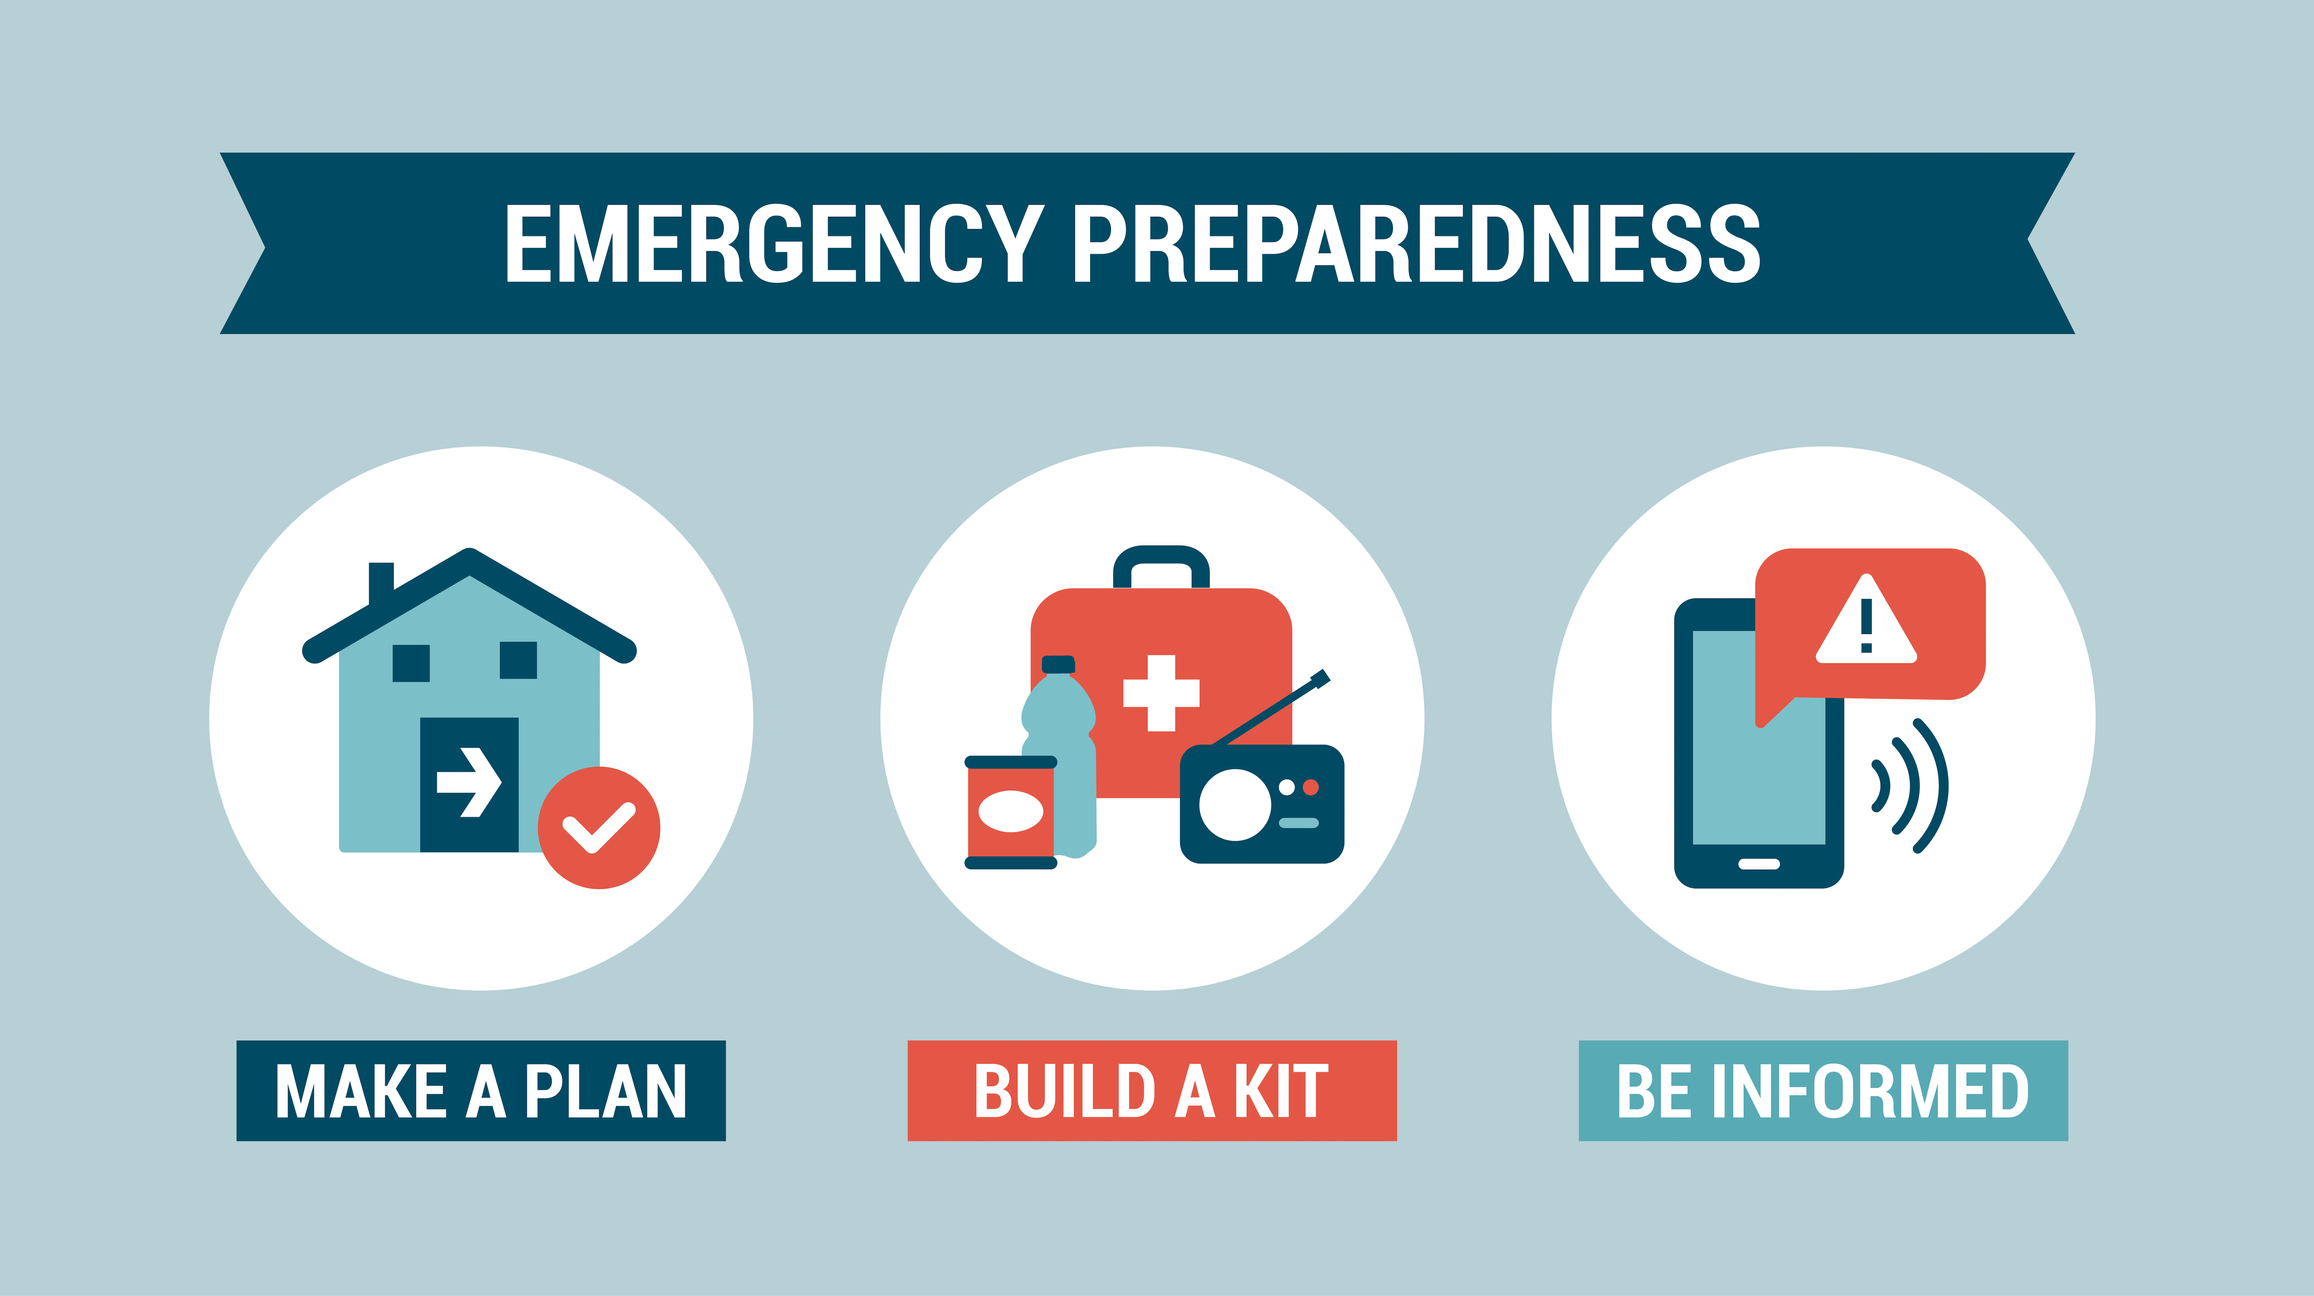
Emergency preparedness images play a crucial role in helping people understand how to act during crises. Different types of images serve unique purposes. They guide, inform, and prepare individuals for unexpected events.
Visual aids make complex information simple and clear. These images often include photos of real situations, pictures of safety tools, and clear maps for evacuation. Each type has a specific use in spreading awareness and readiness.
Disaster Response Photos
Disaster response photos show real scenes from emergencies like floods, fires, or storms. They capture rescue efforts and community support. These images raise awareness about the impact of disasters. They also teach viewers what to expect and how responders act during crises.
Safety Equipment Visuals
Safety equipment visuals display essential tools like fire extinguishers, first aid kits, and helmets. These images help people recognize and use the right equipment in emergencies. Clear visuals improve confidence and speed in handling safety gear. They also highlight the importance of having proper tools ready.
Evacuation Route Diagrams
Evacuation route diagrams show clear paths to safety. These maps guide people out of danger zones efficiently. They often include landmarks and emergency exits. Simple and easy-to-follow diagrams reduce confusion during an emergency. These images are vital in schools, offices, and public places.
Types Of Emergency Preparedness Images
Finding quality images for emergency preparedness is essential. Strong visuals help communicate important safety messages clearly. They make your content more engaging and easier to understand. Using reliable sources ensures the images are accurate and relevant. Here are some top sources to find great emergency preparedness images.
Stock Photo Platforms
Stock photo sites offer a wide range of emergency images. Platforms like Shutterstock and iStock provide high-quality photos. These images cover various emergency scenarios and safety equipment. Many photos come with clear licensing for legal use. Search with simple keywords like “emergency preparedness” or “disaster safety.”
Government And Health Agencies
Government websites are reliable sources of emergency images. Agencies like FEMA and CDC often share free photos and graphics. These images are designed for public education and awareness. They show real emergency situations and official safety tips. Using government resources adds credibility to your content.
Community And Educational Resources
Local health departments and schools sometimes offer free image libraries. These sources focus on community safety and preparedness. Their photos often show local events and drills. Educational organizations create visuals for teaching emergency skills. These images connect well with audiences in specific areas.
Sources For Quality Emergency Images
Using images in safety training makes complex information easier to understand. Visuals help learners see what actions to take during emergencies. They improve memory and keep the audience interested. Clear images show hazards, safety gear, and procedures effectively. This approach suits all learning types, especially for non-native English speakers.
Incorporating Visuals Into Presentations
Start by choosing simple, clear images related to your topic. Use photos of real emergency equipment and scenarios. Add diagrams that show escape routes or emergency steps. Place images near text to support key points. Avoid clutter; too many pictures can confuse learners. Use consistent style and color to keep slides neat. Visuals should highlight important safety tips quickly.
Creating Engaging Emergency Drills
Use images to explain drill steps before practicing. Show pictures of proper actions like using fire extinguishers or first aid. Visual guides help learners remember what to do under stress. Take photos during drills to review and improve training. Visual feedback makes learning more effective and fun. Images also help trainers explain mistakes clearly. This leads to safer behavior in real emergencies.
Credit: www.eldoradocounty.ca.gov
Using Images In Safety Training
Emergency visuals must deliver messages fast and clearly. These images guide people during urgent situations. The design should avoid confusion and delay. Simple, clear visuals help everyone act quickly and safely.
Good design uses shapes, colors, and symbols to speak without words. It ensures that anyone can understand the message at a glance. This is key in emergencies where every second counts.
Clear And Simple Graphics
Use straightforward images without extra details. Complex visuals slow down understanding. Bold lines and minimal elements keep the focus on the main message. Clear graphics reduce panic and improve response time.
Keep text to a minimum or remove it altogether. Pictures should explain the action needed. Use large, readable fonts if text is necessary. This approach works well for people with low literacy or language barriers.
Color Coding For Quick Recognition
Colors signal urgency and type of action needed. Red often means danger or stop. Green shows safety or go ahead. Yellow warns to be cautious. Consistent use of colors speeds up recognition.
Choose bright, contrasting colors to stand out. Avoid using too many colors that confuse. Test color choices under different lighting conditions. This ensures the visuals remain clear and visible.
Icons And Symbols For Universal Understanding
Icons are quick to recognize and easy to remember. Use common symbols like fire, phone, or exit signs. These symbols cross language and cultural barriers. They help people understand instructions fast.
Design icons to be simple and distinct. Avoid too much detail or abstract shapes. Place icons near related text or actions for clarity. This creates a strong visual cue that guides behavior.
Designing Effective Emergency Visuals
Digital tools have transformed how people prepare for emergencies. Visual aids help share crucial information fast and clearly. Using images, maps, and apps makes emergency plans easy to understand for everyone.
These tools support quick decision-making and improve safety. They allow users to create, view, and share visuals anytime, anywhere. Below are key digital tools that enhance emergency preparedness visuals.
Online Design Platforms
Online design platforms let users create clear emergency visuals. Templates for posters, checklists, and infographics are ready to use. These platforms work well for beginners and experts alike.
Users can add icons, text, and colors to highlight important details. Designs can be saved and shared on social media or printed out. This keeps emergency information accessible and easy to follow.
Interactive Emergency Maps
Interactive maps show real-time data about emergencies and hazards. Users can zoom in to see affected areas and safe zones. These maps often include evacuation routes and shelter locations.
They help communities stay informed and prepared during disasters. Emergency responders also use these maps to coordinate rescue efforts. The visual format makes complex data simple to understand.
Mobile Apps For Preparedness
Mobile apps provide emergency visuals directly on smartphones. They offer checklists, alerts, and step-by-step guides with images. Users can access these tools even without internet connection.
Apps often include weather updates and hazard warnings. They help families create and review their emergency plans regularly. Visual reminders boost readiness and reduce panic during crises.
Digital Tools For Emergency Visuals
Legal and ethical considerations play a key role when sharing emergency preparedness images. These photos often capture sensitive moments and personal details. Following laws and respecting people’s rights protects everyone involved. Understanding these rules helps create trust and ensures responsible use of images.
Image Licensing And Permissions
Always check the license before using any emergency preparedness image. Some images require payment or attribution. Others might have restrictions on commercial use or modifications. Using images without proper permission can lead to legal problems. Obtaining clear rights or buying images from trusted sources avoids these issues.
When using photos taken by others, get written permission. This protects you and respects the photographer’s work. Keep records of all licenses and agreements. Proper licensing supports ethical content creation and helps maintain credibility.
Respecting Privacy In Emergency Photos
People caught in emergency situations deserve privacy and respect. Avoid sharing images that reveal personal information or show distress. Blurring faces or sensitive details protects identities. This is especially important for children, victims, and first responders.
Always consider the impact of sharing such images. Consent from those photographed or their families is crucial. Ethical use of emergency photos shows care for human dignity and upholds moral standards.
Legal And Ethical Considerations
Emergency preparedness images tell powerful stories. They show how people and organizations react during crises. Seeing real examples helps others understand the importance of being ready. Case studies reveal successful strategies and lessons learned from actual events. These examples inspire action and improve safety planning.
Community Awareness Campaigns
Images from community campaigns highlight public participation and education. They capture workshops, drills, and information booths in public spaces. Visuals show how people learn to prepare emergency kits and evacuation plans. Campaigns using clear images increase understanding and motivate residents to act. Photos of local leaders speaking also build trust and support.
School Preparedness Programs
School programs use images to teach students about safety steps. Pictures of fire drills, safety talks, and emergency exits make concepts clear. Visual aids help children remember what to do in emergencies. Schools share photos with parents to reinforce preparedness at home. These images create a culture of readiness among young learners.
Corporate Emergency Plans
Companies use images to train employees on emergency procedures. Photos of evacuation routes, safety equipment, and teamwork show readiness in action. Visual guides help workers understand roles and reduce panic during crises. Regular drills documented in images keep everyone alert and informed. Sharing these pictures boosts confidence and workplace safety.

Credit: www.nys4-h.org
Frequently Asked Questions
What Are The 5 P’s Of Preparedness?
The 5 P’s of preparedness are: People, Places, Plans, Procedures, and Practice. These ensure readiness for emergencies.
What Are The 5 Phases Of Emergency Preparedness?
The five phases of emergency preparedness are mitigation, preparedness, response, recovery, and prevention. Each phase helps reduce risks and manage emergencies effectively.
What Are The 3 C’s Of Emergency Response?
The 3 C’s of emergency response are Check, Call, and Care. Check for dangers and victim’s condition. Call emergency services immediately. Care by providing first aid until help arrives.
What Are The 3 P’s Of Preparedness?
The 3 P’s of preparedness are People, Places, and Plans. They ensure safety by focusing on individuals, locations, and strategies.
Conclusion
Emergency preparedness images help people understand risks clearly. Visual aids make learning about emergencies easier and faster. Being ready saves lives and reduces panic during crises. Keep emergency plans simple and share them with your family. Practice drills often to build confidence and quick reactions.
Use images as reminders to stay alert and prepared daily. Staying informed and ready helps protect you and your loved ones. Emergency readiness is a small effort with big benefits. Start today and keep safety in sight.