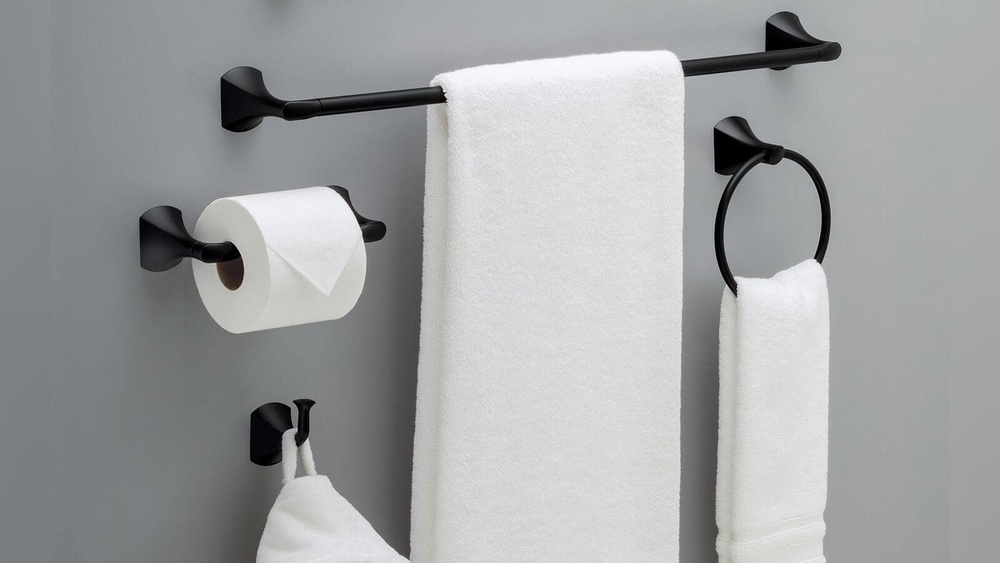

Are you tired of towels cluttering your bathroom or lying on the floor? Putting together a bathroom towel rack is a simple way to keep your space neat and your towels within easy reach.
You don’t need to be a handyman or spend hours figuring it out. With the right steps, you can have a stylish and functional towel rack installed quickly. Keep reading, and you’ll learn exactly how to do it yourself—saving money and adding a fresh touch to your bathroom.
Choosing The Right Towel Rack
Choosing the right towel rack is key to a functional bathroom. It holds towels neatly and fits your space well. The right rack keeps towels dry and easy to reach. Consider your bathroom style and how many towels you need to store. This guide helps you pick the best towel rack for your room.
Types Of Towel Racks
Towel racks come in many styles. Wall-mounted racks save floor space and keep towels off surfaces. Freestanding racks move easily and add style. Over-the-door racks fit on bathroom doors for convenience. Choose the style that matches your bathroom layout and needs.
Material And Finish Options
Towel racks come in metal, wood, and plastic. Metal racks are strong and last long. Wood racks add warmth and a natural feel. Plastic racks are light and budget-friendly. Finishes like chrome, brushed nickel, or matte black affect the look. Pick a material and finish that suits your bathroom decor.
Measuring Your Space
Measure the wall or area before buying a towel rack. Note the width, height, and depth available. Leave space for towels to hang without touching the floor. Check for nearby fixtures or switches. Accurate measurements ensure the rack fits and works well in your bathroom.

Credit: www.youtube.com
Tools And Materials Needed
Gathering the right tools and materials is the first step. It makes assembling your bathroom towel rack easier and faster. Having everything ready helps you avoid interruptions. This section lists the basic items needed.
Essential Tools
- Power drill for making holes in the wall
- Screwdriver, either flathead or Phillips
- Measuring tape for precise placement
- Level to ensure the rack is straight
- Pencil to mark the spots on the wall
- Stud finder to locate wall studs for strong support
- Wall anchors for extra grip in drywall
- Safety glasses to protect your eyes
Hardware And Accessories
- Towel rack brackets or mounting plates
- Screws matching your wall type
- The towel rack bar or bars
- Wall anchors suitable for tile or drywall
- Rubber pads or bumpers to prevent wall damage
- Decorative caps to cover screw heads
Preparing The Installation Area
Preparing the installation area is an essential step for a secure towel rack setup. It ensures the rack fits well and stays strong over time. Taking time to prepare avoids mistakes and saves effort later.
Clear the wall space where you want the towel rack. Remove any decorations or obstacles. Clean the surface with a dry cloth. A clean wall helps markings stay visible and tools work better.
Marking The Placement
Decide the height and position for your towel rack. Think about easy reach and room space. Use a pencil to mark spots for the screws. Use a level tool to keep marks straight. Accurate marks make the installation smooth and tidy.
Checking Wall Structure
Know what kind of wall you have. Drywall, plaster, or tile need different tools and anchors. Use a stud finder to locate wooden studs behind the wall. Attach the rack to studs for the best support. If no studs are available, use strong wall anchors. Proper checks prevent the rack from falling or loosening.
:max_bytes(150000):strip_icc()/how-to-hang-bathroom-towels-5323763-hero-fb0c631296244feaa5c12b600235d8e5.jpg)
Credit: www.thespruce.com
Installing The Towel Rack
Installing the towel rack is the key step to complete your bathroom upgrade. This process ensures the rack is secure and functional. Follow each step carefully to get the best results. You need the right tools and patience for a strong hold.
Drilling And Anchoring
Start by marking the spots for screws on the wall. Use a level to make sure marks are straight. Drill holes at the marks using a drill bit that matches wall anchors. Insert wall anchors to hold screws tightly. Anchors prevent damage and keep the rack stable.
Securing The Rack
Align the towel rack with drilled holes. Insert screws through the rack’s mounting holes. Use a screwdriver to tighten screws firmly. Make sure the rack feels solid and does not wiggle. Tight screws hold the rack safely in place.
Leveling And Adjustments
Check the rack again with a level tool. Adjust screws slightly if the rack is not perfectly horizontal. Small changes improve the rack’s look and function. A level towel rack makes hanging towels easier and looks neat.
Finishing Touches
Adding the finishing touches to your bathroom towel rack is important. It makes your rack look neat and work well. This step ensures your project is complete and safe to use.
Cleaning Up
Remove dust and debris from the rack and wall. Use a soft cloth to wipe the surface clean. Check for fingerprints and smudges. Clean tools and any leftover materials. A tidy space shows your hard work clearly.
Testing Stability
Gently shake the towel rack to check its strength. Make sure it does not wobble or feel loose. Tighten screws or bolts if needed. Hang a towel to test weight support. A stable rack keeps towels safe and secure.
Maintenance Tips
Keeping your bathroom towel rack in good shape makes it last longer. Regular care prevents damage and keeps it looking nice. Simple steps can save you from costly repairs or replacements. Focus on cleaning and protecting the rack from rust and wear.
Cleaning The Rack
Dust and dirt build up over time. Use a soft cloth to wipe the rack weekly. Mild soap and warm water work well for deeper cleaning. Avoid harsh chemicals that can harm the finish. Dry the rack fully after cleaning to stop water spots.
Preventing Rust And Damage
Metal racks can rust if left wet. Make sure towels dry completely before hanging again. Use a clear coat spray to protect metal surfaces from moisture. Check screws and mounts regularly to keep the rack stable. Fix loose parts quickly to avoid bigger damage.
:max_bytes(150000):strip_icc()/how-to-hang-bathroom-towels-5323763-hero-fb0c631296244feaa5c12b600235d8e5.jpg)
Credit: www.thespruce.com
Frequently Asked Questions
What Tools Do I Need To Assemble A Bathroom Towel Rack?
You need a drill, screwdriver, measuring tape, level, pencil, and wall anchors. These tools ensure secure and accurate installation of your towel rack.
How Do I Find The Best Location For A Towel Rack?
Place the towel rack near the shower or sink for easy access. Ensure it’s at a comfortable height and on a sturdy wall.
Can I Install A Towel Rack On Tile Walls?
Yes, use a masonry bit to drill holes in tile. Then insert wall anchors to secure screws without damaging tiles.
How Much Weight Can A Bathroom Towel Rack Hold?
Most towel racks support 10-15 pounds if properly installed. Always use wall anchors for heavier towels or multiple items.
Conclusion
Putting together a bathroom towel rack is simple and useful. You only need a few tools and clear steps. Take your time to measure and fix it properly. A good rack keeps towels neat and easy to reach. Small changes like this improve your bathroom’s look and function.
Try it yourself and enjoy a tidier space. It feels good to complete a small project alone. Keep your tools ready for future fixes too. A tidy bathroom makes daily routines smoother and nicer.