
Looking to add a touch of order and style to your bathroom or kitchen? Installing a hand towel rack is a simple upgrade that makes a big difference.
You might think it’s tricky, but with the right steps, you can do it yourself quickly and confidently. Imagine reaching for your towel on a neat, sturdy rack that fits perfectly where you need it. Ready to learn how? Keep reading, and you’ll discover an easy, step-by-step guide that anyone can follow.
Your space—and your hands—will thank you!

Credit: www.reddit.com
Tools And Materials Needed
Installing a hand towel rack is simple with the right tools and materials. Preparing these items before starting saves time and effort. This section lists what you need for a smooth installation process.
Hand Towel Rack Types
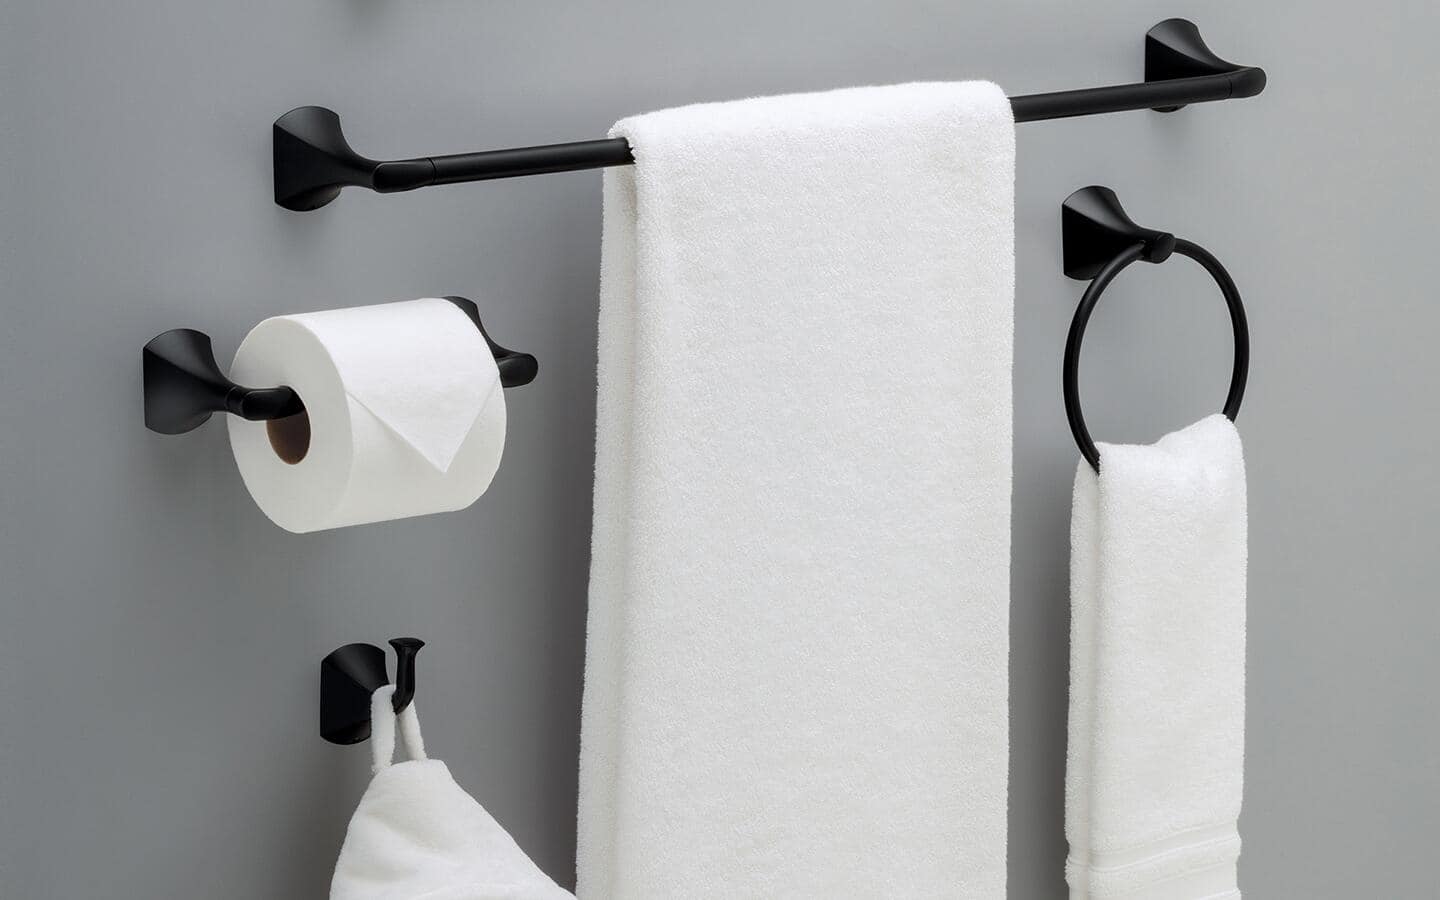
Choose the right towel rack type for your space. Wall-mounted racks are common and easy to install. Freestanding racks need no drilling and can move around. Over-the-door racks fit on most doors without damage. Pick a style that fits your bathroom and your needs.
Required Tools
Gather these tools before you start. A drill helps make holes for screws. A screwdriver secures the rack in place. Use a level to keep the rack straight. A tape measure ensures correct placement. Pencil marks where the rack will go. Anchors may be needed for drywall support.
Safety Gear
Protect yourself during installation. Safety glasses shield your eyes from dust and debris. Gloves keep your hands safe from sharp edges. Ear protection helps if using loud power tools. Take these precautions to avoid injuries.
Choosing The Right Location
Choosing the right location for your hand towel rack is important. It helps keep towels within reach and the space tidy. A good spot makes drying hands easy and quick. Think about the room layout and daily use. This guide covers three key points to find the best place.
Height And Accessibility
Place the rack at a comfortable height. Usually, 48 inches from the floor works well for most people. Make sure both adults and children can reach it easily. Avoid spots that require stretching or bending. Keep the towel rack near the sink for quick access. This saves time and prevents water drips on the floor.
Wall Material Considerations
Check the wall type before installation. Drywall, tile, and wood need different anchors or screws. Use strong anchors for heavy racks or wet towels. Tile walls need special drill bits to avoid cracks. Wood walls allow easy screwing without extra tools. Knowing your wall material helps secure the rack safely and firmly.
Avoiding Obstacles
Look around for objects that might block the rack. Doors, cabinets, or light switches can get in the way. Leave enough space so towels hang freely and dry well. Avoid placing the rack behind the door or too close to corners. Clear space keeps the towel rack practical and neat.
Preparing The Wall
Preparing the wall is an important first step to install a hand towel rack. This step ensures the rack is secure and straight. It also prevents damage to your wall. Take your time to do this correctly. The right preparation makes the installation easier and longer-lasting.
Marking Drill Points
Start by holding the towel rack against the wall. Choose the spot where you want it to hang. Use a pencil to mark the holes on the wall. These marks show where you will drill. Double-check the marks to avoid mistakes.
Using A Level
Place a level on top of the towel rack. Adjust the rack until the bubble is in the center. This means the rack is straight. Mark the drill points again if needed. A straight rack looks better and works well.
Drilling Pilot Holes
Use a drill bit smaller than the screws you will use. Drill pilot holes on the marked points. These holes guide the screws and prevent wall cracks. Drill carefully and stop when you reach the right depth. Pilot holes make the installation smooth and secure.
Mounting The Rack
Mounting the hand towel rack is the key step in your installation. It holds the rack firmly on the wall. Proper mounting ensures the rack stays steady and lasts long. Follow these simple steps to mount the rack with ease and confidence.
Attaching Mounting Brackets
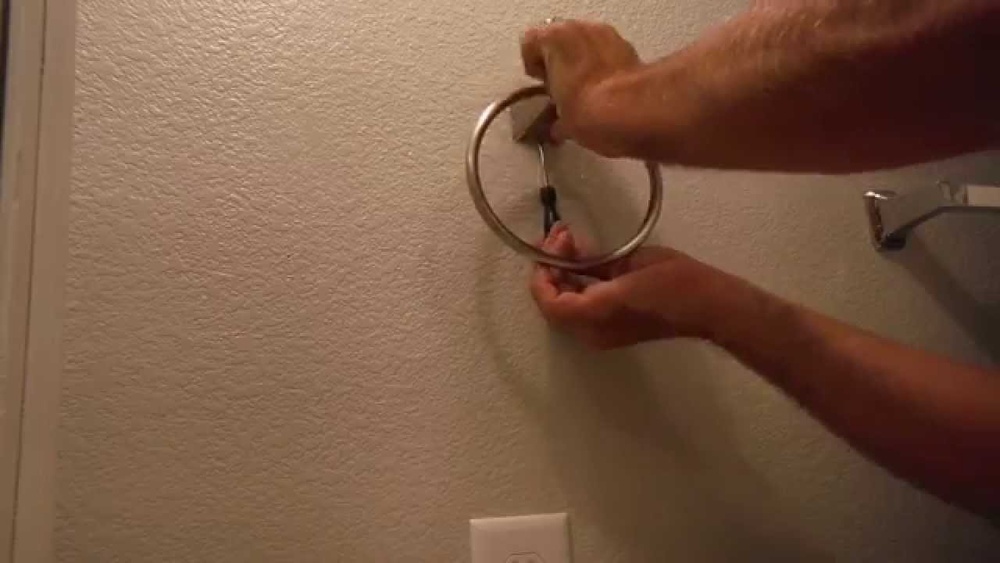
Start by placing the mounting brackets on the wall. Use a level to keep them straight. Mark the screw holes with a pencil. Drill small holes where you marked. Insert wall anchors if needed for extra support. Screw the brackets tightly to the wall. Make sure they do not wobble or move.
Securing The Rack
Next, align the hand towel rack with the brackets. Slide or clip the rack onto the brackets firmly. Some racks need small screws to hold them in place. Tighten these screws carefully. Avoid over-tightening to prevent damage. The rack should fit snugly without gaps or looseness.
Checking Stability
After securing the rack, test its stability. Gently pull and push the rack. It should not wiggle or feel loose. If it moves, tighten the screws more. Check the brackets again for any loose fittings. A stable rack will hold towels safely without falling.
Finishing Touches
After installing your hand towel rack, the final steps make all the difference. These finishing touches help your space look neat and inviting. Taking care of small details ensures your new rack fits perfectly into your bathroom decor.
Cleaning The Area
Clear dust and dirt around the rack. Use a soft cloth to wipe the wall and rack surface. Remove fingerprints and smudges gently. Clean the screws and brackets to keep them shiny. A clean area enhances the rack’s appearance and keeps it fresh.
Adding Decorative Elements
Choose towels that match your bathroom colors. Fold or hang towels neatly on the rack. Add a small plant or scented candle nearby for charm. Decorative elements make the space feel cozy and personal. Keep decorations simple to avoid clutter around the rack.
Maintenance Tips
Check the rack regularly for loose screws. Tighten screws with a screwdriver when needed. Wipe the rack weekly to prevent dust buildup. Avoid hanging heavy items to protect the rack. Proper care extends the life of your towel rack.

Credit: www.youtube.com
Credit: www.homedepot.com
Frequently Asked Questions
What Tools Do I Need To Install A Hand Towel Rack?
You need a drill, screws, wall anchors, a level, measuring tape, and a screwdriver. These tools ensure precise and secure installation.
How High Should A Hand Towel Rack Be Installed?
Install the hand towel rack about 48 inches from the floor. This height is comfortable and accessible for most users.
Can I Install A Hand Towel Rack On Drywall?
Yes, use wall anchors when mounting on drywall. Anchors provide extra support and prevent the rack from falling.
How Do I Find The Right Spot For A Hand Towel Rack?
Choose a spot near the sink or counter. Ensure it’s easily reachable and doesn’t block movement in the bathroom.
Conclusion
Installing a hand towel rack is simple and quick. Follow the steps carefully for a secure fit. Use the right tools and materials for best results. Choose a good spot that suits your bathroom layout. A well-installed rack keeps towels neat and easy to reach.
Enjoy a tidier space with your new towel rack. Keep your bathroom organized with this small change. You can do it yourself with basic skills and patience. Small projects like this make a big difference.