Your safety at home is too important to leave to chance. Knowing how to install a smoke detector correctly can save lives and protect your loved ones.
If you’re unsure where to start or worried about making mistakes, this guide is made just for you. By the end, you’ll feel confident setting up smoke detectors that work effectively and keep your home secure. Keep reading—your peace of mind depends on it.
Choosing The Right Smoke Detector
Choosing the right smoke detector is important for home safety. The right detector helps warn you early during a fire. It is important to pick a detector that fits your home and needs. Understanding different types and features helps you make a smart choice.
Types Of Smoke Detectors
There are two main types of smoke detectors: ionization and photoelectric. Ionization detectors react fast to flaming fires with small smoke particles. Photoelectric detectors work better with smoldering fires that produce thick smoke. Some models combine both types for broader protection.
Battery-powered Vs. Hardwired
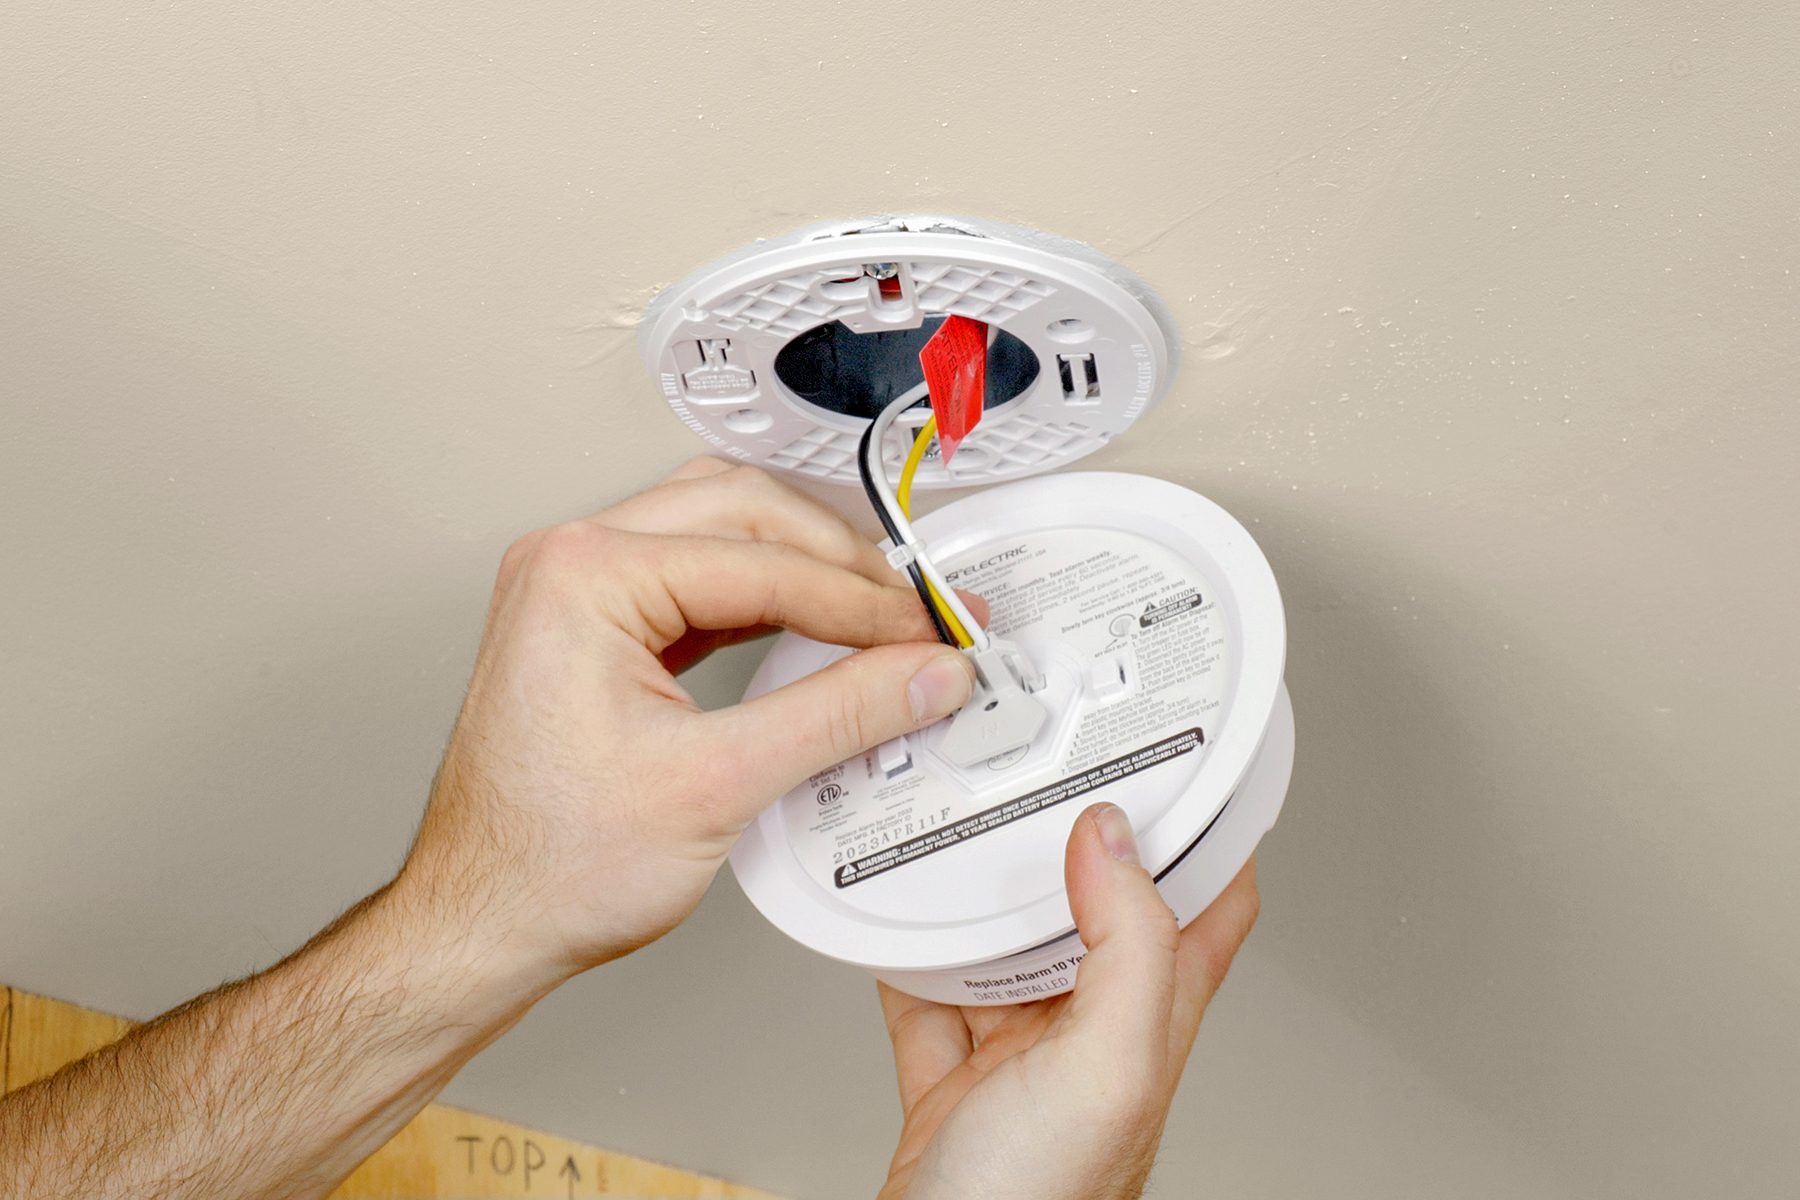
Battery-powered smoke detectors are easy to install anywhere. They run on batteries, so no wiring is needed. Hardwired smoke detectors connect to your home’s electricity. They often have battery backups for power outages. Hardwired models may be better for larger homes.
Features To Consider
Look for detectors with loud alarms and test buttons. Some have voice alerts that say “fire” or “smoke.” Consider models with low-battery warnings and easy battery replacement. Interconnected smoke detectors alert the whole house if one senses smoke. Smart detectors can send alerts to your phone.
Credit: www.familyhandyman.com
Gathering Tools And Materials
Gathering the right tools and materials is the first step to install a smoke detector. Having everything ready makes the job easier and safer. It saves time and avoids interruptions during installation.
Each tool has a specific role. Choosing the right safety gear protects you from accidents. Preparing well improves your confidence and the final result.
Essential Tools
Start with a drill or screwdriver to mount the detector. Use a pencil to mark the spots on the ceiling or wall. A ladder helps reach high places safely. A voltage tester ensures no electricity flows in the wires. Wire strippers prepare the wires for connection. Keep screws and anchors handy to secure the device.
Safety Gear
Wear safety goggles to protect your eyes from dust and debris. Gloves guard your hands from sharp edges and electric shocks. Use a dust mask if drilling creates dust. Closed-toe shoes provide foot protection while climbing ladders. Ensure the area has good lighting to avoid mistakes and injuries.
Selecting Installation Locations
Choosing the right spot to install a smoke detector is very important. It helps the device work well and keeps your home safe. Poor placement can cause missed alarms or false alerts. Follow simple rules to pick the best locations.
Ideal Placement Areas
Place smoke detectors on ceilings or high on walls. Smoke rises, so higher spots catch it first. Install one in each bedroom and outside sleeping areas. Also, put detectors on every floor of your home.
Avoid kitchens and bathrooms. Steam and cooking smoke may trigger false alarms. Hallways near bedrooms are good spots. Keep detectors away from windows and vents to avoid drafts.
Avoiding False Alarms
False alarms can be annoying and unsafe. Keep detectors at least 10 feet from cooking appliances. Avoid placing them near air conditioners or heaters. Dust and insects can also cause false alerts. Clean detectors regularly to prevent this.
Do not install detectors in garages or dusty areas. These places often have fumes or particles that trigger alarms.
Local Building Codes
Check your area’s building codes before installation. Codes may require specific places for smoke detectors. Following these rules ensures your home meets safety standards. It also helps with insurance and resale value.
Some codes require interconnected detectors. This means all alarms sound if one detects smoke. This feature increases safety in larger homes.
Step-by-step Installation Process
Installing a smoke detector is a simple task that improves home safety. Follow these clear steps to install your device properly. Each step helps ensure your detector works when you need it most. This guide makes the process easy for anyone.
Marking The Spot
Choose a spot on the ceiling or high on a wall. Avoid corners and areas near windows or vents. Use a pencil to mark the drill holes. Make sure the location is central in the room. Proper placement helps the detector sense smoke quickly.
Mounting The Detector
Drill holes where you marked. Insert wall anchors if needed. Attach the mounting bracket with screws. Align the smoke detector with the bracket. Twist or snap it into place securely. The detector should not move or fall.
Connecting Power
Most detectors use batteries. Open the battery compartment. Insert fresh batteries in the right direction. Some detectors plug into electrical wiring. Turn off power before connecting wires. Follow the manufacturer’s instructions carefully.
Testing The Device
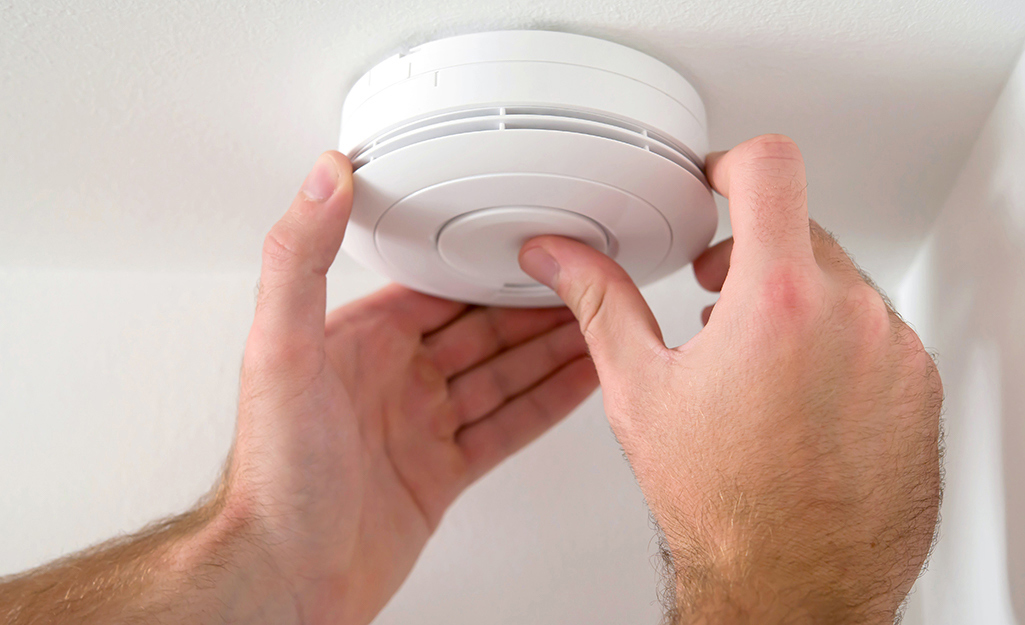
Press the test button on the detector. Listen for a loud beep or alarm sound. If no sound, check the batteries or wiring. Test regularly to ensure the detector works. A working detector can save lives.
Maintaining Your Smoke Detector
Maintaining your smoke detector is vital for home safety. A well-kept detector ensures early fire warnings. Regular care keeps it working properly and extends its life.
Regular Testing
Test your smoke detector every month. Press the test button until the alarm sounds. This check confirms the detector is active and loud enough. Replace the unit if it does not sound.
Battery Replacement
Change the batteries at least once a year. Use fresh batteries to avoid false alarms. Some detectors have a low-battery warning beep. Replace batteries immediately after hearing this sound.
Cleaning Tips
Clean the smoke detector every six months. Dust and dirt can block sensors and cause failure. Use a soft brush or vacuum to remove debris gently. Avoid spraying cleaners or water directly on the device.
Troubleshooting Common Issues
Smoke detectors protect your home and family. Sometimes, they may face issues. Knowing how to fix common problems keeps them working well. Here are solutions for two frequent troubles.
False Alarms
Smoke detectors can beep without a real fire. Dust or insects inside the detector cause false alarms. Clean the device gently with a soft brush or vacuum. Avoid using water or cleaning sprays. Place the detector away from the kitchen or bathroom. Steam and cooking smoke often trigger false alarms.
Old batteries also cause false alarms. Replace batteries every year or when low. Use good-quality batteries for better performance. Test your detector monthly to catch problems early.
Detector Not Responding
A smoke detector that does not sound during a test may have power issues. Check if the battery is dead or missing. Insert new batteries in the right direction. Some detectors use hardwired power. Make sure the power source is on and connected.
Reset the detector by pressing the test button for 15 seconds. If it still does not respond, replace the device. Smoke detectors wear out after 10 years. Replace old detectors to keep your home safe.
Additional Safety Tips
Installing a smoke detector is just the first step to home safety. Following extra safety tips can protect your family better. These tips help make sure your detectors work well and alert you fast.
Installing Multiple Detectors
Place smoke detectors in key areas like bedrooms and hallways. A single detector is not enough for big homes. Install one on every floor to cover all spaces. This way, smoke is detected early, wherever it starts.
Test each detector regularly. Replace batteries once a year or when low. Keep detectors clean and free of dust. This ensures they work without interruption.
Integrating With Home Security Systems
Connect smoke detectors to your home security system. This sends alerts to your phone or monitoring center. You get instant warnings even when away from home.
Choose detectors that work with your system. Smart detectors can also turn on lights or unlock doors. This helps you get out quickly during an emergency.
Credit: www.homedepot.com

Credit: www.youtube.com
Frequently Asked Questions
What Tools Are Needed To Install A Smoke Detector?
You need a drill, screwdriver, screws, a ladder, and the smoke detector unit. A pencil helps mark holes. These tools ensure safe and proper installation.
Where Is The Best Location To Install A Smoke Detector?
Install smoke detectors on ceilings or high on walls, away from corners. Avoid kitchens and bathrooms to reduce false alarms. Position near bedrooms for early warning.
How Often Should I Test My Smoke Detector?
Test your smoke detector monthly by pressing the test button. Replace batteries annually or when low. This keeps your device functional and reliable.
Can I Install A Smoke Detector Myself?
Yes, installing a smoke detector is simple and safe to do yourself. Follow the manufacturer’s instructions carefully for proper placement and wiring if needed.
Conclusion
Installing a smoke detector is simple and important for safety. Place it on the ceiling or high on a wall. Test the device often to ensure it works well. Replace batteries once a year or as needed. Remember, smoke detectors save lives by warning you early.
Taking a few minutes now protects your home and family. Stay safe and keep your detector ready at all times. Safety starts with small steps like this one.