Have you ever wondered how your towel rack stays firmly attached to the wall? It might seem simple, but the way it connects plays a big role in keeping your towels secure and your bathroom looking neat.
If your towel rack feels loose or wobbly, or if you’re planning to install a new one, understanding how it connects to your wall is key. You’ll discover the secrets behind those hidden brackets, screws, and anchors that hold your towel rack in place.
Keep reading to learn how to ensure your towel rack stays put, so you never have to worry about it falling again.
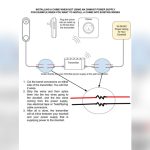
Credit: usbathstore.com
Types Of Towel Racks
Towel racks come in different styles to suit various spaces and needs. Each type connects to the wall or stands differently. Understanding these types helps in choosing the right one for your bathroom or kitchen. This section explains the main types of towel racks and how they attach or stand.
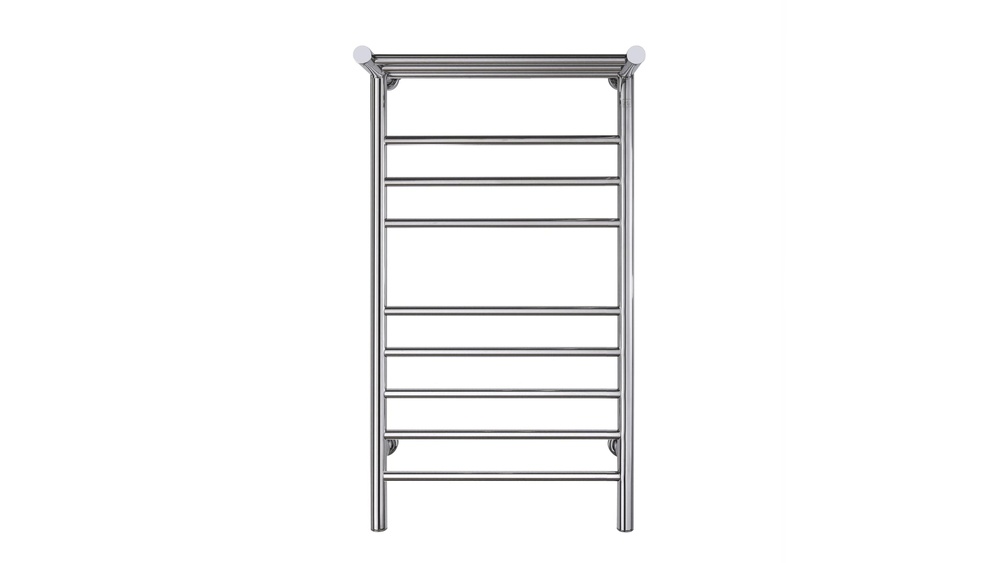
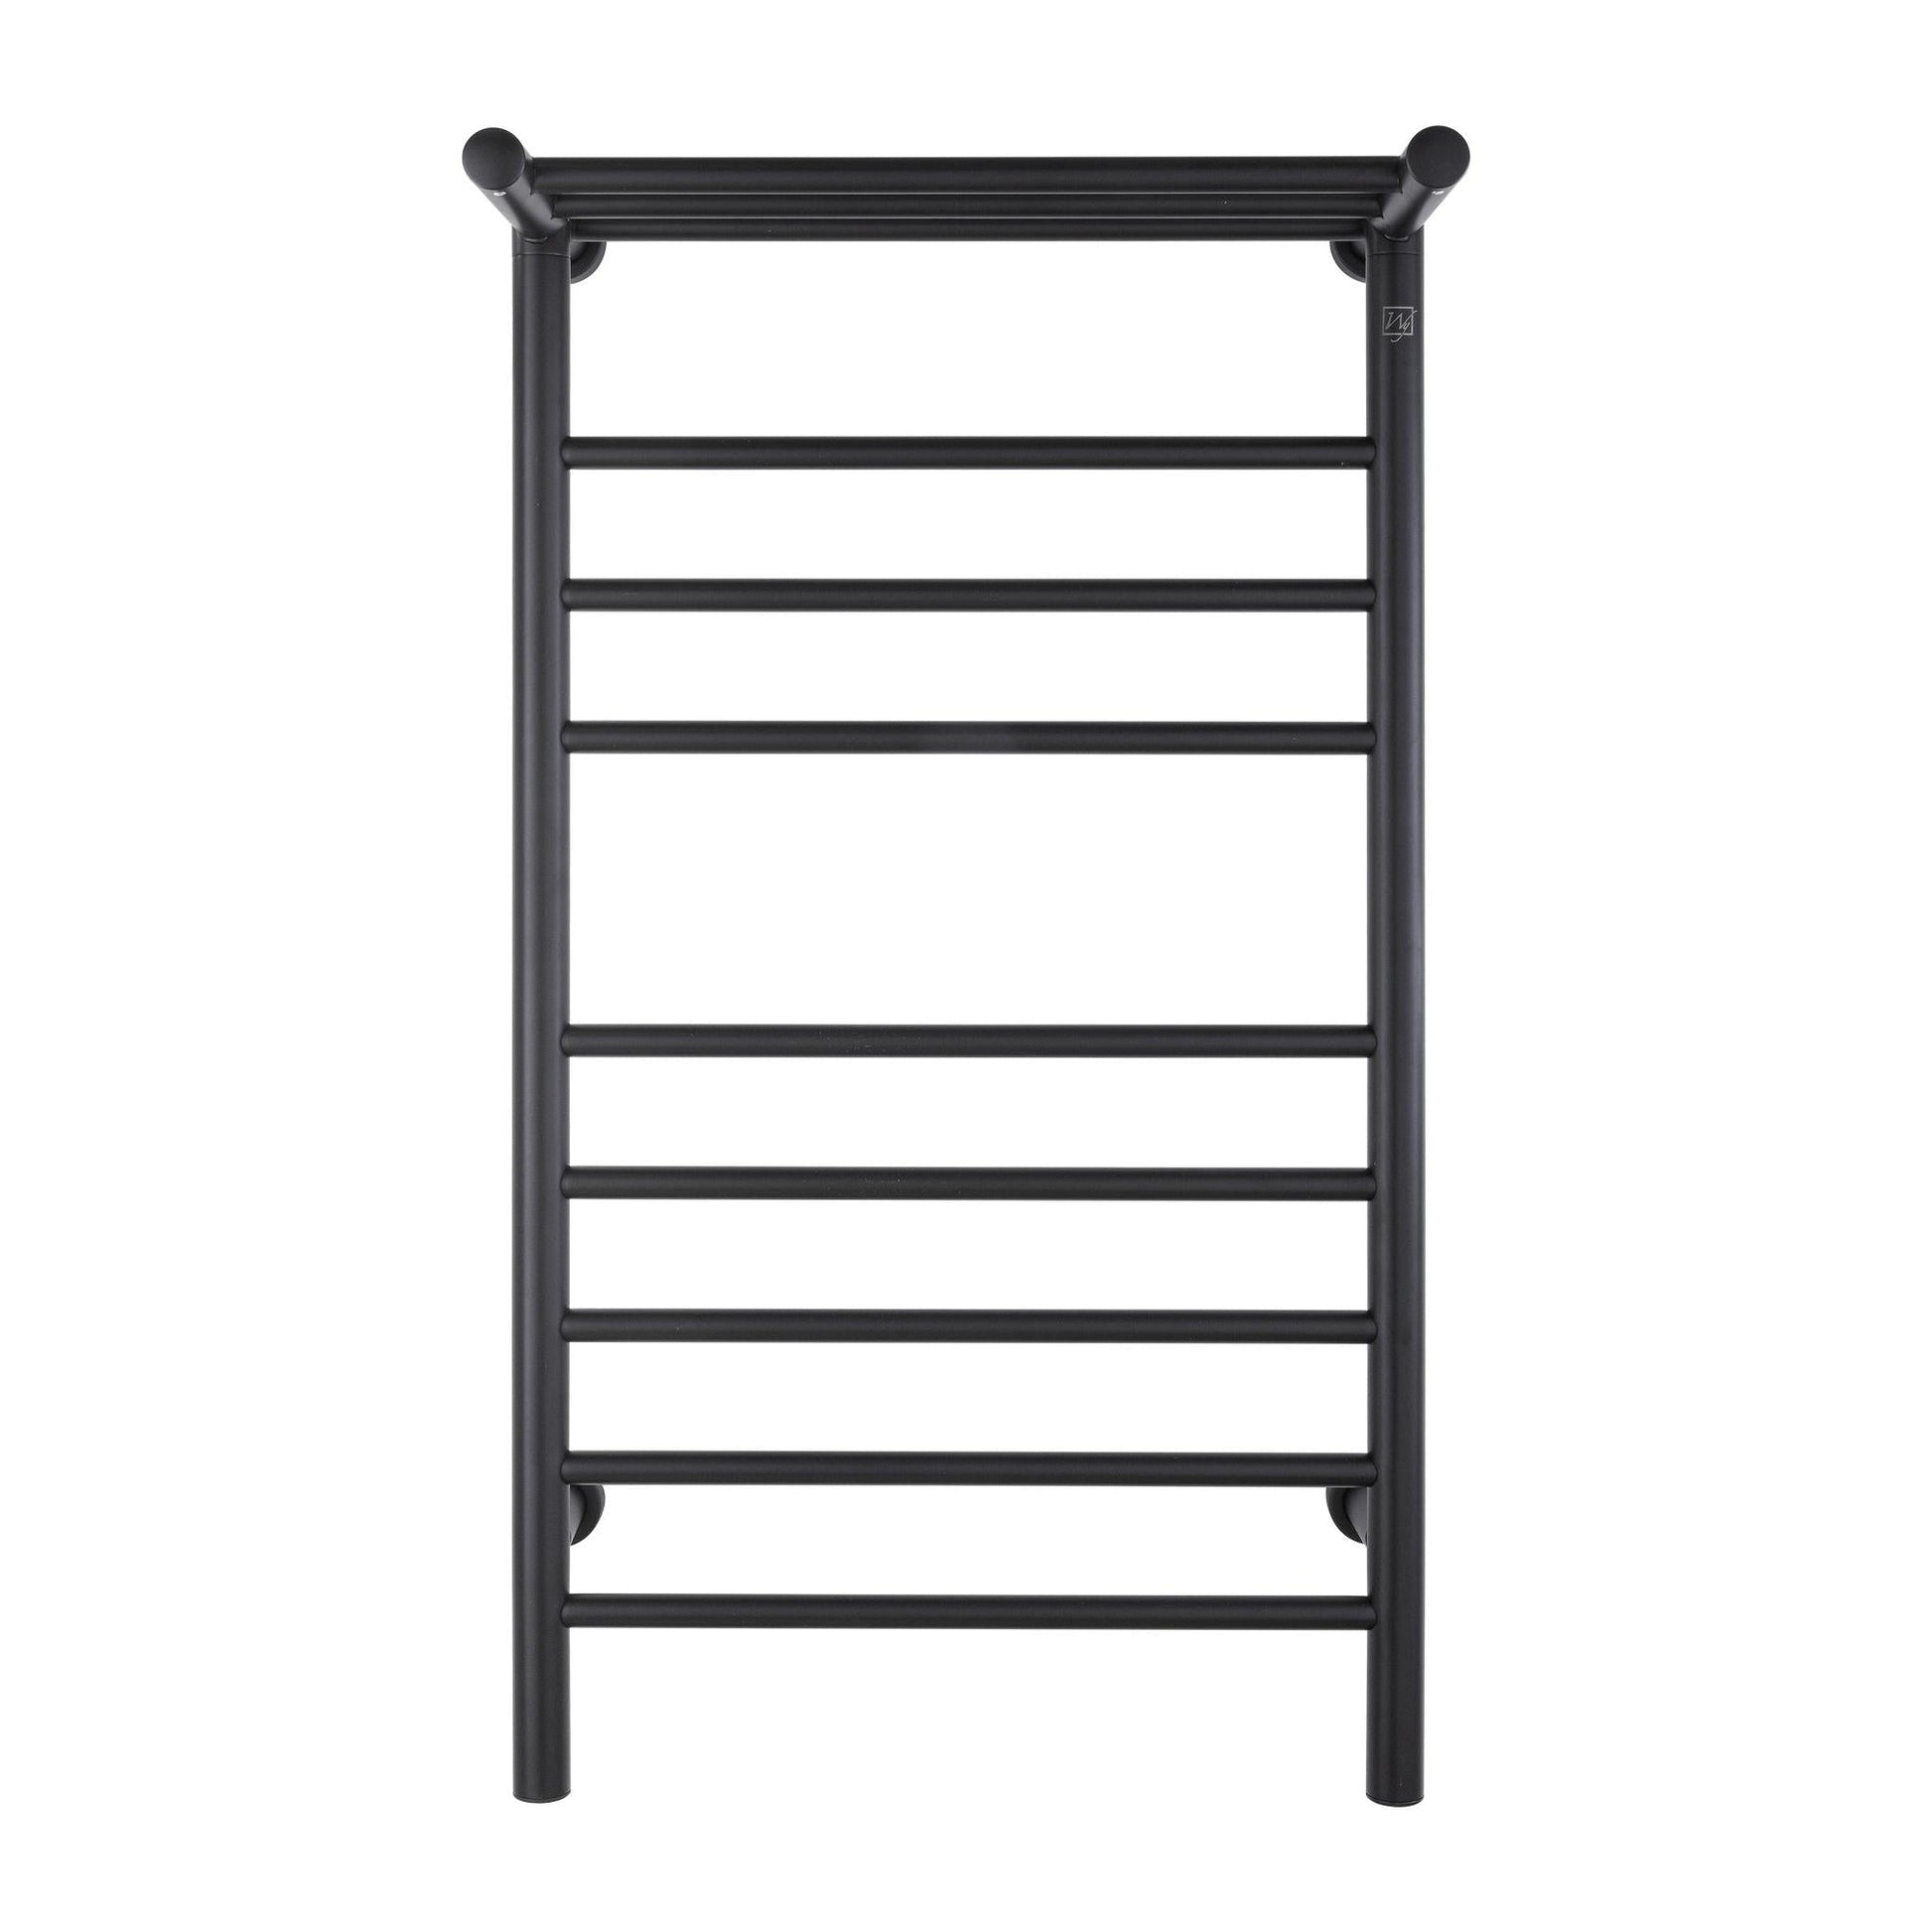
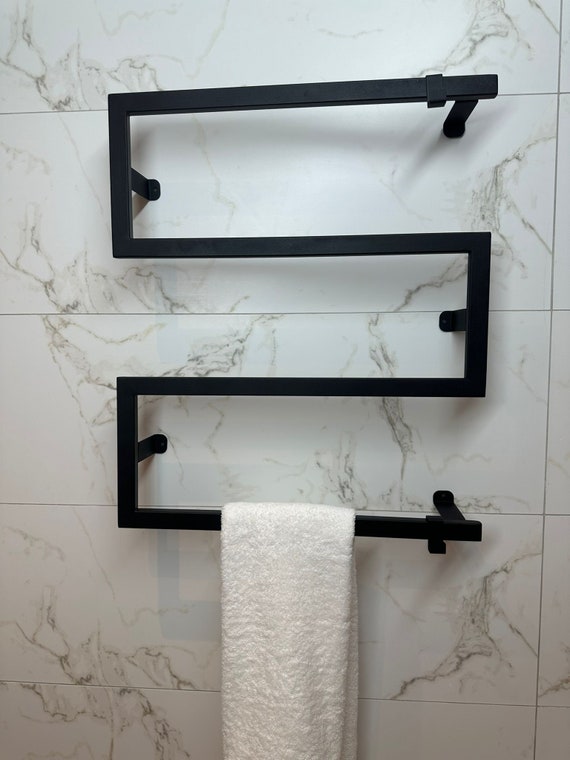
Wall-mounted Racks
Wall-mounted racks attach directly to the wall using screws and anchors. These racks hold towels close and save floor space. Installation requires drilling holes into the wall. Some racks use adhesive pads for lighter towels, avoiding drilling. This type offers a sturdy and permanent towel storage solution.
Freestanding Racks
Freestanding racks do not connect to the wall at all. They stand on the floor with a stable base. These racks are easy to move and reposition as needed. No tools or drilling are required for setup. Freestanding racks suit bathrooms where wall mounting is not possible or desired.
Over-the-door Racks
Over-the-door racks hang on the top edge of a door. They do not need screws or permanent fixtures. These racks use metal hooks or brackets to stay in place. Over-the-door racks are ideal for renters or temporary use. They keep towels accessible without taking up wall or floor space.
Credit: www.trilliumdance.com
Materials And Tools Needed
Knowing the right materials and tools makes installing a towel rack easier. Preparation is key. Gather what you need before starting. This saves time and avoids mistakes. The list below covers common tools, hardware, and safety gear.
Common Tools
- Drill – for making holes in the wall
- Screwdriver – to tighten screws
- Measuring tape – to measure spacing and height
- Level – to keep the rack straight
- Pencil – to mark drilling spots
- Stud finder – to locate wall studs for strong support
Hardware Components
- Screws – to attach the rack to the wall
- Wall anchors – for drywall installation without studs
- Brackets – to hold the towel rack securely
- Mounting plates – sometimes included for added stability
Safety Equipment
- Safety glasses – protect your eyes from dust and debris
- Gloves – protect hands from sharp edges
- Mask – prevents inhaling dust during drilling
- Hearing protection – reduces noise from power tools
Locating Wall Studs
Locating wall studs is the first step to secure your towel rack properly. Studs are wooden or metal beams behind the drywall that hold the weight. Attaching your towel rack to studs keeps it strong and stable. Without finding studs, the rack may fall or damage the wall. There are easy ways to find these studs.
Using A Stud Finder
A stud finder is a small device that senses studs behind the wall. Turn it on and move it slowly across the wall surface. The device will beep or light up when it detects a stud. Mark the spot with a pencil. Check several points to confirm the stud’s location. This tool saves time and gives accurate results. Most hardware stores sell stud finders at a low cost.
Manual Detection Methods
Manual methods use simple observation and touch to find studs. Tap the wall lightly and listen to the sound changes. A hollow sound means no stud, a solid sound means a stud. You can also look for nails or screws in the baseboard; they often attach to studs. Measure about 16 to 24 inches from a corner or outlet, where studs usually are. These tips help find studs without special tools.

Credit: www.homedepot.com
Marking And Measuring Placement
Marking and measuring placement are key steps to secure your towel rack firmly on the wall. Accurate marks ensure the rack sits straight and holds weight well. Taking time to measure saves effort and prevents mistakes. Follow simple steps to find the best spot for your towel rack.
Determining Height
Choose a height that is easy to reach for everyone. Usually, 48 inches from the floor works well. Mark this height lightly with a pencil. Consider who will use the rack most often. Adjust the height if children or tall adults use it. Keep the rack low enough to grab towels quickly.
Aligning The Rack
Use a level tool to keep the rack straight. Place the rack against the wall at the marked height. Check that the rack’s edges are even and horizontal. Mark the screw holes with a pencil. Measure the distance between holes to keep the rack balanced. Accurate alignment prevents the rack from tilting over time.
Drilling And Anchoring
Drilling and anchoring are key steps to attach your towel rack firmly to the wall. This process keeps the rack stable and safe to use. It also prevents damage to your wall over time. Proper drilling and anchoring ensure the towel rack holds weight without loosening.
Choosing the right tools and anchors is important. This part guides you through picking the right drill bit and installing anchors correctly. These actions help your towel rack stay secure and last longer.
Choosing The Right Drill Bit
Select a drill bit that matches your wall type. For drywall, use a bit designed for soft materials. For concrete or brick, pick a masonry bit. The drill bit size should fit the wall anchor size. Too large or too small bits cause weak holes. A correct drill bit makes clean holes and holds anchors well.
Installing Wall Anchors
Wall anchors provide extra grip inside the wall. Insert anchors into drilled holes carefully. Push or tap them until flush with the wall surface. Anchors spread the towel rack’s weight across a larger area. This stops the screws from pulling out. Use anchors designed for your wall material. Secure anchors make your towel rack strong and stable.
Attaching The Towel Rack
Attaching the towel rack to the wall is the key step in installation. It holds the rack firmly and keeps it safe to use. This process needs some tools and care to avoid damage. Proper attachment ensures the rack stays strong over time.
Securing With Screws
Start by marking the spots where the screws will go. Use a drill to make holes in the wall at these points. Insert wall anchors if the wall is drywall or hollow. Place the towel rack brackets over the holes. Screw them tightly to hold the rack in place. Tight screws prevent wobbling and keep the rack steady.
Ensuring Stability
Check the towel rack for any movement after screwing it in. Press gently on different sides to test strength. If it moves, tighten the screws more or add extra anchors. Use a level to make sure the rack is straight. A stable rack lasts longer and holds towels safely without falling.
Common Installation Mistakes
Installing a towel rack may seem simple, but many make common mistakes. These errors can cause the rack to become loose or damage the wall. Understanding these mistakes helps ensure a secure and lasting installation.
Avoiding Loose Fixtures
Loose towel racks often come from weak anchors or screws. Using the wrong type of anchor for your wall is a common cause. Drywall needs special anchors, not just screws. Tighten screws firmly but avoid over-tightening, which can strip the holes. Check the rack’s stability after installation to catch any looseness early.
Preventing Wall Damage
Drilling without marking spots leads to holes in the wrong places. Measure carefully and mark before drilling. Avoid using too large drill bits that create oversized holes. Use anchors suitable for your wall type, such as drywall or tile anchors. Be gentle when tightening screws to stop cracks or chips around the holes.
Maintenance Tips
Proper maintenance keeps your towel rack secure and looking good. Simple care steps extend its life and prevent damage. Regular checks help avoid loose parts and rust.
Tightening Screws
Check screws often to keep the rack stable. Use a screwdriver to tighten any loose screws. Avoid over-tightening to prevent stripping the screw heads. Make sure the rack feels firm against the wall after tightening.
Cleaning And Care
Clean the towel rack regularly with a soft cloth. Use mild soap and water for gentle cleaning. Avoid harsh chemicals that can damage the finish. Dry the rack well to stop water spots and rust. Wipe off any dust or dirt to keep it shiny.
Frequently Asked Questions
How Does A Towel Rack Attach To The Wall?
A towel rack typically attaches using screws and wall anchors. The rack’s brackets align with drilled holes. Anchors secure the screws in drywall, ensuring stability. This method supports the rack’s weight and the towels hung on it safely.
What Tools Are Needed To Mount A Towel Rack?
You need a drill, screws, wall anchors, a level, and a screwdriver. A tape measure helps position the rack accurately. These tools ensure a secure and level installation on most wall types.
Can A Towel Rack Be Mounted On Tile Walls?
Yes, towel racks can be mounted on tile walls. Use a masonry drill bit to create holes without cracking tiles. Wall anchors designed for tiles provide strong support, ensuring the rack stays firmly attached.
How Do Wall Anchors Help In Towel Rack Installation?
Wall anchors provide extra grip in drywall or plaster. They prevent screws from loosening or pulling out under weight. Anchors distribute the load evenly, increasing the towel rack’s stability and durability on the wall.
Conclusion
A towel rack holds your towels neatly and saves space. It attaches to the wall using screws and anchors. These parts keep it strong and steady. Knowing how it connects helps you install it right. You can avoid damage to your walls.
A secure rack lasts longer and looks better. Take your time to follow simple steps. This way, your bathroom stays tidy and neat. Easy to do, easy to enjoy.