Looking for a clever way to organize your space without spending a lot? You might be surprised at how a simple chair can become the perfect towel rack and shelf.
Imagine turning something ordinary into a stylish, practical piece that saves you time and effort every day. In this post, you’ll discover easy steps to transform your chair, making your room more functional and unique. Ready to see how simple changes can make a big difference?
Keep reading—you won’t want to miss these handy tips!
Choosing The Right Chair
Choosing the right chair is the first step to creating a towel rack and shelf. Not every chair fits this project well. The chair should be sturdy and have parts where towels can hang. It should also have space to add a shelf if you want extra storage. Picking a good chair makes your project easier and more useful.
Types Of Chairs Suitable For Diy
Wooden chairs work best for this project. They are strong and easy to modify. Old dining chairs or kitchen chairs are great choices. Chairs with vertical slats on the backrest help towels hang nicely. Avoid chairs with soft cushions or fabric seats. Plastic chairs might not hold weight well. Metal chairs can work but need special tools.
Materials That Work Best
Look for chairs made of solid wood like oak or pine. These types hold nails and screws well. Avoid particleboard or cheap wood that breaks easily. The chair’s finish should be smooth but not slippery. Sand rough edges for safety. Check for loose joints and fix them before starting. Strong materials keep your towel rack sturdy and lasting long.
Credit: www.morenascorner.com
Tools And Materials Needed
Turning an old chair into a towel rack and shelf is a fun and useful project. The right tools and materials make the process easy and safe. Prepare everything before starting. This saves time and helps you work smoothly.
Essential Tools
- Screwdriver – for tightening screws and bolts
- Drill – to make holes in the chair
- Measuring tape – to measure wood and space
- Hammer – to secure nails or small parts
- Sandpaper – to smooth rough edges
- Paintbrush – for painting or finishing
- Clamps – to hold pieces together while fixing
Additional Supplies
- Old wooden chair – the base for your project
- Wooden planks or boards – for shelf surfaces
- Screws and nails – to join parts firmly
- Wood glue – for extra strength
- Paint or wood stain – to protect and decorate
- Hooks or rods – to hang towels
- Protective gloves and goggles – for safety
Preparing The Chair
Preparing the chair is the first step to turn it into a towel rack and shelf. This stage ensures the chair is clean and ready for the transformation. Proper preparation helps the new design last longer and look better.
Start by inspecting the chair for dirt, old paint, or rough spots. Removing these will make your work easier and the final product smoother.
Cleaning And Sanding
Clean the chair using a damp cloth to remove dust and dirt. Let it dry completely before moving to the next step.
Use sandpaper to smooth rough areas and remove old paint or varnish. Sand all surfaces lightly to create a good base for paint or stain.
Focus on edges and corners where dirt and paint tend to build up. Wipe off the dust with a dry cloth after sanding.
Removing Unnecessary Parts
Identify parts that do not fit the towel rack or shelf design. Usually, this includes the seat or backrest of the chair.
Use a screwdriver or drill to remove screws and take off unwanted pieces carefully. Keep the screws for later use if possible.
Remove any nails or staples left behind and smooth rough spots with sandpaper. This step makes the chair safer and more functional.
Creating The Towel Rack
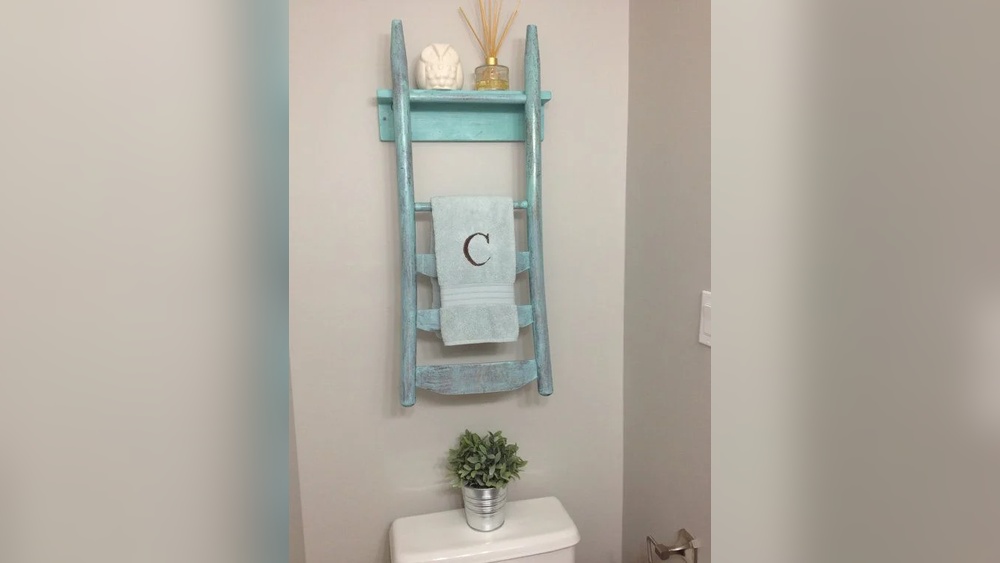
Turning an old chair into a towel rack is a smart idea. It saves space and gives your bathroom a unique look. The chair’s structure works well for holding towels. You only need a few simple steps to make it useful again. This section explains how to add towel bars and use the chair legs as hangers.
Attaching Towel Bars
Find towel bars that fit your chair’s width. You can buy metal or wooden bars from a hardware store. Measure the distance between the chair’s sides to choose the right length. Attach the bars to the chair’s backrest or seat with screws or strong glue. Make sure the bars are level and secure. These bars will hold folded towels neatly.
Using Chair Legs As Hangers
Chair legs can serve as natural hangers for towels. Use the front legs to hang towels directly. Wrap towels around the legs or drape them over. For more hanging space, add hooks to the legs. Screw small hooks on the sides of the legs. This method keeps towels within easy reach and helps them dry faster.
Adding Shelf Space
Adding shelf space to a chair transforms it into a useful towel rack and storage unit. This simple change creates extra room for towels, toiletries, or small items. You can use the chair’s structure in creative ways to hold wooden planks or the seat itself as a shelf. Both options are easy to do and make your space neater.
Installing Wooden Planks
Choose wooden planks that fit well with your chair’s size. Sand the planks to make them smooth and safe. Attach the planks horizontally across the chair’s back or between the legs. Use screws or strong adhesive for a steady hold. These planks act as shelves to hold folded towels or small baskets. Paint or stain the wood to match your chair or room decor.
Using Chair Seat As A Shelf
Remove the chair’s backrest if needed to open space. Clean the seat thoroughly before use. Place the seat at a height suitable for easy reach. Secure the seat in place with brackets or screws to keep it stable. This seat shelf can hold folded towels or bathroom items neatly. The chair seat shelf keeps items off the floor and organized.

Credit: www.morenascorner.com
Finishing Touches
Finishing touches give your chair-towel rack and shelf a polished look. They protect the wood and make your project last longer. Focus on simple steps that add beauty and strength.
Painting And Staining
Choose paint or stain that fits your room’s style. Paint adds color and hides imperfections. Stain shows the wood’s natural grain and texture. Use a brush or cloth for even coverage. Apply thin coats and let each dry fully. Light sanding between coats helps smooth the surface. This step makes your project look neat and fresh.
Sealing For Durability
Seal the wood to protect it from moisture and wear. Clear sealers keep the paint or stain safe. Use polyurethane or varnish for strong protection. Apply with a clean brush in thin layers. Let each coat dry before adding another. Sealing keeps your towel rack and shelf strong and easy to clean.
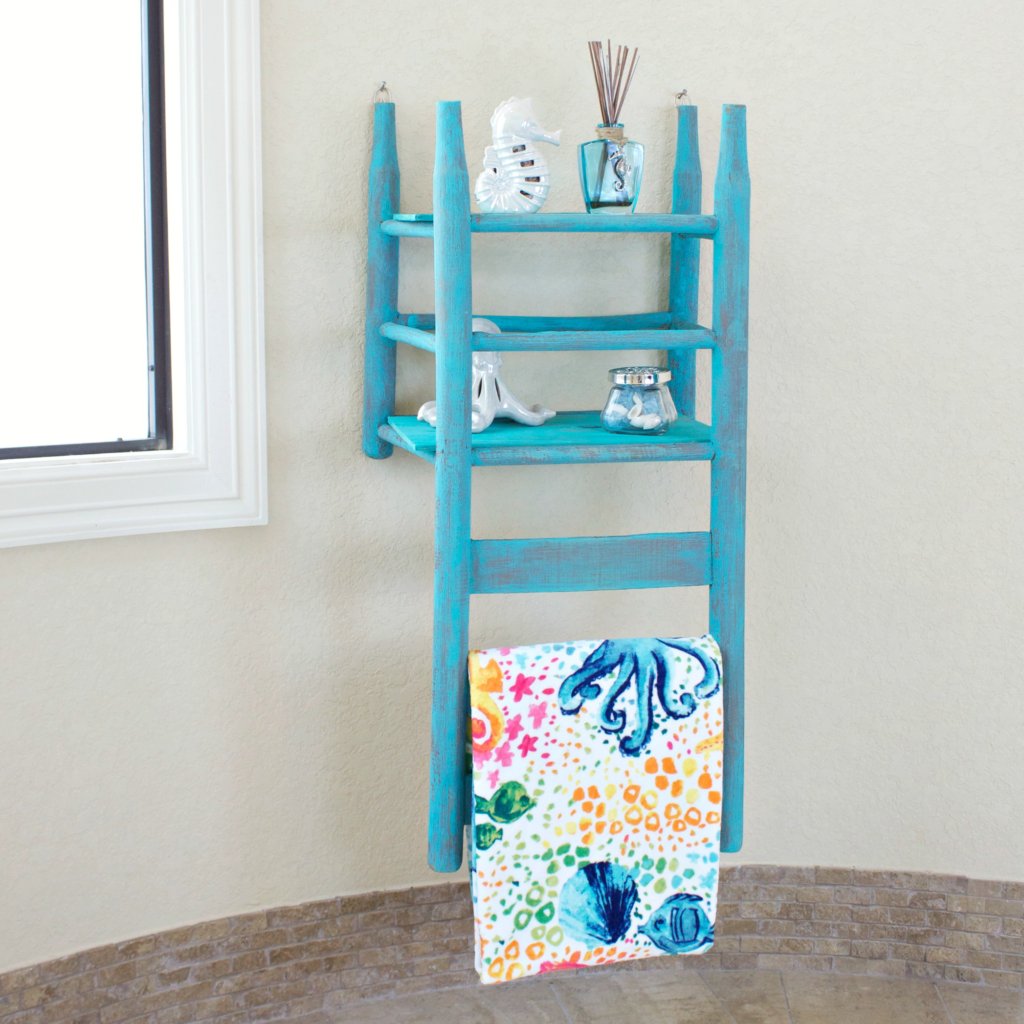
Creative Variations
Creative variations can make your chair towel rack and shelf unique and practical. Changing the design helps fit different spaces and needs. Simple tweaks can add storage and style to your setup.
Multi-tier Racks
Create more space by adding extra tiers to the chair. Use the seat and backrest as separate levels. Stack towels or small items on each tier for easy reach.
Attach wooden planks or boards across the chair frame. Secure them well to hold weight. This method maximizes vertical space and keeps things organized.
Incorporating Hooks And Baskets
Add hooks to the chair’s sides or back for hanging small towels or accessories. Hooks make items easy to grab and put away.
Use baskets on the seat or under the chair for extra storage. Baskets hold toiletries, soaps, or folded towels. They keep your space tidy and neat.

Credit: www.ikea.com
Placement And Usage Tips
Proper placement and smart use of your DIY chair towel rack and shelf can enhance any room. Choosing the right spot makes your space tidy and functional. This section helps you find perfect places and care tips for your rack. Follow these ideas to keep your rack useful and neat.
Ideal Spots In Your Home
Bathrooms are great for towel racks. Place the chair near the sink or shower. This keeps towels close and easy to reach. In bedrooms, use the rack for clothes or accessories. Put it near your dresser or closet. Kitchens can also benefit. Use the rack to hang dish towels or store small items. Find spots with enough space and easy access. Avoid crowded corners or places with high moisture.
Maintaining Your Diy Rack
Keep your rack clean by wiping it regularly. Use a damp cloth to remove dust and dirt. Check for loose screws or weak joints often. Tighten or fix them quickly to avoid accidents. Avoid putting very heavy items on the rack. This keeps it strong and lasts longer. Treat wooden parts with polish or oil sometimes. It helps protect the wood from damage. Simple care keeps your rack looking good and working well.
Frequently Asked Questions
How Can I Turn A Chair Into A Towel Rack?
Remove the chair seat and add horizontal rods or bars. These bars hold towels easily. Secure them tightly for durability and style.
What Materials Do I Need To Convert A Chair?
You need a wooden chair, metal rods or wooden dowels, screws, a drill, and paint or finish. These help create a sturdy towel rack and shelf.
Is It Safe To Use A Chair As A Towel Rack?
Yes, if properly modified and secured. Ensure rods are strong and attached well. Avoid overloading to maintain stability and safety.
Can I Add Shelves To The Chair Towel Rack?
Yes, adding shelves is simple. Use the chair’s seat area or add boards between legs. Shelves increase storage and enhance functionality.
Conclusion
Turning an old chair into a towel rack and shelf saves space and money. It adds charm and keeps your room tidy. The steps are simple and fun to follow. You only need basic tools and a bit of creativity.
This project fits any home style and helps reuse items. Give your space a fresh look with this easy idea. Try it today and enjoy a neat, organized room.