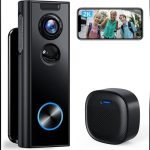
Are you ready to boost your home’s security with a video ring doorbell? Installing one might seem tricky, but it’s easier than you think.
Imagine seeing who’s at your door from anywhere and never missing a visitor again. In this guide, you’ll learn simple, step-by-step instructions to install your video ring doorbell quickly and correctly. By the end, you’ll have a smart, secure front door that gives you peace of mind.
Keep reading—you’re just minutes away from upgrading your home!
Choosing The Right Spot
Choosing the right spot for your video doorbell is key. It affects the camera view and how well the device works. A good location helps you see visitors clearly and keeps the device working well. Think about height, Wi-Fi, and obstacles around the doorbell. These factors make a big difference.
Ideal Height And Angle
Place the doorbell about 48 inches from the ground. This height captures most faces clearly. Angle the camera slightly downward. It helps to see visitors’ faces and packages on the ground. Avoid placing it too high or too low. A straight view often misses important details.
Wi-fi Signal Strength
Check your Wi-Fi signal near the door. A strong signal is essential for smooth video streaming. Use a phone to test signal strength at the spot. If the signal is weak, consider a Wi-Fi extender. A stable connection keeps your doorbell live and responsive.
Avoiding Obstructions
Remove plants, decorations, or walls that block the camera. Obstructions can hide visitors and reduce video quality. Keep the area clear for a wide, open view. Avoid bright lights or direct sunlight facing the camera. These can cause glare and poor video.
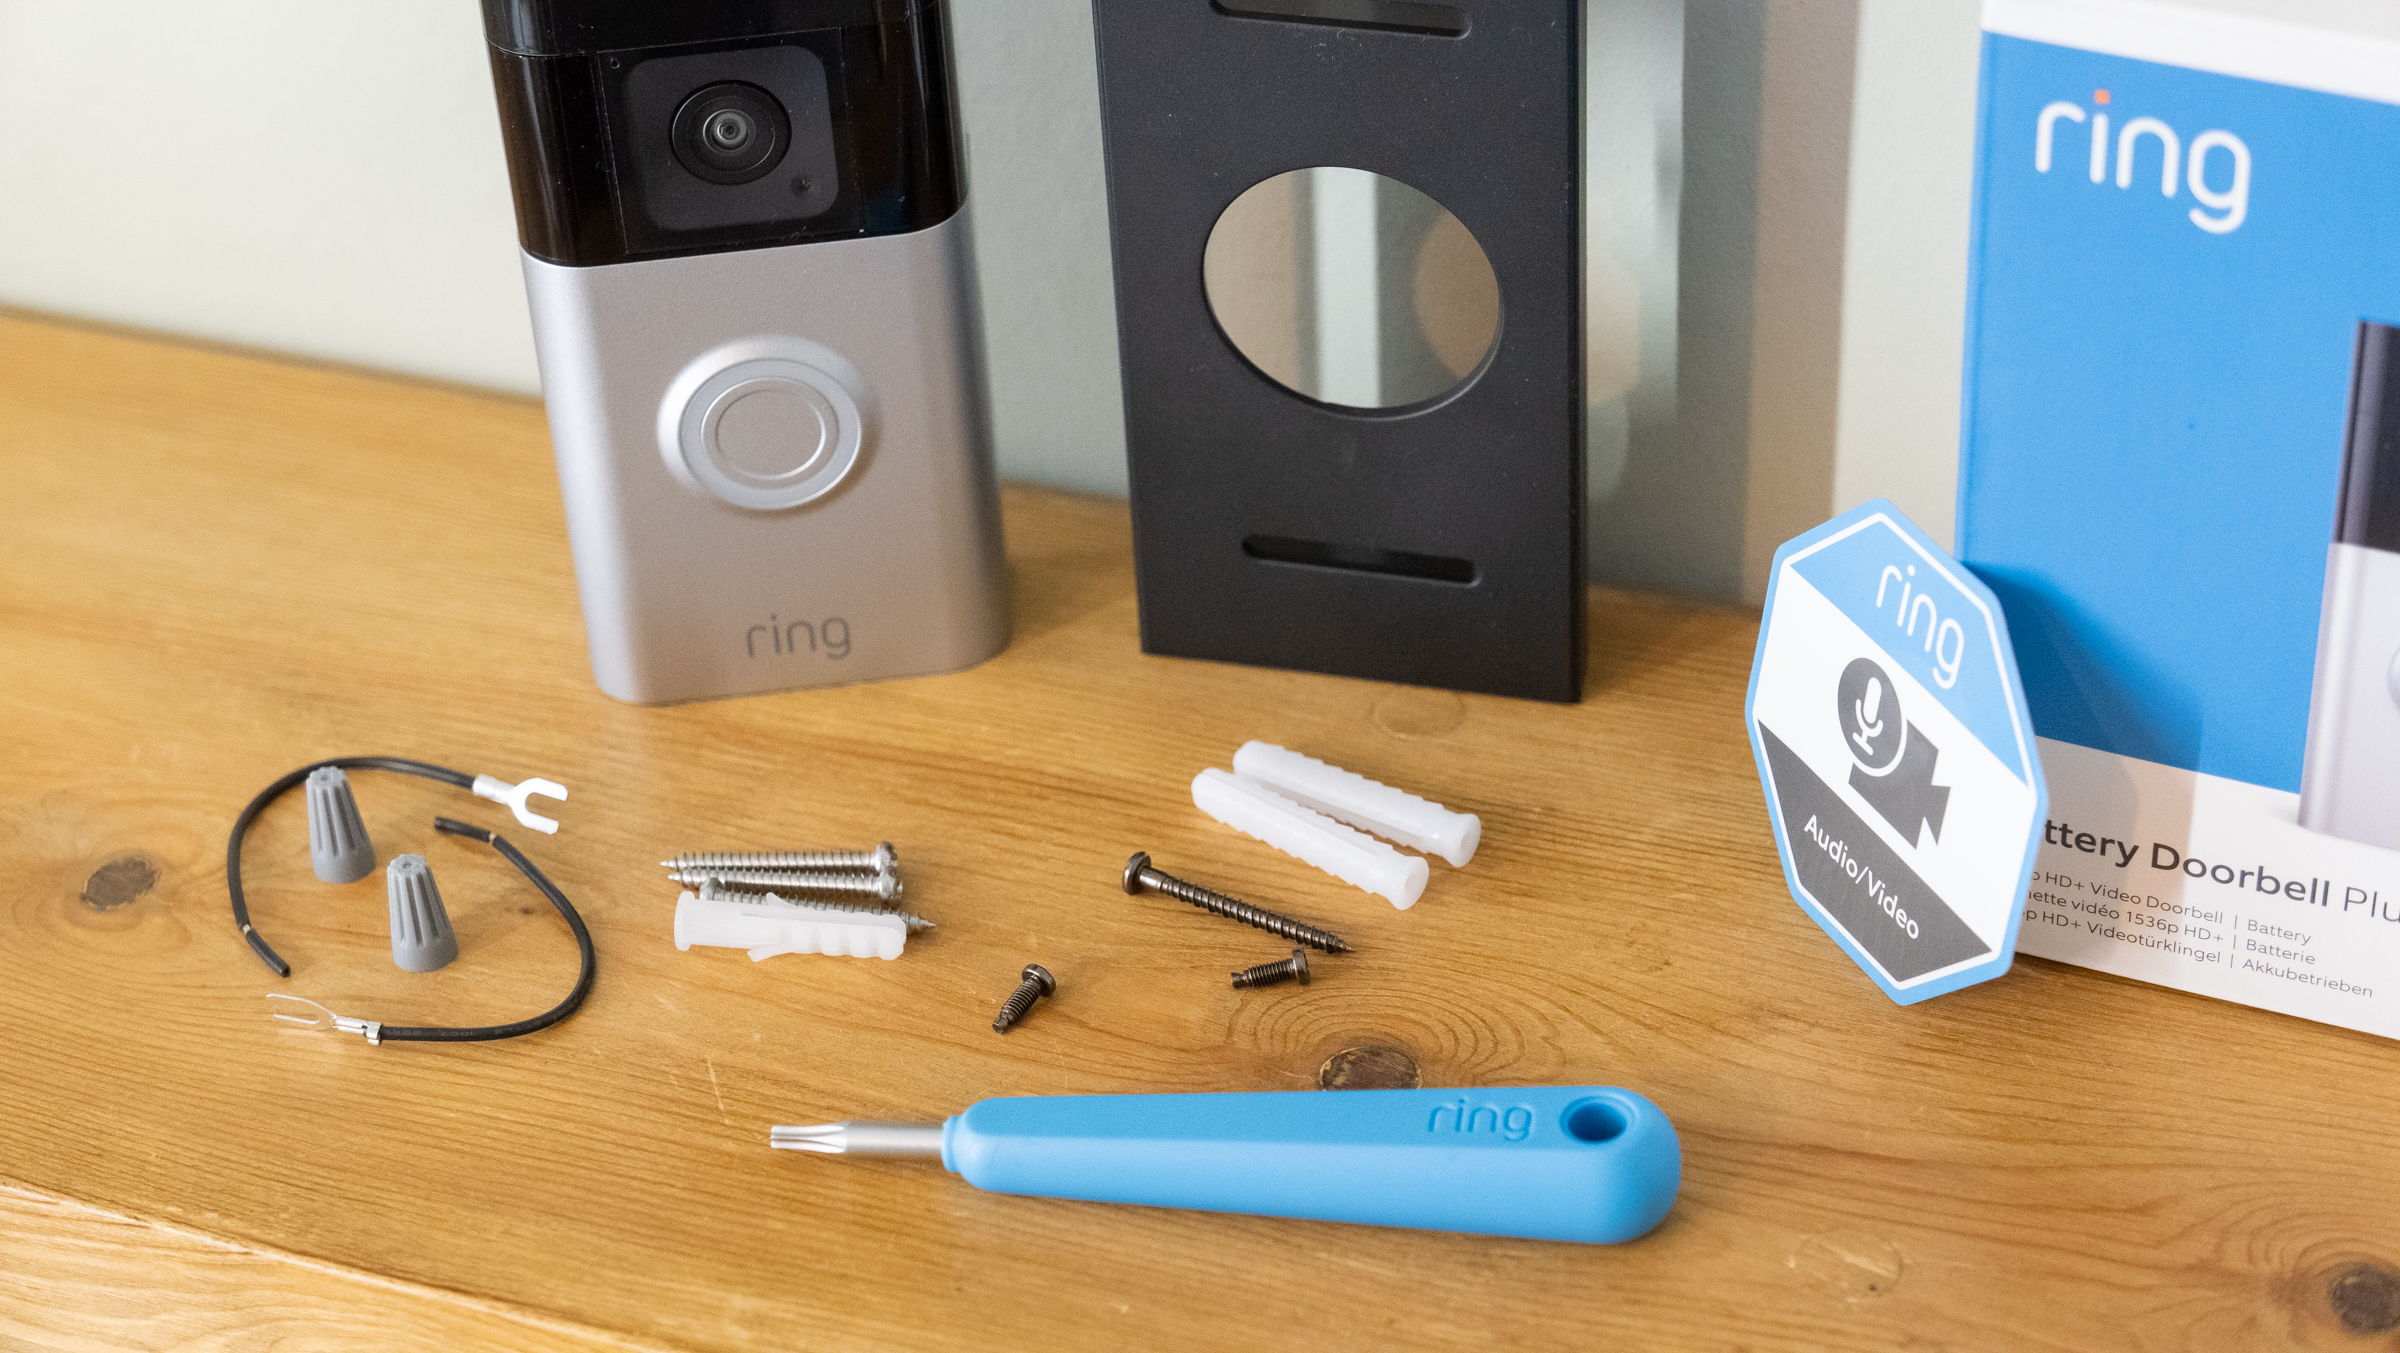
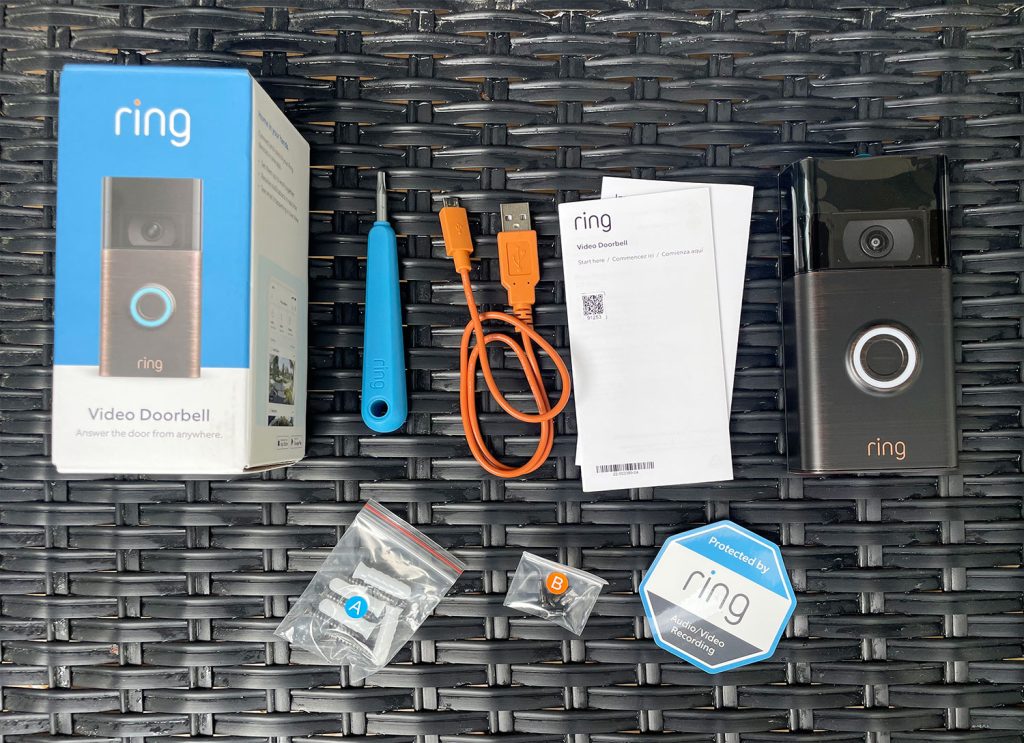
Gathering Necessary Tools
Before installing your Video Ring Doorbell, gather all necessary tools. Having everything ready makes the process smooth and fast. Missing tools can cause delays and frustration. Use this guide to check what you need.
Tools Checklist
Start with a drill and drill bits for making holes. A screwdriver will help secure the doorbell to the wall. Use a level to keep the device straight. A pencil is handy to mark drilling spots. A tape measure ensures correct placement on your door frame. If your doorbell needs wiring, have wire strippers and electrical tape ready. A ladder might be necessary to reach high places.
Safety Equipment
Wear safety glasses to protect your eyes from dust and debris. Gloves protect your hands from sharp tools or wires. Use a dust mask if drilling into walls creates dust. Make sure your ladder is stable and on a flat surface. Turn off the power at the circuit breaker if working with electrical wires. Safety first keeps the installation smooth and injury-free.
Preparing The Installation Area
Preparing the installation area is a key step before mounting your video doorbell. It sets the stage for a smooth setup and reliable performance. Take time to get this right. It helps avoid mistakes and saves effort later.
This step includes marking drill points and checking for wiring. Both tasks need care and attention. Proper preparation keeps your home safe and your device working well.
Marking Drill Points
Start by holding the doorbell against the wall. Use a pencil to mark where the screws will go. Double-check the marks. They must line up with the doorbell’s mounting holes. Use a level tool to keep marks straight. This prevents a crooked installation.
Keep marks clear and visible. Avoid placing marks too close to corners or edges. This can weaken the mounting area. Measuring twice is better than fixing mistakes later.
Checking For Wiring
Look for existing doorbell wires in the installation area. Use a wire detector or flashlight to spot wires inside the wall. Avoid drilling into wires to prevent damage or shocks. If wires are present, confirm they have power turned off before starting.
If no wires exist, consider using battery power or running new wiring. This will affect how you install the doorbell. Knowing the wiring setup helps prepare the right tools and parts.
Mounting The Doorbell
Mounting the Video Ring Doorbell is a key step in the installation process. It must be stable and secure for the doorbell to work properly. This section guides you through the simple steps to mount your doorbell with care.
Drilling Holes
Start by marking the spots for drilling using the mounting plate as a guide. Use a pencil to mark the screw holes clearly. Choose a drill bit that matches the screw size.
Drill carefully into the wall or door frame. Avoid forcing the drill to prevent damage. Clean any dust or debris from the drilled holes.
Attaching The Mounting Plate
Place the mounting plate over the drilled holes. Insert the screws into the holes and tighten them with a screwdriver. Ensure the plate is level and flush against the surface.
Check that the plate does not wobble. A tight fit keeps the doorbell steady during use.
Securing The Doorbell
Align the doorbell with the mounting plate. Slide or click the device into place firmly. Some models use additional screws or clips for extra security.
Test the doorbell by gently pulling it to confirm it is locked in. A well-secured doorbell will stay put and work correctly.
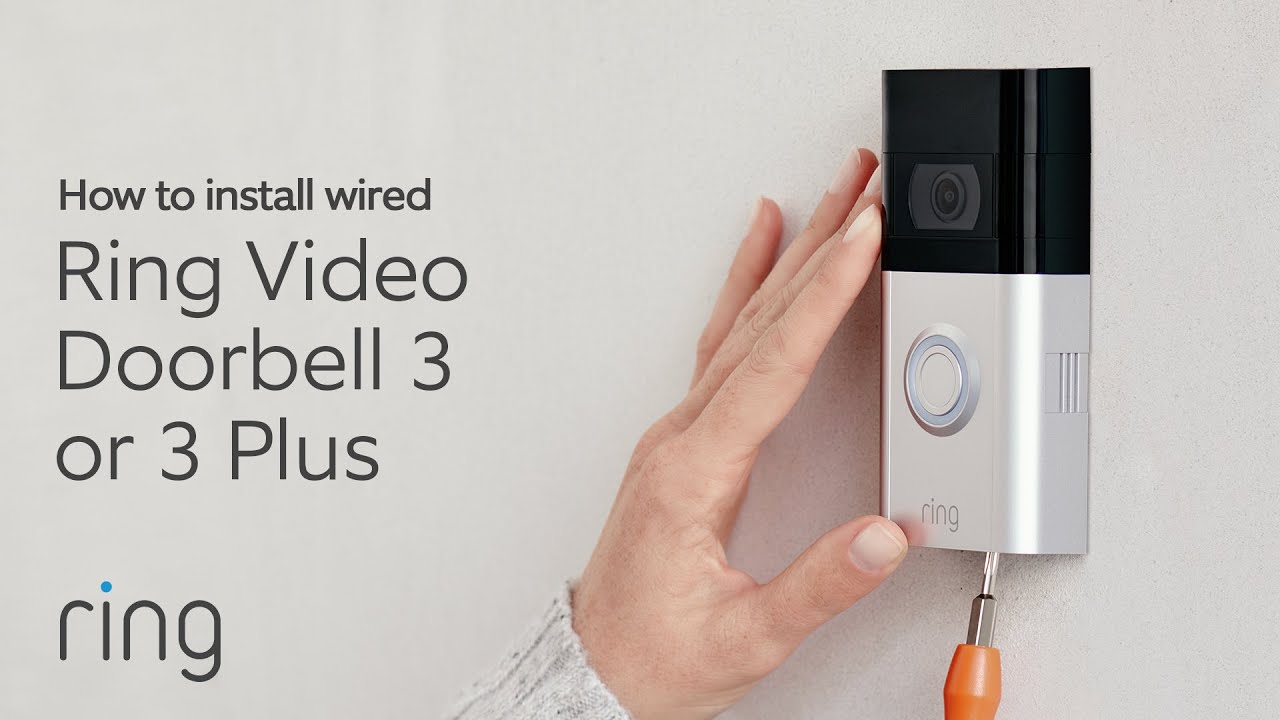
Connecting The Doorbell
Connecting your video Ring doorbell is a key step in installation. This step links the device to power and your home’s systems. Proper connection ensures your doorbell works smoothly and records video clearly.
There are two main types of Ring doorbells: wired and battery-powered. Each type has a different setup process. Understanding these options helps you choose the best fit for your home and skills.
Wired Vs. Battery-powered
Wired Ring doorbells connect directly to your home’s electrical wiring. They get constant power without needing frequent charging. This setup suits homes with existing doorbell wires.
Battery-powered models run on rechargeable batteries. They offer flexible placement since they do not need wiring. These models need battery charging or replacement over time.
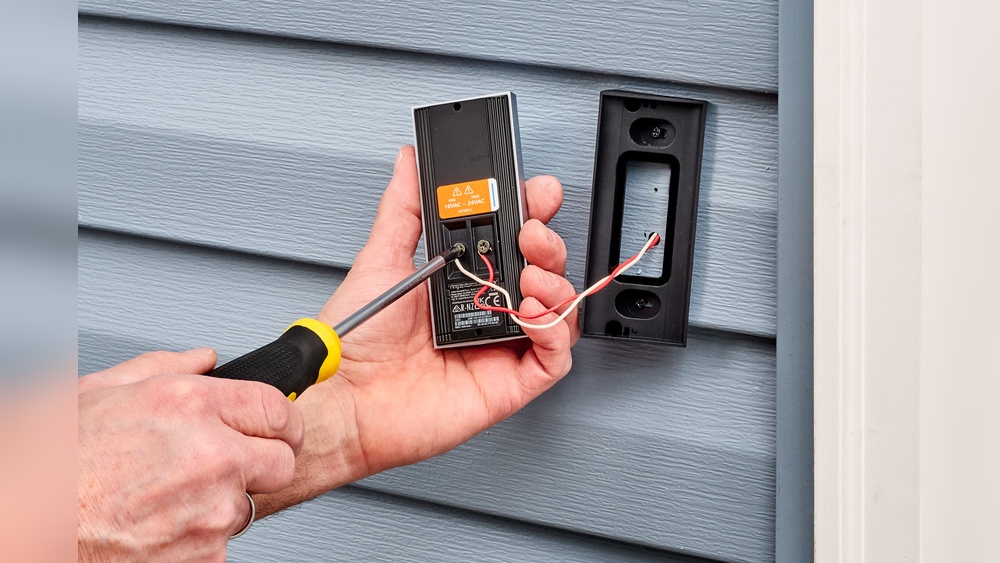
Connecting To Existing Doorbell Wires
Turn off power at the breaker before starting any wiring. Remove your old doorbell and disconnect its wires carefully. Attach the wires to the Ring doorbell’s terminals, matching the color code.
Secure the doorbell to your wall or door frame. Turn the power back on and test the device. The doorbell should light up and connect to your Wi-Fi.
Inserting Batteries
Open the battery compartment on the back of the Ring doorbell. Insert the rechargeable battery with the correct polarity. Close the compartment tightly to protect it from weather.
Charge the battery fully before the first use. Battery status shows on the Ring app for easy monitoring. Replace the battery when the app alerts low power.
Credit: www.techradar.com
Setting Up The Software
Setting up the software is the first step to use your Video Ring Doorbell. It connects your device to your phone. This lets you see visitors and get alerts instantly.
The software setup includes three main tasks. Downloading the app, creating an account, and connecting to Wi-Fi. Each step is simple and quick.
Downloading The App
Start by downloading the Ring app. It is free and available on both iOS and Android. Open your phone’s app store. Search for “Ring” and tap download. Wait for the app to install before opening it.
Creating An Account
Open the Ring app. Tap on “Create Account.” Enter your email address and a strong password. Make sure to remember these details. Follow the instructions to complete your profile. This account keeps your doorbell secure and personal.
Connecting To Wi-fi
Next, connect your doorbell to Wi-Fi. Good Wi-Fi is needed for clear video and alerts. Open the Ring app and select “Set up a device.” Choose your doorbell model. Follow the app’s guide to find and join your home Wi-Fi. Enter your Wi-Fi password carefully. Wait for the confirmation that your doorbell is connected.
Testing The Doorbell
Testing the video ring doorbell is a key step after installation. It ensures the device works properly and keeps your home safe. You must check video, audio, motion detection, and notifications. Proper testing avoids future problems and improves your experience.
Video And Audio Check
Start by pressing the doorbell button. Watch the video feed on your phone or tablet. Check the picture quality. Make sure it is clear day and night. Listen to the audio. Confirm you can hear visitors clearly. Test your voice through the app to talk back. Adjust the camera angle if needed. Ensure both video and audio work well together.
Motion Detection Settings
Next, set up motion detection. Open the app and find the motion settings. Choose the zones you want to monitor. Avoid areas with constant movement like roads. Adjust the sensitivity level to reduce false alerts. Test by walking in front of the doorbell. Check if it detects motion quickly. Fine-tune settings until detection feels right.
Notification Alerts
Check your notification alerts on your phone. Enable notifications in the app settings. Press the doorbell and wait for an alert. Test motion alerts by moving nearby. Make sure alerts arrive instantly. Customize alert sounds and vibration if available. Good alerts keep you informed of visitors or motion. This step completes your doorbell testing process.
Credit: www.youtube.com
Optimizing Security Settings
Optimizing the security settings of your video ring doorbell is key to protecting your home. It helps prevent false alerts and keeps your footage safe. Simple adjustments can make your doorbell smarter and more secure.
Adjusting Privacy Zones
Privacy zones let you block parts of the camera’s view. This stops it from recording areas you don’t want to monitor. Set these zones to avoid neighbors’ yards or private spots.
Open your doorbell’s app to find the privacy zone settings. Draw the zones on the screen where you want to block recording. This reduces unnecessary alerts and respects privacy.
Enabling Two-factor Authentication
Two-factor authentication adds a second step to log in. It makes your account harder to hack. After entering your password, you confirm your identity with a code sent to your phone.
Activate this feature in the app’s security settings. It protects your video footage and personal data from unauthorized access. A simple step that greatly improves your security.
Maintaining The Doorbell
Maintaining your video ring doorbell keeps it working well and extends its life. Regular care helps avoid problems and ensures clear video and sound. Simple steps can make a big difference in performance and reliability.
Regular Cleaning
Clean the doorbell surface gently with a soft cloth. Remove dust and dirt to keep the camera clear. Avoid harsh chemicals that can damage the lens or buttons. Check for spider webs or debris that block the sensors. Clean the area around the doorbell too.
Battery Replacement Tips
Check the battery level often through the app. Replace the battery before it runs too low. Use the correct battery type recommended by the manufacturer. Turn off the doorbell before removing the battery. Insert the new battery firmly and securely. This ensures your doorbell stays powered without interruption.
Firmware Updates
Keep the doorbell’s software up to date for best performance. Updates fix bugs and improve security features. Connect your doorbell to Wi-Fi for automatic updates. Check the app for update notifications regularly. Install updates as soon as they are available. Updated firmware helps protect your home and your device.
Credit: totalplumbingfl.com
Frequently Asked Questions
How Do I Install A Video Ring Doorbell Step-by-step?
To install a video ring doorbell, first turn off power. Mount the bracket, connect wires, and attach the doorbell. Restore power, then follow the app setup instructions for Wi-Fi and preferences. Test the doorbell to ensure it works properly.
What Tools Are Needed To Install A Video Ring Doorbell?
You will need a drill, screwdriver, level, and possibly wire strippers. Some kits include necessary screws and anchors. Having a voltage tester helps ensure safety. Check the installation guide for specific tool recommendations for your model.
Can I Install A Video Ring Doorbell Without Existing Doorbell Wiring?
Yes, many models offer battery-powered options that don’t require wiring. These are easier to install and flexible in placement. However, wired models provide continuous power and fewer battery replacements. Choose based on your home setup and preferences.
How Do I Connect A Video Ring Doorbell To Wi-fi?
After installation, open the doorbell’s app on your smartphone. Follow prompts to select your Wi-Fi network. Enter your password carefully. The device will connect and update automatically. Ensure your Wi-Fi signal is strong for best performance.
Conclusion
Installing a video ring doorbell is easier than it seems. Follow the steps carefully, and you will finish quickly. Make sure your Wi-Fi is strong for the best experience. Test the doorbell after installation to check its functions. Enjoy the added security and convenience at your doorstep.
This small device helps you watch visitors anytime. Stay safe and keep your home connected with ease.