Are you ready to give your pet the freedom they deserve while keeping your home secure? Installing an Ideal Pet Door in your raised panel door might sound tricky, but it’s easier than you think.
This simple upgrade lets your furry friend come and go without constant supervision, saving you time and worry. In this guide, you’ll discover step-by-step instructions tailored just for raised panel doors, making the process smooth and stress-free. Keep reading, and you’ll have your pet door ready in no time—your pet will thank you!
Choosing The Right Pet Door
Choosing the right pet door is important for your pet’s comfort and safety. The perfect door fits your pet well and matches your raised panel door. This section helps you pick the best pet door easily.
Measuring Your Pet
Measure your pet’s height from the floor to its shoulders. Also, measure the width of its body at the widest point. These measurements ensure the door is not too small or too big. A well-measured door helps your pet enter and exit without trouble.
Selecting Door Size
Choose a door size slightly bigger than your pet’s measurements. This gives your pet enough space to pass through comfortably. Avoid doors that are too large. A door that fits well keeps your home insulated and secure.
Types Of Pet Doors
There are several pet door types: manual flap, electronic, and sliding doors. Manual flaps are simple and affordable. Electronic doors open only for your pet using a collar sensor. Sliding doors fit well on glass or raised panel doors. Pick the type that suits your pet’s habits and your door style.
Tools And Materials Needed
Installing an Ideal Pet Door in raised panel doors requires specific tools and materials. Having the right items ready makes the process smooth and safe. This section lists everything needed to complete the installation.
Essential Tools
- Drill with drill bits for precise holes
- Jigsaw or handsaw for cutting the panel
- Measuring tape to mark exact dimensions
- Pencil for marking cut lines
- Screwdriver to fasten screws securely
- Level to ensure door and pet door are straight
- Clamps to hold the door steady while cutting
Safety Gear
- Safety goggles to protect your eyes from dust
- Dust mask to avoid inhaling sawdust
- Work gloves to protect your hands from sharp edges
- Ear protection if using loud power tools
Additional Supplies
- Sandpaper to smooth rough edges after cutting
- Painter’s tape to mark cutting area clearly
- Wood filler for fixing any minor gaps
- Cleaning cloth to wipe dust from the door
- Extra screws in case some get lost or damaged
Preparing The Raised Panel Door
Preparing the raised panel door is the first step to install an Ideal Pet Door. This step ensures the pet door fits perfectly. It also protects the door from damage. Careful preparation saves time and effort during installation.
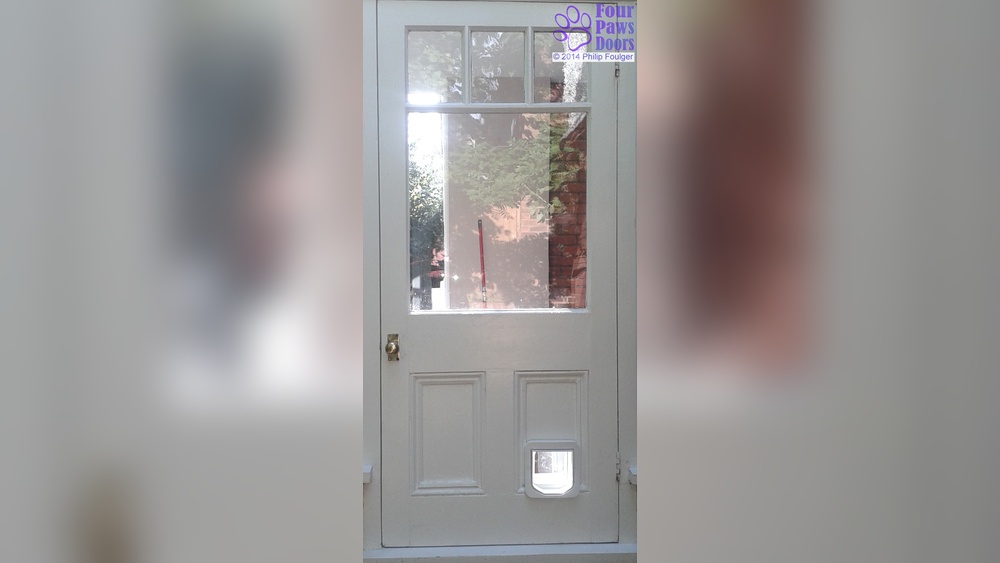
Locating The Installation Spot
Choose a spot on the door that your pet can easily reach. The spot should be low enough for small pets. Measure your pet’s height for accuracy. Avoid areas with door hardware or raised panels. The right location makes your pet comfortable using the door.
Marking The Cutout Area
Use the pet door template to mark the cutout. Align the template with the chosen spot. Draw clear lines with a pencil on the door. Double-check measurements before cutting. Precise marking helps create a clean, accurate hole.
Protecting The Door Surface
Cover the door surface around the cutout with painter’s tape. This prevents scratches and paint chipping. Work slowly with sharp tools to avoid damage. Protecting the surface keeps your door looking new after installation.
Credit: www.flumidieselbosch.com.br
Cutting The Door Panel
Cutting the door panel is a crucial step when installing an Ideal Pet Door in raised panel doors. This task requires precision and care to ensure a clean opening that fits the pet door perfectly. Take your time and prepare your tools before you start cutting. Accurate measurements and steady hands will make the process easier and safer.
Using The Jigsaw Safely
A jigsaw is the best tool for cutting door panels. Always wear safety goggles to protect your eyes from sawdust. Secure the door in place using clamps to stop it from moving. Start cutting slowly along your marked lines. Keep both hands on the jigsaw for better control. Avoid forcing the blade; let it cut at its own pace.
Dealing With Raised Panels
Raised panels have edges that stand out from the door surface. Cut carefully around these raised areas to keep the door’s look neat. Mark the cutting lines clearly on the raised sections. Use a fine-toothed blade for smoother cuts on intricate parts. Take breaks to check your progress and adjust if needed.
Smoothing The Edges
After cutting, the edges might be rough or uneven. Use sandpaper or a sanding block to smooth them down. Sand the edges gently to avoid damaging the door. This step helps the pet door fit tightly and look professional. Wipe away any dust before moving on to the next installation step.
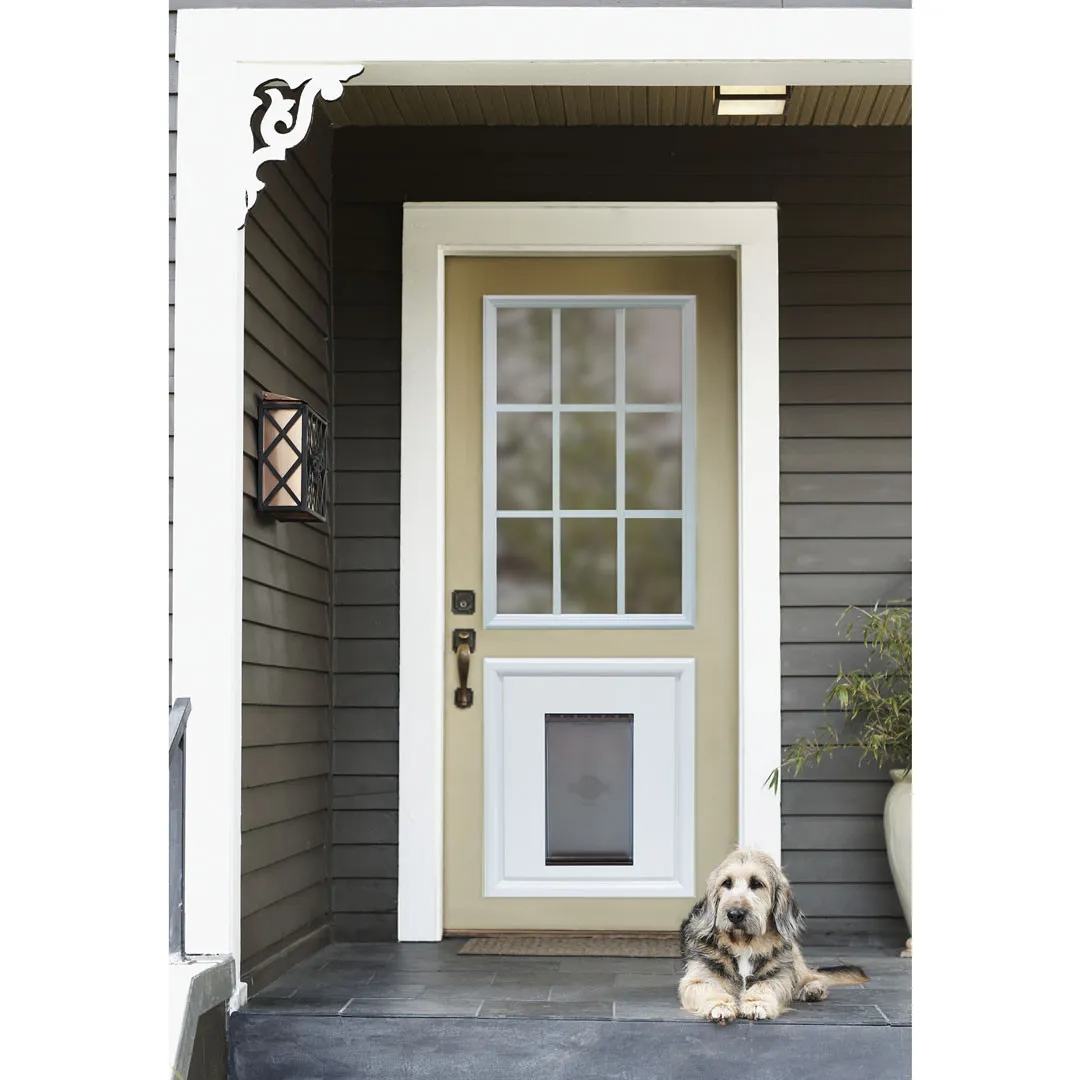
Installing The Pet Door Frame
Installing the pet door frame in raised panel doors is a key step. This part holds the flap and allows your pet to pass through easily. A good fit ensures the door works well and stays secure. Follow clear steps to fit, fasten, and seal the frame properly.
Fitting The Door Frame
Place the pet door frame into the cutout on the door. Make sure it fits snugly without gaps. The frame should line up with the door panels evenly. Check both sides to confirm alignment. Adjust if needed before moving to the next step.
Securing With Screws
Use the screws provided with the pet door kit. Screw them into the pre-drilled holes on the frame. Tighten the screws firmly but do not over-tighten. Over-tightening may crack the door or damage the frame. Secure all screws evenly to hold the frame in place.
Sealing The Edges
Apply a weatherproof sealant around the edges of the frame. This keeps water and drafts out. Smooth the sealant with your finger or a tool for a neat finish. Let the sealant dry fully before using the pet door. Proper sealing adds durability and comfort.
Credit: www.golfsouthayrshire.com
Testing And Adjustments
After installing the Ideal Pet Door in your raised panel door, testing and adjustments are crucial. These steps make sure the door works well and keeps your pet safe. Careful checks help avoid problems later and make the door comfortable for your pet.
Checking Door Swing
Check the door swing to ensure smooth opening and closing. The pet door flap should move freely without sticking. Swing the door gently and watch for any resistance. Fix any tight spots by loosening screws or realigning the frame.
Ensuring Proper Lock Function
Test the lock to secure the pet door when needed. Lock and unlock several times to confirm it works smoothly. The lock should hold the flap firmly in place. Adjust the lock if it feels loose or hard to use.
Adjusting For Pet Comfort
Make sure the pet door size fits your pet comfortably. Watch your pet use the door and note any hesitation. Adjust the flap height or position if your pet struggles to pass. A well-adjusted door encourages easy, confident use.
Maintenance Tips
Maintaining your Ideal Pet Door in raised panel doors keeps it working smoothly. Regular care helps avoid damage and ensures your pet’s easy access. Small efforts save time and cost over time.
Cleaning The Pet Door
Remove dirt and dust from the door’s flap and frame. Use a soft cloth and mild soap with water. Avoid harsh chemicals that may damage the material. Clean both sides for the best results. Dry the door well after cleaning to prevent rust or mold.
Inspecting For Wear
Check the flap and hinges for cracks or tears. Look for loose screws or parts that move too much. Tighten screws gently to keep the door stable. Replace worn parts to keep your pet safe. Regular checks catch problems early.
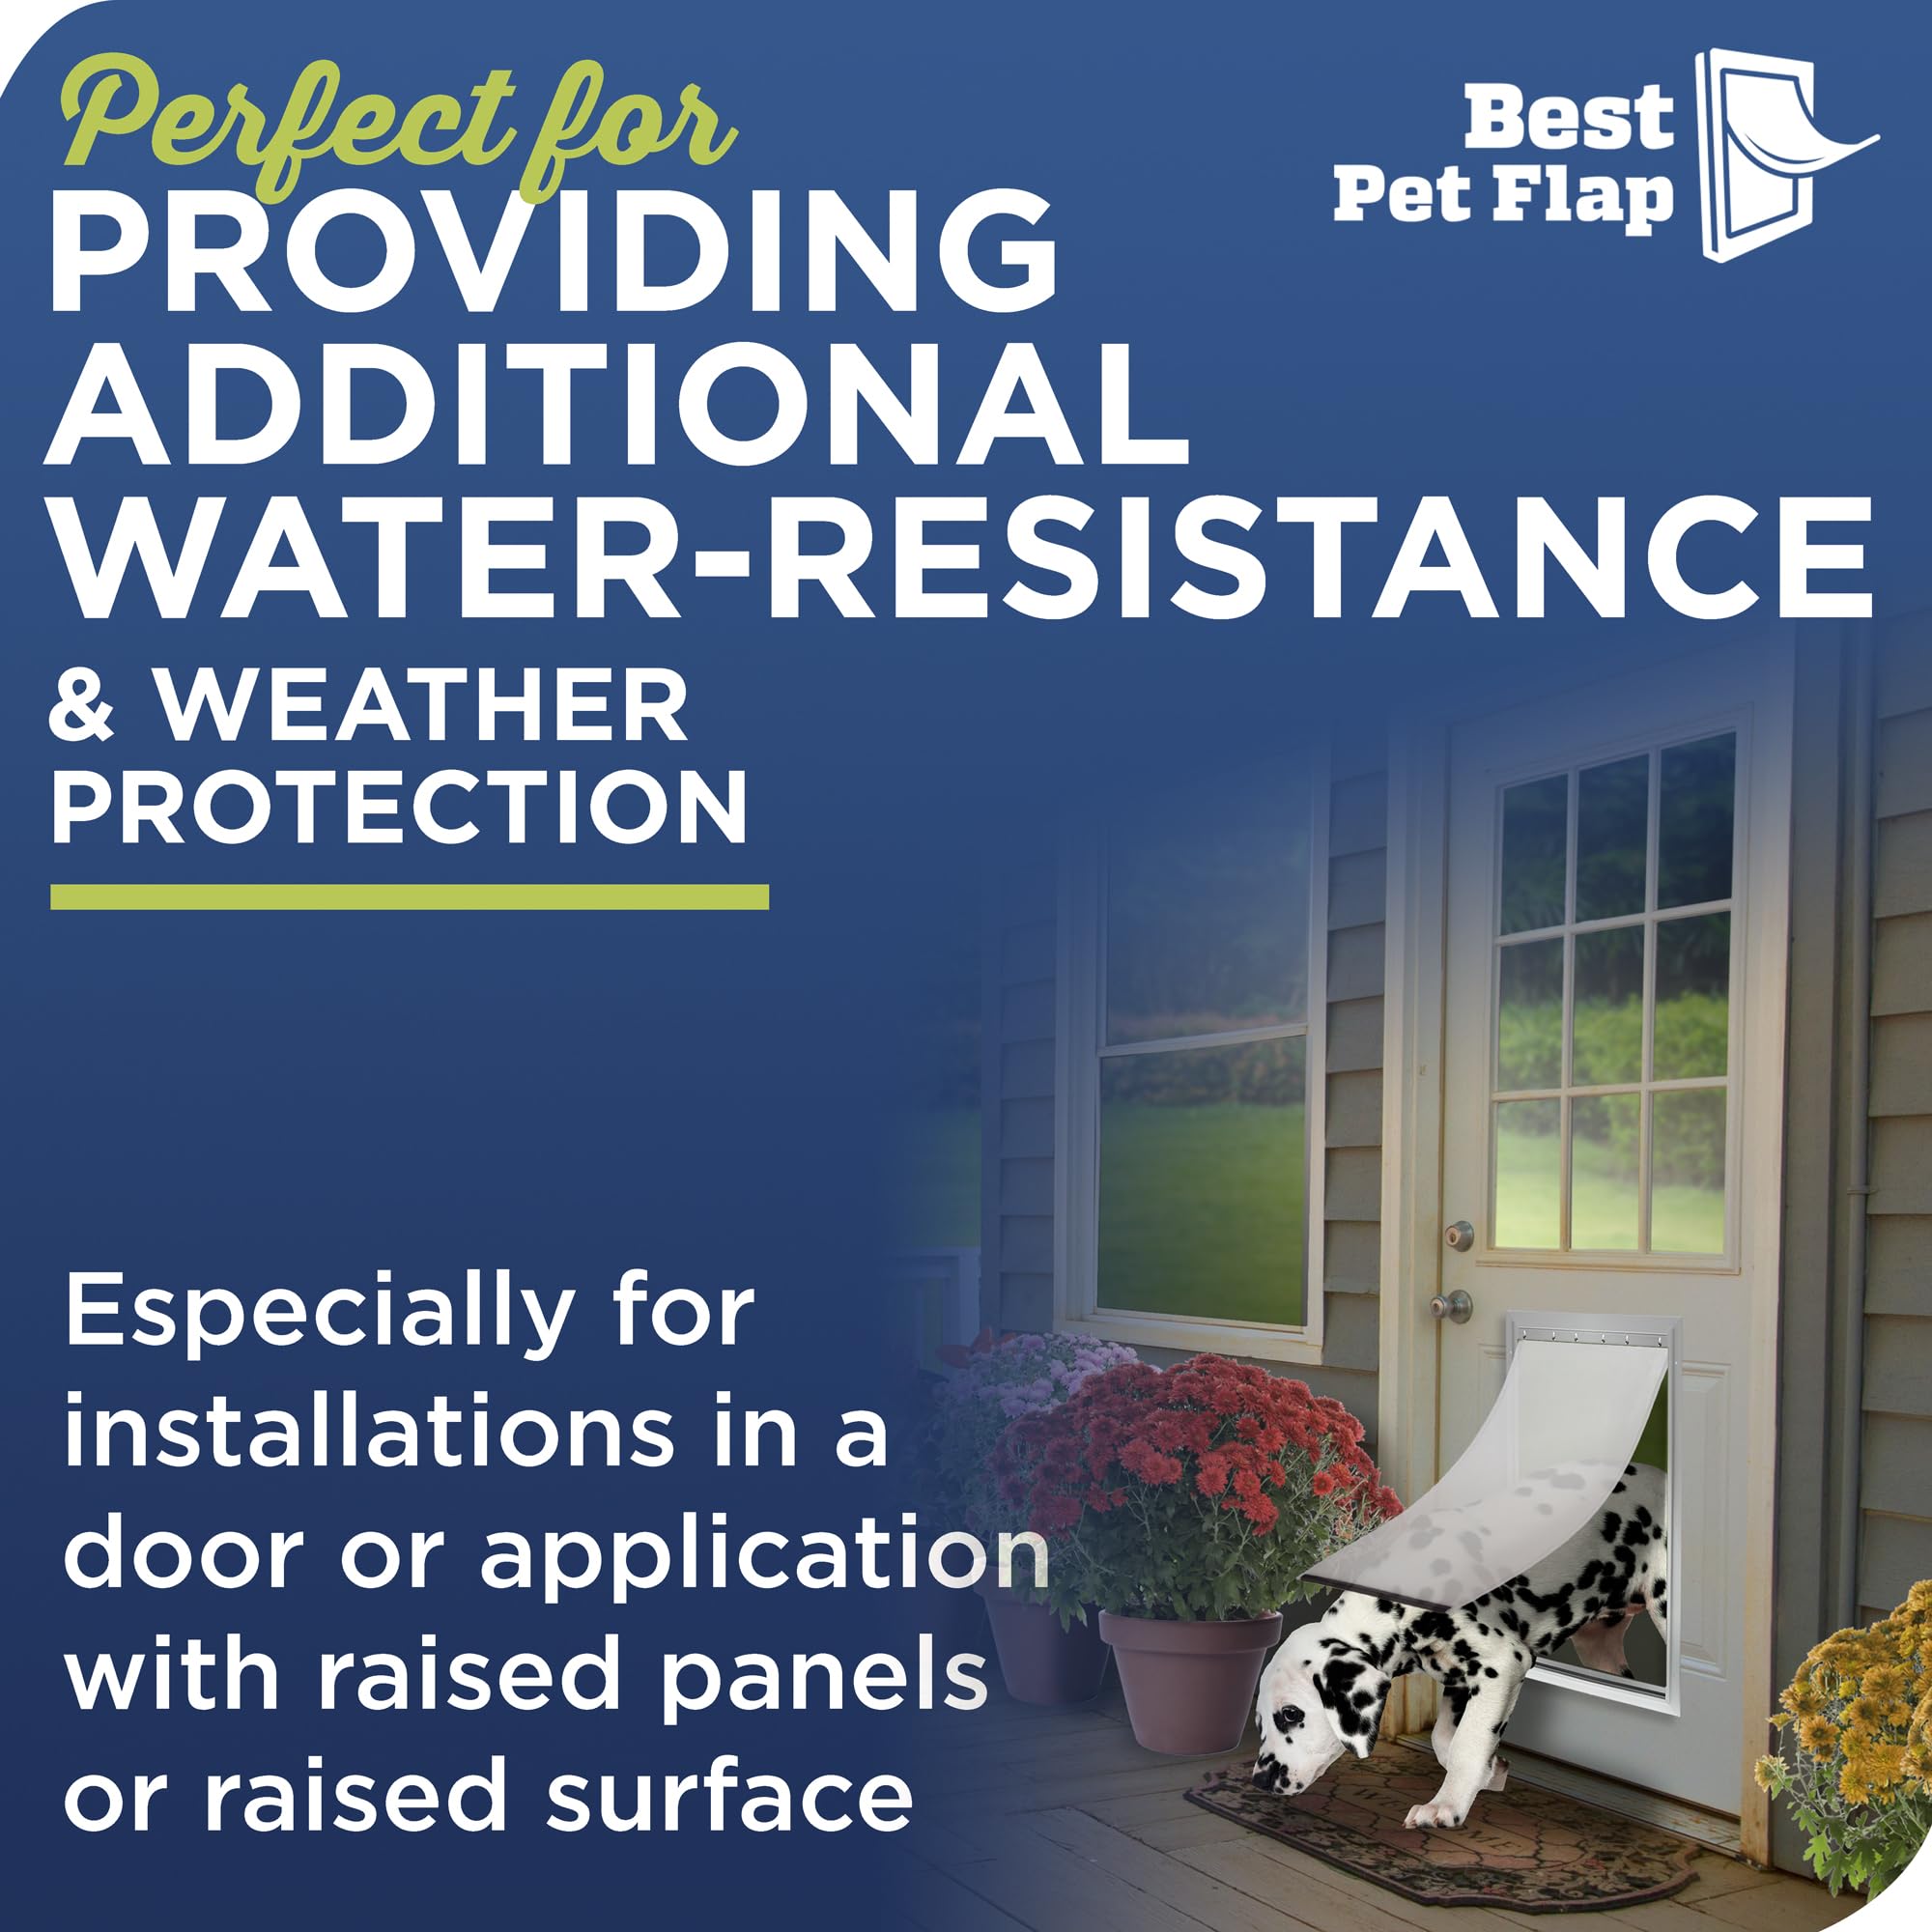
Seasonal Care
In cold weather, check if the flap freezes or sticks. Use silicone spray on hinges to keep them moving freely. In hot months, ensure the door’s seal stops drafts and bugs. Adjust or replace weather stripping as needed. Seasonal care helps the door last longer.
Credit: www.flumidieselbosch.com.br
Frequently Asked Questions
How Do I Measure A Raised Panel Door For A Pet Door?
Measure the door’s thickness, height, and width precisely. Use a tape measure to get accurate dimensions. Check the pet door’s size requirements before cutting.
What Tools Are Needed To Install An Ideal Pet Door?
You’ll need a drill, jigsaw, screwdriver, measuring tape, and pencil. These tools help mark and cut the door accurately. Safety goggles and gloves are also recommended.
Can I Install A Pet Door On Both Sides Of The Panel?
Yes, Ideal Pet Doors are designed for dual-side installation. Follow the instructions carefully to align the door panels. This ensures a secure fit and proper function.
How Do I Avoid Damaging The Raised Panel During Installation?
Mark the cut area precisely and use sharp blades. Cut slowly to prevent splintering or cracking. Sand edges smoothly after cutting for a clean finish.
Conclusion
Installing an Ideal Pet Door in raised panel doors can be simple. Follow the steps carefully for best results. Measure twice to ensure the perfect fit. Use the right tools to avoid damage. Take your time cutting and assembling parts.
Your pet will enjoy easy access outside. A well-installed pet door adds convenience for everyone. Trust your skills and enjoy the process. Soon, your pet will have freedom at the door.