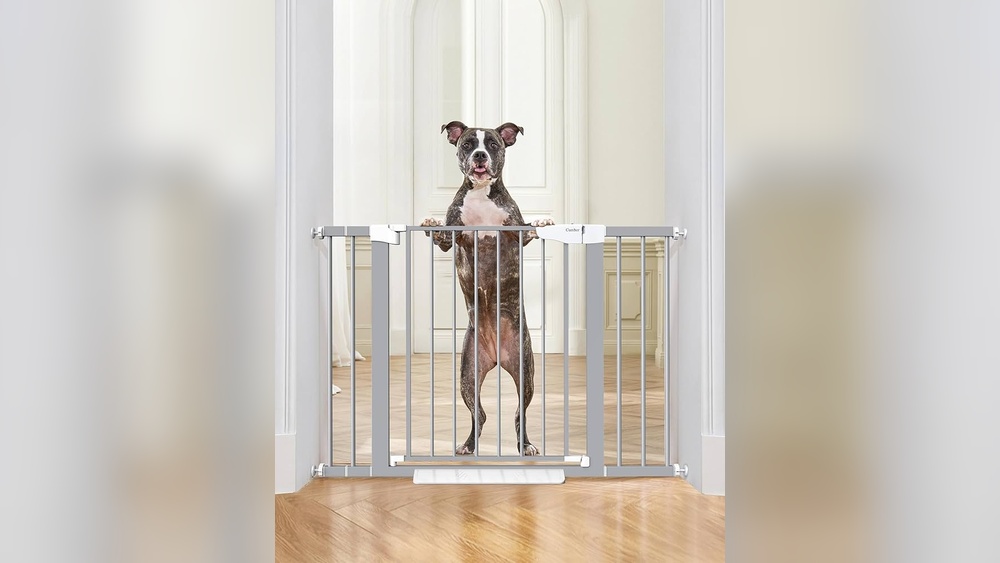
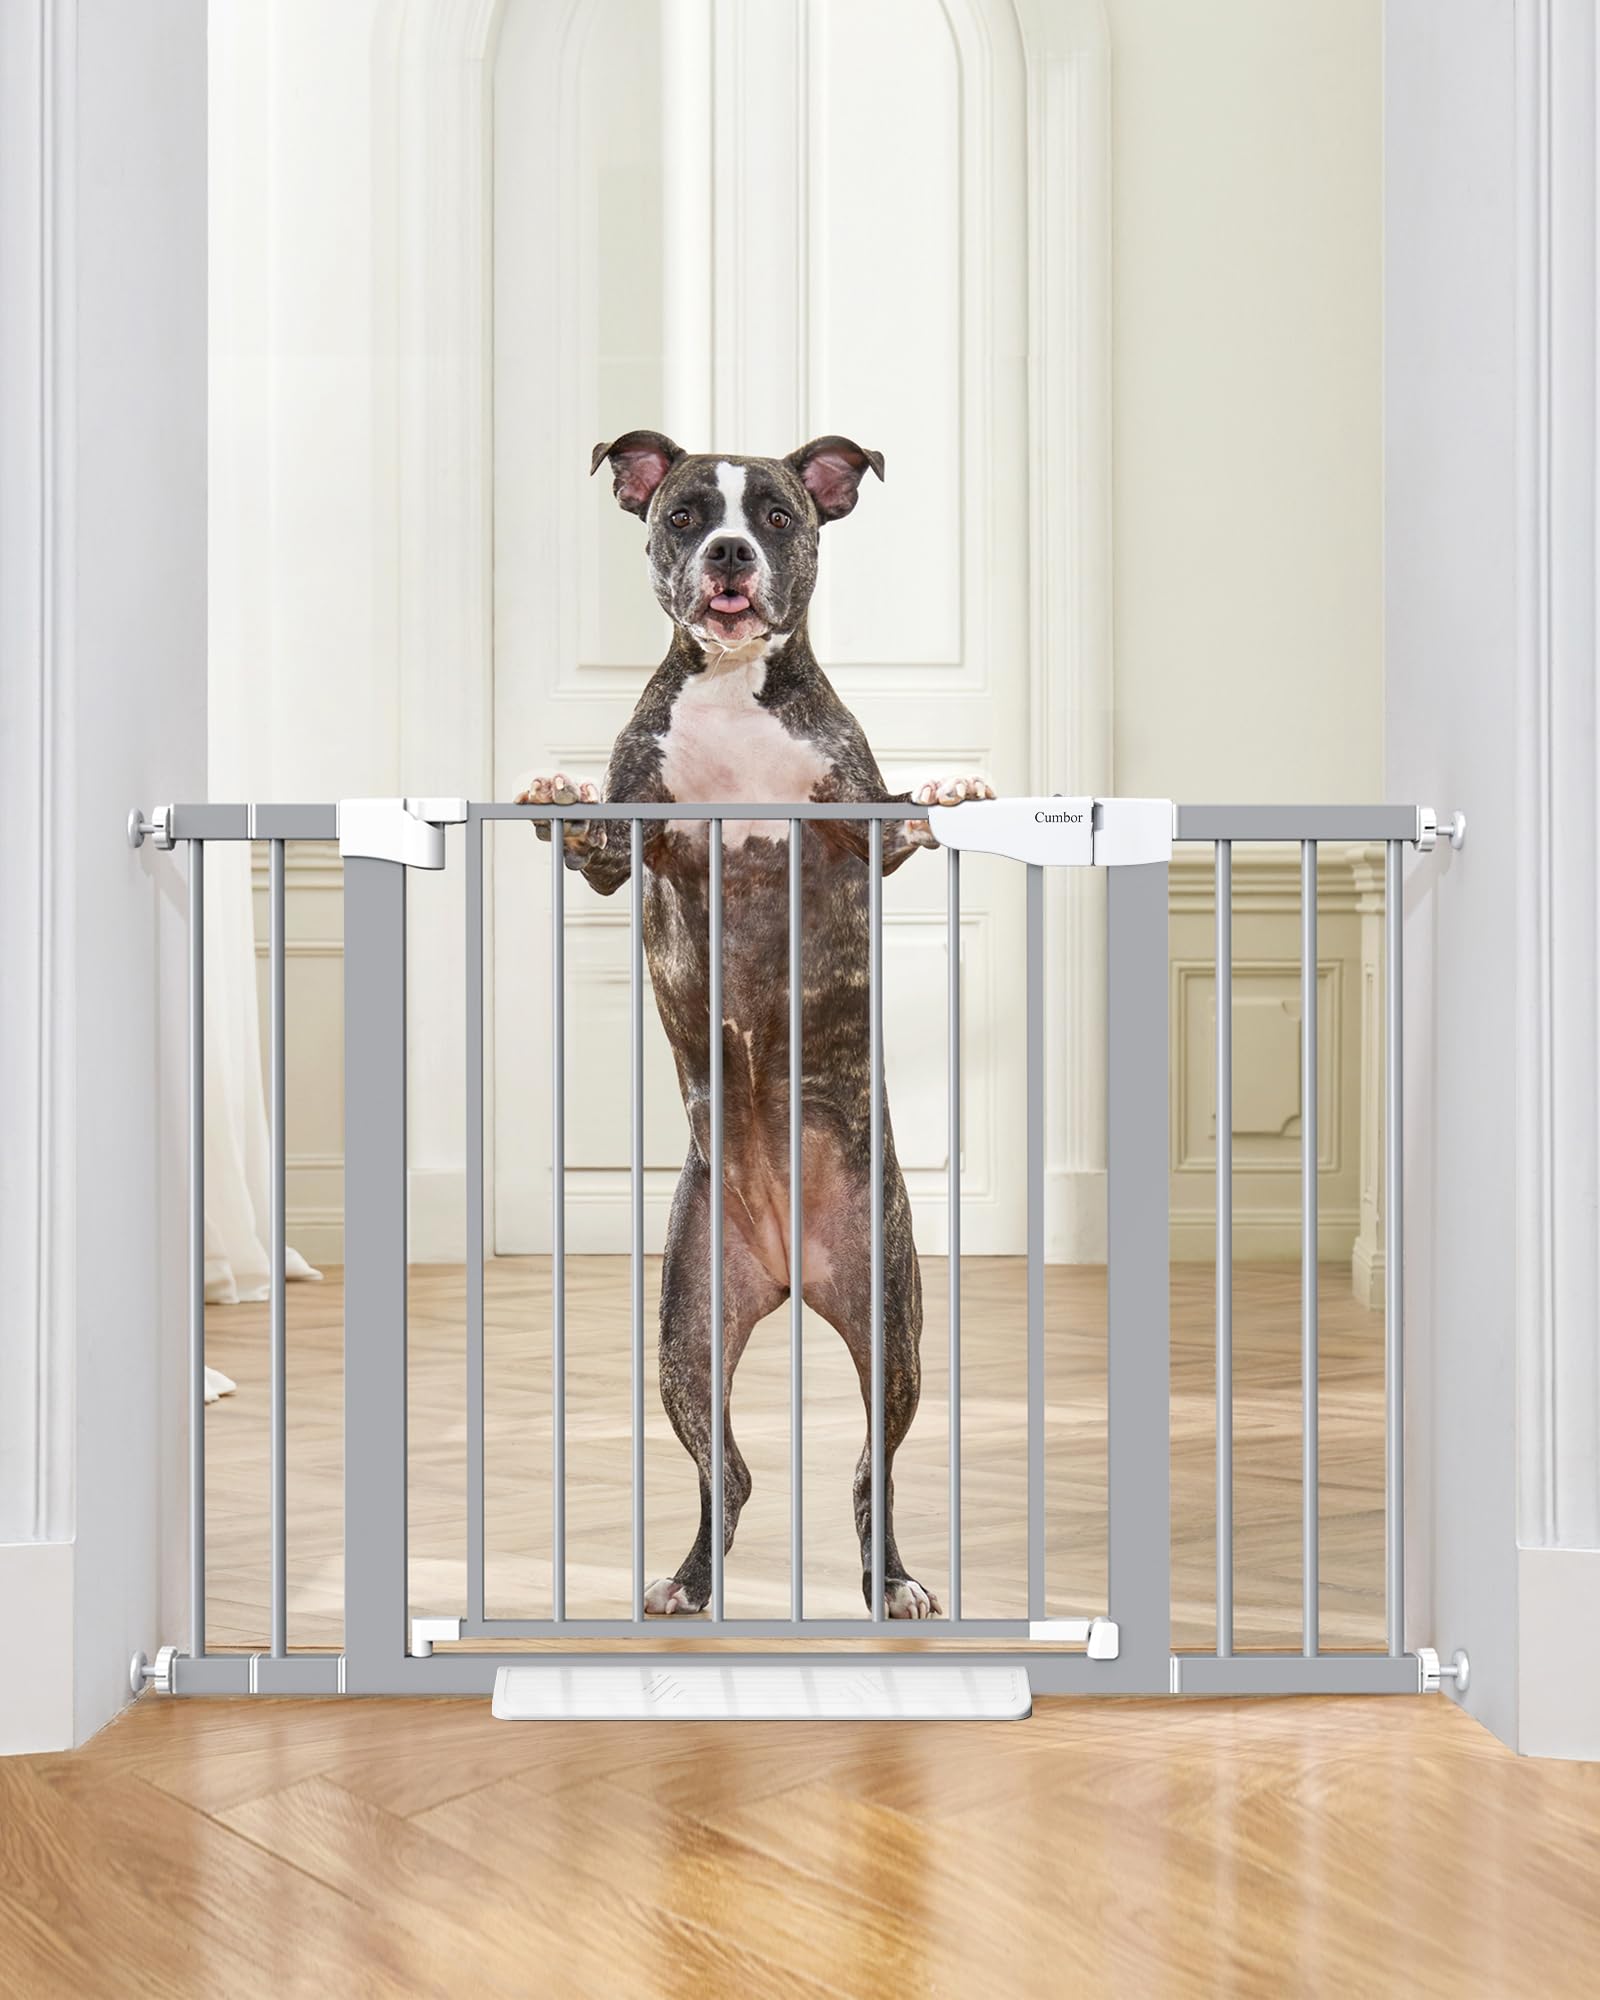
Are you looking for a simple way to keep your little ones safe while still giving your pets the freedom they need? Installing a Cumbor Baby Gate with a Pet Door is the perfect solution.
This gate not only protects your child from unsafe areas but also lets your furry friends move freely without any hassle. In this guide, you’ll discover easy, step-by-step instructions to set up your gate quickly and securely—no complicated tools or skills required.
Keep reading to find out how you can create a safe and pet-friendly space in your home with minimal effort.
Credit: bona-store.com
Tools And Materials Needed
Installing the Cumbor Baby Gate with Pet Door requires some basic tools and materials. Having everything ready makes the process smooth and fast. This section lists all the essentials you need for a safe and secure installation.
Tools Required
- Measuring Tape – To check door width and height accurately
- Electric Drill – For making holes in walls or door frames
- Drill Bits – Choose sizes matching the screws provided
- Screwdriver – To tighten screws securely
- Level – Ensures the gate is straight and balanced
- Hammer – Useful for light tapping or fixing anchors
- Pencil – Mark points for drilling holes
Materials Needed
- Cumbor Baby Gate with Pet Door – The main product for installation
- Screws and Wall Anchors – Usually included with the gate
- Mounting Brackets – For stable support of the gate
- Protective Pads – To avoid damage to walls or door frames
- User Manual – Follow instructions specific to your gate model
Gathering these tools and materials before starting helps avoid delays. Check the package to confirm all parts are included. Prepare your workspace by clearing the area around the door. This makes the installation process easy and safe.
Credit: www.esseg.eu
Preparing The Installation Area
Preparing the installation area is the first step to install the Cumbor Baby Gate with Pet Door correctly. A clean and clear space helps the process go smoothly. It also ensures the gate fits well and works safely for your child and pet.
Take your time to organize the area. This preparation avoids mistakes and saves time during installation.
Clear The Space Around The Doorway
Remove any furniture or objects near the doorway. This gives you enough room to work comfortably. Also, clear away rugs or mats that could cause slipping or tripping.
Measure The Doorway Width And Height
Use a tape measure to check the width and height of the doorway. Write down these numbers. They help you adjust the gate for a perfect fit.
Check The Wall Surface And Door Frame
Look at the walls and door frame where you will mount the gate. Make sure the surfaces are clean and dry. Remove dust, dirt, or grease that could stop the gate from sticking properly.
Gather All Tools And Materials
Collect all needed tools before starting. Common tools include a screwdriver, drill, measuring tape, and level. Having everything ready speeds up installation and prevents interruptions.
Assembling The Baby Gate
Assembling the Cumbor Baby Gate with Pet Door is simple and quick. This step sets the foundation for a safe and sturdy gate. Follow each instruction carefully to ensure the gate fits well and works smoothly.
Gather all parts and tools before you start. Check the package for bars, connectors, screws, and the pet door frame. Having everything ready speeds up the process.
Preparing The Frame Components
Lay out all frame pieces on a flat surface. Identify the top, bottom, and side bars. Attach the pet door frame to the bottom bar first. Make sure the pet door swings freely.
Connecting The Bars
Join the side bars to the bottom bar with the connectors. Push firmly until you hear a click. Attach the top bar last. Check that all joints are tight and secure.
Installing The Pet Door
Place the pet door panel inside the frame opening. Align the hinges with the slots on the frame. Snap the panel in place. Test the door by opening and closing it several times.
Adding Safety Features
Attach any included safety locks or latches. These prevent the baby gate from opening accidentally. Make sure the locks work smoothly and hold the gate firmly closed.
Attaching The Pet Door
Attaching the pet door to your Cumbor Baby Gate is a simple step. It lets your pet move freely while keeping children safe. This part of the installation needs care to ensure it works well.
Follow these easy steps for a secure pet door attachment. Check the parts first. Make sure you have the pet door frame, screws, and the flap.
Prepare The Gate For Pet Door Attachment
Lay the baby gate flat on a clean surface. Find the marked area for the pet door. Remove any cover or panel in that spot. This space is where the pet door will fit.
Fit The Pet Door Frame Into The Gate
Place the pet door frame into the opening. Align it carefully with the edges. The frame should sit flush and snug. Press firmly to avoid gaps.
Secure The Pet Door With Screws
Use the provided screws to fix the frame. Tighten each screw evenly. Do not over-tighten to avoid damage. The frame must stay stable and not move.
Attach The Flap To The Pet Door Frame
Snap the flap into place on the frame. Check that it swings freely both ways. The flap should close softly without sticking. Test the flap several times to confirm.
Mounting The Gate To The Wall
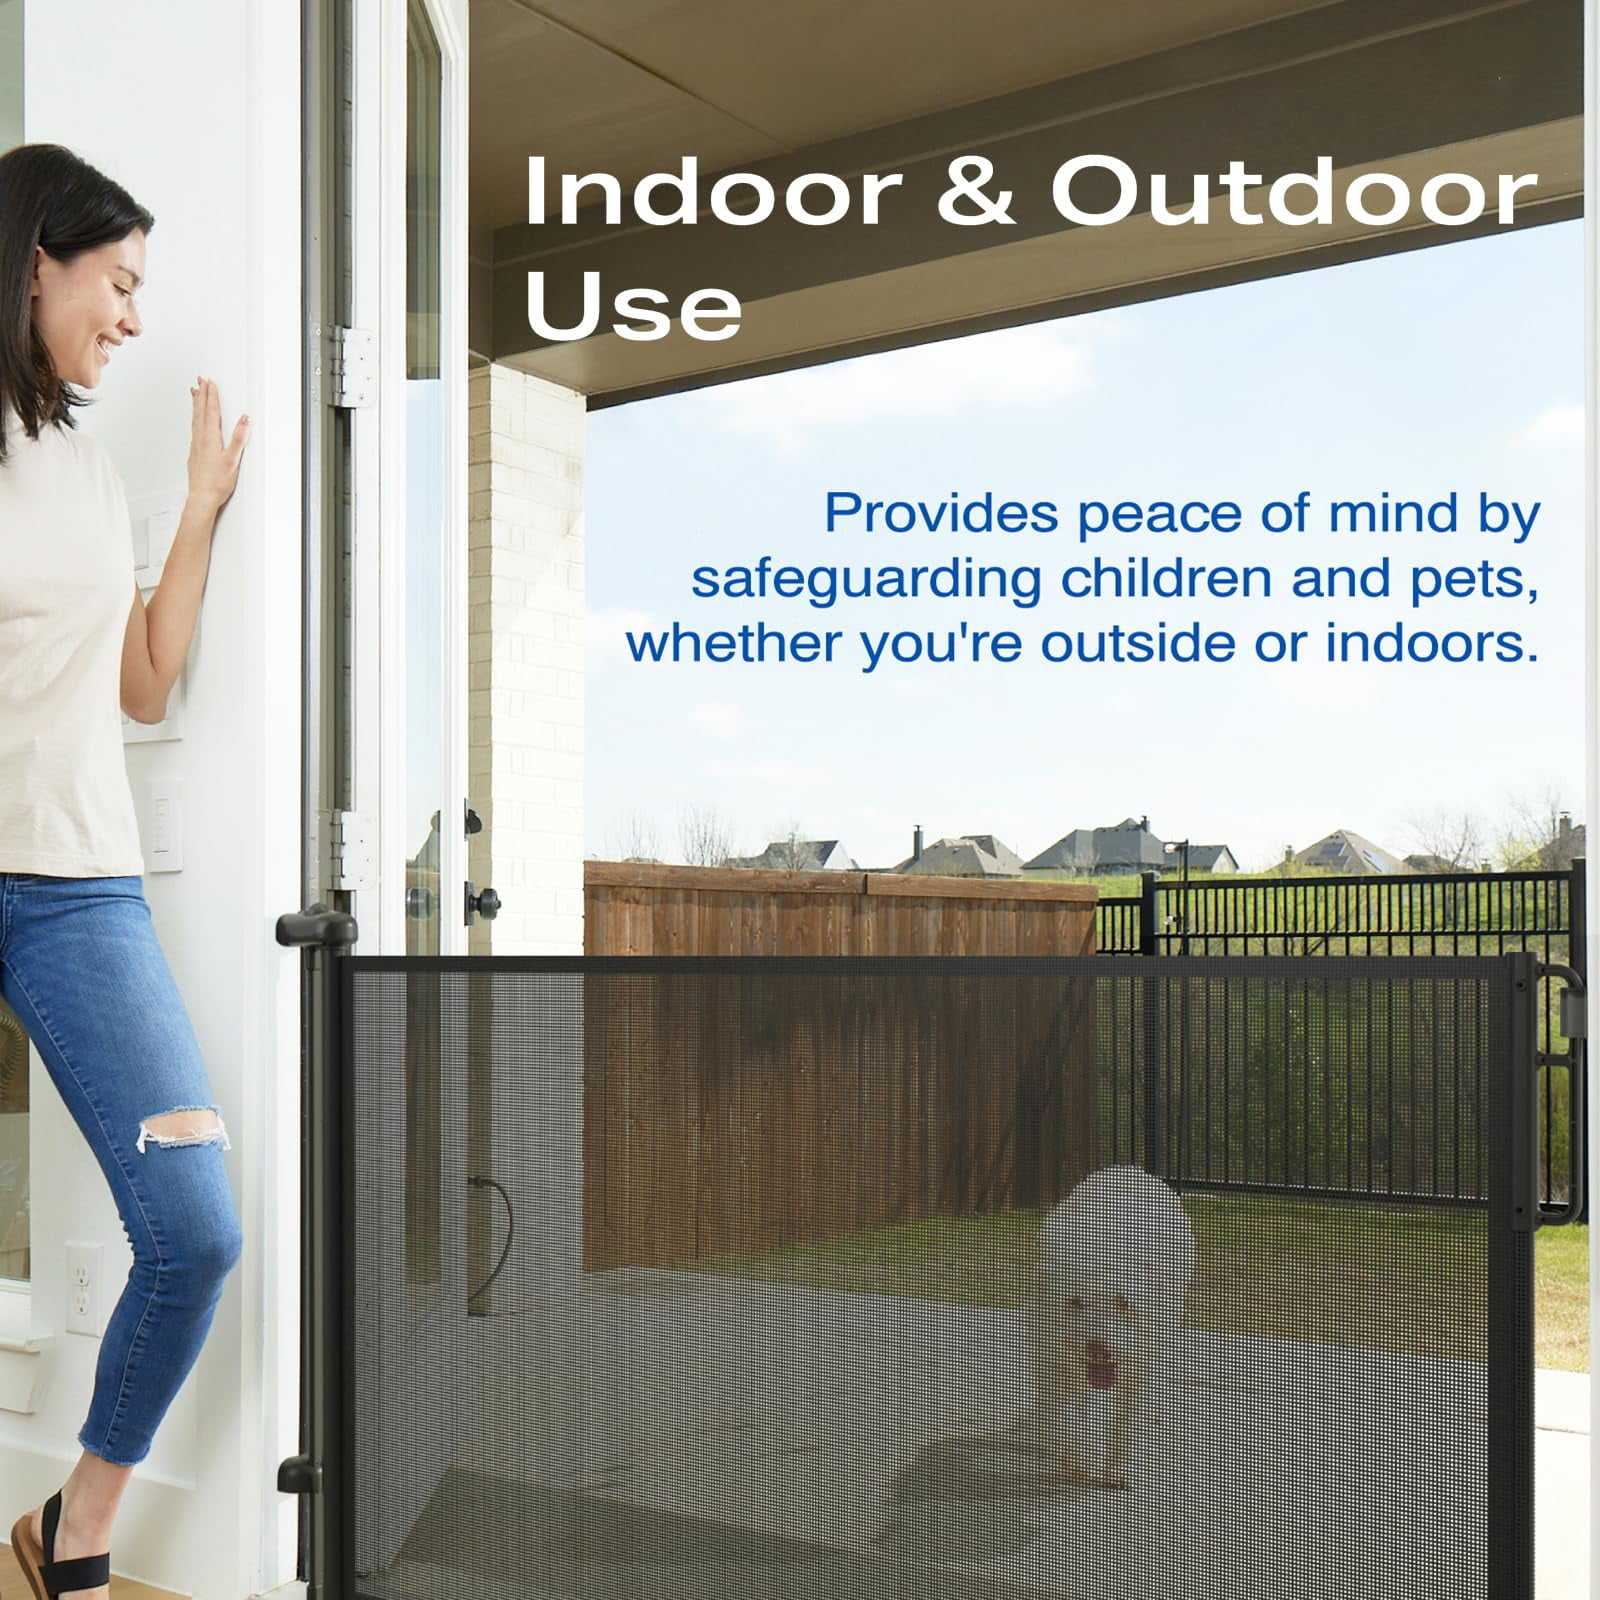
Mounting the Cumbor Baby Gate with Pet Door to the wall is a key step for safety and stability. The gate must fit securely to prevent pets or children from pushing it over. There are two main ways to mount the gate: using pressure mounts or hardware mounts. Both methods have benefits depending on your space and needs.
Using Pressure Mounts
Pressure mounts hold the gate in place without drilling holes. They use strong tension to fit tightly between two walls or door frames. This method is quick and easy to install. It also leaves no marks on walls or woodwork.
To install, place the gate in the opening. Turn the knobs on each side to tighten the pressure pads against the walls. Check the gate is firm by gently pushing on it. Adjust the pressure until the gate does not move.
Pressure mounts work best on smooth, flat surfaces. Avoid using them on weak or uneven walls. The gate can slip if the tension is not strong enough.
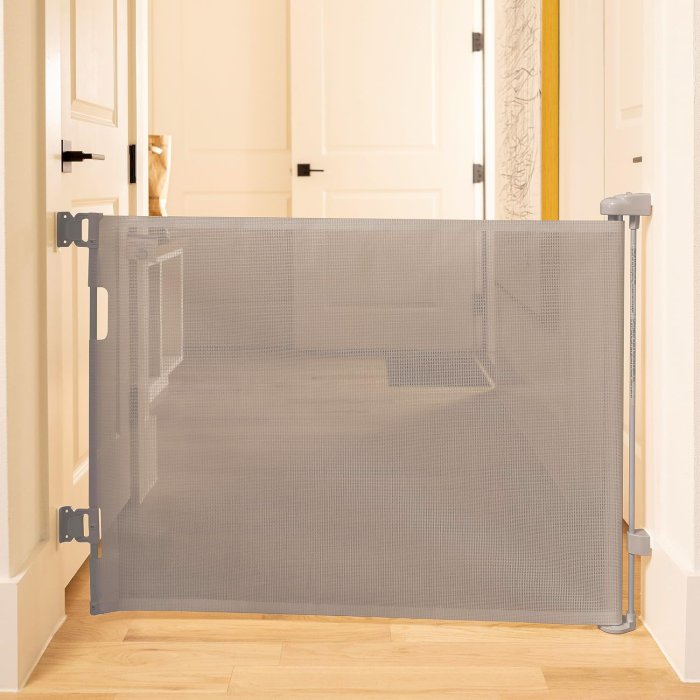
Using Hardware Mounts
Hardware mounts secure the gate using screws and brackets. This method offers the strongest and most permanent hold. It is ideal for high-traffic areas or where extra security is needed.
To install, mark the bracket positions on the wall or door frame. Drill pilot holes and screw the brackets firmly in place. Attach the gate to the brackets and test the fit. Make sure the gate opens and closes smoothly.
Hardware mounts require tools and may leave holes in the wall. They provide extra strength, especially for large or heavy gates. Use hardware mounts for long-term installation.
Adjusting The Gate For A Secure Fit
Adjusting the Cumbor Baby Gate with Pet Door is key for safety. A secure fit keeps your child and pet safe. It also prevents the gate from moving or falling. Follow these steps to adjust the gate correctly.
Measure The Opening Carefully
Start by measuring the doorway or stair opening. Use a tape measure to get the exact width. Write down the measurement to avoid mistakes. A precise measurement ensures the gate fits snugly.
Adjust The Gate Width
Most Cumbor gates have adjustable panels. Slide the panels to match the opening size. Tighten the screws or knobs to lock the width in place. Check that the gate does not move side to side.
Check The Pressure Mounts
The pressure mounts hold the gate firmly without damage. Turn the knobs to increase pressure against the walls. Do this slowly and evenly on all sides. The gate should feel tight but not strain the wall.
Test The Gate Stability
Push the gate gently to test its strength. It should not wobble or shift. If it moves, tighten the pressure mounts more. Repeat until the gate stays firmly in place.
Adjust The Pet Door
Make sure the pet door swings smoothly after installation. Adjust the hinges or latch if needed. The pet door should close fully to keep children safe. Test the pet door several times to confirm proper function.
Testing The Pet Door Functionality
Testing the pet door functionality is a key step after installing the Cumbor baby gate with a pet door. This step ensures your pet can move freely and safely through the door. It also confirms the door works smoothly without any issues.
Check the pet door several times before regular use. This helps catch any problems early. Testing makes sure the door opens and closes easily. It also verifies the locking mechanism works correctly.
Observe Your Pet’s Interaction With The Door
Watch how your pet approaches and uses the door. Notice if they hesitate or seem confused. Encourage your pet gently to use the door. Reward them with praise or treats to build confidence.
Check Door Movement And Lock Function
Manually open and close the pet door to test its movement. The door should swing freely without sticking. Test the lock by securing and releasing it several times. The lock must keep the door firmly closed when locked.
Inspect For Safety And Comfort
Look for any sharp edges or gaps around the pet door. These can hurt your pet or cause discomfort. Ensure the door frame fits snugly to prevent drafts. The door size should match your pet’s size for easy access.
Credit: www.amazon.com
Maintenance And Safety Tips
Proper maintenance and safety checks keep the Cumbor Baby Gate with Pet Door working well. Regular care helps protect children and pets. It also extends the gate’s life and ensures safety.
Follow these simple tips to keep the gate secure and clean. Check the gate often for any damage or loose parts. Clean it regularly to avoid dirt buildup. These small steps improve safety and performance.
Checking For Loose Parts
Inspect the gate’s hinges and locking mechanism weekly. Tighten any loose screws or bolts. Loose parts can cause the gate to fail. Make sure the pet door swings smoothly without sticking.
Cleaning The Gate
Use a damp cloth to wipe down the gate. Avoid harsh chemicals that can damage the finish. Clean the pet door flap to keep it flexible. Remove dust and dirt from all moving parts.
Ensuring Proper Installation
Confirm the gate fits tightly in the doorway. Check if the pressure mounts hold firmly on both sides. A loose fit can cause accidents. Adjust the gate if it shifts or wobbles during use.
Testing The Locking Mechanism
Lock and unlock the gate daily to ensure smooth action. Test the pet door lock separately. Make sure children cannot open the gate easily. A strong lock prevents unwanted access.
Monitoring Pet Door Use
Watch how pets use the door. Ensure they do not force it open too hard. Replace the flap if it shows signs of wear. Proper use keeps the pet door functional and safe.
Frequently Asked Questions
How Do I Install The Cumbor Baby Gate With Pet Door?
To install the Cumbor baby gate with pet door, first measure the doorway. Then, secure the gate using the included hardware. Ensure the pet door flap swings freely and locks properly for safety. Follow the instruction manual for precise steps.
Can I Adjust The Pet Door Size On The Gate?
No, the pet door size on the Cumbor gate is fixed. It is designed to fit most small to medium pets. For larger pets, consider alternative gates with bigger pet doors for comfortable access.
What Tools Are Needed To Install This Baby Gate?
You will need a drill, screwdriver, measuring tape, and level. These tools help secure the gate firmly and ensure it is aligned properly. Most hardware comes included in the package for easy installation.
Is The Cumbor Baby Gate Safe For Pets And Babies?
Yes, the gate is made from non-toxic materials and has a secure locking mechanism. The pet door allows safe passage for pets without compromising baby safety. Always supervise initial use to ensure proper function.
Conclusion
Installing the Cumbor Baby Gate with Pet Door is simple and fast. Follow the steps carefully to keep your child and pet safe. Measure your door frame before starting. Use the tools recommended for best results. Check the gate’s stability after installation.
Your pet can move freely while your baby stays secure. This gate fits well in most homes. Enjoy peace of mind with this easy setup. A safe home is a happy home.