Ready to boost your home security with the Ring Video Doorbell Elite? Installing it might seem tricky, but with the right steps, you can have it up and running quickly.
Imagine seeing who’s at your door from anywhere, anytime, right on your phone. In this guide, you’ll discover simple, clear instructions that make installation easy—even if you’re not tech-savvy. Keep reading, and you’ll be one step closer to a smarter, safer home.

Credit: www.youtube.com
Preparation Before Installation
Preparing well before installing your Ring Video Doorbell Elite helps avoid problems. It saves time and keeps you safe. Follow these steps to get ready for a smooth installation process.
Check Required Tools
Gather all tools before starting. You will need a drill, screwdriver, and a level. Make sure you have the right drill bits. Keep a ladder nearby if your doorbell spot is high. Having everything ready makes the installation faster and easier.
Review Compatibility
Check if your doorbell works with your home system. The Ring Video Doorbell Elite needs a wired Ethernet connection. Confirm your doorbell wiring matches the model’s needs. Verify your home’s electrical system supports it. This step avoids compatibility issues later.
Turn Off Power Supply
Switch off the power at the circuit breaker. This step protects you from electric shock. Use a voltage tester to ensure power is off. Never skip this safety step. It keeps you safe while working with wires.

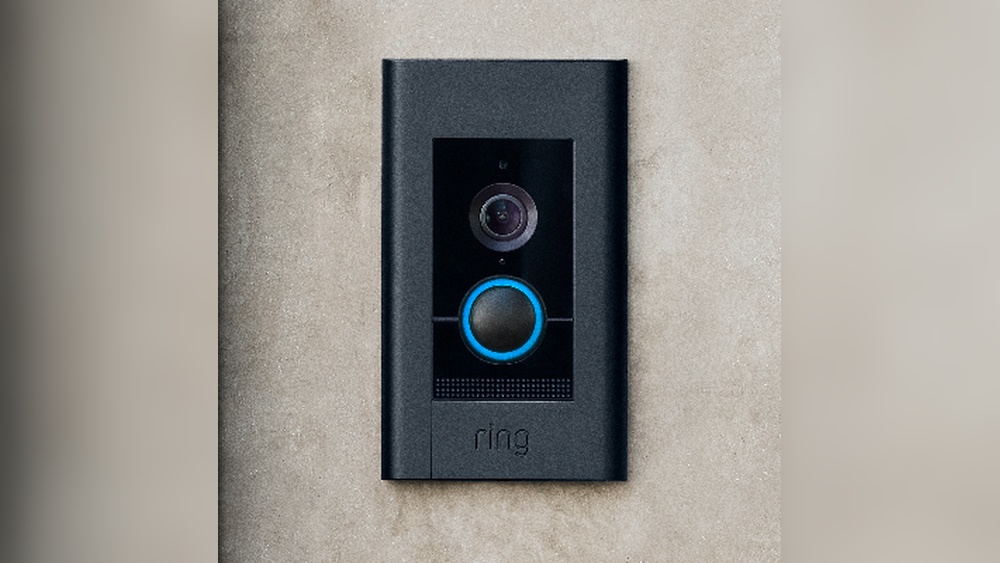
Credit: ring.com
Mounting The Doorbell
Mounting the Ring Video Doorbell Elite is a key step for secure installation. Proper mounting ensures the doorbell works well and stays in place. Follow these simple steps to mount your doorbell correctly. Each part is easy to do with basic tools and clear instructions.
Choose The Installation Location
Select a spot near your front door. The location should have a clear view of visitors. Make sure it is close to your existing doorbell wiring. Avoid places with direct sunlight or heavy rain exposure. The height should be about 48 inches from the ground. This height captures faces clearly on video.
Mark Drill Points
Hold the mounting bracket against the wall. Use a pencil to mark the screw holes on the wall. Double-check that the bracket is level. Accurate marks help ensure a straight installation. Take your time to get the marks just right.
Drill Holes And Insert Anchors
Drill holes where you marked earlier. Use a drill bit that matches the wall anchors. Insert the anchors firmly into the holes. Anchors give extra support to the screws. This keeps the doorbell stable on the wall. Avoid loose or uneven anchoring for best results.
Wiring The Doorbell
Wiring the Ring Video Doorbell Elite is a key step for a smooth setup. This doorbell uses Ethernet for power and data, giving it a steady connection.
Careful wiring ensures the device works well and stays safe. Follow clear steps to connect the cables and secure all connections.
Connect Ethernet Cable
Start by running an Ethernet cable from your network switch or PoE injector. Use a cable that meets Cat5e or higher standards. Plug one end into the doorbell’s Ethernet port. The other end goes to your network source. This cable provides power and internet to the doorbell. Avoid sharp bends or pinching the cable. Keep the cable away from high-heat areas. Check the connection is firm and fully inserted.
Secure Wiring Connections
Make sure all wiring connections are tight and clean. Use wire nuts or connectors to join wires if needed. Avoid loose wires to prevent disconnection or shorts. Place wires neatly inside the doorbell’s mounting box. Use electrical tape around connectors for extra security. Confirm no exposed wires are visible. This protects against weather and accidental damage. Proper wiring keeps your Ring Doorbell Elite reliable and safe.
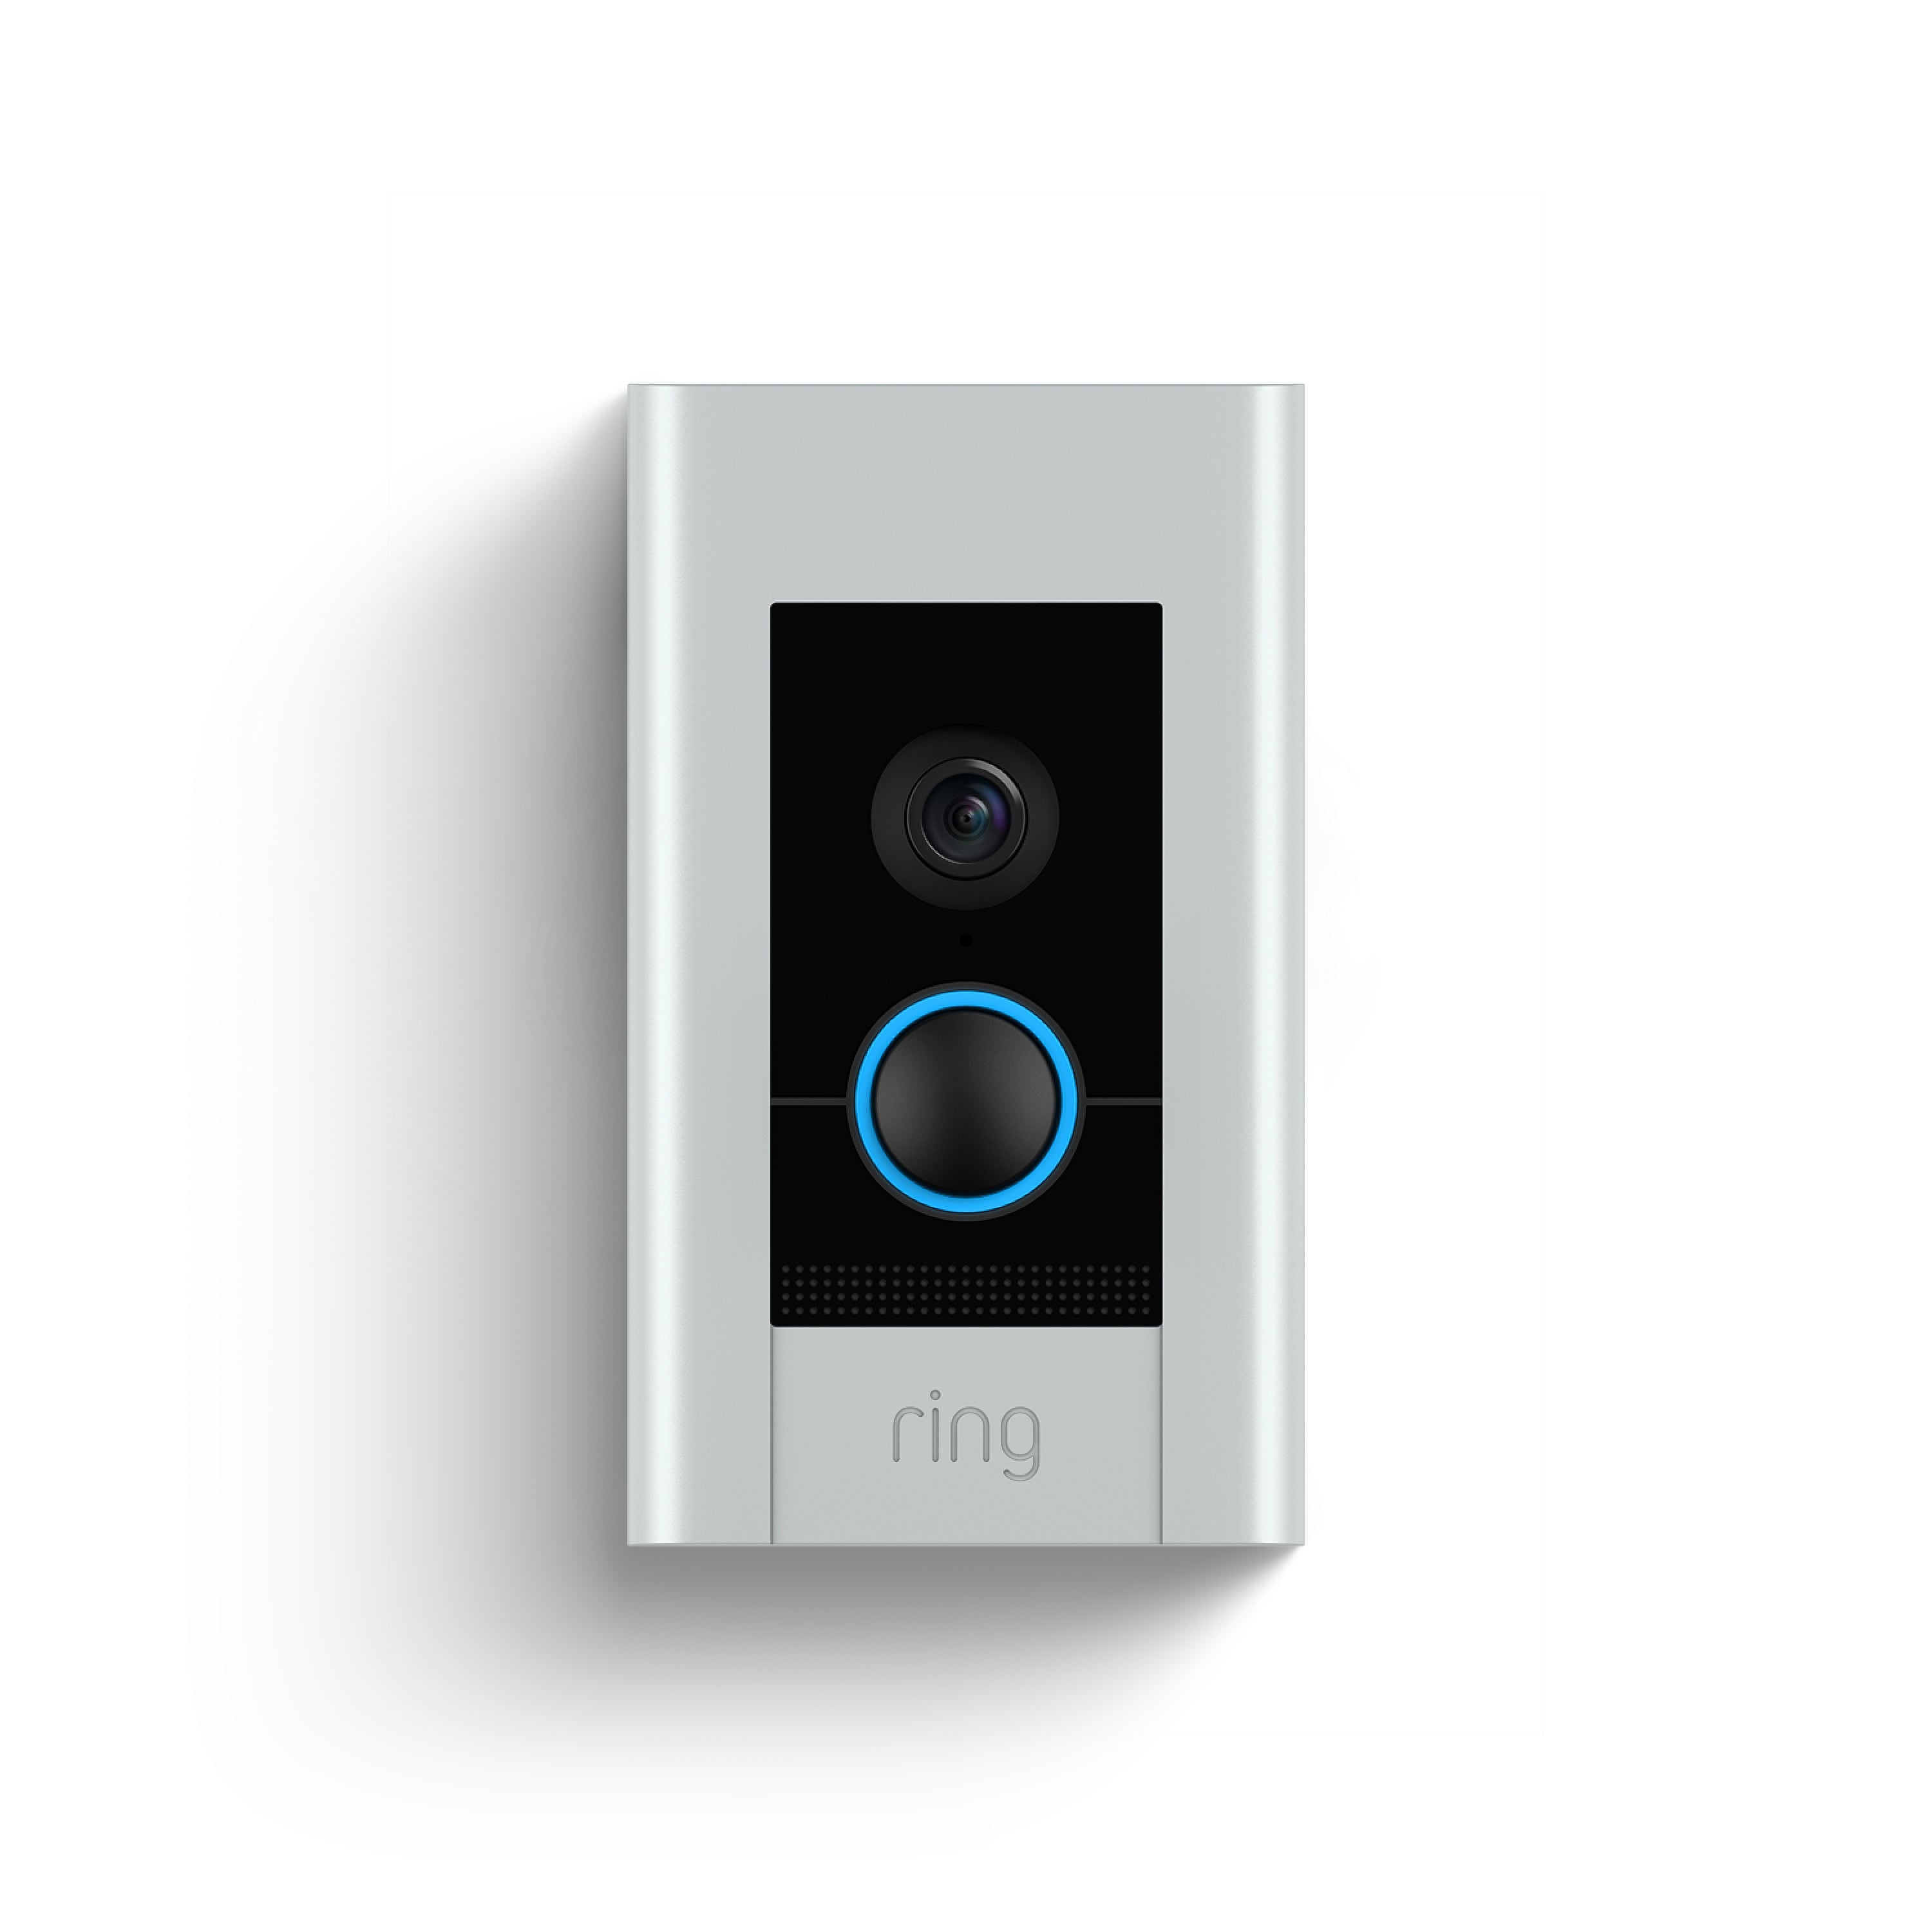
Credit: ring.com
Attaching The Doorbell
Attaching the Ring Video Doorbell Elite is a simple step that sets the foundation for its performance. Proper attachment ensures the doorbell stays secure and functions well. Follow the steps carefully for a strong, lasting mount.
Align And Mount The Doorbell
Hold the doorbell against your chosen spot. Check the angle and position for the best view. Make sure the doorbell sits flat on the wall or surface. Mark the screw holes lightly with a pencil. This makes drilling easier and accurate.
Drill holes on the marks using the right drill bit. Insert wall anchors if the surface is drywall or masonry. Push the mounting bracket into place. The bracket must fit tightly and not wiggle.
Tighten Mounting Screws
Use a screwdriver to fasten the screws through the mounting bracket. Tighten each screw firmly, but do not over-tighten. Over-tightening can crack the bracket or damage the wall. Check that the bracket does not move after tightening. The doorbell will attach to this bracket securely.
Once the bracket is secure, snap the doorbell onto it. You should hear a click sound confirming the fit. Give the doorbell a gentle pull to test its hold. A steady mount means you did it right.
Setting Up The Device
Setting up the Ring Video Doorbell Elite is simple and fast. Follow clear steps to get your device ready for use. This section guides you through powering on the doorbell and connecting it to your network. Then, you will learn how to configure the settings in the app.
Power On And Connect To Network
First, connect the doorbell to your existing doorbell wires. This provides power to the device. The Ring Video Doorbell Elite uses PoE (Power over Ethernet) for power and internet connection.
Next, plug the Ethernet cable into the back of the doorbell. Connect the other end to your router or PoE switch. This step ensures a stable and fast network connection.
Once connected, the doorbell will power on automatically. The light ring on the device starts to glow. This means the device is ready for setup.
Configure Settings In App
Open the Ring app on your smartphone or tablet. Tap “Set up a Device” and select “Doorbells.”
The app will guide you through connecting the doorbell to your Wi-Fi network. Follow each step carefully. Enter your Wi-Fi password when asked.
After connection, customize your settings. Choose your preferred motion detection zones. Adjust alerts and privacy settings based on your needs.
Test the live video feed to confirm the device works properly. You can also check audio and notifications.
Testing And Troubleshooting
Testing and troubleshooting are essential steps after installing your Ring Video Doorbell Elite. These steps ensure your device works correctly and captures clear video and audio. Proper testing helps avoid future problems and keeps your home safe.
Start by checking the video and audio quality. Make sure the device records clearly. Then, adjust the camera angle for the best view. Finally, fix any common issues that may appear during setup.
Verify Video And Audio
Open the Ring app on your phone. Check the live video feed for clarity and brightness. Listen to the audio to confirm sound is clear. Test both the microphone and speaker by speaking and listening through the app. Make sure there are no delays or distortions.
Adjust Camera Angle
Look at the doorbell’s view on your screen. Move the device slightly to capture the entire entry area. Avoid obstructions like walls or plants. Adjust until you see faces clearly and the door area is fully covered. Small changes can improve security greatly.
Resolve Common Issues
Check your Wi-Fi connection if video or audio lags. Restart the doorbell and your router if needed. Make sure the wiring is secure and power is steady. Update the Ring app and doorbell firmware to the latest version. Contact Ring support if problems persist.
Frequently Asked Questions
How Do I Prepare For Ring Video Doorbell Elite Installation?
Start by turning off power at the breaker. Gather necessary tools like a drill, screwdriver, and Ethernet cable. Read the installation guide carefully to understand wiring and mounting requirements before starting.
What Wiring Is Required For Ring Video Doorbell Elite?
The Ring Video Doorbell Elite needs a PoE (Power over Ethernet) connection. Use an Ethernet cable connected to a PoE injector or switch for power and data transfer.
Can I Install Ring Video Doorbell Elite Myself?
Yes, if you have basic electrical and networking skills. Follow the step-by-step instructions carefully. If unsure, consult a professional electrician to ensure safety and proper setup.
How Do I Connect Ring Video Doorbell Elite To Wi-fi?
The Doorbell Elite connects via Ethernet, not Wi-Fi. Ensure your Ethernet cable links to a PoE source for internet and power, providing a stable connection.
Conclusion
Installing the Ring Video Doorbell Elite is simple and quick. Follow the steps carefully for the best results. Make sure your power supply is ready before starting. Test the connection to ensure the doorbell works properly. You can now enjoy better home security and easy visitor alerts.
Stay safe and keep your home protected every day. This device adds value and peace of mind to your living space. Give it a try and see the difference yourself.