Is your towel rack hanging by a thread or completely off the wall? A broken towel rack can make your bathroom look messy and disrupt your daily routine.
But don’t worry—you don’t need to call a professional or spend a lot of money to fix it. In this guide, you’ll learn simple, step-by-step ways to repair your towel rack quickly and easily. Keep reading, and you’ll have your bathroom back in order before you know it!
Identify The Damage
Before fixing a broken towel rack, identifying the damage is important. It helps to know what caused the break. This makes the repair easier and more effective. You should look closely at all parts of the towel rack and the wall. Small details often show the root problem.
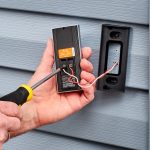
Check Mounting Points
Start by examining where the towel rack attaches to the wall. Loose screws or anchors can cause the rack to fall. Look for holes that are bigger than they should be. If the screws spin without tightening, the mounting points need fixing. Tighten any loose screws or replace damaged anchors to secure the rack properly.
Inspect The Rack Material
Look at the towel rack itself for cracks or bends. Metal racks might rust or bend under weight. Plastic racks can crack or snap. Notice any broken parts or missing pieces. A damaged rack may need replacing if repairs are not possible. This step ensures the rack can hold towels safely once fixed.
Assess Wall Condition
Check the wall around the rack for damage. Cracked or soft drywall may not hold screws well. Water damage can weaken the wall behind the rack. If the wall is damaged, repair it before reattaching the rack. A strong wall keeps the towel rack stable and secure.
Credit: www.youtube.com
Gather Repair Tools
Before fixing a broken towel rack, gather all repair tools. Having tools ready makes the repair faster and easier. It helps avoid interruptions and frustration during the task.
Essential Tools Needed
Start with basic tools. A screwdriver is necessary to remove screws or tighten them. A drill helps if new holes are needed for mounting. Use a level to keep the rack straight. A tape measure ensures correct placement. Pliers can grip or bend small parts. A stud finder helps locate wall supports for secure mounting.
Recommended Materials
Choose strong screws or anchors to hold the rack firmly. If the wall is drywall, use drywall anchors. For tile walls, use special tile anchors. Replacement brackets or mounting plates may be needed. Use a small amount of adhesive for extra support. Keep a clean cloth nearby to wipe dust or debris. Having these materials ready makes the repair smooth and durable.
Remove The Broken Rack
Removing a broken towel rack is the first step to fixing your bathroom. This process clears the space and prepares the wall for a new rack. It is important to remove all parts carefully to avoid wall damage.
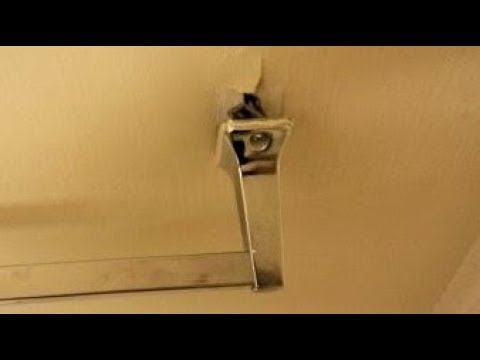
Unscrew Fasteners
Start by locating the screws holding the rack to the wall. Use a screwdriver that fits well to avoid slipping. Turn the screws counterclockwise to loosen them. Keep the screws safe if you plan to reuse them. If screws are stuck, apply a little force but be gentle. Remove the rack once all screws are out.
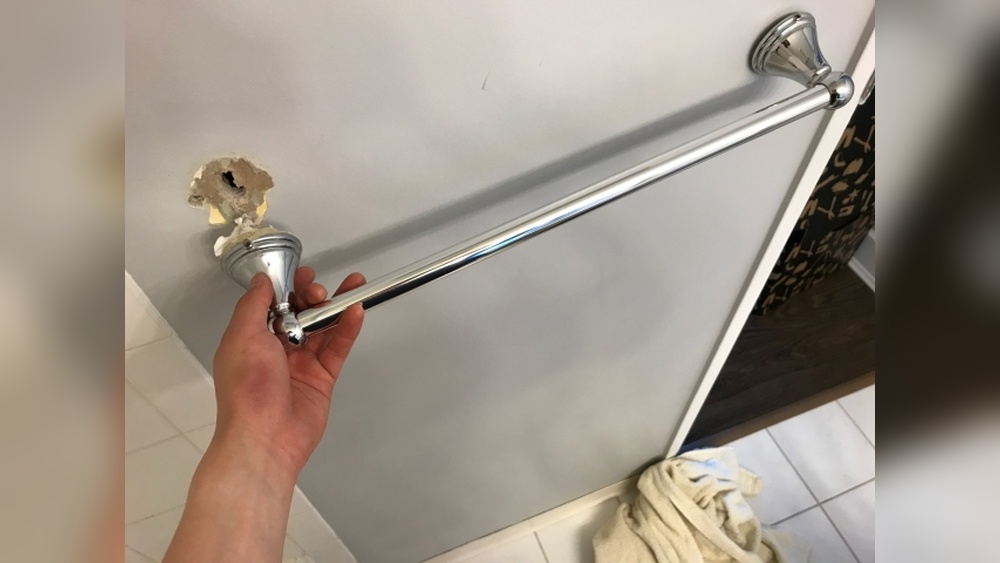
Handle Wall Anchors
Wall anchors often hold towel racks firmly in place. After removing screws, check if anchors remain inside the wall. Use needle-nose pliers to pull out loose anchors. For anchors stuck deep, push them into the wall cavity carefully. Fill any holes left by anchors before installing a new rack. This helps the new rack fit tightly and look neat.
Repair Wall Damage
Fixing a broken towel rack often means repairing wall damage first. The wall might have holes, cracks, or weak spots from the rack pulling away. Repairing these areas makes the towel rack secure again. It also improves the look of your bathroom. Follow simple steps to patch and reinforce the wall before reinstalling the rack.
Patch Holes And Cracks
Start by cleaning the damaged area. Remove loose paint or debris around holes and cracks. Use a putty knife to apply spackling paste or wall filler. Press the filler firmly into holes to fill them completely. Smooth the surface with the knife for an even finish. Let the filler dry as the product instructions say. Sand the patched areas gently to blend with the wall. This creates a smooth base for painting or mounting the rack again.
Reinforce Weak Areas
Check the wall for soft spots or crumbling drywall. These weak areas cannot hold screws firmly. Cut out the damaged drywall around the weak spot. Insert a small wooden backing or wall anchor inside the cavity. Secure the backing with screws or adhesive. Replace the drywall piece or cover with a patch. Apply joint compound over the patch and smooth it out. Once dry, sand the surface until flat. This strengthens the wall and prevents the towel rack from loosening in the future.
Install New Anchors
Installing new anchors is key to fixing a broken towel rack. Anchors hold the rack firmly on the wall. Without strong anchors, the rack will not stay in place. This step ensures your towel rack stays secure and lasts long.
Choose Proper Anchors
Pick anchors that match your wall type. Drywall needs plastic or metal anchors. For tile or plaster, use anchors designed for hard surfaces. Check the weight limit on the package. Choose anchors that can hold the towel rack’s weight easily.
Drill And Secure Anchors
Mark the spots where the rack will attach. Use a drill bit that fits the anchor size. Drill holes carefully without cracking the wall. Push anchors into the holes until flush with the surface. Tighten screws into the anchors to secure the rack firmly.
Attach The Towel Rack
Attaching the towel rack properly is key to a strong hold. This step ensures the rack stays in place during daily use. Follow each instruction carefully to avoid damage or loose fittings.
Aligning The Rack
First, position the towel rack on the wall. Use a level tool to check if it is straight. Adjust the rack until it sits perfectly horizontal. Mark the drill holes clearly on the wall. This alignment keeps the rack stable and looks neat.
Tightening Screws
Insert screws into the marked holes with a screwdriver. Turn screws slowly to avoid stripping them. Tighten each screw until the rack feels firm. Test the rack by gently pulling it. If it moves, tighten screws a bit more. Secure screws prevent the rack from falling off.
Test Stability
Testing the stability of your repaired towel rack is important. It helps ensure the rack holds up well during daily use. A stable rack prevents accidents and keeps towels secure.
Check the rack carefully before adding heavy items. Small tests can show if the rack stays firm or moves.
Apply Weight Gradually
Start by placing a light towel on the rack. See if it holds without shaking or falling. Add more towels slowly. Watch for any signs of loosening or instability. This careful approach avoids sudden damage to the rack or wall.
Make Adjustments If Needed
If the rack feels loose, tighten screws or brackets. Use a screwdriver to secure all fittings. Check the wall anchors for damage. Replace or reposition them if needed. Keep testing until the rack feels strong and steady.

Credit: www.youtube.com
Prevent Future Damage
Preventing future damage to your bathroom towel rack helps keep it strong and useful. Small steps can stop it from breaking again. Careful use and simple checks save time and money. Protect your towel rack with easy habits.
Avoid Overloading
Do not hang too many towels on the rack. Heavy weight can pull it off the wall. Use the rack only for a few towels at a time. Spread towels out to reduce pressure. Avoid hanging wet, heavy items for long periods. This keeps the rack stable and secure.
Regular Maintenance Tips
Check the rack often for loose screws or parts. Tighten any screws that feel loose. Clean the rack to stop rust or dirt build-up. Use a soft cloth and mild cleaner. Replace worn parts quickly to avoid bigger damage. Doing small fixes early keeps the rack strong longer.

Credit: www.reddit.com
Frequently Asked Questions
How Do I Fix A Loose Towel Rack?
To fix a loose towel rack, tighten the screws or replace them with longer ones. Use wall anchors if needed for extra support. Ensure the rack is level and securely attached to the wall studs or drywall.
What Tools Are Needed To Repair A Broken Towel Rack?
You need a screwdriver, drill, wall anchors, screws, a level, and possibly a stud finder. These tools help remove the broken rack and securely install a new or repaired one.
Can I Fix A Towel Rack Without Wall Studs?
Yes, use heavy-duty wall anchors to secure the towel rack. Drywall anchors or toggle bolts provide strong support when studs are not available. This prevents the rack from pulling out under weight.
How Do I Replace A Broken Towel Rack?
Remove the old rack by unscrewing it from the wall. Patch any holes and mark new screw positions. Install the new rack using appropriate anchors and screws for strong support.
Conclusion
Fixing a broken towel rack is easier than you think. Use the right tools and follow simple steps carefully. Tighten screws or replace damaged parts to secure it well. A sturdy towel rack keeps your bathroom neat and safe. Regular checks help avoid future problems.
Take your time, and enjoy a tidy space. Small repairs save money and stress later. Now, you can handle this task with confidence. Keep your bathroom organized and functional every day.