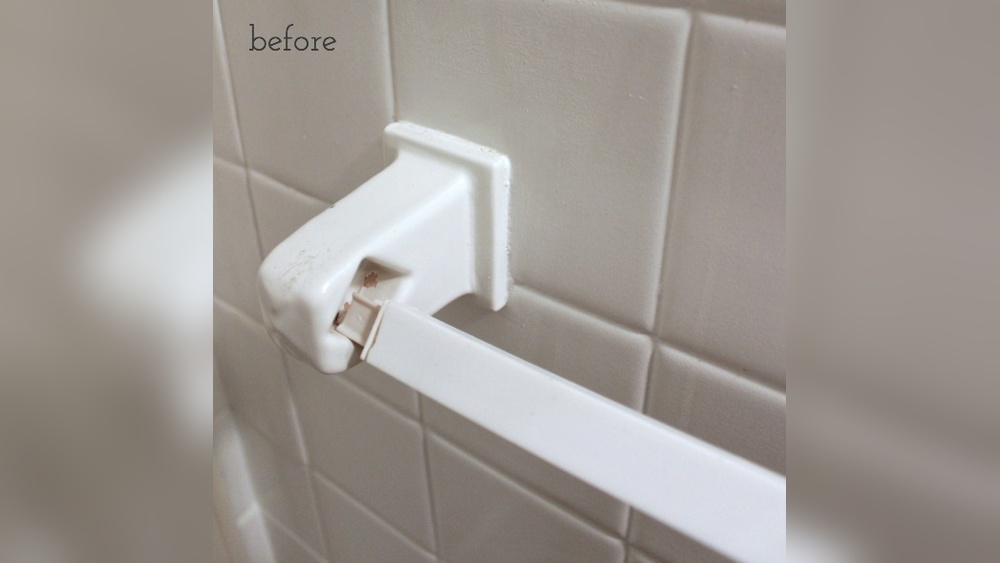
Is your ceramic towel rack cracked, loose, or just outdated? You don’t have to live with it or call a costly handyman.
Replacing your ceramic towel rack is easier than you think—and it can make your bathroom look fresh and new instantly. In this guide, you’ll discover simple steps to swap out your old rack quickly and safely. By the end, you’ll have the confidence to tackle this small project yourself, saving time and money.
Ready to give your bathroom a quick upgrade? Let’s get started!

Credit: www.youtube.com
Tools And Materials Needed
Replacing a ceramic towel rack requires some basic tools and materials. Having the right items makes the job easier and faster. This list covers everything needed for a smooth replacement.
Tools Required
- Screwdriver: To remove screws from the old rack.
- Drill: For making new holes if needed.
- Level: To ensure the new rack is straight.
- Measuring Tape: To measure space and placement.
- Pliers: To pull out anchors or old hardware.
- Utility Knife: To cut through any caulk or paint.
- Hammer: To tap in wall anchors gently.
Materials Needed
- New Ceramic Towel Rack: Choose the style and size you want.
- Wall Anchors: For secure mounting on drywall.
- Screws: Usually come with the new rack.
- Caulk or Silicone Sealant: To seal edges and prevent water damage.
- Cleaning Cloth: To wipe surfaces before installation.
Removing The Old Towel Rack
Removing the old ceramic towel rack is the first step in installing a new one. This process requires care to avoid damaging your wall. Taking it slow helps keep everything in good shape. Follow these steps to remove the old rack safely and prepare for the new installation.
Turning Off The Water Supply
Begin by turning off the water supply near the towel rack. This stops any leaks or drips during removal. Locate the shut-off valve and turn it clockwise until it stops. Double-check that no water flows from the pipes before proceeding.
Unscrewing The Brackets
Use a screwdriver to remove the screws holding the towel rack brackets. Hold the rack steady as you unscrew to prevent it from falling. Place screws and brackets aside carefully for disposal or reuse. If screws are stuck, apply a little oil to loosen them.
Cleaning The Wall Surface
After removing the rack, clean the wall surface thoroughly. Use a damp cloth to wipe away dust and debris. Check for any old adhesive or paint chips and remove them gently. A clean wall ensures the new towel rack fits well and looks neat.
Preparing For Installation
Preparing for installation is a key step to replace a ceramic towel rack safely and correctly. This process helps ensure the rack fits well and stays secure on the wall. Taking time to prepare reduces mistakes and saves effort later.
Measuring And Marking
Start by measuring the space where you want to place the towel rack. Use a tape measure for accuracy. Mark the exact spots on the wall with a pencil. Check the height and distance between mounting holes on the rack. Double-check your marks before drilling holes to avoid errors.
Choosing The Right Anchors
Select anchors that match your wall type and the towel rack weight. Drywall needs different anchors than tile or concrete walls. Use plastic anchors for light racks and metal anchors for heavy ones. Proper anchors keep the rack stable and prevent damage to the wall.
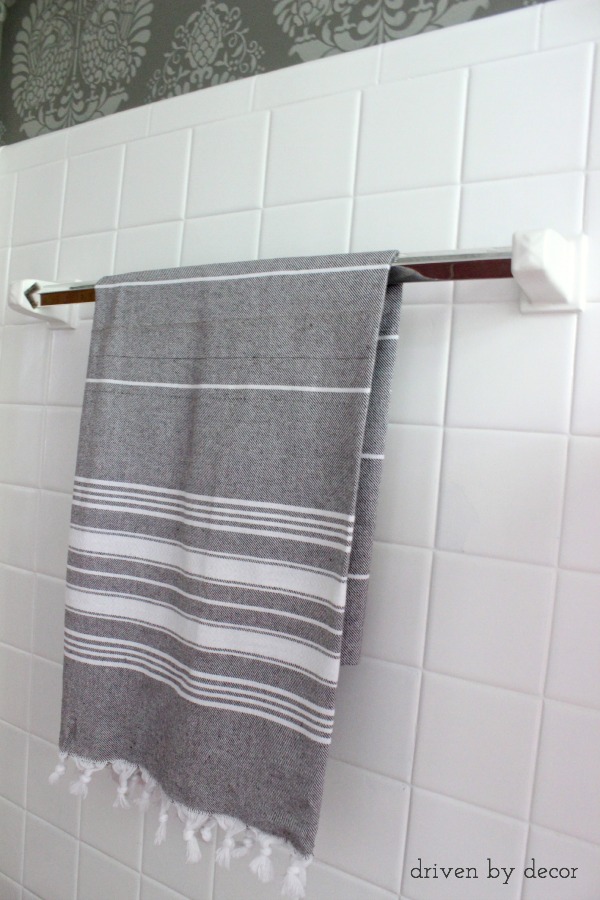
Credit: www.drivenbydecor.com
Installing The New Ceramic Towel Rack
Installing the new ceramic towel rack is a simple task that improves your bathroom’s look. Follow clear steps to secure the rack safely and firmly. Taking time to align the parts makes the rack last longer and hold towels well.
Securing The Brackets
Start by placing the brackets on the wall. Use a level to keep them straight. Mark the spots where screws will go. Drill holes carefully at the marks. Insert wall anchors if the wall is drywall. Screw the brackets tightly into place.
Mounting The Towel Rack
Align the ceramic towel rack with the secured brackets. Slide the rack onto the brackets gently. Check that it fits snugly and does not wobble. Tighten any screws on the brackets to hold the rack firmly. Test by hanging a towel to ensure stability.
Finishing Touches
Finishing touches are the final steps to ensure your new ceramic towel rack looks great and works well. These steps help make sure the rack is safe and clean. Proper finishing gives your bathroom a neat, polished look.
Checking Stability
Test the towel rack by gently pulling it. It should not move or feel loose. Tighten screws if needed. Make sure it can hold the weight of wet towels. A stable rack prevents accidents and damage to walls.
Cleaning Up
Remove dust and debris around the installation area. Use a soft cloth to wipe the ceramic surface. Clean any fingerprints or marks on the rack. A clean towel rack looks fresh and inviting. Proper cleanup keeps your bathroom tidy and ready to use.
Maintenance Tips
Proper maintenance keeps your ceramic towel rack looking new. It also extends its life and saves money. A few simple habits help avoid damage and keep it clean. Follow these easy tips to care for your ceramic towel rack.
Regular Cleaning
Clean your towel rack often to stop dirt buildup. Use a soft cloth or sponge with mild soap. Avoid harsh cleaners that can harm the ceramic surface. Wipe the rack gently and dry it well to prevent water spots.
Cleaning removes dust, stains, and germs. This keeps your bathroom fresh and hygienic. A quick wipe once a week is enough for most racks. Pay attention to corners and edges where dirt hides.
Avoiding Damage
Handle your ceramic towel rack with care. Do not hang heavy items that strain its anchors. Avoid dropping or hitting the rack with hard objects. These actions can cause cracks or chips.
Check the mounting screws regularly. Tighten them if they feel loose. Loose screws may cause the rack to fall and break. Using a towel rack properly ensures it stays strong and lasts longer.

Credit: www.youtube.com
Frequently Asked Questions
How Do I Remove A Ceramic Towel Rack Safely?
To remove a ceramic towel rack, first unscrew any visible screws. Use a putty knife to gently pry off adhesive. Avoid applying too much force to prevent wall damage. Clean the surface thoroughly before installing a new rack.
What Tools Are Needed To Replace A Ceramic Towel Rack?
You will need a screwdriver, putty knife, drill, wall anchors, screws, and a level. Additionally, have a measuring tape and pencil for accurate placement. These tools ensure a secure and straight installation of the new towel rack.
Can I Install A Ceramic Towel Rack On Drywall?
Yes, you can install a ceramic towel rack on drywall. Use appropriate wall anchors to support the rack’s weight. Avoid screwing directly into drywall without anchors to prevent damage or instability.
How Do I Ensure The New Towel Rack Is Level?
Use a spirit level to align the towel rack before drilling holes. Mark the screw positions with a pencil. Double-check the level to ensure the rack is perfectly horizontal for a professional finish.
Conclusion
Replacing a ceramic towel rack can be simple and quick. Follow the steps carefully for a safe job. Use the right tools to avoid damage. Take your time to align the new rack well. A secure towel rack keeps your bathroom neat.
Enjoy the fresh look after the replacement. Small repairs like this boost your home’s comfort. Try it yourself and save money today.