Imagine giving your pet the freedom to come and go as they please, without you having to open the door every time. Making your own pet door is easier than you think, and it can save you money while adding convenience to your daily life.
In this guide, you’ll discover simple steps to create a safe and functional pet door tailored just for your furry friend. Keep reading, and soon your pet will enjoy a new level of independence right at home!
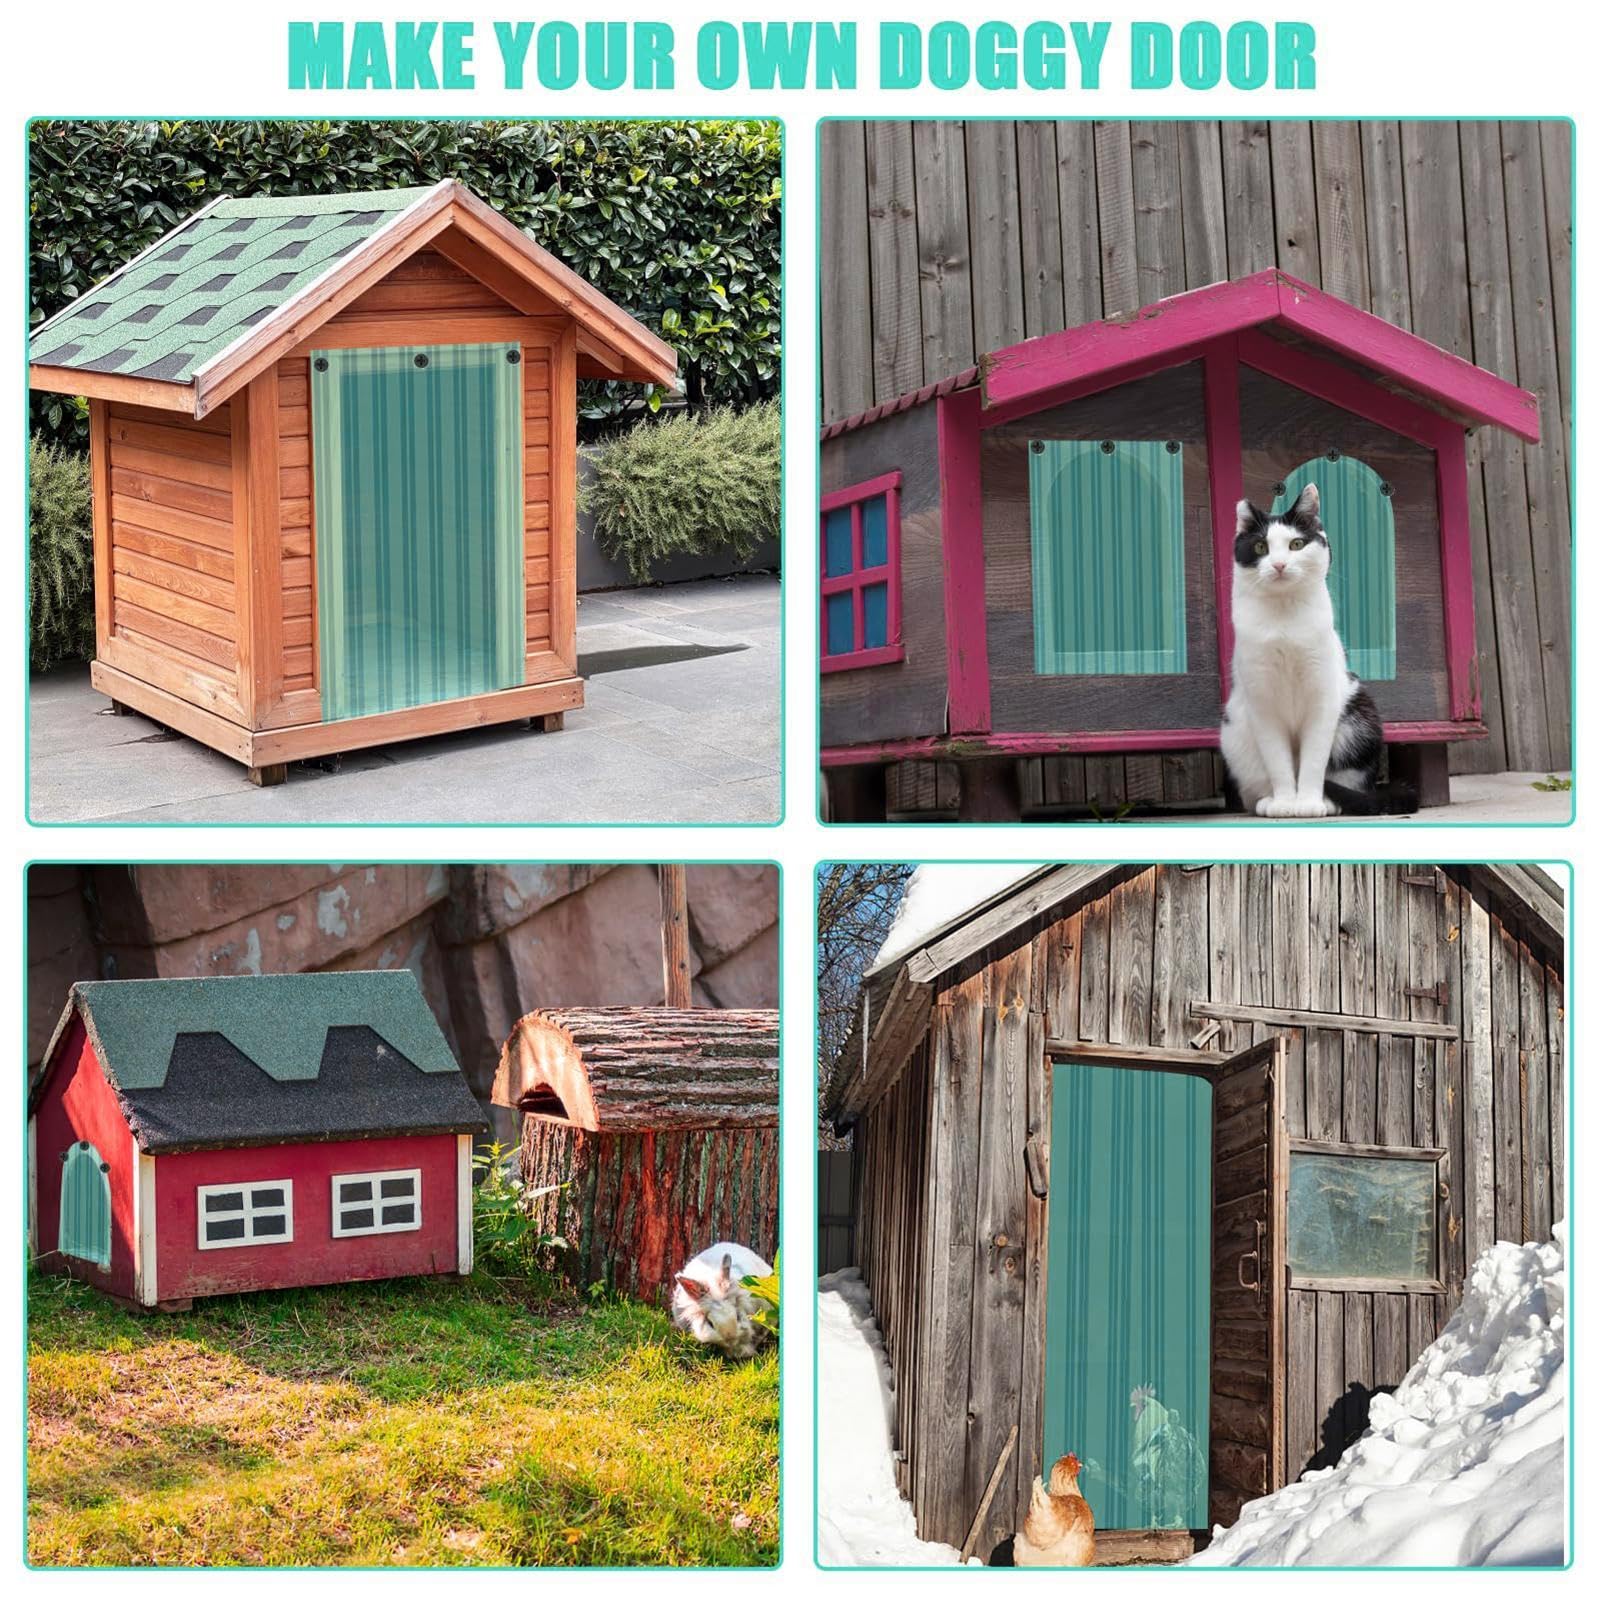
Credit: www.amazon.com.be
Choosing The Right Pet Door
Choosing the right pet door is key to making a good one for your pet. It affects how well your pet can use it and how long it will last. Think about your pet’s size, habits, and where you want the door placed. A well-chosen door keeps your home safe and your pet happy.
Types Of Pet Doors
There are many pet doors to pick from. Some fit into walls, others in doors or windows. Manual doors open when your pet pushes them. Electronic doors open only for your pet’s collar sensor. Choose a type that suits your pet’s needs and your home’s setup.
Measuring Your Pet
Measure your pet’s height and width carefully. Measure from the ground to the top of the shoulders. Also, check the width at the widest part. The pet door should be a little bigger than these sizes. This helps your pet go through easily and safely.
Material Options
Pet doors come in many materials. Plastic doors are light and easy to install. Metal doors are strong and last longer. Some doors have weather-resistant seals to keep out cold air. Choose materials that fit your climate and how often your pet uses the door.
Gathering Tools And Materials
Making your own pet door starts with gathering the right tools and materials. Having everything ready saves time and makes the process smoother. It helps to know exactly what you need before you begin. This section lists the essential tools and recommended materials for your project.
Essential Tools
- Measuring tape for accurate dimensions
- Pencil or marker for marking cuts
- Power drill with drill bits
- Jigsaw or hand saw for cutting
- Screwdriver or screw gun
- Sandpaper or sanding block
- Level to ensure straight installation
- Safety glasses and gloves for protection
Recommended Materials
- Pet door kit or flap suited to your pet’s size
- Wood or plastic panel for door frame
- Screws and mounting hardware
- Weatherstripping to seal edges
- Caulk to prevent drafts
- Paint or finish for durability
- Optional screen to keep insects out
Selecting The Installation Spot
Selecting the right spot for your pet door is very important. It affects how well your pet uses it and how safe it is. The place must be easy for your pet to reach and should not cause any problems at home.
Ideal Door Or Wall Placement
Choose a door or wall that your pet visits often. The spot should be low enough for your pet to enter and exit comfortably. Avoid places with a lot of noise or heavy foot traffic. A quiet spot helps your pet feel safe. Make sure the wall or door is strong enough to hold the door frame.
Considering Safety And Convenience
Pick a place away from sharp edges or stairs. Your pet should not risk injury while using the door. Think about weather conditions. Avoid spots where rain, wind, or snow could cause problems. The door should also be easy for you to open and close if needed. Safety and ease make the pet door useful every day.

Credit: doverprojects.blogspot.com
Marking And Preparing The Opening
Marking and preparing the opening is a key step in building your own pet door. This step ensures the door fits perfectly and works well for your pet. Taking accurate measurements and cutting safely helps avoid mistakes.
Careful planning here saves time and effort later. It also keeps the process safe and smooth.
Measuring And Marking
Measure your pet’s height and width at the widest points. Add a little extra space to make sure your pet can pass easily. Use a tape measure and a pencil for accuracy. Mark the dimensions on the door or wall where you want the pet door.
Double-check your marks before cutting. Make sure the shape is clear and straight. Use a level tool to keep the lines even. This step prevents uneven cuts and a bad fit.
Cutting The Opening Safely
Wear safety goggles and gloves before cutting. Use a sharp saw suitable for your door material. Cut slowly along the marked lines to avoid mistakes. Keep your hands steady and away from the blade.
After cutting, smooth the edges with sandpaper. This prevents splinters and helps the door frame fit better. Clean the area of any dust or debris before installing the pet door.
Installing The Pet Door Frame
Installing the pet door frame is a key step in making your own pet door. The frame holds the door securely and allows your pet to move freely. Take care with measurements and placement to ensure a perfect fit. Follow each step carefully for a strong, lasting installation.
Fitting The Frame
First, check the opening where the pet door will go. The frame must fit snugly without gaps. Place the frame into the cutout and make small adjustments. Use a level to keep it straight and even. Mark screw holes on the door or wall for easy installation.
Securing The Door In Place
Next, use screws to attach the frame firmly. Start with the top corners to hold it steady. Tighten each screw but avoid over-tightening to prevent damage. Check the frame again for level and adjust if needed. Test the door flap to ensure it swings smoothly.
Sealing And Weatherproofing
Sealing and weatherproofing are key steps in making a pet door. They keep your home warm and dry. Proper sealing stops cold air, rain, and bugs from coming inside. Weatherproofing makes your pet door last longer. It also saves energy by preventing drafts. Follow these tips to protect your home and pet door.
Adding Insulation
Insulation helps block cold and heat. Use foam strips or weatherproof tape around the door frame. Choose materials that fit tightly and do not shrink. Thicker insulation works better in colder areas. Attach it firmly to avoid gaps. Insulation keeps your home comfortable all year.
Preventing Drafts And Leaks
Check for gaps around the pet door. Use silicone caulk or weatherproof sealant to fill spaces. Make sure the flap closes fully and fits snugly. Install a door sweep or draft stopper at the bottom. These steps stop cold air and water from entering. A well-sealed pet door protects your house and lowers bills.
Training Your Pet To Use The Door
Training your pet to use a pet door takes patience and practice. Your pet needs to feel safe and confident using the door. This process helps your pet learn the new way to go in and out. Start slow and keep sessions short and positive. Praise and treats will make learning fun for your pet.
Introducing The Door
Let your pet explore the door without pressure. Show the flap and let your pet sniff it. Open the flap and encourage your pet to go through the opening. Use a calm voice to guide your pet. Stay close and offer treats for any interest shown. Repeat this step until your pet is comfortable near the door.
Encouraging Usage
Place treats or toys just outside the door. Call your pet and wait for it to pass through the flap. Praise loudly and give a treat immediately after your pet goes through. Practice this several times a day in short sessions. Slowly increase the distance your pet must travel through the door. Keep training fun and stress-free to build confidence.

Credit: www.lowes.com
Maintenance And Troubleshooting
Keeping your pet door in good shape makes it last longer and work better. Regular checks and cleaning help avoid problems. Small fixes can save time and money. This section covers simple steps to maintain and troubleshoot your pet door.
Cleaning Tips
Clean the flap regularly to remove dirt and dust. Use a soft cloth and mild soap with water. Avoid harsh chemicals that may damage the flap material. Check the frame for leaves, hair, or debris. Clear these out to keep the door moving smoothly. Clean both sides of the door for best results. Dry all parts well to prevent mold or rust.
Common Issues And Fixes
Flap sticks or does not close properly. Check for dirt or objects blocking the flap. Tighten loose screws on the hinges. Replace worn or damaged seals to stop drafts. The door frame may become loose over time. Use screws to secure it firmly again. If your pet door lets cold air in, add weather stripping. For pets not using the door, check flap weight or size. Adjust or replace parts to fit your pet better.
Frequently Asked Questions
What Materials Do I Need To Make A Pet Door?
To make a pet door, you need plywood, hinges, a latch, weather stripping, a saw, and measuring tools. These materials ensure durability and proper fitting for your pet’s comfort and safety.
How Do I Measure My Pet For The Door Size?
Measure your pet’s height from the floor to the shoulders and width across the shoulders. Add a few inches for easy passage and comfort.
Can I Install A Pet Door On Any Door Type?
Yes, pet doors can be installed on wooden, metal, and even glass doors with proper tools and techniques. Adjustments may vary based on door material.
How Do I Secure The Pet Door To Prevent Drafts?
Use weather stripping around the pet door frame to block drafts. Ensure the flap fits snugly to keep your home insulated and comfortable.
Conclusion
Creating a pet door at home saves money and suits your pet’s needs. It gives your pet freedom to go in and out safely. You control the size and place of the door. Use basic tools and follow steps carefully.
Your pet will enjoy the new access every day. A simple project with big benefits. Try it yourself and see the difference.