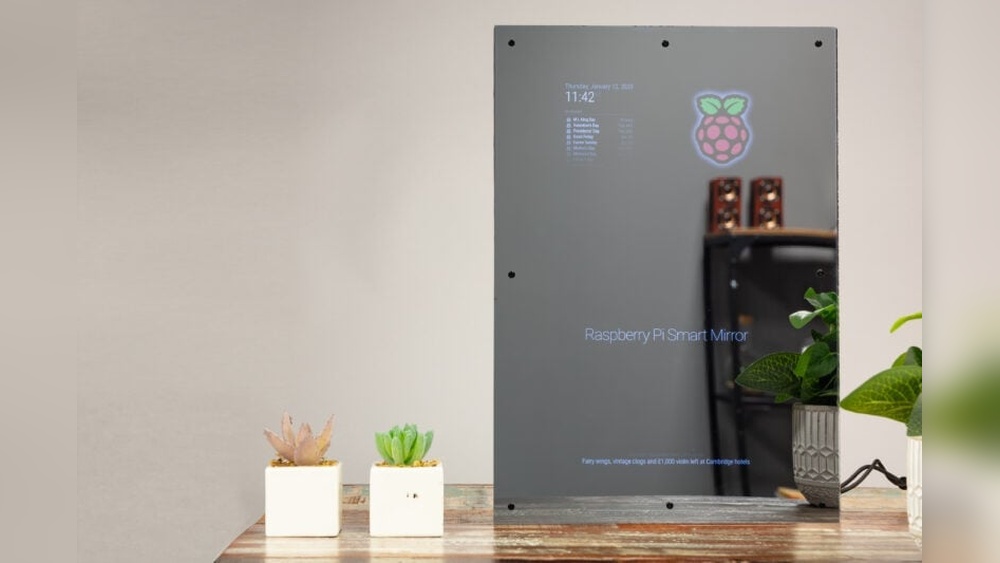

Imagine having a mirror that not only shows your reflection but also displays the weather, news, and your daily schedule—all in one place. You can create this smart mirror yourself using a Raspberry Pi, and it’s easier than you might think.
In this guide, you’ll learn step-by-step how to install and set up your very own smart mirror. Whether you’re a tech beginner or looking for a fun project, you’ll find clear instructions that make the process simple and rewarding. Keep reading, and by the end, you’ll have a smart mirror that fits perfectly into your home and lifestyle.
Credit: raspberrytips.com
Choosing The Right Raspberry Pi
Choosing the right Raspberry Pi is key to building a smart mirror that works well. The choice depends on the features you want and how much power you need. Different models offer various speeds, memory, and connectivity options. Picking the best one saves time and avoids frustration.
Comparing Raspberry Pi Models
The Raspberry Pi 4 is a popular choice for smart mirrors. It has a fast processor and up to 8GB of RAM. This makes it good for running multiple apps smoothly. The Raspberry Pi 3 is less powerful but still works for basic smart mirrors. It uses less power and costs less. The Raspberry Pi Zero is smaller and cheaper but slower. It suits simple displays and low power use. Consider your project size and budget before choosing.
Required Accessories
Besides the Raspberry Pi, several accessories are needed. A microSD card stores the operating system and apps. A power supply with the right voltage and current ensures stable operation. A display screen, usually an LCD or monitor, shows the mirror interface. A two-way mirror film or glass creates the mirror effect. Optional items include a keyboard, mouse, and a case for protection. Gather these parts before starting the installation.
Gathering Materials For The Smart Mirror
Gathering the right materials is the first step to build your smart mirror. This process helps you avoid mistakes and saves time. Each part plays a key role in the mirror’s function and look. Choose parts that fit your budget and skills. Below, find the main components you need to prepare.
Selecting The Display
The display shows your smart mirror’s information. A good screen makes the mirror clear and bright. Many use LCD or LED screens from old monitors or tablets. Size depends on your frame and space. Look for a display with HDMI input. A screen with at least 720p resolution gives good image quality. Avoid screens with low brightness. Check power needs and connectors before buying.
Mirrored Glass Options
The glass makes the screen look like a mirror. Two-way acrylic mirror sheets are popular. They are lighter and safer than real glass. Glass with a reflective coating also works but can be heavy. Acrylic is easier to cut and shape. Buy a size that matches your display. Make sure it fits snugly in your frame. The mirror’s quality affects how clear and bright the display looks.
Additional Hardware Components
The Raspberry Pi is the smart mirror’s brain. Choose a model like Raspberry Pi 3 or 4 for better speed. You need a power supply that matches the Pi’s needs. A microSD card stores the software and data. Use at least 16GB for smooth operation. Other parts include a frame, cables, and a keyboard or mouse for setup. Sensors or a camera can add features, but are optional. Prepare these parts before starting the build.
Preparing The Raspberry Pi
Preparing your Raspberry Pi is the first step to install a smart mirror. This step ensures the device runs smoothly and connects to the internet. Proper setup helps avoid errors later. It involves installing the operating system and configuring network settings. Follow these steps carefully for the best results.
Installing The Operating System
Start by downloading the Raspberry Pi OS image. Use the official Raspberry Pi website for the latest version. Next, flash the OS image onto a microSD card using software like Balena Etcher. Insert the microSD card into the Raspberry Pi. Power on the device and complete the initial setup by following the on-screen instructions. This process prepares your Pi for the smart mirror software.
Configuring Network Settings
Connect your Raspberry Pi to the internet to access updates and install software. Use Wi-Fi or an Ethernet cable for the connection. Open the network settings from the desktop or command line. Enter your Wi-Fi name and password if using wireless. Test the connection by browsing or pinging a website. A stable network is essential for the smart mirror to fetch data smoothly.

Credit: www.instructables.com
Installing Smart Mirror Software
Installing the smart mirror software on your Raspberry Pi brings your project to life. This step turns your screen into a useful display for weather, news, and more. The process requires picking the right software and setting it up carefully. Follow each step to ensure smooth installation and operation.
Choosing A Smart Mirror Platform
Select software that fits your needs and skill level. Some platforms offer many features, while others keep it simple. Popular options include MagicMirror², MirrorMirror, and Dakboard. MagicMirror² is widely used due to its large community and many modules. Check if the software supports your Raspberry Pi model and has good documentation.
Downloading And Setting Up The Software
Start by downloading the software from the official website or GitHub. Use the Raspberry Pi terminal to install necessary tools like Git and Node.js. Clone the software repository to your device using Git commands. Next, install all required dependencies with npm or yarn. Run the software to check if it works correctly. Adjust configuration files to customize what the mirror shows. Reboot your Raspberry Pi to finalize the setup and enjoy your smart mirror.
Customizing The Interface
Customizing the interface of your smart mirror on Raspberry Pi makes it truly personal. You control what information appears and how it looks. This section guides you through simple steps to make your smart mirror fit your needs and style.
Adding Modules And Widgets
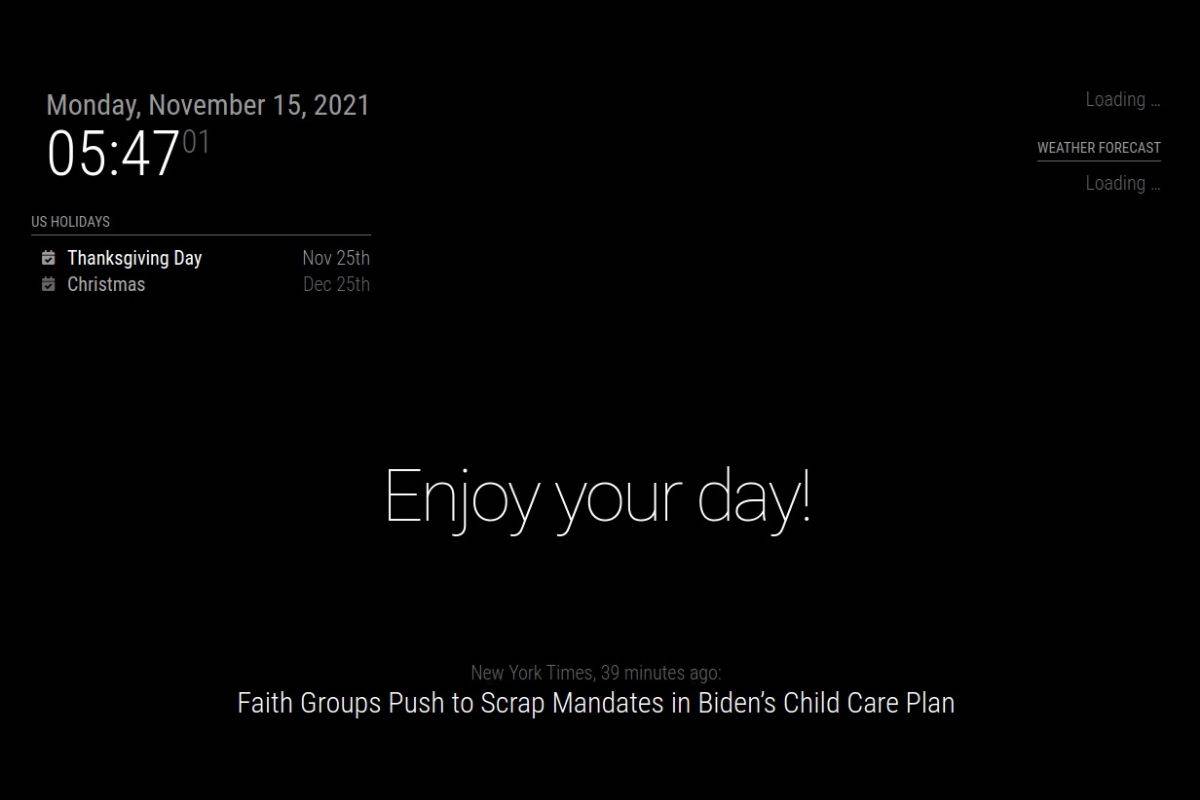
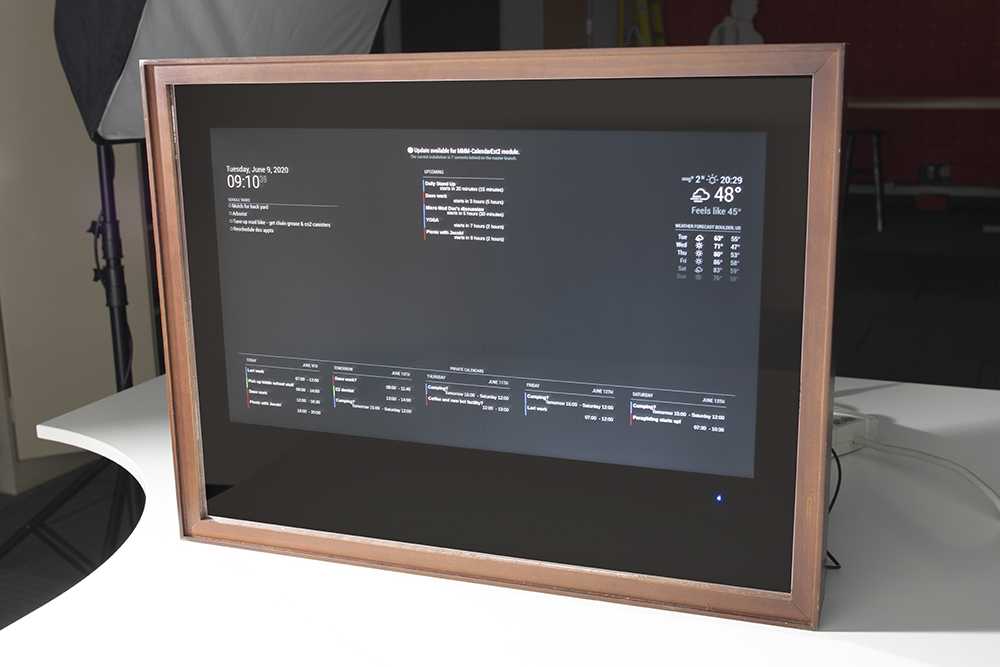
Modules and widgets show useful information like weather, news, or calendar events. To add them, open the smart mirror configuration file on your Raspberry Pi. You will find a list of available modules there.
Choose the modules that interest you. Add their names to the configuration file. Save the file and restart your smart mirror software. The new modules will appear on the display instantly.
Arrange modules by changing their position settings. You can place them at the top, bottom, left, or right. This way, you keep your mirror clean and easy to read.
Adjusting Display Settings
Display settings control brightness, text size, and colors. These settings help make your smart mirror clear and comfortable to use. Access the display options in the configuration file or the software’s settings menu.
Set brightness to match your room’s light. Use larger text for better readability. Change colors to reduce glare and eye strain.
Test different settings until the display looks perfect. Small changes can improve your daily experience with the smart mirror.
Credit: learn.sparkfun.com
Assembling The Smart Mirror
Assembling the smart mirror is an exciting step in your project. This is where all parts come together. Careful assembly ensures your smart mirror works well and looks great. Follow each step to build a strong and neat setup.
Mounting The Display Behind The Glass
Start by placing the display behind the two-way glass. The glass lets light through but hides the screen. Align the display so the screen is centered on the glass. Use strong tape or brackets to hold the display firmly. Avoid gaps or loose parts that can cause damage. Check that the screen is visible and clear from the front. This step is key for a clean look and good display quality.
Securing The Raspberry Pi And Wiring
Next, attach the Raspberry Pi near the display but out of sight. Use screws or double-sided tape to fix it in place. Keep the wiring tidy to avoid clutter and damage. Connect the power and HDMI cables carefully. Use cable clips or zip ties to hold wires together. Make sure cables do not block the display or glass. Well-organized wiring helps with maintenance and keeps the mirror safe.
Troubleshooting Common Issues
Setting up a Smart Mirror on Raspberry Pi can be exciting but may face some challenges. Troubleshooting common issues helps keep your project running smoothly. This section covers the most frequent problems and easy solutions.
Display Problems
Sometimes, the screen may not show anything or appear blank. Check the HDMI cable connection first. Make sure it is plugged firmly into the Raspberry Pi and the monitor.
Adjust screen resolution in the Raspberry Pi settings. Incorrect resolution can cause a black or flickering screen. Use the command sudo raspi-config to access display options.
The monitor may not power on. Verify the power supply to the display. Try a different cable or monitor if needed. Also, ensure the Raspberry Pi receives enough power.
Software Errors
The Smart Mirror software might not start correctly. Confirm that all dependencies are installed. Run npm install inside the Smart Mirror directory to fix missing packages.
Errors in the config file can stop the application. Check for typos or missing commas. Use a JSON validator online to verify your config file.
Sometimes, the Raspberry Pi freezes or crashes. Restart the device and monitor the logs using pm2 logs. Look for error messages that explain the problem.
Enhancing Your Smart Mirror
Enhancing your smart mirror makes it more useful and interactive. You can add features that fit your needs and lifestyle. These upgrades turn a simple mirror into a helpful assistant for daily life.
Voice Control Integration
Voice control lets you talk to your smart mirror. You can ask for weather updates, news, or your calendar events. It works by connecting voice assistants like Google Assistant or Alexa to your Raspberry Pi. This hands-free control is great while you get ready. It makes using the mirror faster and easier.
Adding Sensors And Cameras
Sensors and cameras add smart functions to your mirror. Motion sensors can detect when you stand in front of it. The mirror can then turn on automatically. Cameras allow face recognition or taking selfies. These features increase security and convenience. They also make the mirror more interactive and fun to use.
Frequently Asked Questions
How Do I Set Up A Smart Mirror On Raspberry Pi?
To set up a smart mirror, install Raspbian OS on your Raspberry Pi. Then, download and configure MagicMirror² software. Connect a compatible display, and customize modules for weather, news, and calendar. Finally, mount the mirror glass over the display for a sleek finish.
What Hardware Is Needed For A Raspberry Pi Smart Mirror?
You need a Raspberry Pi (3 or newer), a two-way mirror glass, an HDMI display, a power supply, and a frame. Optional items include a USB microphone and camera for voice control and facial recognition features. Proper cables and mounting tools are essential too.
Can I Customize The Smart Mirror’s Display Modules?
Yes, MagicMirror² software allows full customization of modules. You can add weather, news, calendar, clock, and more. Modules can be rearranged, styled, or removed via the config file. Custom modules can also be created using JavaScript for unique functionality.
How Do I Troubleshoot Common Smart Mirror Installation Issues?
Check your Raspberry Pi’s power supply and HDMI connection first. Ensure MagicMirror² is properly installed and running. Review error messages in the terminal. Update your software regularly and verify configuration files for syntax errors to fix common installation problems.
Conclusion
Installing a smart mirror on Raspberry Pi is simple and fun. You just follow a few clear steps to get it working. This project adds useful features to your daily routine. It shows time, weather, and news while you get ready.
You can customize it to fit your style and needs. The parts are affordable and easy to find. Start small and improve your smart mirror over time. Enjoy this blend of technology and creativity in your home.