
Are your LED tape lights too long for your space? Cutting them down to the perfect length can make your lighting project look neat and professional.
But how do you shorten an LED tape light string without damaging it or losing brightness? If you’ve ever felt unsure about where to cut or worried about ruining your lights, this guide is made just for you. Keep reading, and you’ll learn simple, step-by-step tips to customize your LED tape lights safely and easily.
By the end, you’ll have the confidence to create the perfect fit for your home or workspace.
Credit: aqlightinggroup.com
Tools And Materials Needed
Before you shorten an LED tape light string, gather the right tools and materials. This step makes the process easier and safer. Having everything ready saves time and avoids mistakes. Use tools that fit the task to cut and reconnect the lights smoothly.
Essential Tools
Get a sharp pair of scissors or a utility knife for cutting the tape. Use a ruler or measuring tape to mark the exact length. A soldering iron helps join wires if needed. Wire strippers remove insulation from wires cleanly. Electrical tape or heat shrink tubing protects connections. A multimeter checks if the circuit works after changes.
Selecting The Right Led Tape Light
Choose an LED tape light that matches your project needs. Check the voltage and type of LEDs used. Look for clear cutting marks on the tape for easy shortening. Some tapes have copper pads at cut points for soldering. Pick waterproof tape for damp areas. Confirm the tape is flexible enough to bend as needed.
Safety Tips Before You Start
Before you start shortening an LED tape light string, safety must be your priority. Working with electrical components requires care and attention. Taking proper precautions helps avoid damage and injury. Follow these safety tips to work safely and confidently.
Power Off Precautions
Always unplug the LED tape light from the power source. Double-check that no electricity is flowing before you cut. Use a voltage tester if you have one. Never handle the tape light while it is plugged in. This reduces the risk of electric shock and short circuits.
Handling Led Components Carefully
LED tape lights have delicate parts. Avoid bending or twisting the tape too much. Handle the LEDs and circuit board gently. Use sharp scissors or a proper cutter to make clean cuts. Rough handling can break the circuit and stop the lights from working.
Measuring And Planning The Cut
Measuring and planning the cut is an important step before shortening an LED tape light string. It helps you get the right size and avoid mistakes. Careful measurement keeps the tape working well and looking neat.
Take your time and check twice. This step saves effort and prevents damage to the tape light. Preparing properly makes the cutting process smooth and safe.
Determining Desired Length
Start by deciding how long you want the LED tape light to be. Measure the area where you plan to install it. Use a tape measure for accuracy. Note down the exact length needed. Leave a little extra space for adjustments. This helps avoid cutting too short. Accurate length ensures the light fits perfectly in your space.
Locating Cut Lines On The Tape
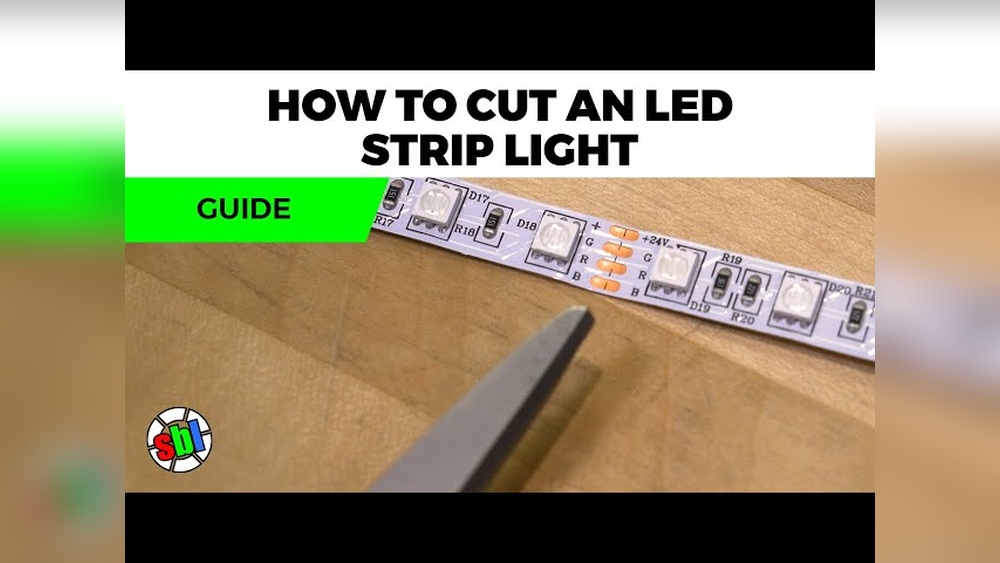
Look closely at the LED tape to find cut lines. These lines show where the tape can be safely cut. They usually appear as small scissors icons or marked spaces. Never cut between the cut lines. Cutting on these lines prevents damage to the electrical parts. Mark the correct spot with a pencil or tape. Follow the lines exactly for a clean, working cut.

Credit: us.govee.com
Cutting The Led Tape Light
Cutting LED tape lights lets you fit them to your space perfectly. This process needs care to keep the lights working well. You must cut only on the marked spots. These spots are designed to keep the electrical path intact.
Cutting the tape light correctly saves you time and money. It also helps avoid damaging the lights or wires. Follow simple steps and use the right tools for best results.
Using Scissors Properly
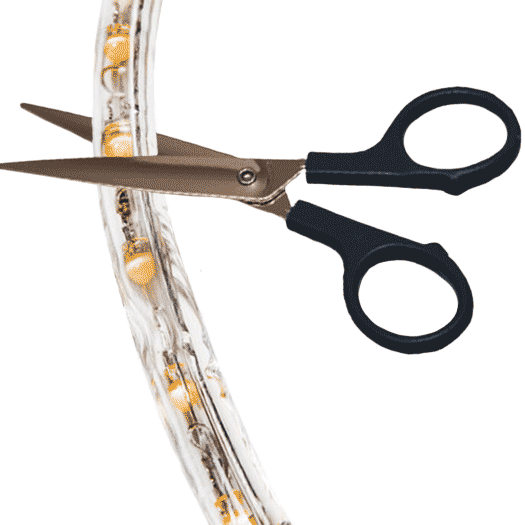
Use sharp scissors to cut the LED tape light. Dull scissors can crush the tape and wires. Hold the tape steady before cutting. Cut straight across the marked line only. Avoid cutting at an angle or between the lines. A clean cut keeps the connection safe and strong.
Avoiding Damage To Led Chips
Do not cut through LED chips or circuit parts. These parts control the light and power flow. Cutting them can cause the tape to stop working. Always cut at the scissors marks between the copper pads. Check the tape closely to spot the safe cutting points. Protect the chips to keep the lights bright and lasting long.
Preparing The Cut Ends
Preparing the cut ends of an LED tape light string is an important step. It ensures a clean, safe connection after cutting. This process helps maintain the light’s function and prevents damage. Follow simple steps to get the ends ready for reconnecting or capping.
Stripping The Protective Layer
The LED tape light has a clear protective layer on top. This layer shields the electrical parts inside. Use a small knife or scissors to carefully cut this layer. Remove it gently without cutting the tape’s wires. Expose just enough to work with the copper pads underneath. Take your time to avoid damage.
Exposing Copper Pads
Under the protective layer, copper pads appear. These pads are the connection points for power. Clean the pads with a soft cloth if needed. Make sure no dirt or residue covers them. Exposing the pads well allows for a solid electrical connection. Ready the pads for soldering or attaching connectors. Handle the copper carefully to prevent bending or breaking.
Reconnecting Or Sealing The Tape
After cutting an LED tape light string, reconnecting or sealing the tape is important. This step keeps the lights working well and protects the strip from damage. Proper reconnection ensures the electrical flow continues smoothly. Sealing the ends stops moisture and dust from harming the tape.
Using Connectors For Extension
Connectors join two LED tape strips without soldering. They are easy to use and save time. Choose connectors that match your tape width and type. Open the connector clip, insert the tape ends, and close it firmly. This creates a strong connection for the lights to work continuously. Connectors also help extend the tape length safely.
Sealing The Ends To Prevent Damage
Sealing the tape ends protects them from water and dust. Use silicone end caps or clear tape to cover cut edges. This prevents short circuits and damage from moisture. Make sure the seal is tight and covers all exposed parts. Proper sealing increases the tape’s lifespan and keeps it safe for use.
Testing The Shortened Tape Light
Testing the shortened LED tape light is a crucial step. It ensures the tape works correctly after cutting. This process helps catch any faults early. It also confirms the tape is safe to use. Testing saves time and avoids damage to the tape or power source.
Powering On Safely
Before turning on the tape, double-check the connections. Make sure the cut ends have proper connectors or solder. Avoid powering the tape with exposed wires. Connect the tape to a power source with the right voltage. Turn on the power switch slowly. Watch for any unusual sparks or smells.
Troubleshooting Common Issues
If the tape does not light up, check the power supply first. Confirm the power source is working and matches tape requirements. Look for loose connections or damaged wires. Inspect the cut area for clean, even cuts. Replace any damaged sections or connectors. Try testing the tape in smaller parts to find the issue.

Credit: www.youtube.com
Frequently Asked Questions
How Can I Safely Shorten An Led Tape Light String?
To safely shorten LED tape lights, cut only at marked intervals. Use sharp scissors and avoid damaging circuitry. Seal cut ends with waterproof tape to prevent damage and ensure longevity.
What Tools Do I Need To Cut Led Tape Lights?
You need sharp scissors or a craft knife, a ruler, and electrical tape. Optionally, use connectors for rejoining cut sections safely.
Can I Reconnect Led Tape Lights After Cutting?
Yes, use appropriate connectors or solder wires to reconnect sections. Ensure polarity matches to avoid malfunction. Proper sealing prevents moisture damage.
Will Cutting Led Tape Lights Affect Brightness?
Cutting at marked points doesn’t affect brightness. Avoid cutting mid-segment to maintain uniform light output. Always follow manufacturer guidelines for best results.
Conclusion
Shortening LED tape light strings can save space and improve your setup. Always cut only at marked points to avoid damage. Use the right tools for clean cuts and safe connections. Test your lights after shortening to ensure they work well.
With care and patience, you can customize your lighting easily. This simple skill helps create neat and bright spaces. Try it yourself and enjoy a perfect fit every time.