Setting up your Ring Video Doorbell 2 might seem tricky at first, but it doesn’t have to be. Imagine knowing exactly who’s at your door without even getting up.
With the right steps, you can get your doorbell working smoothly in no time. This guide will walk you through every part of the setup, making it simple and clear. By the end, you’ll have your home safer and smarter, and you’ll wonder why you didn’t do it sooner.
Ready to make your doorbell work for you? Let’s get started.
Credit: www.ebay.com
Unboxing And Checking Components
Starting with the unboxing and checking components is important before installing the Ring Video Doorbell 2. This step ensures you have everything needed for a smooth setup. It helps avoid surprises during installation. Take your time to carefully open the package and examine all parts.
What’s Inside The Box
Inside the box, you will find the Ring Video Doorbell 2 device. A rechargeable battery pack is also included. You get a mounting bracket to fix the doorbell to the wall or door frame. There are screws and wall anchors for secure installation. A screwdriver bit is part of the package. You will also see a quick start guide to help with the setup process.
Tools Needed For Installation
Most tools you need come with the doorbell. A drill will be helpful for making holes. A power drill or screwdriver makes the job easier. A level can help place the doorbell straight. If mounting on brick or stone, a masonry drill bit is useful. Having a ladder can help reach the door frame safely. Keep these tools ready before you start installation.
Preparing Your Doorbell Location
Preparing the location for your Ring Video Doorbell 2 is a key step. The right spot makes a big difference in performance. It helps you see visitors clearly and keeps the device working well.
Choosing The Best Spot
Pick a place near your front door. The doorbell should be easy to reach. Place it about four feet from the ground. This height captures faces clearly. Avoid spots with strong sunlight or glare. Keep it away from places with heavy rain or direct wind. Make sure the camera view covers your porch or walkway well.
Ensuring Wi-fi Connectivity
Your doorbell needs a strong Wi-Fi signal. Check your signal strength at the chosen spot. Weak signals cause slow video and missed alerts. Move your router closer if needed. Use a Wi-Fi extender to boost the signal. Test the connection by streaming a video or using a speed test app. A good connection means smooth video and quick notifications.
Charging The Doorbell Battery
Charging the Ring Video Doorbell 2 battery is a simple process. It keeps your doorbell working without interruption. Knowing how to remove and charge the battery helps maintain its performance. This section explains the steps clearly.
Removing The Battery
Start by unlocking the doorbell from its mount. Use the included screwdriver to remove the security screw at the bottom. Gently pull the doorbell away from the wall. Find the battery compartment on the back. Press the tab and slide the battery out carefully. Avoid using sharp objects to prevent damage.
Charging Tips And Time
Charge the battery using the provided USB cable and a power adapter. Connect the USB end to the battery and plug the adapter into an outlet. Charge it fully before reinstalling for best results. The charging usually takes 5 to 10 hours. A solid green light means the battery is fully charged. Avoid overcharging to extend battery life.

Credit: kdfoundation.org
Installing The Doorbell Mount
Installing the doorbell mount is the first physical step in setting up your Ring Video Doorbell 2. This part is important because it holds the doorbell securely in place. You need to make sure the mount is stable and properly fixed to avoid any issues later. Follow these steps carefully for a strong and safe installation.
Marking Drill Points
Start by holding the mounting bracket against the wall near your door. Use a pencil to mark the spots where the screws will go. Make sure the marks are level and spaced correctly. This helps to drill holes in the right place. Double-check the marks before drilling to avoid mistakes.
Using The Mounting Bracket
Place the mounting bracket over the marked points on the wall. Align it carefully so the holes match the marks. The bracket acts as a base for the doorbell. It needs to be flush with the wall for a solid fit. This step is key for a neat, professional look.
Securing With Screws
Use a drill or screwdriver to fix the mounting bracket to the wall. Insert the screws into the pre-marked points and tighten them firmly. Avoid over-tightening to prevent damage to the wall or bracket. Check that the bracket does not move. A secure mount keeps your doorbell safe and working well.
Connecting To Existing Doorbell Wiring
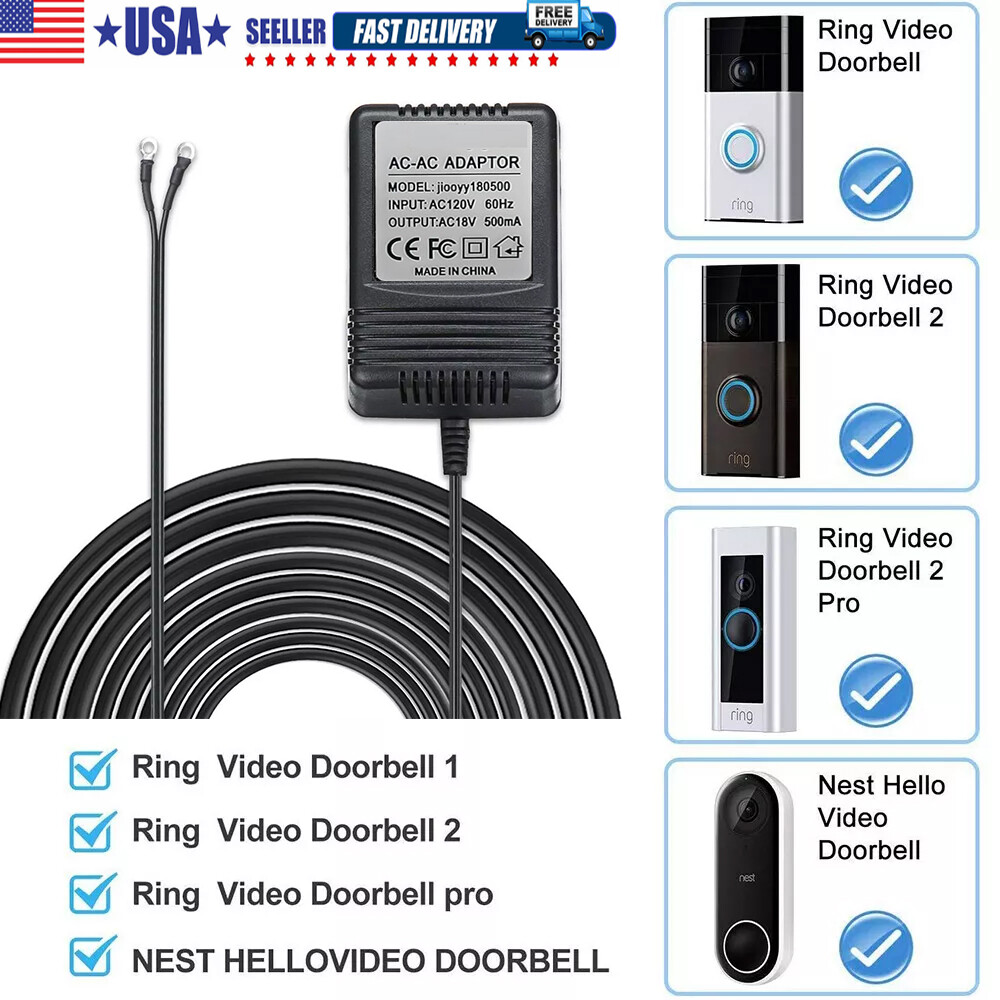
Connecting your Ring Video Doorbell 2 to existing doorbell wiring helps keep the original doorbell sound. It also ensures your device gets constant power. This setup avoids frequent charging and gives you better performance.
Before starting, confirm your doorbell wiring works with Ring Video Doorbell 2. Some older systems might need adjustments. Follow the steps carefully for a smooth setup and strong connection.
Safety Precautions
Turn off power at the breaker before touching wires. Use a voltage tester to check for electricity. Wear insulated gloves for extra protection. Keep children and pets away from the work area. Avoid working in wet or damp conditions.
Wiring Steps
Remove your old doorbell button from the wall. Note which wire connects to each terminal. Connect these wires to the Ring Video Doorbell 2’s terminals. Tighten screws to secure the wires. Mount the Ring doorbell on the wall bracket. Restore power at the breaker after wiring.
Testing The Connection
Press the Ring doorbell button to check the chime sound. Open the Ring app to see if the device is online. Look for live video feed and notifications. If the doorbell does not work, double-check wiring and power. Adjust the connections and test again.

Credit: www.youtube.com
Setting Up The Ring App
Setting up the Ring app is the first step to using your Ring Video Doorbell 2. This app lets you control the doorbell, see visitors, and get alerts on your phone. It works on both Android and iOS devices.
Follow the simple steps below to get started quickly and easily.
Downloading The App
Open the app store on your smartphone. Search for “Ring” in the search bar. Find the official Ring app and tap the download button. Wait for the app to install. Open the app after it finishes.
Creating An Account
Tap “Create Account” on the app’s welcome screen. Enter your name, email, and a strong password. Agree to the terms and privacy policy. Verify your email if required. This creates your Ring account.
Adding Your Device
Log in to the Ring app with your new account. Tap “Set Up a Device” on the main screen. Choose “Video Doorbell” from the device list. Follow the app instructions to connect your doorbell to Wi-Fi. Name your device for easy identification.
Configuring Device Settings
Configuring the settings of your Ring Video Doorbell 2 is important for better security and convenience. Adjusting these settings helps you control how the device detects motion and sends alerts. It also lets you protect your privacy. Follow these simple steps to set up your device right.
Setting Motion Zones
Motion zones help your doorbell focus on specific areas. This reduces false alerts from busy streets or trees. Open the Ring app and select your doorbell. Tap on “Motion Settings” and then “Motion Zones.” Use the grid to mark areas you want to monitor. Save your changes to start receiving alerts only from those zones.
Adjusting Notification Preferences
Notification settings let you choose how and when you get alerts. In the Ring app, go to “Device Settings” and tap “Notification Preferences.” Turn on notifications for motion or live view. You can also set quiet hours to avoid alerts at night. Customize these options to match your daily routine.
Enabling Privacy Features
Privacy is key with video doorbells. Enable privacy zones to block certain areas from recording. In the app, find “Privacy Settings” under your device options. Draw zones on the screen to hide private spaces like windows or neighbors’ yards. This keeps your recordings respectful and legal.
Final Testing And Troubleshooting
After installing the Ring Video Doorbell 2, the final step is testing and troubleshooting. This step ensures your device works perfectly. It helps catch any small problems early. Testing confirms that video, audio, and notifications function correctly. Troubleshooting fixes common issues fast. Let’s explore how to check your device and solve problems easily.
Checking Video And Audio
Start by opening the Ring app on your phone. Check the live video feed from your doorbell. The video should be clear and smooth. Watch for any lag or pixelation. Next, test the audio. Speak near the doorbell and listen through the app. Your voice should be clear without echoes or noise. Also, check if you can hear the visitor’s voice. Make sure the microphone and speaker work well. Adjust settings if the sound is too low or high.
Troubleshooting Common Issues
If the video feed is blurry or not loading, check your Wi-Fi connection. The doorbell needs a strong signal. Move your router closer if possible. Restart your router and the Ring device to refresh connections. If audio does not work, confirm the app permissions allow microphone access. Also, check battery levels; low battery can cause poor performance. For delayed notifications, ensure the app runs in the background. Update the Ring app and your phone’s operating system for best results. If problems continue, consult Ring’s support for more help.
Frequently Asked Questions
How Do I Install Ring Video Doorbell 2?
First, charge the doorbell battery fully. Then, download the Ring app and create an account. Follow in-app instructions to connect the doorbell to Wi-Fi and mount it near your door.
What Tools Are Needed For Setup?
You need a screwdriver, drill, and the mounting screws included in the box. A level helps ensure straight placement. Most setups take under 30 minutes.
How Do I Connect Ring Doorbell 2 To Wi-fi?
Open the Ring app, select your device, and follow the prompts to join your Wi-Fi network. Ensure your phone is near the doorbell during setup for a strong signal.
Can I Use Existing Doorbell Wiring?
Yes, Ring Video Doorbell 2 supports existing doorbell wiring for continuous power. If no wiring is available, use the rechargeable battery instead.
Conclusion
Setting up your Ring Video Doorbell 2 is simple and quick. Follow the steps carefully for best results. Make sure the device connects well to your Wi-Fi. Test the doorbell to confirm it works properly. Enjoy better home security and peace of mind.
Stay safe and keep an eye on your doorstep anytime. This guide helps you get started without confusion. Now, your Ring Video Doorbell 2 is ready to use.