Are you ready to boost your home security with a Ring Video Doorbell but unsure where to start? Installing your Ring Video Doorbell might seem tricky, but it’s easier than you think—especially with the right guidance.
You’ll discover simple, step-by-step instructions paired with helpful YouTube videos that make the setup process quick and stress-free. By the end, you’ll have your doorbell up and running, giving you peace of mind and control right at your fingertips. Keep reading to unlock the secrets to a smooth installation!
Credit: www.younghouselove.com
Unboxing Your Ring Video Doorbell
Unboxing your Ring Video Doorbell is the first step to better home security. It gives you a chance to see what you get and prepare for installation. A careful unboxing helps avoid missing parts or damage. Let’s explore what to expect inside the box.
What’s Inside The Box?
The Ring Video Doorbell box contains several important items. You will find the doorbell itself, a mounting bracket, and screws. There is also a screwdriver included for easy installation. Don’t forget the quick start guide that helps you with setup.
Checking For All Components
Make sure you have all parts before starting installation. Confirm the doorbell, mounting bracket, screws, screwdriver, and user manual are present. Missing parts can delay the setup process. If something is missing, contact customer support.
Inspecting The Doorbell
Look closely at the doorbell for any damage. Check the lens and buttons for cracks or scratches. The back should have clear mounting points. A clean, undamaged doorbell ensures proper function and longer use.
Preparing For Installation
Clear a space to work on unboxing and assembly. Keep all parts within reach. Charge the doorbell battery if it is removable. Reading the quick start guide now saves time later.
Gathering Required Tools
Gathering the right tools is the first step to install your Ring Video Doorbell easily. Having everything ready saves time and avoids frustration during setup. This section lists the basic tools you need for a smooth installation.
Basic Tools Needed For Installation
You need a screwdriver, either Phillips or flathead, depending on screws. A drill helps make holes in walls for mounting. A level keeps the doorbell straight on the wall. Also, have a tape measure to check distances precisely.
Additional Helpful Items
Wall anchors provide extra support for mounting on drywall. A pencil or marker marks drill spots clearly. Safety glasses protect your eyes from dust and debris. A ladder might be necessary to reach the mounting spot.
Checking Your Package Contents
Open the Ring Video Doorbell box carefully. Check for mounting screws and brackets included in the package. Also, find the installation manual for step-by-step guidance. Make sure you have the charging cable if your model needs it.
Charging The Doorbell Battery
Charging the Ring Video Doorbell battery is a simple step before installation. A fully charged battery ensures your doorbell works smoothly. It helps avoid interruptions during setup and daily use.
Charging takes a few hours. You can charge the battery inside or outside the doorbell. The process is safe and straightforward.
Remove The Battery From The Doorbell
Start by removing the doorbell from its mount. Use a screwdriver to open the battery compartment. Take out the battery carefully. Handle it gently to avoid damage.
Connect The Battery To The Charger
Use the charging cable that came with your Ring doorbell. Plug the USB end into a power source. Attach the other end to the battery. Check the connection is secure.
Wait For The Battery To Fully Charge
A red light means charging is in progress. The light turns green when fully charged. Charging usually takes about 5 hours. Avoid unplugging the battery too soon.
Reinstall The Battery Into The Doorbell
Once charged, place the battery back in the doorbell. Close the battery compartment tightly. Mount the doorbell securely on your wall or frame. Your device is ready to use.
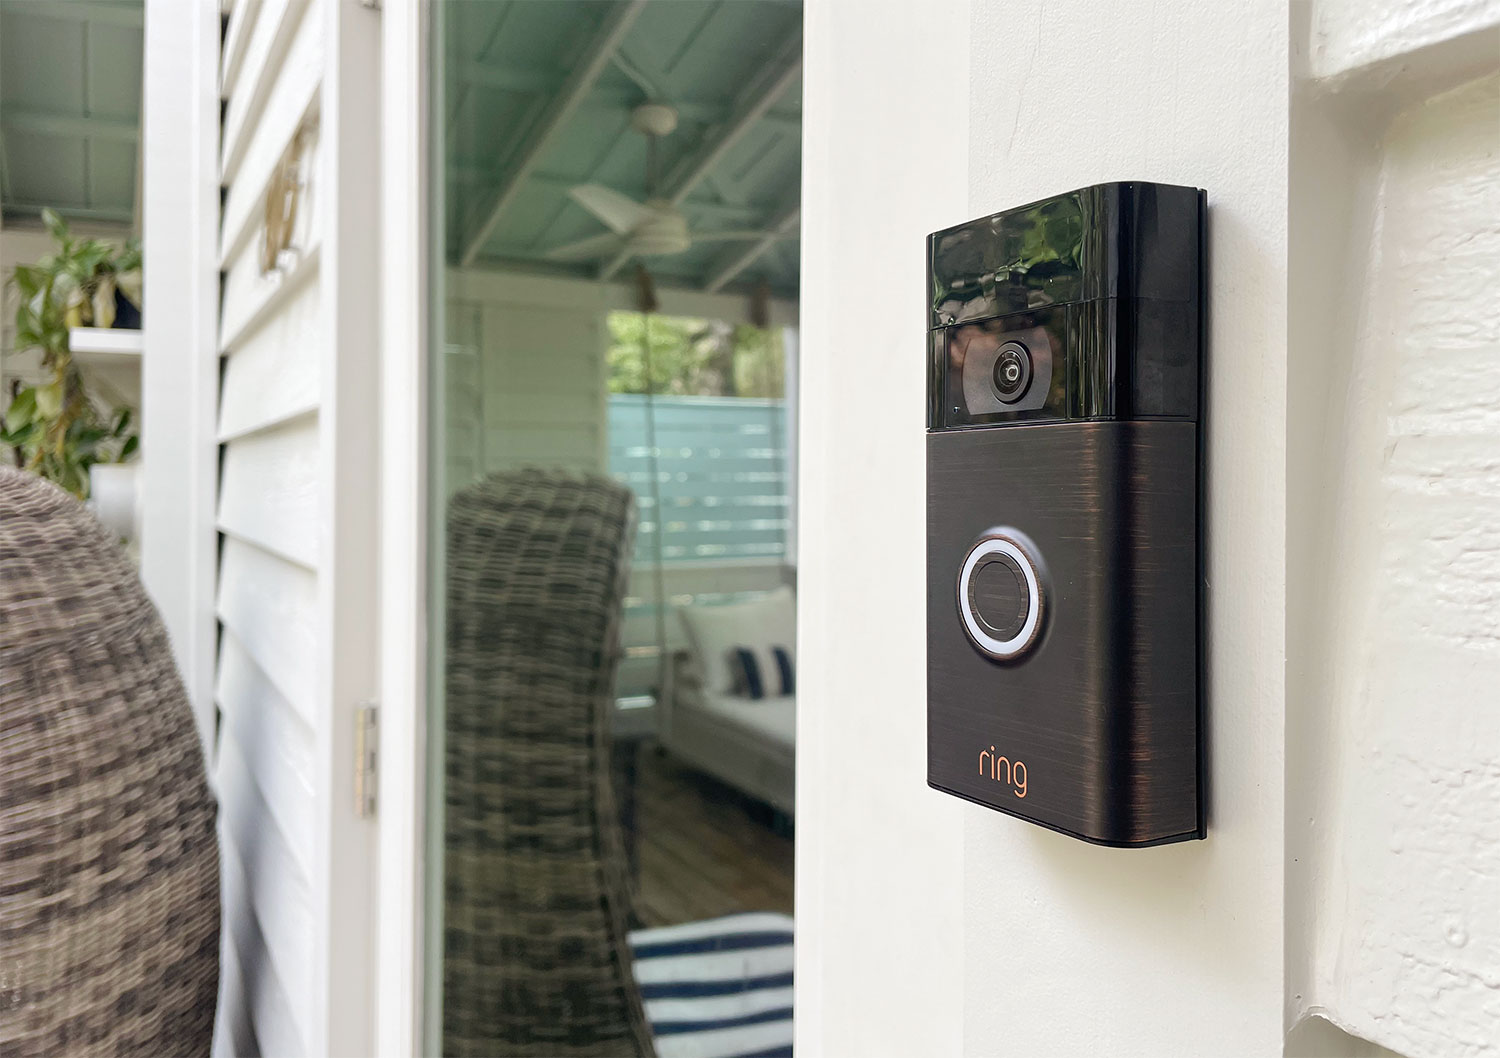
Choosing The Installation Spot
Choosing the right spot to install your Ring Video Doorbell is very important. The correct location improves video quality and motion detection. It also ensures easy access for visitors and delivery people.
Think about where visitors usually stand. The doorbell should capture their faces clearly. Avoid places with too much direct sunlight or strong shadows. These can affect video clarity.
Camera Height And Angle
Install the doorbell at a height between 48 and 54 inches. This height captures faces well and covers the front area. Tilt the camera slightly downward to reduce glare.
Wi-fi Signal Strength
Choose a spot with a strong Wi-Fi signal. Weak signals cause video lag or connection drops. Test the Wi-Fi signal at the door before installation.
Visibility And Accessibility
Pick a location easy to reach for installation and maintenance. The doorbell should be visible to visitors but not in direct rain or harsh weather. This keeps it safe and functional.
Avoid Obstructions
Do not place the doorbell behind plants, decorations, or walls. Objects blocking the camera reduce its field of view. Clear sightlines help the doorbell capture all activity.
Mounting The Doorbell
Mounting the Ring Video Doorbell is a crucial step for proper installation. It ensures the device stays secure and works well. The process involves marking drill points, drilling holes, and attaching the mounting bracket. Follow these simple steps for a strong and stable setup.
Marking Drill Points
Start by holding the mounting bracket against the wall. Align it at the height you prefer. Use a pencil to mark the holes on the wall. These marks guide where to drill. Double-check the marks for accuracy before drilling.
Drilling Holes
Choose a drill bit that matches the size of the screws. Drill holes exactly on the marked points. Drill straight to avoid angled holes. Use wall anchors if mounting on drywall or brick. Clean dust from the holes after drilling.
Attaching The Mounting Bracket
Place the mounting bracket over the drilled holes. Insert screws and tighten them securely. Make sure the bracket is stable and does not move. This ensures the doorbell will hold firmly. Check alignment before final tightening.

Credit: www.youtube.com
Connecting To Wi-fi
Connecting your Ring Video Doorbell to Wi-Fi is a key step for its smooth operation. The device needs a strong Wi-Fi signal to send alerts and stream video. This process is simple and quick if you follow the steps carefully. Here, we will guide you through downloading the app, creating an account, and pairing your device to Wi-Fi.
Downloading The Ring App
Start by downloading the Ring app on your smartphone. Search for “Ring” in the Apple App Store or Google Play Store. The app is free and easy to install. Make sure your phone is connected to the internet before downloading.
Creating An Account
Open the Ring app after installation. Tap on “Create Account” to start the setup. Enter your email address and create a strong password. Follow the instructions to verify your email. This account allows you to control your Ring device remotely.
Pairing The Device
Power on your Ring Video Doorbell. In the app, select “Set Up a Device” and choose your doorbell model. The app will ask to connect to your Wi-Fi network. Enter your Wi-Fi password carefully. The device will connect and confirm once paired successfully.
Testing The Doorbell
Testing the Ring Video Doorbell is an important step after installation. It ensures the device works correctly and captures visitors clearly. You can check the video quality, motion detection, and audio features. This helps avoid problems later.
Testing is easy and takes just a few minutes. Follow these steps to confirm your doorbell functions properly.
Checking Video Quality
Open the Ring app on your phone. Press the doorbell button or trigger the motion sensor. Watch the live video feed. The image should be clear and bright. Adjust the camera angle if the view is too dark or off-center.
Testing Motion Detection
Walk in front of the doorbell to test motion alerts. The app should send a notification quickly. Check if the motion zones cover the right areas. You can change these zones in the app to avoid false alerts.
Verifying Audio Function
Press the doorbell and speak into the microphone. Listen for your voice on the doorbell speaker. Make sure both sides hear each other clearly. This is key for talking to visitors remotely.
Confirming Notification Alerts
Watch your phone for notifications when the doorbell rings or detects motion. Alerts should arrive instantly. Enable sound and vibration for these alerts in your phone settings. This keeps you aware of visitors at all times.

Credit: www.mediapost.com
Troubleshooting Common Issues
Troubleshooting common issues can help keep your Ring Video Doorbell working well. Many problems are easy to fix. This section covers quick solutions for usual errors. Follow these tips to solve issues fast.
Checking Wi-fi Connection
Ring Doorbell needs a strong Wi-Fi signal. Weak signals cause delays or no video feed. Place your router near the doorbell for better connection. Restart your router if the signal drops. Use the Ring app to test Wi-Fi strength.
Resetting The Ring Doorbell
Resetting often clears bugs and errors. Press and hold the reset button for 15 seconds. Wait for the light to flash. This step restores factory settings. Set up the doorbell again after reset.
Ensuring Proper Power Supply
Check if the battery is charged or wires are connected. Low power stops the doorbell from working. Charge the battery fully or replace it if needed. For wired models, inspect the wiring carefully.
Fixing Video Or Audio Problems
Clear the camera lens to improve video quality. Check the app settings for volume and notifications. Restart the doorbell to fix audio lag. Update the Ring app for the latest fixes.
Resolving Motion Detection Errors
Adjust motion sensitivity in the Ring app. Remove objects that block the sensor. Make sure the doorbell is mounted at the right height. Check for software updates to improve detection.
Tips For Optimizing Performance
Optimizing your Ring Video Doorbell’s performance ensures clear video and quick alerts. Small adjustments can make a big difference in how well your device works. Follow these simple tips to get the best results from your doorbell.
Ensure Strong Wi-fi Signal
Place your doorbell close to your Wi-Fi router or use a Wi-Fi extender. A strong signal helps the doorbell stream video smoothly. Weak Wi-Fi causes delays and poor video quality.
Adjust Motion Sensitivity
Set the motion sensitivity to match your environment. Too sensitive, it triggers too often. Too low, it misses important events. Find the right balance for fewer false alerts.
Keep The Lens Clean
Clean the camera lens regularly with a soft cloth. Dirt or smudges blur the video. Clear lens means sharp, clear images and better recognition.
Use The Latest Firmware
Check for software updates in the Ring app. Updates improve security and add new features. Running the latest firmware keeps your doorbell running smoothly.
Optimize Camera Angle
Adjust the camera angle to cover your doorstep fully. Avoid pointing at bright lights or reflective surfaces. Good angles capture clear, useful footage.
Frequently Asked Questions
How Do I Install Ring Video Doorbell Using Youtube?
To install Ring Video Doorbell, search for official YouTube tutorials. Follow step-by-step videos for wiring, mounting, and app setup. Visual guides make installation easier and ensure you do not miss any crucial step.
Can Youtube Videos Help With Ring Doorbell Setup?
Yes, YouTube offers detailed Ring Doorbell setup videos. These videos cover wiring, mounting, and app configuration. They provide visual aids and tips for a smooth installation process, making it ideal for beginners.
What Tools Are Needed For Ring Doorbell Installation?
Basic tools include a drill, screwdriver, level, and mounting screws. Some Ring models may require a voltage tester or wire stripper. YouTube tutorials typically list the required tools before starting installation.
How Long Does It Take To Install Ring Doorbell?
Installation usually takes 20 to 40 minutes. Time varies based on your experience and doorbell model. YouTube guides help reduce installation time by providing clear instructions.
Conclusion
Installing your Ring Video Doorbell is simple and quick. Follow each step carefully to avoid mistakes. Watch the YouTube video for clear, visual guidance. Test your device to make sure it works well. Enjoy the extra security and convenience it brings.
Stay safe and connected with your new doorbell. Keep this guide handy for future reference. Installation done right means peace of mind every day.

