Want to save your Nest Doorbell videos without paying for a subscription? You’re not alone.
Many people want to keep important footage without extra costs. The good news is, there are simple ways to record and store your Nest Doorbell videos for free. You’ll discover easy steps to capture your doorbell’s footage without any monthly fees.
Keep reading to learn how to make the most of your Nest Doorbell without spending a dime.
Nest Doorbell Video Features
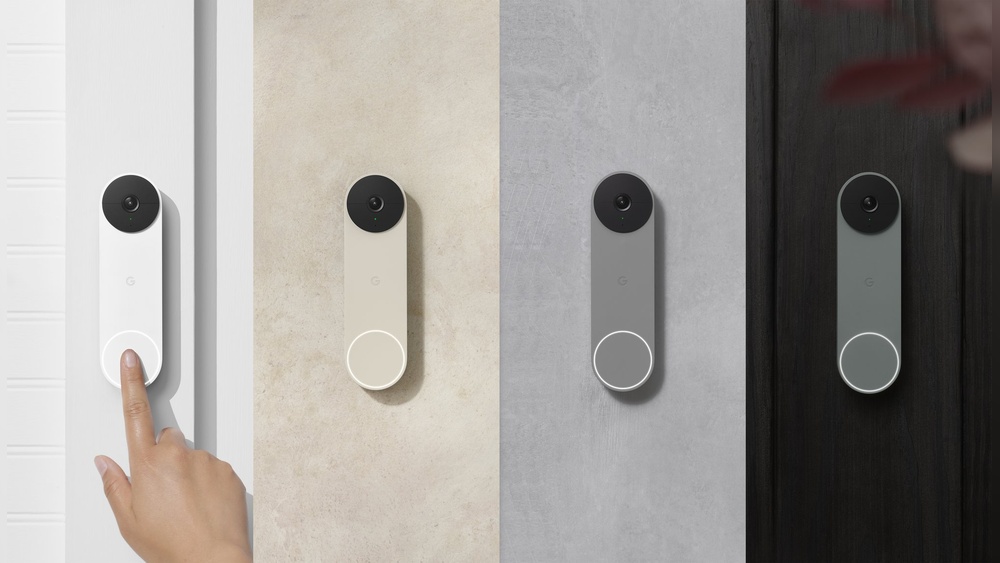
The Nest Doorbell offers useful video features for home security. It captures clear video with good resolution. The device detects motion and people at your door. You can see live video anytime on your phone. These features help you stay aware of visitors or events.
Recording and saving video is important for review later. Nest provides several options for video storage. Some features are free, while others require a subscription. Understanding these options helps you decide how to record video without extra cost.
Standard Video Storage Options
By default, Nest Doorbell stores video clips for a short time. You get free video history for up to 3 hours. This lets you check recent activity quickly. Videos are saved in the cloud, so you do not need a local device.
Alerts and snapshots are also saved without a subscription. You can view these on your Nest app. This basic storage covers simple needs without monthly fees. But the history is limited and clips expire fast.
Subscription Benefits
With a Nest Aware subscription, video history extends up to 30 days. This means you can review videos from the past month. The subscription also unlocks intelligent alerts. It can tell the difference between people, animals, and vehicles.
Subscriptions add features like activity zones and continuous video recording. These options improve security but come with a monthly cost. If you want detailed video storage and advanced alerts, a subscription is useful.
Credit: arloren.com
Limitations Without Subscription
Using a Nest Doorbell without a subscription has some clear limits. These affect how you can view and save your video recordings. Knowing these limits helps you decide if the basic option fits your needs.
Video History Restrictions
Without a subscription, you cannot watch past videos. The doorbell only shows live video at the moment. You lose access to clips after they happen. This means no replay of events or checking old footage.
The absence of video history can be a big drawback. It reduces your ability to review what happened earlier. This may limit your security or the chance to catch important moments.
Cloud Storage Limitations
Cloud storage is very limited without a subscription. Nest only saves video clips for a short time, if at all. After this, the clips get deleted automatically. You cannot keep videos safely in the cloud.
Saving videos locally is possible but requires extra equipment. This adds to your setup cost and effort. The cloud storage limit means less backup for your videos.
Alternative Recording Methods
Recording Nest Doorbell video without a subscription is possible. There are alternative methods that do not require monthly fees. These options help you save video footage securely. You can still keep an eye on your doorstep without extra costs.
Using Local Storage Devices
Local storage devices store video directly from your Nest Doorbell. You can use a microSD card or a USB drive. These devices connect to your home network or camera system. Videos save automatically and stay within your control. This method avoids cloud storage fees. It also provides quick access to footage anytime you need.
Connecting To Third-party Apps
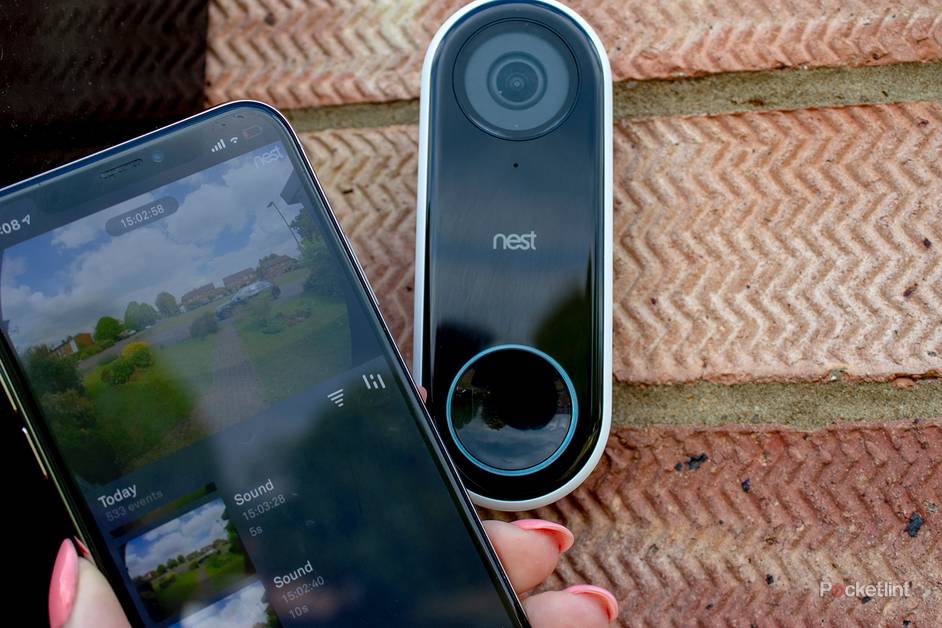
Third-party apps offer another way to record Nest Doorbell video. These apps can link your camera to your phone or computer. They capture and save video clips without a subscription. Some apps allow real-time viewing and recording. This gives you flexibility and extra features. Choose an app that supports Nest devices for best results.
Credit: datajudicial.com.ar
Step-by-step Recording Setup
Setting up your Nest Doorbell to record video without a subscription is simple. This guide walks you through the key steps. Follow each part carefully to capture and save your video footage.
Configuring Device Settings
Start by opening the Google Home app on your phone. Select your Nest Doorbell from the device list. Go to the settings menu to check recording options. Turn off any settings that require a subscription. Enable basic video recording features available for free. Adjust motion detection sensitivity to suit your needs. Save these changes before moving on.
Enabling Continuous Recording
Continuous recording helps you capture everything without missing moments. Nest Doorbell does not offer this by default without a subscription. Use third-party software or local network solutions to enable this feature. Connect your doorbell to a compatible device that supports continuous video capture. Set the recording duration and intervals based on your storage capacity. Test the setup to confirm videos record nonstop.
Saving Videos Locally
Saving videos locally prevents loss of footage. Connect your Nest Doorbell to a local storage device, like a computer or NAS. Use software that can access the doorbell’s video stream. Choose a folder with enough space for all recordings. Set the software to save files automatically after recording. Check saved videos regularly to ensure proper storage. This method keeps your videos safe without monthly fees.
Accessing And Managing Recordings
Accessing and managing recordings from your Nest Doorbell without a subscription is simple and practical. You can store videos locally and handle them easily on your devices. This approach saves money and gives control over your footage.
Organizing and finding specific videos quickly becomes easy with the right methods. Keeping your recordings neat helps you review important moments fast. Follow these steps to manage your saved videos well.
Retrieving Saved Videos
Access your saved videos through the device or storage you use. If you record on an SD card, insert it into a computer or compatible device. Open the folder where videos are stored. Play or copy the clips you want to watch or save elsewhere.
For USB drives or external hard disks, connect them to your computer. Locate the video files using file explorer or finder. Use common video players like VLC to view the clips. Always eject the storage safely to avoid data loss.
Organizing Footage Efficiently
Create folders by date or event type to keep videos sorted. Name files with clear labels such as “FrontDoor_2024-04-01” for easy searching. Delete unneeded videos regularly to save space and avoid clutter.
Backup important recordings on cloud services or additional drives. Use simple software to tag or group videos for faster access. This system helps you find specific clips without hassle.

Credit: datajudicial.com.ar
Tips For Maximizing Video Recording
Recording video from your Nest Doorbell without a subscription can be tricky. You need to make the most of your available resources. Smart tips help keep your videos clear and saved properly. This guide offers simple advice on how to maximize your video recording.
Use these tips to improve storage and video quality. These steps work well even without extra cloud services. Keep your recordings safe and clear for longer times.
Optimizing Storage Space
Storage space is limited without a Nest subscription. Use a high-capacity microSD card or local storage device. Delete old or unneeded videos regularly. Set your doorbell to record only important events. Lower video resolution if needed to save space. Manage storage by checking available memory often. This keeps your system running smoothly.
Ensuring Video Quality
Good video quality helps identify visitors clearly. Clean the camera lens frequently for sharp images. Adjust the camera angle to avoid glare or shadows. Use proper lighting near your doorbell for better clarity. Set video resolution to the highest option your device supports. Avoid too much motion to reduce blurry footage. Clear videos help you monitor your home easily.
Frequently Asked Questions
How To Save Nest Doorbell Video Without A Subscription?
You can save Nest Doorbell videos locally using a compatible microSD card or connect it to a Google Nest Hub. These methods bypass the need for a Google subscription while retaining access to recorded footage.
Can I Record Nest Doorbell Video On My Phone?
Yes, you can use third-party apps or screen recording features on your smartphone. However, this method may not capture continuous footage or provide full video quality.
Is Local Storage Possible For Nest Doorbell Recordings?
Nest Doorbell does not natively support local storage like microSD cards. Recording without subscription requires workarounds such as network video recorders or third-party integrations.
What Alternative Methods Exist To Record Nest Doorbell Video?
You can use RTSP-enabled devices, home automation hubs, or cloud recording alternatives. These solutions allow video saving without relying on Google’s paid subscription.
Conclusion
Recording Nest Doorbell video without a subscription is possible and useful. You can save important clips on your device or use free options. This way, you avoid extra costs but still keep your home secure. Remember to check your device settings for the best results.
Simple steps can help you stay safe without paying monthly fees. Try these tips and enjoy peace of mind with your Nest Doorbell.