Do you want to make your string of LED lights blink and add a fun, eye-catching effect to your space? Whether it’s for a party, holiday decorations, or just to give your room a lively touch, blinking lights can instantly change the mood.
But you might be wondering—how exactly do you get those lights to blink without buying expensive gadgets? You’ll discover simple, step-by-step methods to make your LED lights blink, using tools you probably already have. By the end, you’ll know exactly how to bring your lights to life and impress everyone around you.
Let’s get started!
Choosing Your Led String
Choosing the right LED string is important for making your lights blink correctly. The type of string, its power needs, and safety all matter. This section helps you pick the best string for your project.
Types Of Led Strings
There are many types of LED strings. Some have fixed lights, while others can change colors. Single-color strings are simple and easy to use. Color-changing strings offer more effects but need more control.
Some strings come with built-in blink modes. Others need extra devices to blink. Choose a string that fits your blinking plan and skill level.
Power Requirements
LED strings need power to work. Check the voltage and current ratings on the package. Most strings run on low voltage, like 12V or 24V.
Make sure your power source matches the string’s needs. Using too much power can damage the lights. Too little power makes them dim or not work at all.
Safety Considerations
Safety is key when working with LED strings. Use strings made for indoor or outdoor use depending on your plan. Outdoor strings should be weatherproof.
Check for proper insulation and certifications on the product. Avoid overloading your power source to prevent fire risks. Keep wires away from water and heat.
Credit: www.lightmybricks.com
Basic Components Needed
Making a string of LED lights blink is a fun project. It needs a few basic parts. These parts work together to create the blinking effect. Knowing these parts helps you start your project easily.
Led String
The LED string is the main part. It has many small LED bulbs linked by wires. These bulbs light up when power flows through them. Choose a string with the right length and color for your need. Some strings have built-in resistors to protect LEDs.
Power Source
The power source supplies electricity to the LED string. Common options are batteries or a plug-in adapter. Batteries are easy to use but may run out fast. Adapters connect to wall sockets and provide steady power. Always check the voltage to match the LED string.
Blinking Controller Options
A blinking controller makes the lights flash on and off. Simple options include a basic timer or a mechanical flasher. More advanced choices are microcontrollers like Arduino. The controller changes the power flow to create the blinking effect. Pick a controller that fits your skill level and project size.
Simple Blinking With A Timer
Making a string of LED lights blink can be simple and fun. Using a timer is one of the easiest ways. It controls when the lights turn on and off. This method does not need any special tools or skills. Just a plug-in timer and your LED string light.
This setup saves energy and adds charm to your space. You can set it to blink at any time of the day or night. It works well for decorations, parties, or just everyday use.
Using A Plug-in Timer
A plug-in timer is a small device that fits into your wall socket. Plug your LED light string into the timer. Then, plug the timer into the wall. The timer controls the power to the lights. It turns the lights on and off automatically. This tool is cheap and easy to find in stores or online.
Choose a timer with simple controls. Some timers have dials, others have digital screens. Pick one that feels easy to use. This way, you can set your blinking schedule without trouble.
Setting On/off Intervals
After plugging in the timer, set the on and off times. Decide how long you want the lights to stay on. Then, decide how long they should stay off. For example, you can set the lights to blink every 30 seconds. Turn on for 15 seconds, off for 15 seconds. The timer will repeat this cycle all night.
Adjust the intervals to fit your needs. Short intervals for fast blinking or long intervals for slow blinking. Play around with the settings to find the perfect blink speed. This simple step makes your LED lights stand out.

Credit: www.amazon.com
Diy Blinking Circuit
Creating a blinking string of LED lights is a fun project. A DIY blinking circuit lets you control the blink speed and pattern. It uses simple parts anyone can find. This guide shows how to build a basic blinking circuit for your LED lights.
Using A 555 Timer Ic
The 555 timer IC is the key part of the circuit. It acts as a switch that turns the LEDs on and off. This IC is cheap and easy to use. It can create a steady blink by charging and discharging a capacitor. This process repeats and makes the lights blink.
Wiring The Circuit
First, connect the 555 timer to a breadboard. Attach power and ground pins correctly. Connect a resistor and capacitor to set the timing. Link the output pin to the LED string. Use a current-limiting resistor to protect the LEDs. Double-check all connections before powering the circuit.
Adjusting Blink Speed
The blink speed depends on the resistor and capacitor values. Increase the resistor or capacitor to slow down the blinking. Decrease them to make the lights blink faster. Try different values until you find the speed you like. This simple change lets you customize your LED display.
Microcontroller Approach
The microcontroller approach offers precise control over LED light strings. It lets you create custom blink patterns easily. This method suits hobbyists and tech lovers. You get flexibility and repeatable results. The process involves selecting a microcontroller, programming it, and wiring the LEDs.
Choosing A Microcontroller
Pick a microcontroller that fits your project size. Arduino Uno is popular for beginners. It is affordable and widely supported. Other options include ESP8266 and Raspberry Pi Pico. Consider the number of LEDs and pins needed. Also, check power requirements and programming ease.
Programming The Blink Pattern
Write a simple program to control the LED blinking. Use Arduino IDE or similar software. Define the on and off times in milliseconds. Experiment with different blink speeds and sequences. Save and upload the code to the microcontroller. Test the pattern and adjust as needed.
Connecting The Led String
Connect the LED string to the microcontroller pins. Use resistors to protect the LEDs from high current. Ensure proper wiring for power and ground connections. Use a breadboard or solder for stable connections. Double-check the wiring to avoid shorts or damage.
Troubleshooting Tips
Troubleshooting helps keep your LED lights blinking perfectly. Small problems can stop the lights from working right. Knowing how to fix these issues saves time and frustration. Below are simple tips to solve common problems.
Common Issues
LED strings may fail to blink due to loose connections. Check plugs and sockets carefully. Broken wires can also cause problems. Look for cuts or damage along the string. Overloading power sources may cause lights to stop blinking. Use the correct adapter to avoid this issue.
Fixing Flickering
Flickering often means a bad connection or weak power. Tighten all plugs and connectors. Replace worn or damaged parts. Try a different power outlet to rule out voltage problems. Clean the light bulbs gently to improve contact. Flickering can also come from poor quality lights. Choose reliable brands for better performance.
Ensuring Consistent Blinking
Use a timer or controller designed for LED strings. This keeps the blink pattern steady. Avoid mixing different types of lights on the same string. Keep the wiring neat and untangled. Moisture can disrupt blinking. Keep lights dry and indoors if possible. Regularly test your lights before use to catch issues early.
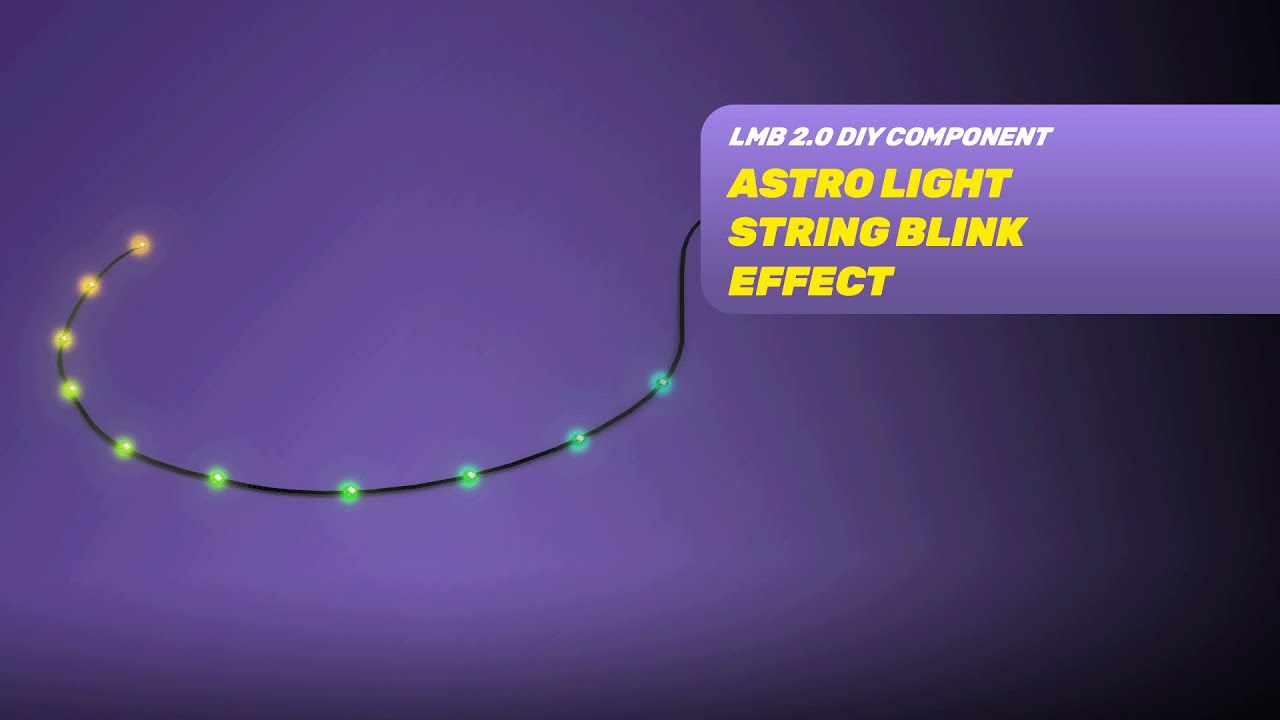
Creative Blinking Patterns
Creative blinking patterns make LED string lights fun and eye-catching. They add life to any space. Changing how lights blink keeps things interesting. You can design patterns that match your mood or event.
Experimenting with different patterns helps you find unique styles. Play with speed, colors, and timing. This section explores some exciting ways to create blinking patterns.
Using Multiple Controllers
Using more than one controller lets you control different light sections. Each controller can run its own blinking pattern. This creates layers of light effects. You can mix slow and fast blinks. It adds depth and variety to your display. Connect controllers carefully to avoid conflicts. Test each section to ensure smooth operation.
Syncing With Music
Syncing lights with music makes your setup lively. Lights blink or change color in time with the beat. Use audio sensors or apps to achieve this. The lights react to bass, rhythm, or melody. This method turns your light string into a mini light show. It works well for parties or special occasions.
Customizing Colors And Speed
Adjusting colors and speed changes the mood instantly. Choose bright colors for energy or soft tones for calm. Speed control lets you slow down or speed up blinking. Mix colors in patterns for creative effects. Many controllers have easy color and speed settings. Experiment to find combinations that suit your space.

Credit: www.amazon.com
Frequently Asked Questions
How Do I Make Led Lights Blink With A Timer?
Use a timer switch or a microcontroller like Arduino. Program it to turn LEDs on and off at intervals. This creates a blinking effect automatically and saves energy.
Can I Blink Led Lights Without Soldering?
Yes, use a breadboard and jumper wires to connect LEDs and a blinking circuit. This is a quick and solder-free method for beginners.
What Components Are Needed To Blink Led Lights?
You need LEDs, resistors, a power source, and a blinking controller like a 555 timer IC or Arduino. These components work together to create blinking patterns.
How To Control Blink Speed Of Led Lights?
Adjust the resistor or capacitor values in the blinking circuit. Using a microcontroller, modify the delay time in the code for faster or slower blinks.
Conclusion
Making LED lights blink is simple and fun. You only need a few basic tools and steps. Changing the blinking speed adds cool effects to your lights. Experiment with different patterns to create unique looks. This skill helps brighten up parties and rooms easily.
Keep safety in mind while working with electricity. Now, you can enjoy your blinking LED lights anytime. Try it yourself and see the magic happen!