Imagine never fumbling for your keys again or worrying about lost copies. Installing a smart lock on your door can give you that peace of mind and make your home more secure.
But how do you get started? This guide will walk you through each step, making the process simple and doable—even if you’re not a tech expert. By the end, you’ll have a smart lock ready to protect your home and simplify your life.
Keep reading to discover how easy it is to upgrade your door with smart technology.
Credit: reolink.com
Choosing The Right Smart Lock
Choosing the right smart lock is important for your home’s safety and ease of use. Many options exist, so knowing what fits your door and needs is key. This section helps you understand the types, compatibility, and security features of smart locks.
Types Of Smart Locks
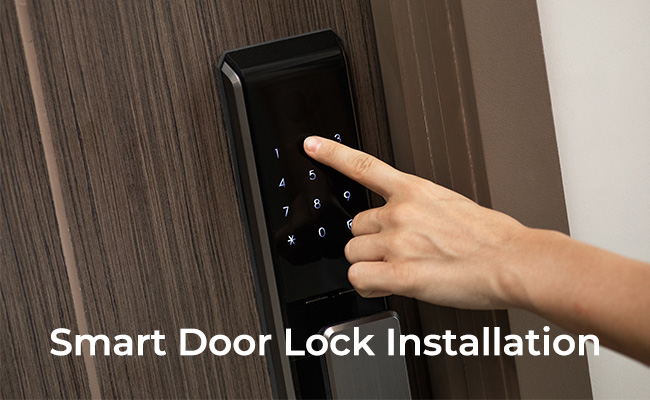
Smart locks come in several types. Keypad locks use a code to open the door. Bluetooth locks connect to your phone nearby. Wi-Fi locks allow remote control from anywhere. Some have fingerprint scanners for extra security. Choose the type that suits your lifestyle best.
Compatibility With Your Door
Not all smart locks fit every door. Check your door’s thickness and lock type first. Some locks work only with deadbolts. Others fit standard doorknobs or handles. Measure your door and read the lock’s specifications carefully. Make sure it fits before buying.
Security Features To Consider
Security matters most in a smart lock. Look for features like two-factor authentication. Some locks alert you if someone tries to break in. Others log who enters and when. Choose a lock with strong encryption to protect your data. Safety should always come first.
Tools And Materials Needed
Installing a smart lock on your door is easier with the right tools and materials. Preparing everything beforehand saves time and avoids frustration. This list covers all essentials for a smooth installation process.
Essential Tools
- Phillips screwdriver – for securing screws tightly
- Flathead screwdriver – to pry or adjust small parts
- Drill with drill bits – to make holes if needed
- Measuring tape – to measure door thickness and lock placement
- Level – to ensure the lock is installed straight
- Pencil – for marking drilling points
Additional Supplies
- Batteries – check the smart lock’s power requirements
- Masking tape – protect the door surface during drilling
- Wood filler – to fix any unwanted holes
- Cleaning cloth – to wipe dust and debris after installation
- Instruction manual – follow specific steps for your lock model
Preparing Your Door
Preparing your door is the first step to install a smart lock. This step makes sure the new lock fits well and works smoothly. A door that is ready will keep your lock secure and easy to use. Take your time here for the best results.
Removing The Old Lock
Start by taking off the old lock carefully. Use a screwdriver to remove screws from the lock and the door handle. Pull out the lock parts gently to avoid damage. Keep the screws in case you need them later. Clean the area where the old lock was attached.
Checking Door Alignment
Next, check if the door is properly aligned. Close the door slowly to see if it fits the frame well. The door should close without force or gaps. Look at the strike plate on the frame to see if it lines up with the latch. Adjust the hinges or strike plate if needed for smooth closing.
Credit: www.tomsguide.com
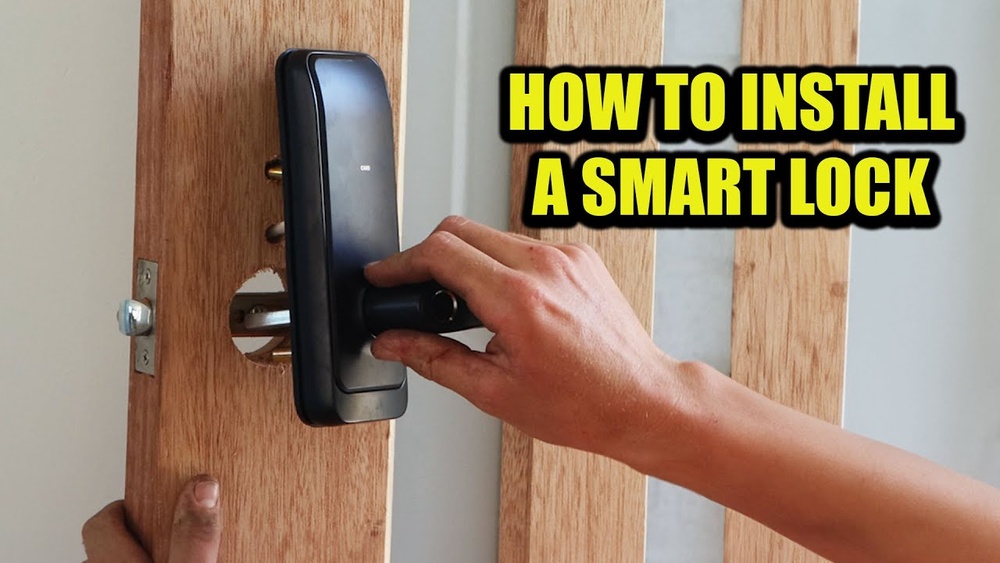
Installing The Smart Lock
Installing a smart lock on your door is a straightforward process. It requires some basic tools and careful steps. Each part of the lock must fit perfectly for the lock to work well and keep your home safe. Follow the steps below to install your smart lock confidently.
Mounting The Exterior Unit
Start by placing the exterior unit on the outside of your door. Align it with the holes already drilled. Make sure the keypad or touchscreen faces outward. Insert the connecting cable through the door hole carefully. Tighten the screws to hold the unit firmly in place. Avoid overtightening to prevent damage.
Attaching The Interior Assembly
Next, connect the interior assembly inside your door. Attach the cable from the exterior unit to the interior side. Position the assembly so it fits flush against the door. Use the provided screws to secure it. Check that the battery compartment is accessible. This allows easy battery replacement later.
Securing The Lock Mechanism
Finally, install the lock mechanism inside the door. Align the deadbolt with the lock body. Attach the mounting plate firmly with screws. Test the lock by turning the thumb turn. Ensure the bolt moves smoothly without resistance. Tighten any loose screws and confirm all parts are secure.
Setting Up The Smart Lock Software
Setting up the smart lock software is an important step after installing the device. The software controls the lock and lets you manage access easily. This process involves downloading an app, connecting the lock, and setting up user permissions.
Each step is simple and helps secure your home with digital control. Follow these instructions to get your smart lock ready.
Downloading The App
Start by downloading the smart lock app from the App Store or Google Play. Search for the lock brand to find the correct app. The app is free and small in size.
Install it on your smartphone or tablet. The app will guide you through the setup process.
Connecting To Wi-fi Or Bluetooth
Open the app and turn on Bluetooth or Wi-Fi on your device. The lock connects using one of these methods. Bluetooth works for close range. Wi-Fi allows remote access.
Follow the app instructions to find your lock and connect it. Confirm the connection to ensure the lock and app communicate properly.
Configuring User Access
After connecting, set up who can open the lock. The app lets you add users by entering their names and contact details. Assign different access levels for family or guests.
You can set time limits for temporary users. This control keeps your home safe and organized.
Testing The Lock Functionality
Testing the lock functionality is an important step after installing your smart lock. It ensures the lock works correctly and keeps your home secure. This process checks both manual and app controls. It helps find any problems early. Follow these steps to test your smart lock properly.
Manual Operation Test
Start by testing the lock manually. Turn the key or knob to lock and unlock the door. Check if the bolt moves smoothly without sticking. Make sure the door closes fully and locks tightly. Listen for any strange sounds during operation. This test confirms the mechanical parts function well.
App Control Test
Next, use the smart lock app on your phone. Lock and unlock the door using the app commands. Watch for delays or errors in response. Try multiple commands to check consistency. Ensure the app shows the correct lock status each time. This test verifies the electronic and wireless features.
Troubleshooting Common Issues
Some problems may appear during testing. If the lock does not move smoothly, adjust the strike plate or alignment. If the app does not connect, check your Wi-Fi or Bluetooth settings. Restart the lock and phone if needed. Replace batteries if the lock responds weakly. These steps fix the most common issues fast.
Maintenance Tips For Smart Locks
Smart locks are a great way to secure your home. Proper care helps them work well for years. Follow simple maintenance tips to keep your smart lock reliable and safe.
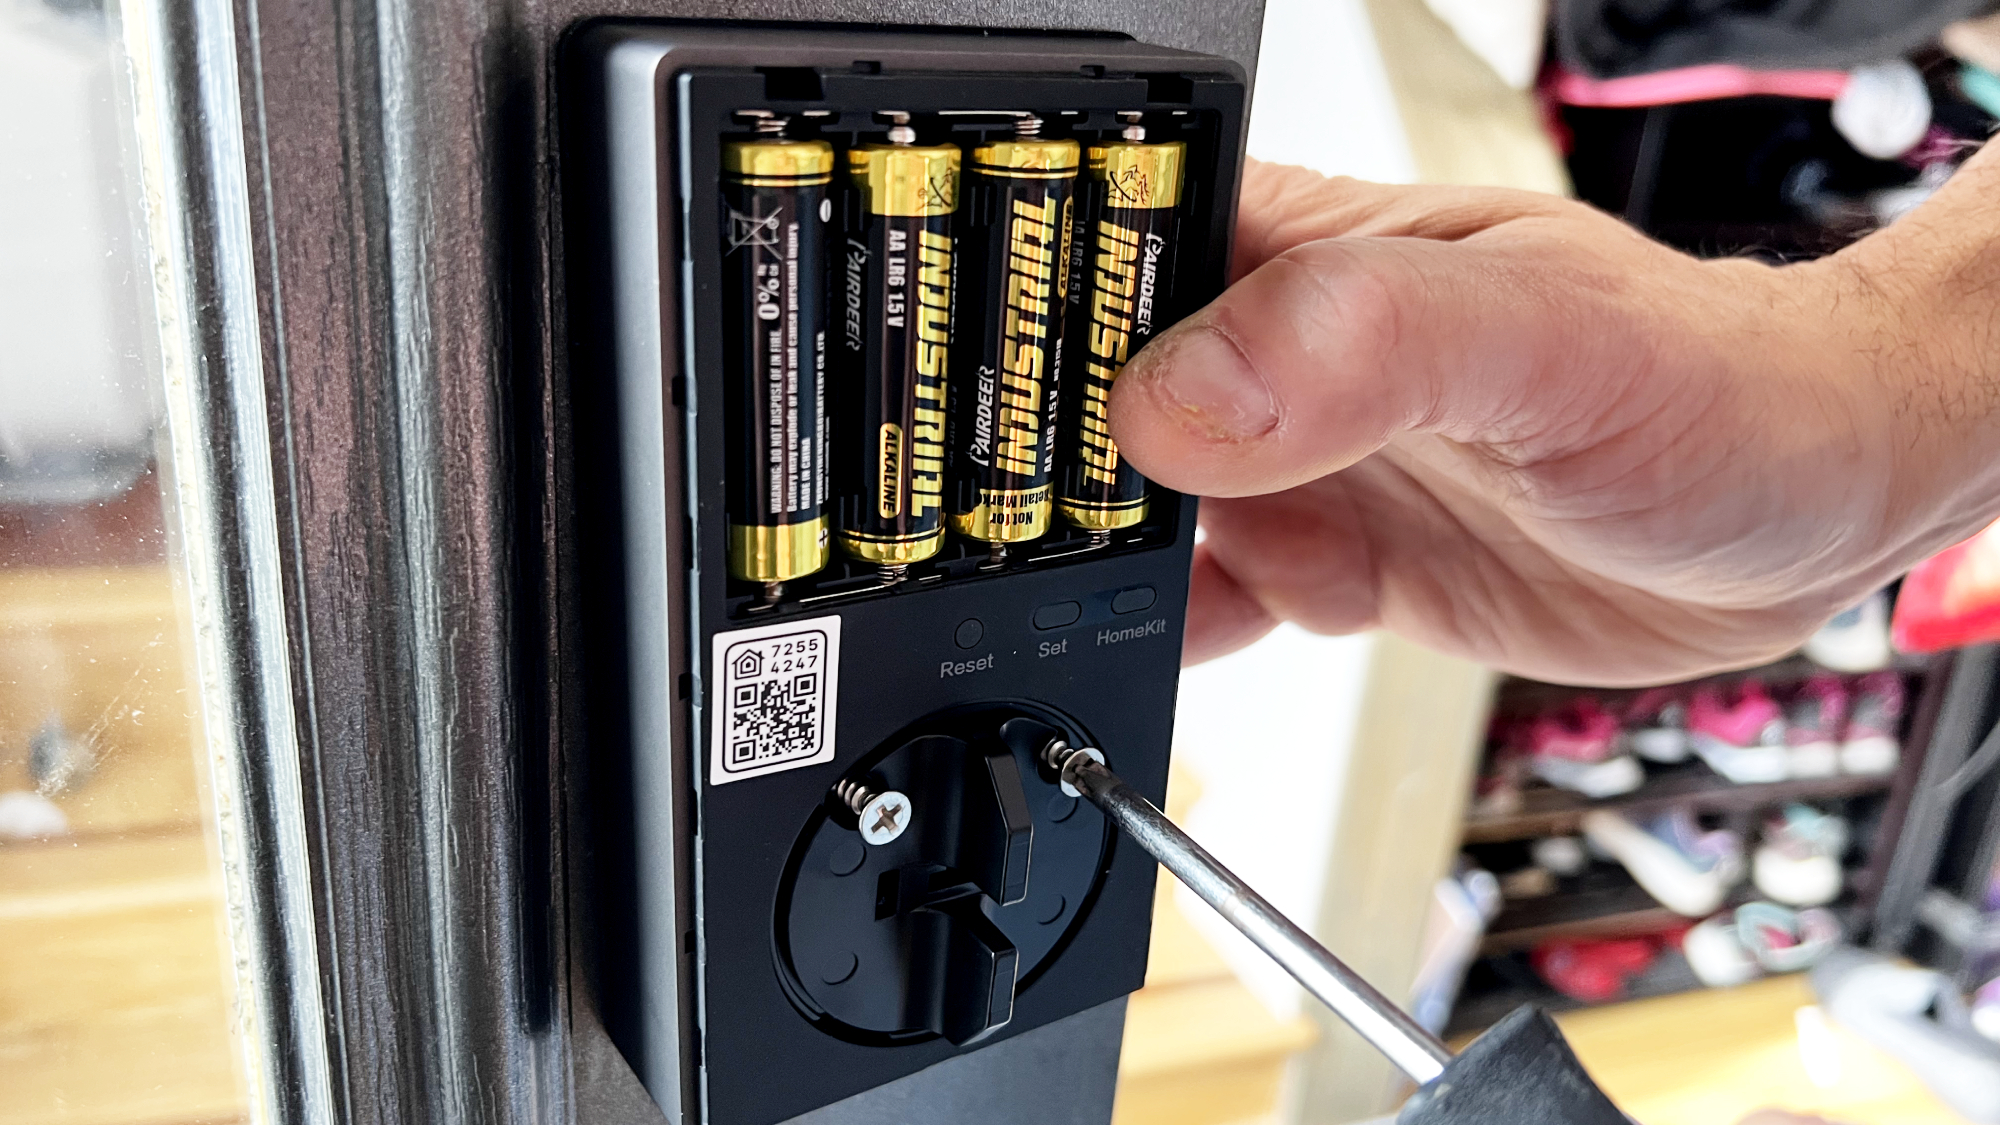
Battery Replacement
Smart locks run on batteries. Check battery levels often to avoid sudden failure. Replace batteries as soon as the lock shows low power signs. Use the battery type recommended by the manufacturer. Always keep spare batteries handy for quick swaps.
Regular Firmware Updates
Firmware updates improve smart lock performance and security. Check for updates through the app regularly. Install updates promptly to fix bugs and add new features. Keep your lock connected to Wi-Fi for smooth updates. Updated firmware keeps your smart lock safe from hackers.
Cleaning And Care
Clean your smart lock gently with a soft cloth. Avoid harsh chemicals that can damage the surface. Remove dust and dirt from the keypad and sensor areas. Keep the lock dry to prevent rust and corrosion. Proper cleaning extends your smart lock’s lifespan.

Credit: www.reddit.com
Frequently Asked Questions
How Do I Choose The Right Smart Lock For My Door?
Select a smart lock based on door type, security features, and connectivity options. Consider compatibility with your existing door and smart home system for seamless integration.
What Tools Are Needed To Install A Smart Lock?
You typically need a screwdriver, drill, measuring tape, and possibly a wrench. Most smart locks come with installation guides and necessary hardware for easy setup.
Can I Install A Smart Lock Myself?
Yes, most smart locks are designed for DIY installation. Follow the manufacturer’s instructions carefully for correct fitting and proper functionality.
How Long Does Smart Lock Installation Take?
Installation usually takes 20 to 45 minutes. Time varies depending on lock type and your familiarity with the tools and instructions.
Conclusion
Installing a smart lock on your door is simple and practical. Follow each step carefully for the best results. Test the lock to ensure it works smoothly. Enjoy the added security and convenience it provides. Smart locks help you control access easily.
Keep your home safer with this easy upgrade. Take your time, and you will succeed. Now, your door is smarter and more secure.