Your outdoor LED string lights can transform any space into a cozy, magical spot. But when they stop working, it can feel frustrating and disappointing.
Don’t worry—you don’t have to replace the whole set or call a professional right away. In this guide, you’ll discover simple, step-by-step solutions to fix your outdoor LED string lights quickly and safely. Whether a few bulbs are out or the entire strand won’t light up, you’ll learn how to bring back that warm glow in no time.
Keep reading, and get ready to enjoy your beautiful lights again.
Common Issues With Led String Lights
Outdoor LED string lights brighten gardens, patios, and porches. They add charm and light to any space. Yet, these lights can face common problems that stop them from working right. Knowing these issues helps you fix your lights fast.
Power Supply Problems
Power supply issues are a top reason LED string lights fail. Check if the plug is firmly in the outlet. Test the outlet with another device to see if it works. Sometimes a tripped breaker or blown fuse cuts power. Use a multimeter to check voltage if needed.
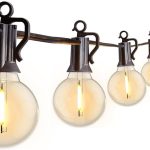
Burned Out Bulbs
Burned out bulbs cause parts of the string to go dark. Look closely for bulbs that are black or cloudy. Replace burnt bulbs with the same type and size. Some LED strings have a fuse bulb; check and change it if blown. Always turn off power before replacing bulbs.
Damaged Wiring
Wiring can get damaged by weather, pets, or sharp objects. Inspect the entire string for cuts, cracks, or frayed wires. Damaged wires can cause shorts or stop lights from working. Use electrical tape or wire connectors to fix small damage. Replace the string if damage is severe.
Faulty Connectors
Connectors join sections of LED string lights. Dirt, rust, or loose connections can cause failure. Clean connectors with a dry cloth to remove debris. Check that connectors fit tightly and click into place. Replace connectors if they look worn or broken to keep the lights working well.

Credit: www.youtube.com
Tools You’ll Need
Fixing outdoor LED string lights requires the right tools. Having these tools ready makes the job easier and safer. Let’s explore what you need before starting your repair.
Basic Electrical Tools
Start with a pair of wire cutters to trim damaged wires cleanly. Use a wire stripper to remove insulation without breaking the wire. A multimeter helps check voltage and continuity in the circuit. Needle-nose pliers are handy for bending and holding small wires. A screwdriver set is useful for opening light sockets or junction boxes.
Replacement Parts
Keep some spare LED bulbs that match your string lights. Extra fuses prevent downtime if the old ones blow. Buy replacement sockets or connectors made for outdoor lights. Weatherproof electrical tape seals exposed wire connections. A roll of outdoor-rated extension cord may help if you need more length.
Safety Gear
Wear insulated gloves to protect against electric shock. Safety goggles shield your eyes from sparks or debris. Use a sturdy ladder if the lights hang high. Work in dry weather to avoid slipping and electrical hazards. Have a flashlight or headlamp for better visibility in dim areas.
Step-by-step Fixes
Fixing outdoor LED string lights can be simple with the right steps. This guide breaks down the process into clear, easy tasks. Follow each step carefully to bring your lights back to life. No special tools needed. Just patience and a bit of care.
Testing The Power Source
Start by checking the power source. Make sure the outlet works by plugging in another device. Use a voltage tester for more accuracy. Confirm the switch is on and the fuse is not blown. A steady power supply is key for your lights to work.
Identifying And Replacing Burned Out Bulbs
Look for bulbs that do not light up. Burned out bulbs often cause the whole string to fail. Remove each bulb carefully and check for dark spots or broken filaments. Replace bad bulbs with new ones that match the size and type. Test the lights after replacement.
Repairing Or Replacing Damaged Wires
Inspect the wire for cuts, cracks, or fraying. Damaged wires can cause short circuits or no light at all. Use electrical tape for small cuts as a temporary fix. For larger damage, replace the wire or the whole string. Keep wires dry and avoid sharp bends to prevent damage.
Securing Loose Or Faulty Connectors
Check all connectors between light strings and power cords. Loose connectors can break the circuit. Push connectors firmly into place. Clean any dirt or corrosion with a dry cloth. Replace connectors that are broken or bent to ensure good contact.
Preventive Tips To Extend Lifespan
Outdoor LED string lights add charm and warmth to any space. Keeping them working longer saves money and effort. Simple care steps can stop common problems early. These tips help your lights last through many seasons.
Proper Installation Techniques
Start with the right setup. Use hooks or clips to hold the lights gently. Avoid sharp bends or twists in the wires. Keep plugs and connectors off the ground to avoid water damage. Check the power source matches the light’s voltage needs. Secure the lights firmly to prevent sagging or falling.
Weatherproofing Your Lights
Protect lights from rain and wind. Use outdoor-rated lights with waterproof covers. Cover connections with sealant or electrical tape. Place lights where they get some shelter from harsh weather. Remove or store lights during extreme storms or winter months. This prevents corrosion and keeps bulbs working well.
Regular Maintenance Checks
Inspect lights often for damage or loose parts. Replace broken bulbs quickly to keep the circuit stable. Clean dirt and debris off bulbs and wires carefully. Look for worn wires and fix or replace them right away. Test the lights before special occasions to avoid surprises. Small fixes early keep lights shining bright.
When To Replace Your Led String Lights
Knowing when to replace your outdoor LED string lights saves time and effort. Some problems cannot be fixed with simple repairs. Replacing the lights ensures safety and keeps your space bright. It also avoids frequent troubleshooting and frustration.
Signs Of Irreparable Damage
Look for frayed or broken wires that expose metal. These are dangerous and need replacement. Lights that flicker constantly or do not light at all may have internal damage. Check for melted or burnt bulbs. Discoloration or burnt smell shows serious issues. Water damage inside the bulbs or connectors means the lights are no longer safe to use.
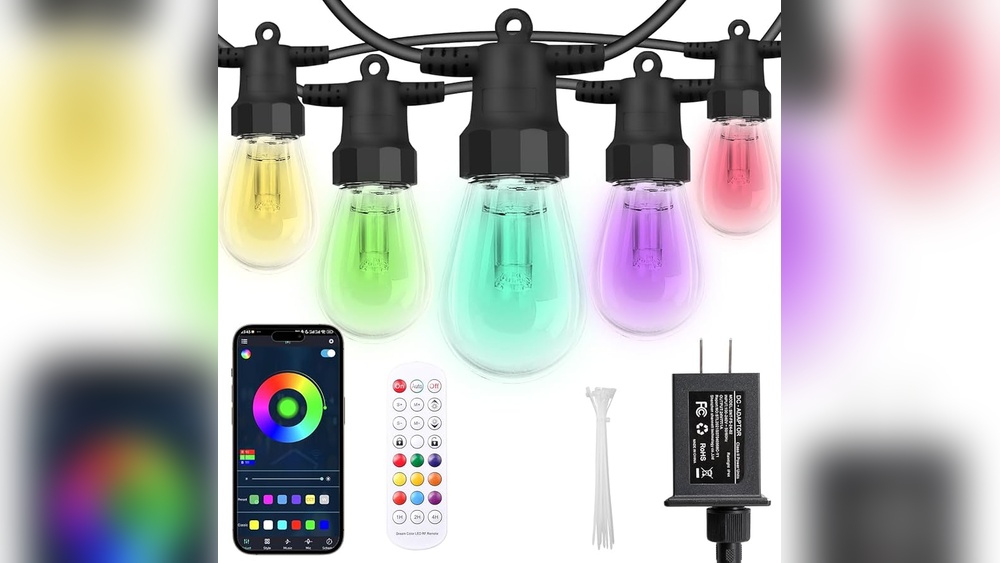
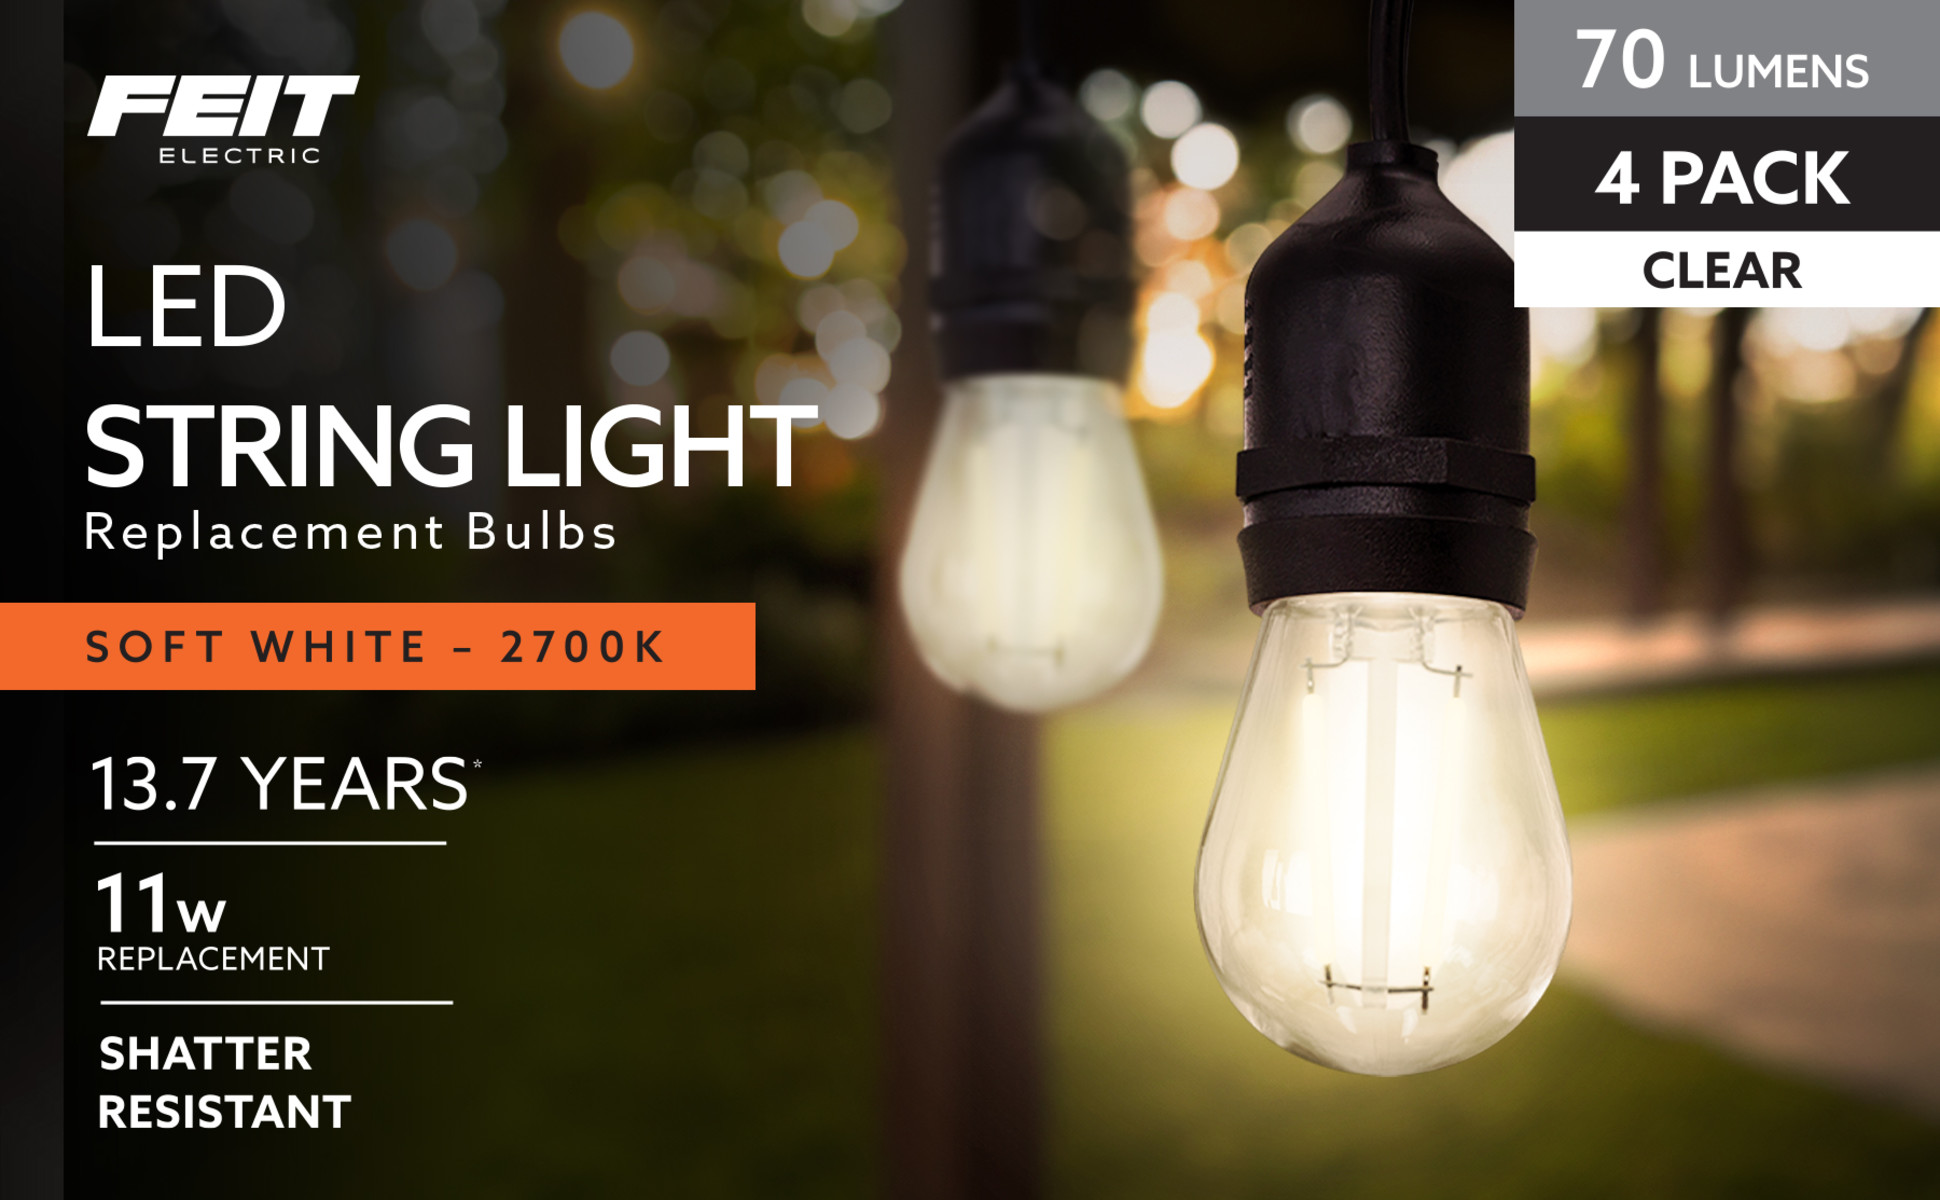
Choosing Durable Replacements
Select LED string lights made for outdoor use only. They should have waterproof ratings like IP65 or higher. Choose lights with sturdy, weather-resistant cables. Look for bulbs that last long and resist breakage. Opt for energy-efficient models to save electricity. Consider lights with warranty for extra protection. Buy from trusted brands known for quality outdoor lighting.
Credit: dailyplanetvt.com

Credit: shayganpharma.com
Frequently Asked Questions
How Do I Identify Faulty Bulbs In Led String Lights?
To find faulty bulbs, visually inspect for dark or flickering LEDs. Use a multimeter to test for continuity. Replace any broken or burnt-out bulbs with exact matches to ensure proper functionality.
What Safety Precautions Should I Take When Fixing Led Lights?
Always unplug the lights before starting any repairs. Work in a dry area to avoid electric shock. Use insulated tools and avoid touching exposed wires to ensure safety during repairs.
Can I Repair Broken Wires On Led String Lights?
Yes, you can repair broken wires by cutting the damaged section. Strip the wire ends, twist them together, and solder or use wire connectors. Cover the repair with electrical tape or heat shrink tubing for protection.
How Do I Fix Led Lights That Flicker Intermittently?
Flickering usually indicates a loose connection or damaged bulb. Check and tighten all bulb sockets. Replace any faulty bulbs and inspect the wiring for breaks to restore steady lighting.
Conclusion
Fixing outdoor LED string lights can be simple and quick. Check bulbs and connections first. Replace any broken bulbs right away. Make sure wires are dry and secure. Use tape or clips to hold wires tight. Test the lights after each step to find issues fast.
Regular care helps keep lights bright and safe. Enjoy your outdoor space with glowing, working lights every night. Small fixes save money and time. Stay patient and follow these easy tips. Your lights will shine again soon!